Painting is the step that transforms a plastic kit from a toy-like assembly into a realistic miniature. For many beginners, the biggest question is: should I brush paint or invest in an airbrush? Both methods have their place, and the right choice depends on your budget, space, and the effect you want to achieve.
In this guide, we’ll break down the pros and cons of brush painting vs. airbrushing, walk you through the essential supplies, and share practical tips to help you paint scale model parts with confidence. Whether you’re working on a 1/144 mecha or a 1/24 car, you’ll find the answers here.
Brush Painting Models: The Affordable Starting Point
Brush painting is the most accessible way to paint scale model parts. You only need a few quality brushes, some acrylic or enamel paints, and a well-lit workspace. It’s perfect for small parts, details, and touch-ups. With practice, you can achieve smooth coats even on larger surfaces, though it takes patience to avoid brush strokes.
For beginners, brush painting is ideal for learning color mixing, thinning, and paint control. It’s also a great way to start without a large investment. You can practice on spare parts or inexpensive kits, like the [30MM 1/144 OPTION ARMOR FOR BASE ATTACK [RABIOT EXCLUSIVE / DARK GRAY]] or the [1/550 BYGRO], both of which offer plenty of surface area for honing your skills.
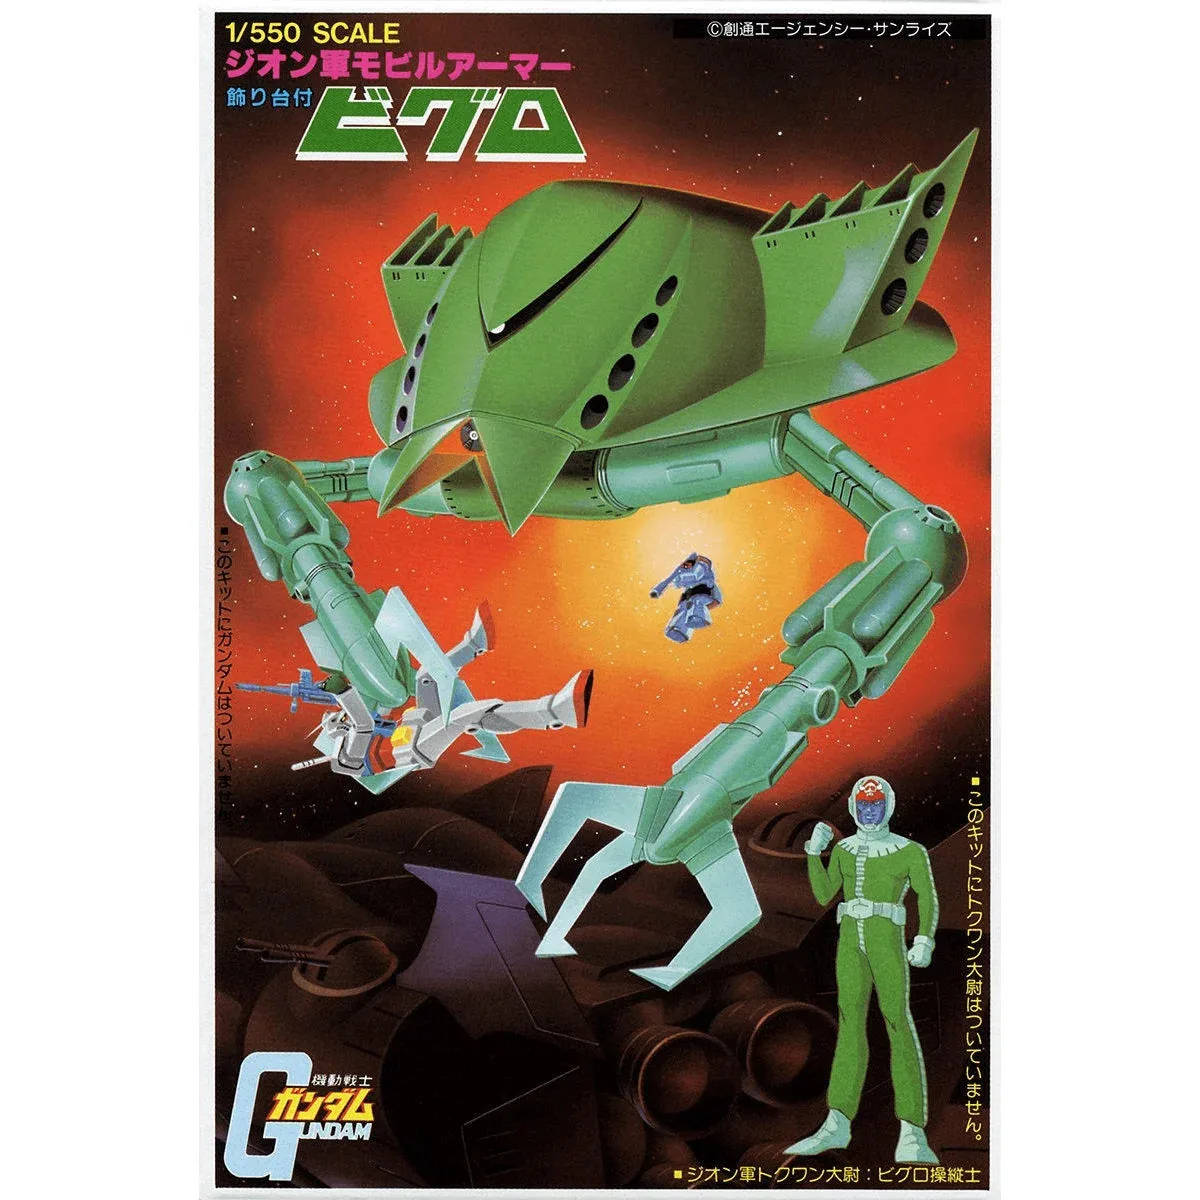
1/550 BYGRO
- Use thin coats: apply multiple thin layers instead of one thick coat to prevent brush marks.
- Invest in a good brush: a size 0 or 1 round brush works for most details.
- Clean brushes thoroughly with the appropriate thinner to extend their life.
Airbrush for Beginners: Smooth Finishes and Even Coats
An airbrush uses compressed air to spray a fine mist of paint, giving you ultra-smooth, even finishes that are hard to achieve with a brush. It’s the go-to tool for painting large surfaces, gradients, and camouflage patterns. While the upfront cost is higher, many modelers consider it a worthwhile investment for the quality it delivers.
If you’re new to airbrushing, start with a basic double-action airbrush and a small compressor. Practice on spoons or plastic sheets to learn paint thinning and pressure control. Once you’re comfortable, you can tackle kits like the [1/72 UH-60J(SP) RESCUE HAWK Niigata Air Rescue 60th ANNIVERSARY] or the [1/24 MINI MAYFAIR (1997)] – both have large panels that benefit from a smooth, even coat.
- Thin your paint to the consistency of milk – this is key to preventing clogs.
- Clean the airbrush immediately after each use to avoid dried paint buildup.
- Spray in light, even passes, keeping the nozzle 4-6 inches from the surface.
Choosing the Right Paint for Scale Models
The type of paint you use matters as much as the application method. Acrylics are water-based, dry fast, and are easy to clean up – perfect for beginners. Enamels and lacquers are more durable and level better, but they require stronger thinners and better ventilation. For brush painting, acrylics are generally easier to control; for airbrushing, many prefer lacquers for their self-leveling properties.
Always prime your parts before painting. A primer helps the paint adhere and reveals any imperfections. For small parts, you can brush on a thin coat of primer; for larger pieces, an airbrush is faster. Whichever you choose, let the primer dry completely before applying your base color.
- Test your paint on a spare sprue or plastic spoon to see how it flows and dries.
- Use a primer that matches your paint type (acrylic primer for acrylics, etc.).
- Keep a log of your paint mixes and thinning ratios for consistency.
Step-by-Step: Painting Your First Scale Model Part
Start by washing your parts in warm soapy water to remove mold release agents. Dry them thoroughly. Then, prime the parts – either by brush or airbrush – and let them cure. Next, apply your base color in thin, even coats. If you’re brush painting, use a wide, flat brush for large areas and a smaller round brush for details. For airbrushing, keep the air pressure low (15-20 psi) and build up the color gradually.
Once the base coat is dry, you can add details like panel lines, weathering, or decals. To protect your work, finish with a clear coat – matte, gloss, or satin – depending on the look you want. A gloss coat is great before decals, while a matte coat gives a realistic, non-reflective finish.
- Always paint in a well-ventilated area, especially when using enamels or lacquers.
- Use a cutting mat and a part holder to keep your work clean.
- Patience is key: wait for each coat to dry completely before adding the next.
Common Mistakes and How to Avoid Them
One of the most common mistakes beginners make is applying paint too thickly. This leads to brush strokes, runs, and obscured details. Always thin your paint slightly and apply multiple thin coats. Another mistake is not cleaning brushes or airbrush properly, which ruins them over time. Invest in good cleaning supplies and make it a habit.
Another pitfall is skipping the primer. Without it, paint can chip or peel, especially on smooth plastic. Also, don’t rush the drying time. Even if paint feels dry to the touch, it may not be cured. Give it at least 24 hours before handling or masking.
- If you see brush strokes, sand lightly and apply another thin coat.
- Clean your airbrush with the appropriate cleaner between colors.
- Use a toothpick to remove tiny dust particles from wet paint.
Brush vs. Airbrush: Which Should You Choose?
The answer depends on your goals. If you’re on a tight budget, have limited space, or prefer a portable setup, brush painting is a fantastic way to start. It’s also perfect for small, detailed parts and touch-ups. If you plan to build many large-scale kits, want to create smooth finishes, or enjoy experimenting with effects like shading and gradients, an airbrush is worth the investment.
Many modelers use both: an airbrush for base coats and large surfaces, and a brush for fine details. Starting with a brush and upgrading to an airbrush later is a natural progression. Whichever you choose, practice is the key to improvement. Don’t be afraid to make mistakes – every model teaches you something new.
- Start with brush painting if you’re unsure – it’s cheaper and easier to learn.
- Consider an airbrush if you’re ready to invest in quality and speed.
- Combine both methods for the best results.
Painting scale model parts is a rewarding skill that improves with practice. Whether you choose a brush or an airbrush, the most important thing is to enjoy the process and learn from each build. For your next project, consider starting with a simple kit like the 1/550 BYGRO to practice your brush techniques, or the 30MM 1/144 OPTION ARMOR FOR BASE ATTACK [RABIOT EXCLUSIVE / DARK GRAY] to try airbrushing on a dedicated armor set. Visit our store to explore more model kits and painting supplies to get started today.