Quick answer
Assemble the Power Blox Build Your Own Glowing Space Night Light in about 20 minutes using the included color-changing LED and space filter sheet. This guide walks you through each step and highlights common pitfalls.
What You’ll Need
Before you start, make sure you have the Power Blox Build Your Own Glowing Space Night Light set (product ID 1380205) and one 9V battery (not included). The set comes with a color-changing LED, a space filter insert sheet, and brick pieces that are compatible with other toy brick sets.
Work on a flat, well-lit surface. A small screwdriver may help open the battery compartment, but it’s not required.
Understanding the LED and Filter
The color-changing LED cycles through all colors of the visible light spectrum, creating a soothing effect. The space filter insert sheet lets you project stars or custom patterns onto the wall. You can also cut or draw your own designs on plain paper and place it over the filter.
The LED requires a 9V battery. It is not rechargeable, so keep a spare on hand.
Step-by-step assembly guide
- Step 1: Build the base structure: Sort the brick pieces and follow the included diagram to build the base and side walls. Ensure all bricks are pressed firmly together to avoid wobbling. Common mistake: skipping the base plate alignment causes the whole structure to lean. Double-check corners are square.
- Step 2: Insert the color-changing LED: Place the LED module into the designated slot in the base. Route the wire to the battery compartment. Make sure the LED faces outward toward the filter area. Checkpoint: the LED must sit flush against the filter holder; otherwise the light will leak and reduce projection clarity.
- Step 3: Attach the space filter sheet: Slide the included space filter insert sheet into the slot above the LED. You can also create your own pattern by drawing on a thin paper and trimming it to size. Common mistake: using thick paper blocks the light. Stick to thin, translucent material for best results.
- Step 4: Connect the battery: Open the battery compartment, connect the LED wire to the 9V battery terminals, and close the cover. The LED should start glowing and cycling through colors immediately. If the LED doesn’t light, check that the battery is fresh and the wire connections are secure. Polarity matters – match + to +.
- Step 5: Test and enjoy: Place the night light on a table or shelf, turn off the room lights, and watch the colors and patterns appear on the wall. Adjust the filter angle for different effects. For a dimmer glow, move the light farther from the wall. For brighter projection, bring it closer.
Product details
-
Build Your Own Glowing Space Night Light: The Power Blox™ Build Your Own Glowing Space Night Light set includes a color-changing LED that gradually displays all colors of the visible light spectrum, a space filter insert sheet, and is compatible with other toy brick sets. This means you can reuse bricks from other sets to expand the design, and the filter gives you creative control over the projected patterns.
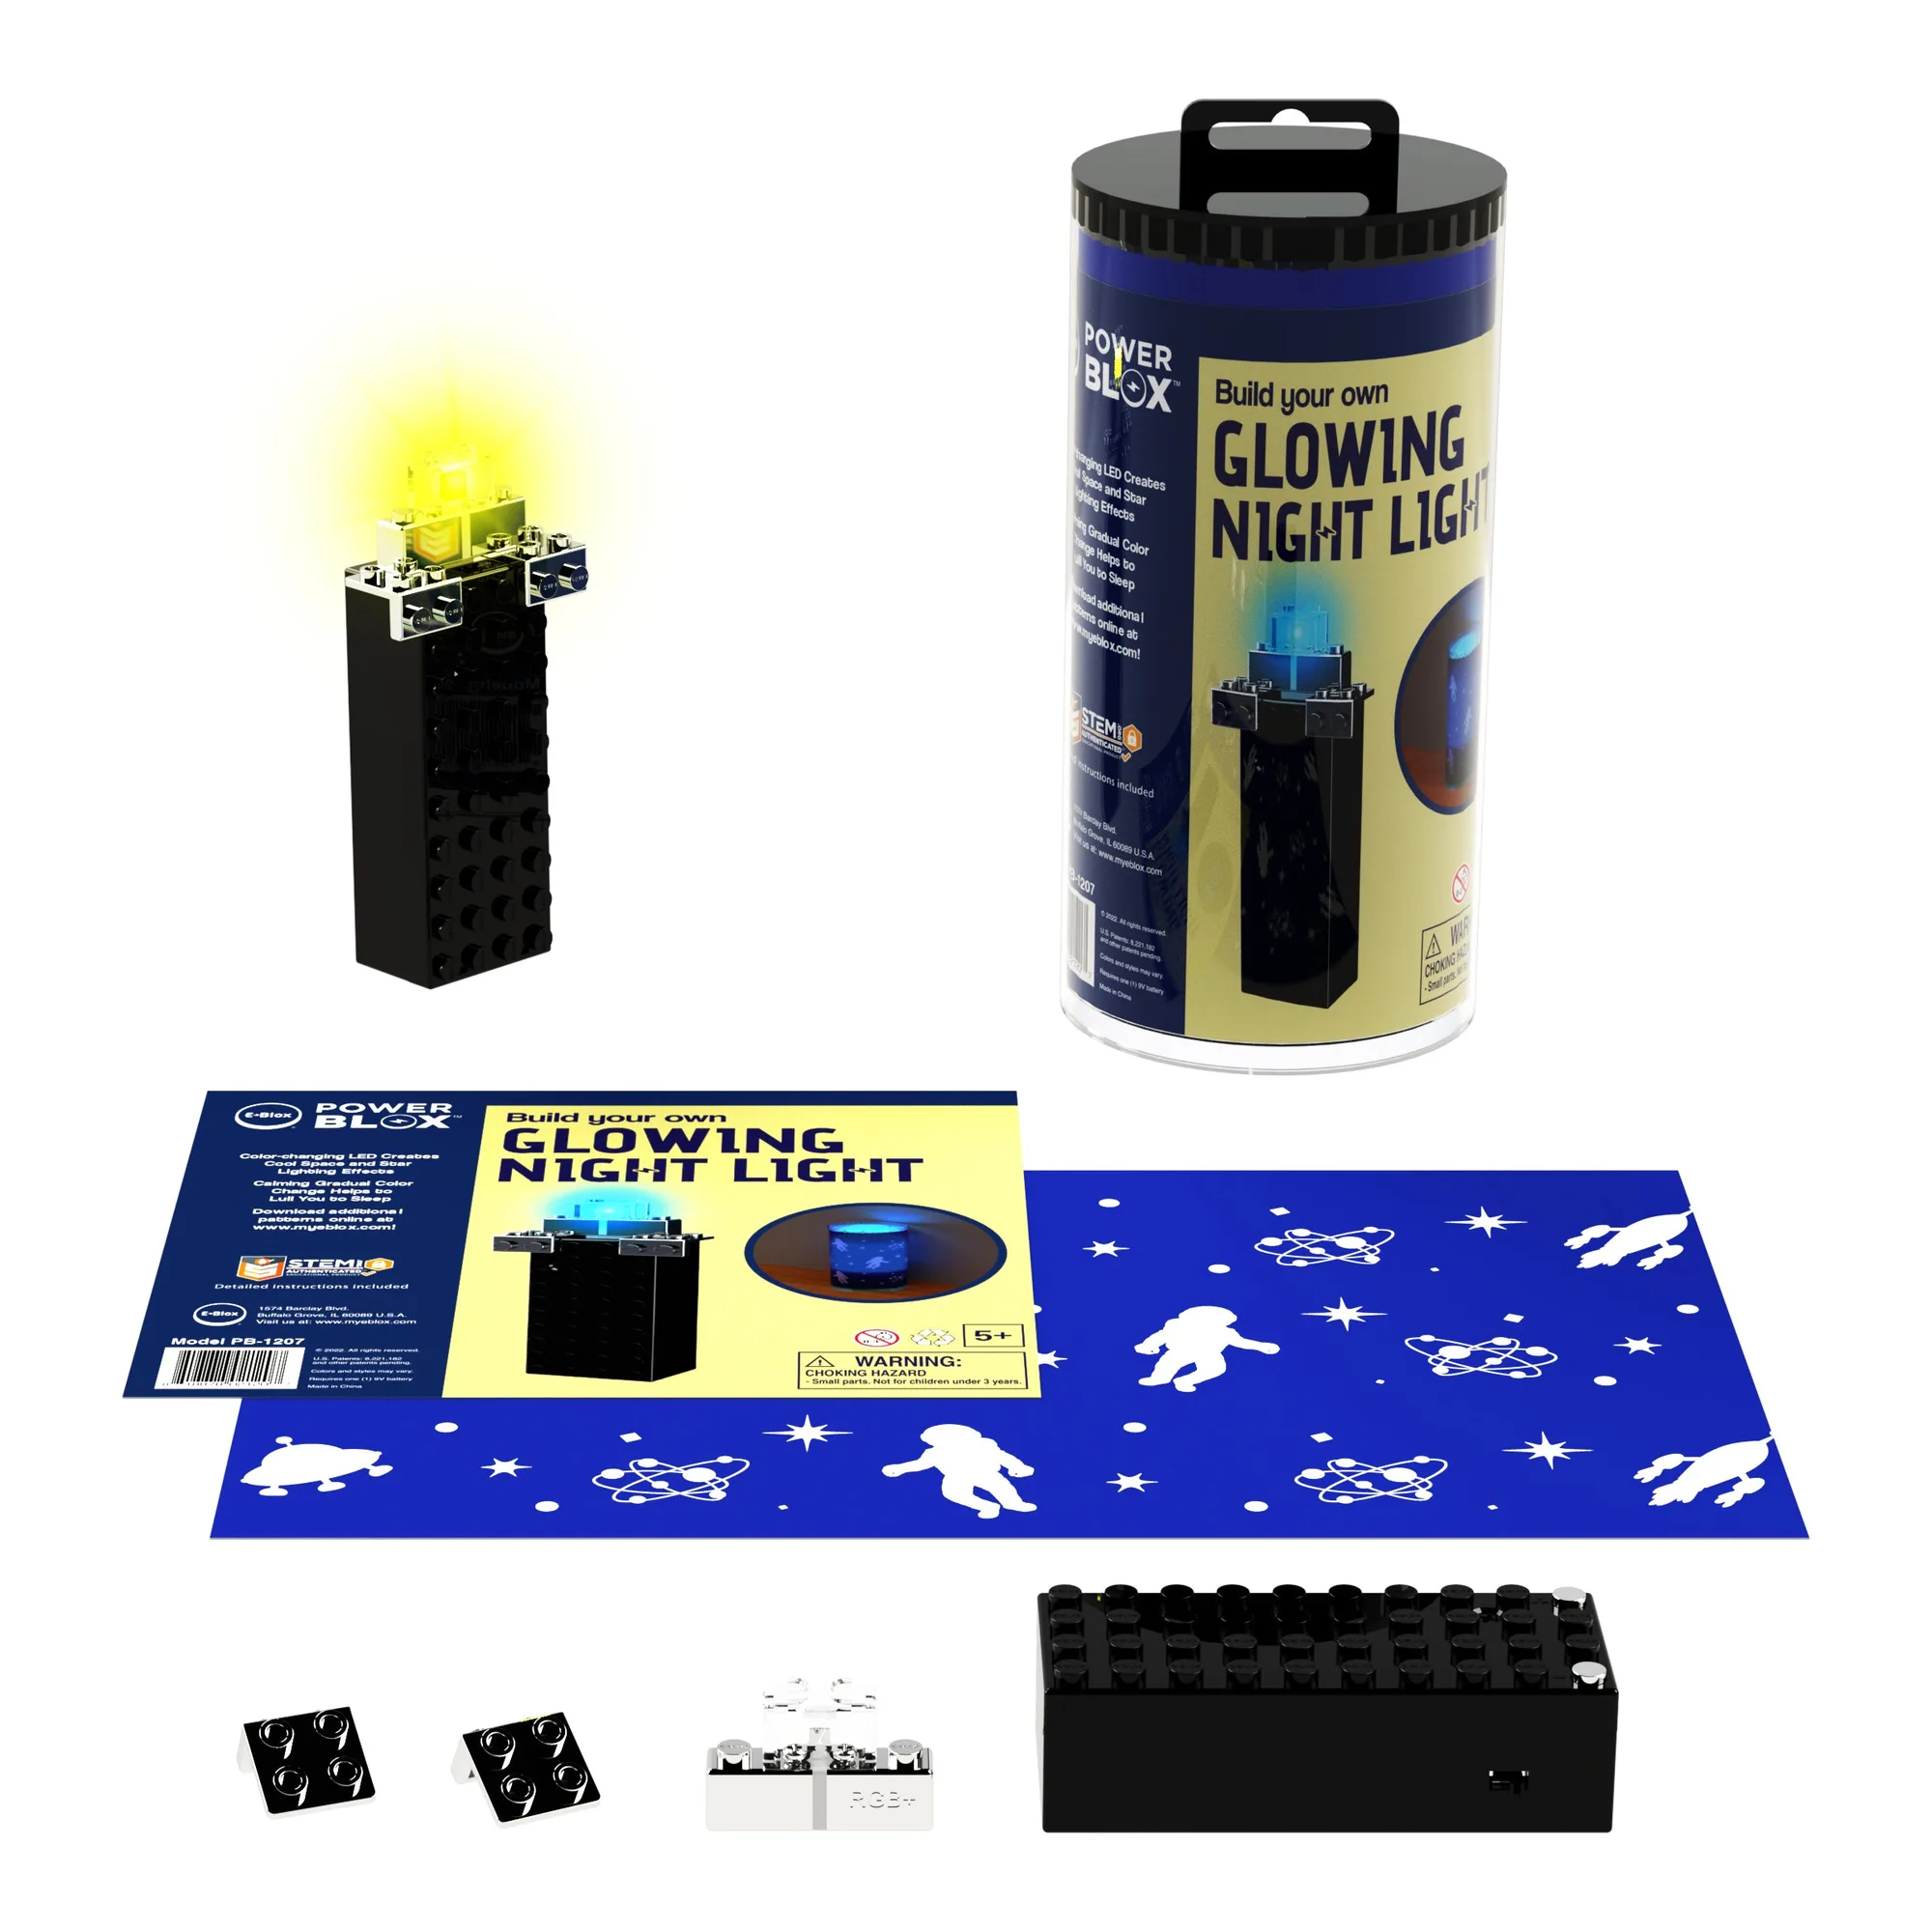
Build Your Own Glowing Space Night Light