What You Are Building
The Hands Craft Purple Moth Orchid is a precision-cut 3D wooden puzzle that turns into a lifelike orchid bloom. Unlike real orchids, this one requires no watering or sunlight—just about 1.5 hours of focused assembly. The finished piece makes a graceful decor accent for a shelf, desk, or windowsill.
This guide walks you through what to expect from the kit, practical assembly tips, and how to display your finished orchid. No prior puzzle experience is necessary, but a little patience helps.
Kit Details at a Glance
-
Hands Craft | Purple Moth Orchid: Crafted from high-quality, precision-cut wood pieces, the finished orchid features delicate details and a vibrant purple finish. The precision cutting means pieces fit snugly without glue in most cases, and the color is built into the wood, so painting is optional.
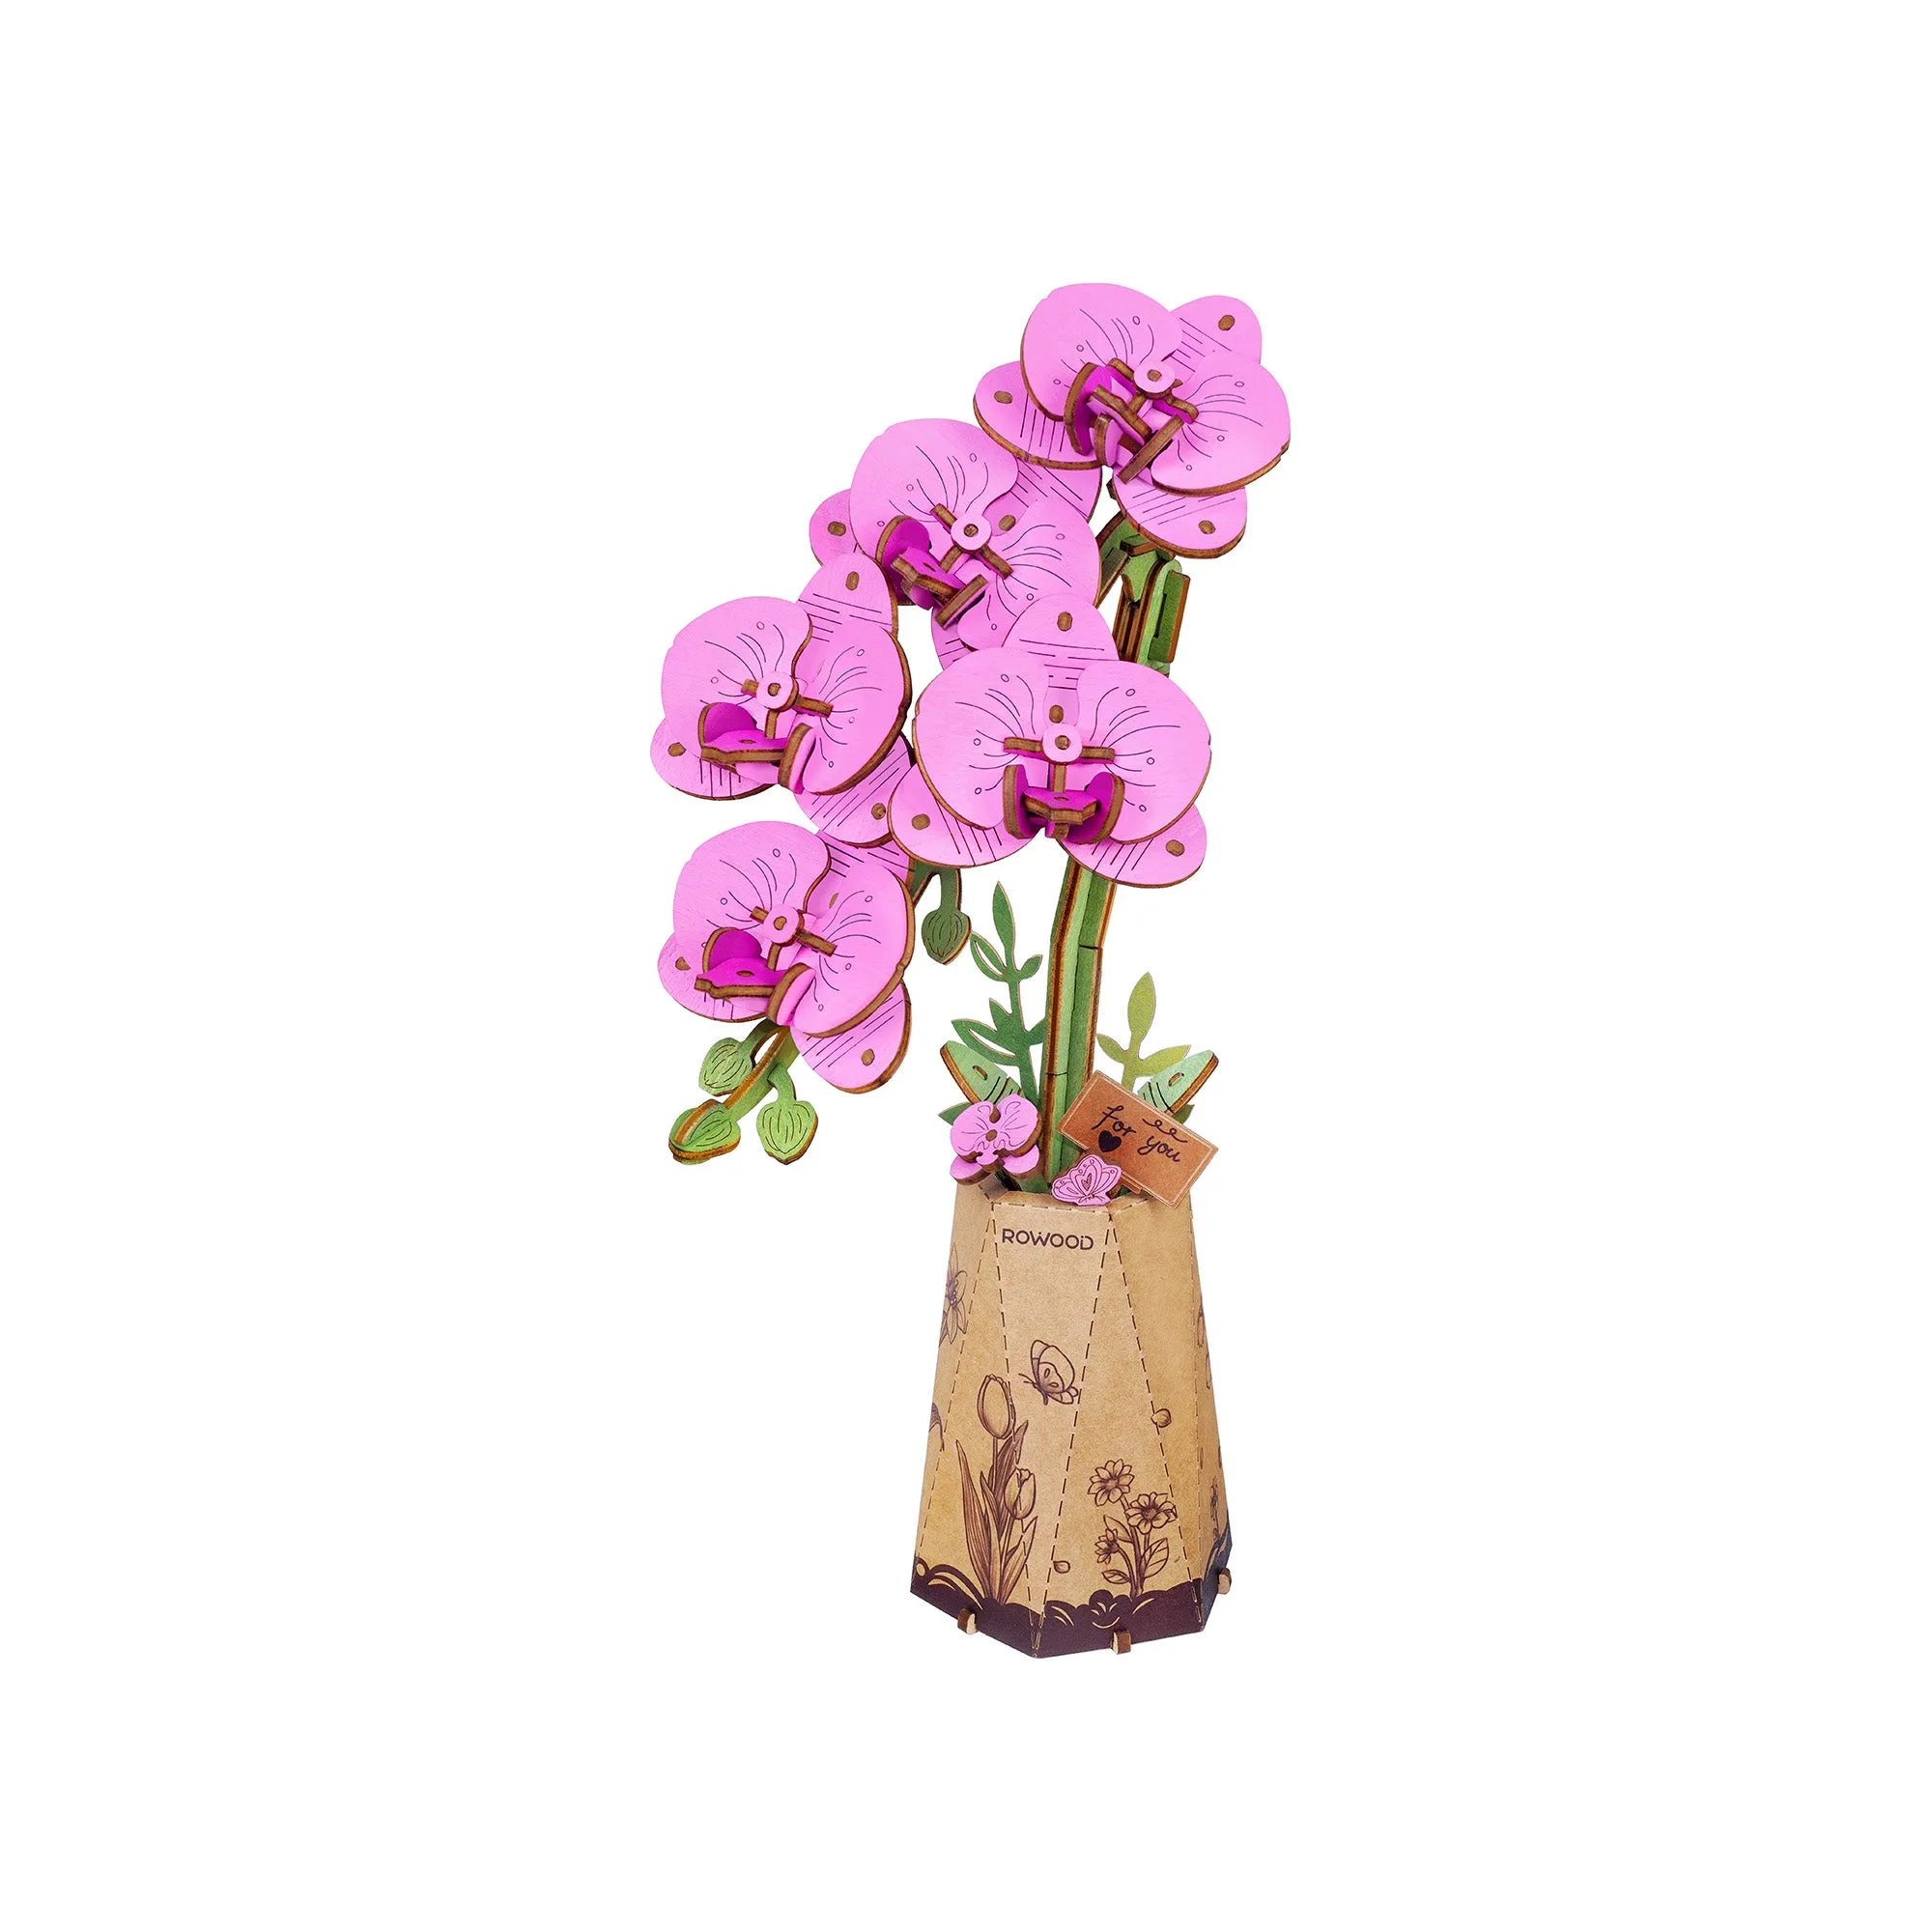
Hands Craft | Purple Moth Orchid
-
Hands Craft | Purple Moth Orchid: Designed for both beginners and experienced crafters, this DIY kit typically takes just 1.5 hours to complete. You can finish it in a single relaxing evening, making it a low-commitment project that still feels rewarding.
-
Hands Craft | Purple Moth Orchid: Whether displayed on a shelf, desk, or windowsill, the Purple Orchid makes a stunning decor piece - no watering required. The finished orchid stays fresh-looking forever and fits into small spaces, unlike a real plant that needs care.
A Sensible Build Order
The supplied information does not include step-by-step assembly instructions, so the following order is a general approach that works for most 3D wooden puzzles like this one. Always follow any printed guide that comes with your kit.
- 1. Unpack and sort the pieces: Lay out all wooden pieces on a flat surface. Group them by shape or size. This makes it easier to find parts as you build.
- 2. Identify the base and main stem: Start by assembling the base that holds the orchid upright. Then attach the main stem piece. These parts typically have larger tabs and slots.
- 3. Build the petals and leaves: Work on one petal or leaf at a time. Each petal is made from several interlocking pieces. Fit them together gently—do not force any piece.
- 4. Attach petals to the stem: Once all petals and leaves are assembled, attach them to the stem in the order shown on the box or guide. The orchid should start taking shape.
- 5. Final adjustments and display: Check that all tabs are fully seated. You can gently twist or bend the stem to adjust the orchid's posture. Place it on a shelf, desk, or windowsill.
Build Tips for a Smooth Assembly
Work on a clean, well-lit surface. A white or light-colored table helps you see the wood pieces clearly. If a piece seems stuck, check that you are using the correct tab—do not force it. Precision-cut parts should fit with light pressure.
The kit is designed for ages 14 and up (per typical Hands Craft puzzle labeling). Younger builders may need adult help. Take breaks if your fingers get tired; the 1.5-hour estimate assumes steady work, but you can spread it over multiple sessions.
Every build is slightly different because of the natural variation in wood. The catalog notes that "no two builds are exactly alike," so embrace minor differences as part of the handmade feel.
Display and Care
Once assembled, the Purple Moth Orchid needs no maintenance. Keep it away from direct sunlight for long periods to prevent the wood from fading. Dust it occasionally with a soft brush or dry cloth.
It also makes a thoughtful gift for plant lovers, puzzle enthusiasts, or anyone who enjoys mindful creative hobbies. The compact size fits on a desk or nightstand without taking up much space.