Start with the flat lava field, then add height
A convincing wargaming lava board reads as one continuous hazard, not a pile of separate pieces. The simplest way to get there is to lay your flat magma first and treat elevation as a second pass. The Volcano pack gives you that flat layer: a basic pack of 4"x4" Hellscape core pieces with magma sculpted in detail. Because they are core pieces, they set the footprint and the visual rhythm the rest of the board has to match.
Only once the flat field is down should you decide where the board rises. That order keeps your rising lava walls scenery looking like part of the same flow instead of decoration dropped on top.
The two painted pieces this build relies on
-
The Volcano - Painted: The Volcano is a basic pack of 4"x4" Hellscape core pieces featuring magma sculpted in detail, and the record notes they can be used on DF light panels to make them glow like real lava. These are your flat, repeatable tiles, so decide early whether you are building around light panels or a purely painted finish.
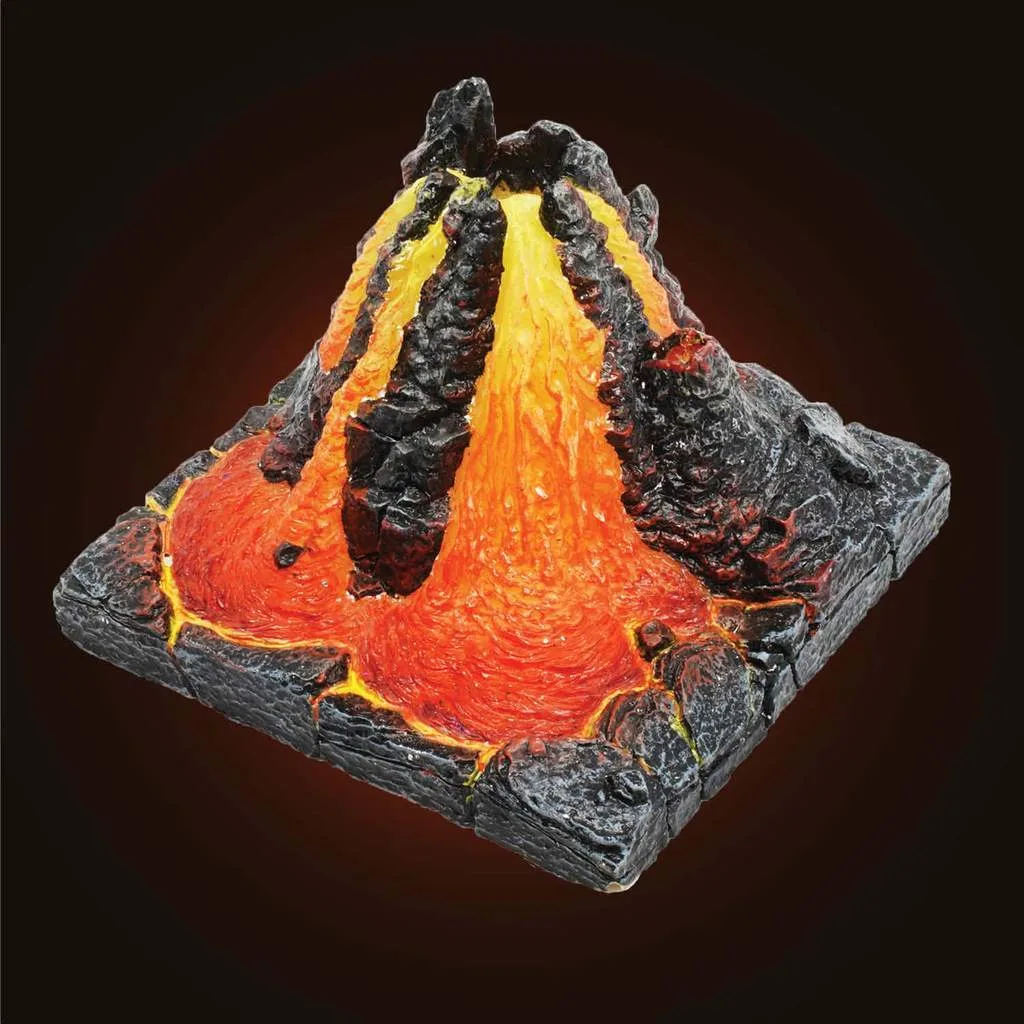
The Volcano - Painted
-
Rising Lava Walls - Painted: Rising Lava Walls - Painted contains two pairs of rising wall pieces, described as ideal for subtle elevation changes. Two pairs is a small, deliberate amount of height, which suits a board where the lava field stays readable rather than becoming a maze.
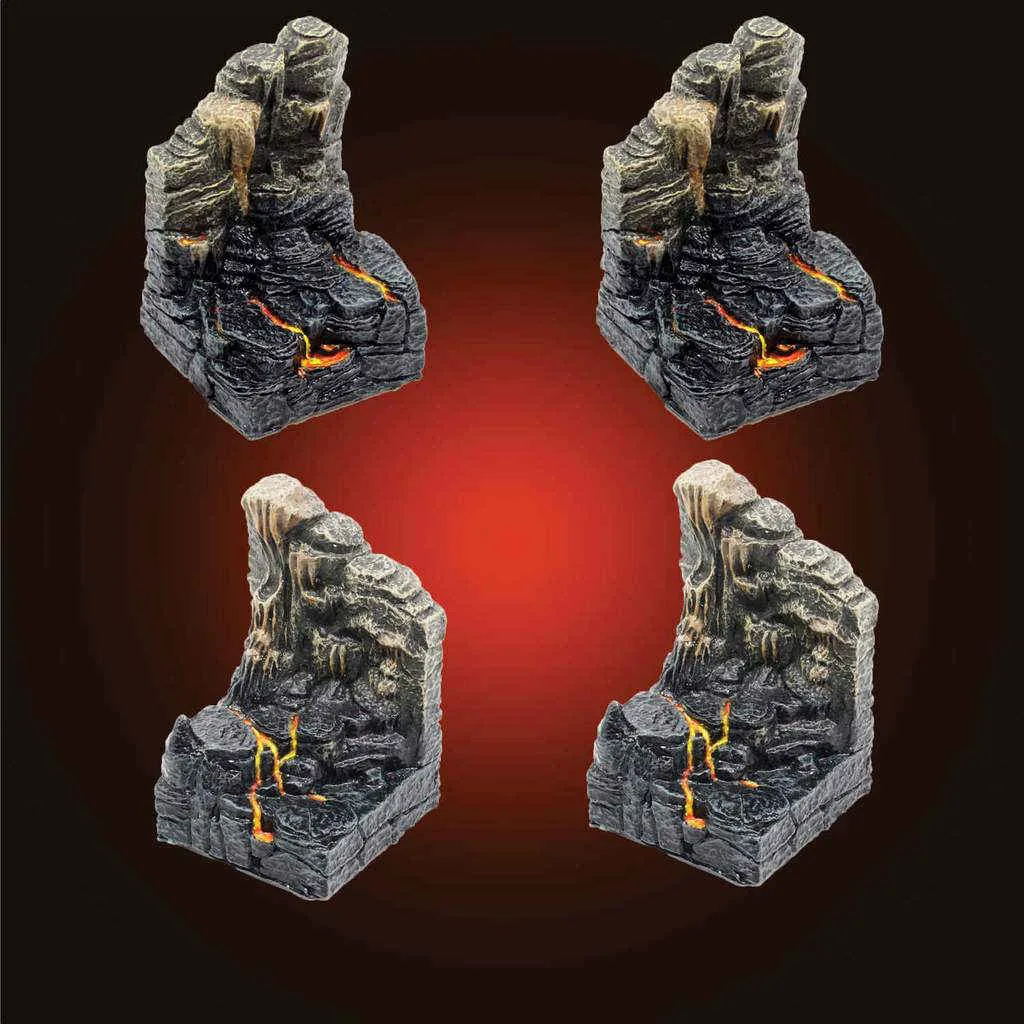
Rising Lava Walls - Painted
A practical order for the build
- 1. Decide on the glow question first: The Volcano record specifically mentions use on DF light panels to make the magma glow. If you plan to use panels, sort out where they sit under the 4"x4" core pieces before you place anything else. If you are not using panels, the painted finish stands on its own and you can skip this step.
- 2. Lay the flat magma field: Place the Volcano core pieces to establish your main lava area. Keep the seams between tiles in mind as you go, since the sculpted magma is the surface players will read as the hazard.
- 3. Add subtle elevation with the rising walls: Use the two pairs of rising wall pieces for gentle steps in the lava rather than dramatic cliffs. The supplied description frames them as ideal for subtle elevation changes, which is a good guide for how much height to introduce.
- 4. Plan your transitions and flanks: The Rising Lava Walls record notes they flow as transitions up to the Magma Lavafall or flanking the Hellgate. If you own either of those pieces, place the walls so they lead the eye toward them rather than sitting isolated in the middle of the field.
Why two pairs of walls is enough
It is tempting to treat elevation pieces as the main event, but the Rising Lava Walls are sold as two pairs, and the catalog describes them for subtle elevation changes. That quantity suits a board where the flat lava field does most of the work and the walls create a few deliberate moments: a step up to a raised shelf, a lip beside a channel, or a lead-in to a larger feature.
If your layout needs more height than two pairs provide, plan those additional levels around other scenery rather than assuming this pack will cover a full multi-tier board. The supplied information does not describe a larger elevation set, so treat this as a focused accent pack.
Checkpoints before you commit the layout
- Does the flat field read as one flow?: Walk the board edge to edge. The Volcano tiles should feel continuous before you add walls on top.
- Are the rising walls doing a job?: Each pair should mark a step, a transition, or a flank. If a wall is purely decorative and breaks the lava flow, move it.
- Have you left room for the light panels?: If you are using DF light panels under the Volcano pieces, confirm access before the rest of the board goes down.
- Are you building toward a larger feature?: If you own the Magma Lavafall or Hellgate, check that the rising walls point toward them rather than competing with them.
What the supplied information does not cover
Neither product record includes care instructions, preparation steps, or a stated age range. That means this guide cannot tell you how to clean the pieces, whether they need sealing, or who should handle them. Check the packaging or the manufacturer's own documentation for those details rather than relying on assumptions.
The records also do not confirm a maximum elevation, a recommended spacing between walls, or a specific panel model. Treat the layout advice here as a starting point for your own board, not a set of manufacturer instructions.