Quick answer
Pack one scoop and one Magic Shaper per child, then shape sand by moving the shaper through the pile instead of filling and flipping a bucket. The scoop keeps the work area tidy and feeds sand to the shaper.
Why this two-tool kit beats a bucket-and-spade set
A traditional bucket demands fill, flip, and lift, which collapses on dry or crumbly sand. The Magic Shapers work differently: you move the tool around so it fills itself, tap, and lift. That makes it useful for children who lack the wrist control for a clean bucket flip.
The Viking Toys Re:Line Sand Scoop handles the fetching and clearing so the shaper can stay on shaping duty. One scoop per child is enough; a second scoop adds cleanup speed but not shaping variety.
When this kit is the wrong choice
If your child wants tall towers or carved detail, a scoop and shaper alone will not deliver them. The supplied catalog lists only the scoop and the shaper, so add a bucket or carving tool separately if height and detail matter.
Also skip the shaper for very young toddlers who still mouth tools; the catalog lists the scoop as suitable for ages 1–6, but the shaper has no age guidance in the supplied facts, so supervise closely.
Six steps to build and use your sandcastle kit
- Choose a damp sand zone: Walk to the wet strip just above the waterline and press a handful of sand; it should hold a lump without dripping. Common mistake: setting up on dry, loose sand, where even a self-filling shaper leaves crumbly edges. Test the sand before unpacking the tools.
- Assign one scoop and one shaper per child: Give each child a scoop and a shaper, and keep a spare scoop in the bag for refilling the work area. Common mistake: one child hoarding both tools while another waits. Count tools against children before you start.
- Clear and level a base patch: Use the scoop to scrape a flat area about the size of a dinner plate and pile the loose sand to one side. Common mistake: shaping directly on a slope, which makes the first shape slide. A flat base is the checkpoint; if the patch still slopes, scrape again.
- Load sand with the scoop, not the shaper: Scoop damp sand into a low mound and pat it once with the back of the scoop. Common mistake: pressing the shaper into a tall pile, which overfills it and distorts the shape. Keep the mound roughly as tall as the shaper.
- Shape with a move, tap, and lift: Move the Magic Shaper around the mound so it fills itself, tap the top once, then lift straight up. Common mistake: twisting or dragging the shaper sideways on lift, which smears the edges. Lift vertically; if the shape crumbles, the sand is too dry, so scoop from closer to the water.
- Repeat shapes into a cluster, then rinse: Place each new shape beside the last, leaving a finger-width gap so they do not merge. At the end, rinse both tools and let them dry before packing. Common mistake: stacking wet tools in a closed bag, which leaves grit and damp sand for the next trip. Rinse and air-dry before the bag closes.
Product facts
-
Viking Toys Re:Line ''Sand Scoop'': Made from 100% recycled plastic certified with RCS and dishwasher safe. You can rinse it with the rest of the beach gear and still hand it to a child without worrying about flimsy construction.
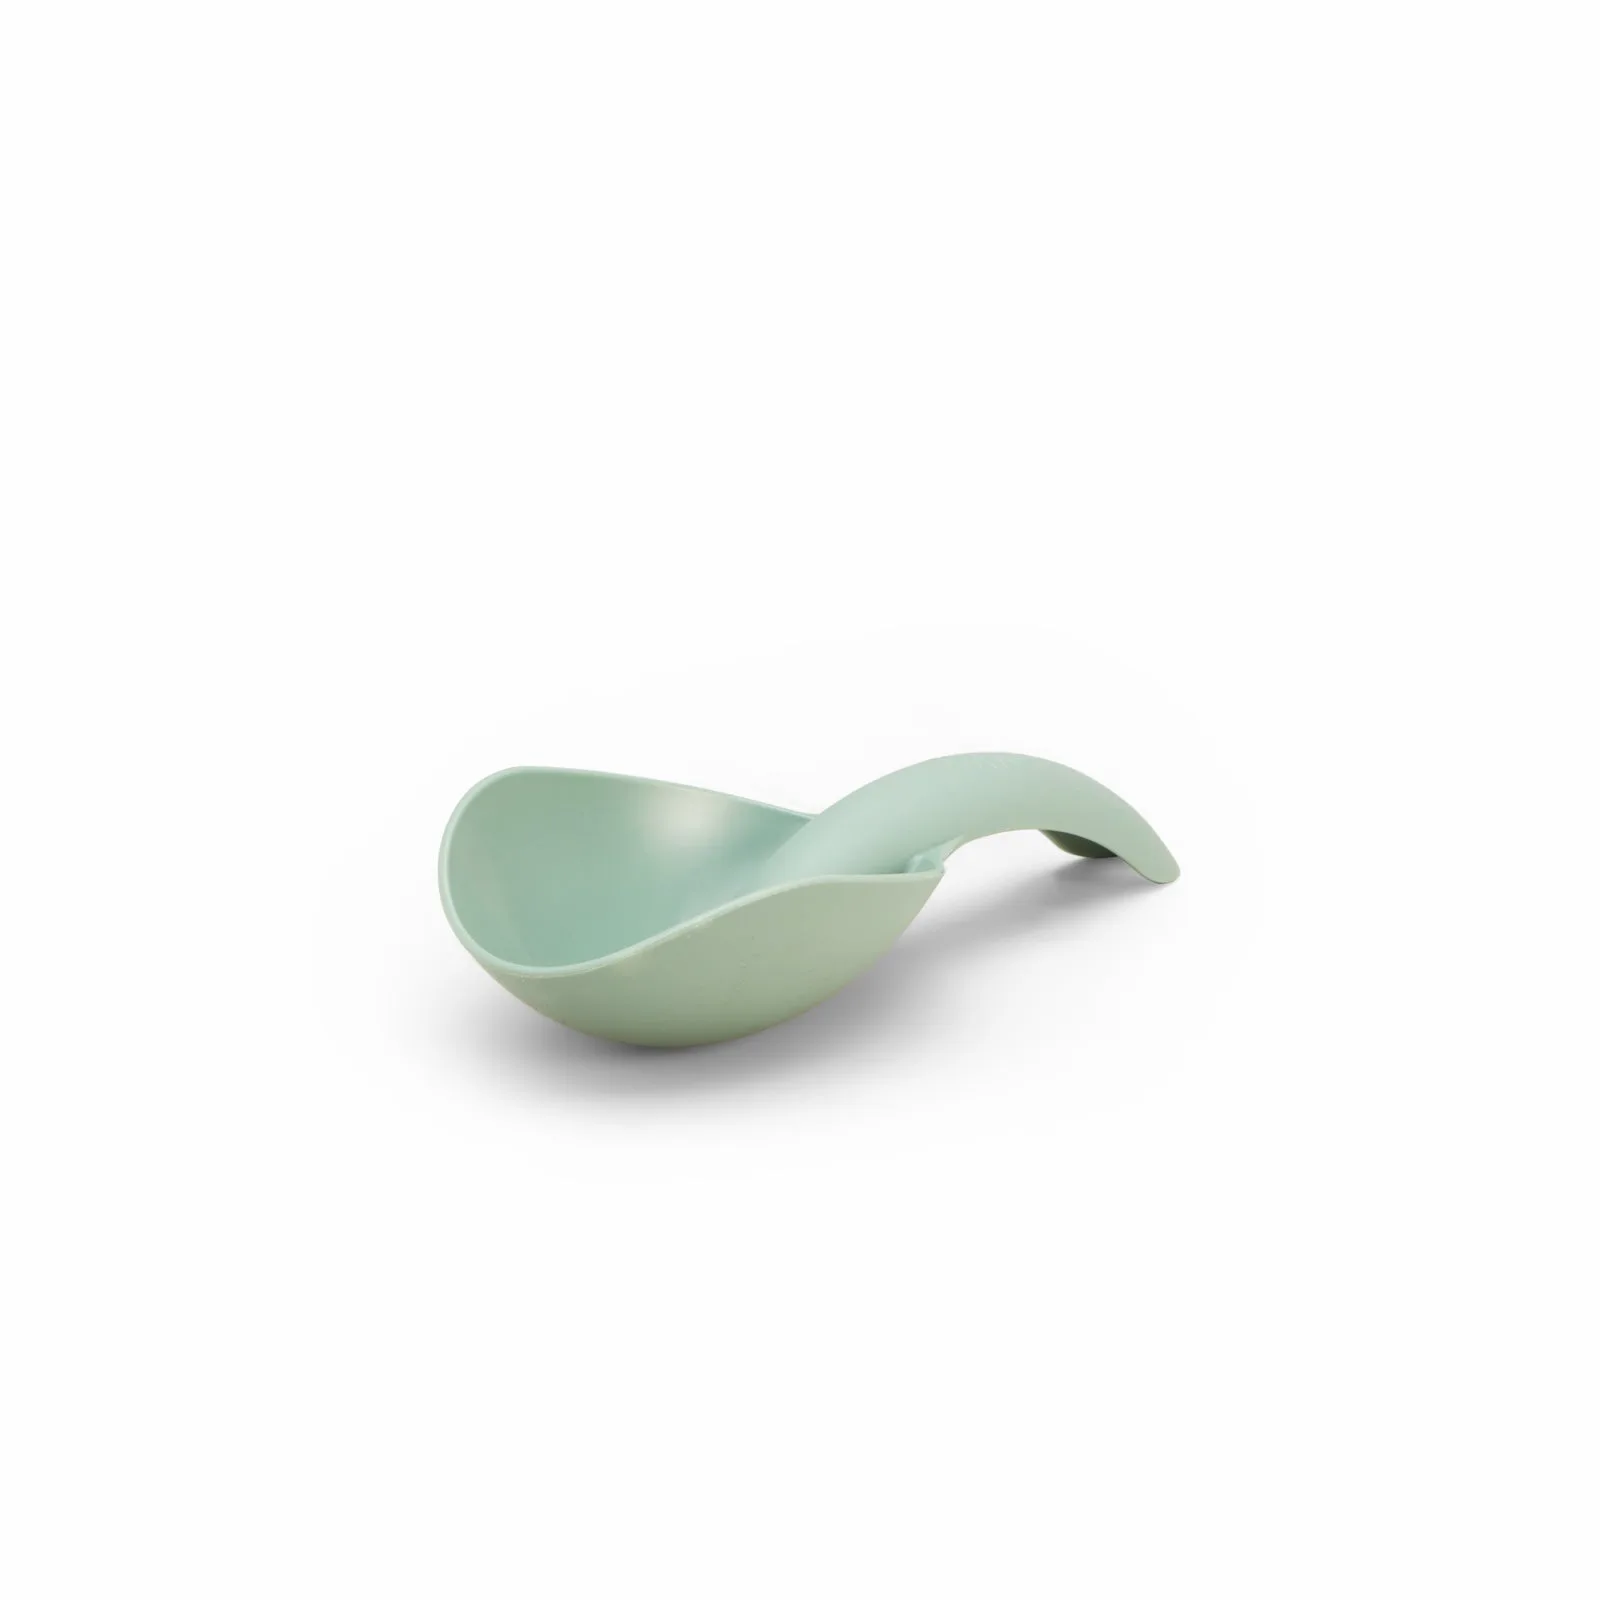
Viking Toys Re:Line ''Sand Scoop''
-
Sand Toy, Magic Shapers: Fills itself when moved through sand, then needs only a tap and lift to release the shape; also works with snow or bath bubbles. It removes the fill-and-flip step that usually collapses a child's first castle, and it extends the toy beyond one beach trip.
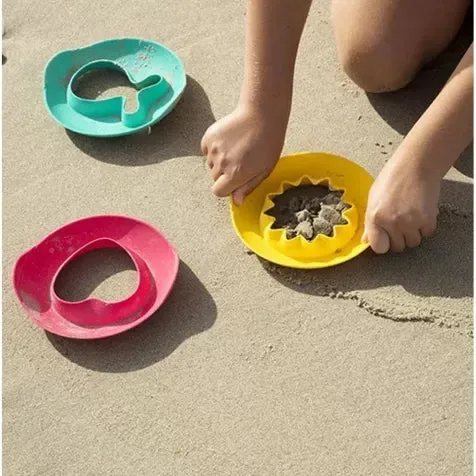
Sand Toy, Magic Shapers