Quick answer
Apply a thin base coat, then a slip layer of Shimmer White Builder Gel, and float a small bead to build structure. Cure 30 seconds under the Pro Elio LED Lamp (or 60 seconds under any UV/LED lamp). File to shape and seal with top coat. This overlay strengthens natural nails without tips.
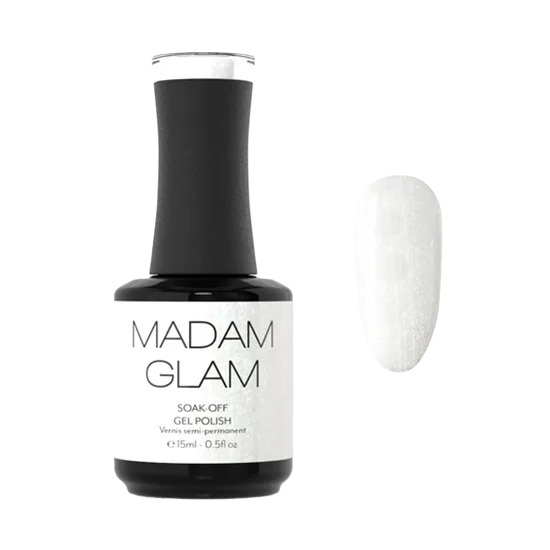
Shimmer White
Prep and base: the foundation for a strong overlay
Start with clean, dry nails. Push back cuticles and lightly buff the natural nail plate to remove shine. Wipe with a lint-free cleanser. Apply a thin layer of gel base coat and cure according to the lamp you use. A common mistake is skipping the base coat or applying it too thickly, which can cause lifting. Checkpoint: the base coat should look like a thin, even film, not a puddle.
Apply the builder gel: slip layer and bead
Using a brush, apply a very thin slip layer of Shimmer White Builder Gel over the entire nail, but do not cure it yet. This slip layer helps the next bead adhere and prevents air pockets. Then pick up a small bead of builder gel and float it onto the nail, starting near the cuticle and gently pulling it toward the free edge. Use light, floating strokes to self-level the product. Avoid pressing too hard, which creates thin spots. Checkpoint: the bead should stay where you place it and slowly self-level without running into the cuticles.
Cure properly for strength and shine
Cure the overlay for 30 seconds under the Pro Elio LED Lamp, or 60 seconds under any UV/LED lamp. If you use a UV lamp, cure for 2 minutes. A common mistake is under-curing, which leaves the gel tacky and weak. After curing, the surface will have a inhibition layer; wipe with cleanser if needed. Checkpoint: the gel should feel hard and not move when lightly pressed with a cuticle stick.
Shape and finish: file, buff, and seal
Use a fine-grit file to refine the shape and thin the free edge if needed. Be careful not to file through the overlay at the sides. Buff the surface to smooth any ridges, then wipe away dust. Apply a gel top coat and cure according to the lamp. Checkpoint: the final nail should have a gentle apex (slight curve) for strength and a glossy finish.
Step-by-step builder gel overlay
- Prep and base coat: Cleanse, push cuticles, buff, and apply a thin gel base coat. Cure 30 seconds under LED or 60 seconds under UV/LED. Mistake to avoid: skipping base coat or applying it too thickly.
- Apply slip layer and bead: Brush a thin slip layer of Shimmer White Builder Gel, then float a small bead from cuticle to free edge. Do not cure yet. Checkpoint: the bead should self-level without running into cuticles.
- Cure the overlay: Cure 30 seconds under Pro Elio LED Lamp, or 60 seconds under any UV/LED lamp (2 minutes under UV). Mistake to avoid: under-curing, which leaves the gel tacky and weak.
- Shape and finish: File to shape, buff smooth, and apply gel top coat. Cure according to lamp. Checkpoint: a gentle apex for strength and a glossy finish.
Product facts
- Shimmer White Builder Gel: Shimmer White Builder Gel is a soak-off builder in a jar that is soft and flexible, increasing nail flexibility to reduce breakage and extend manicure wear. It has a normal thickness and high self-leveling properties. This flexibility makes it ideal for natural nail overlays, as it moves with the nail rather than cracking under stress. The self-leveling formula helps you achieve a smooth surface with less filing.
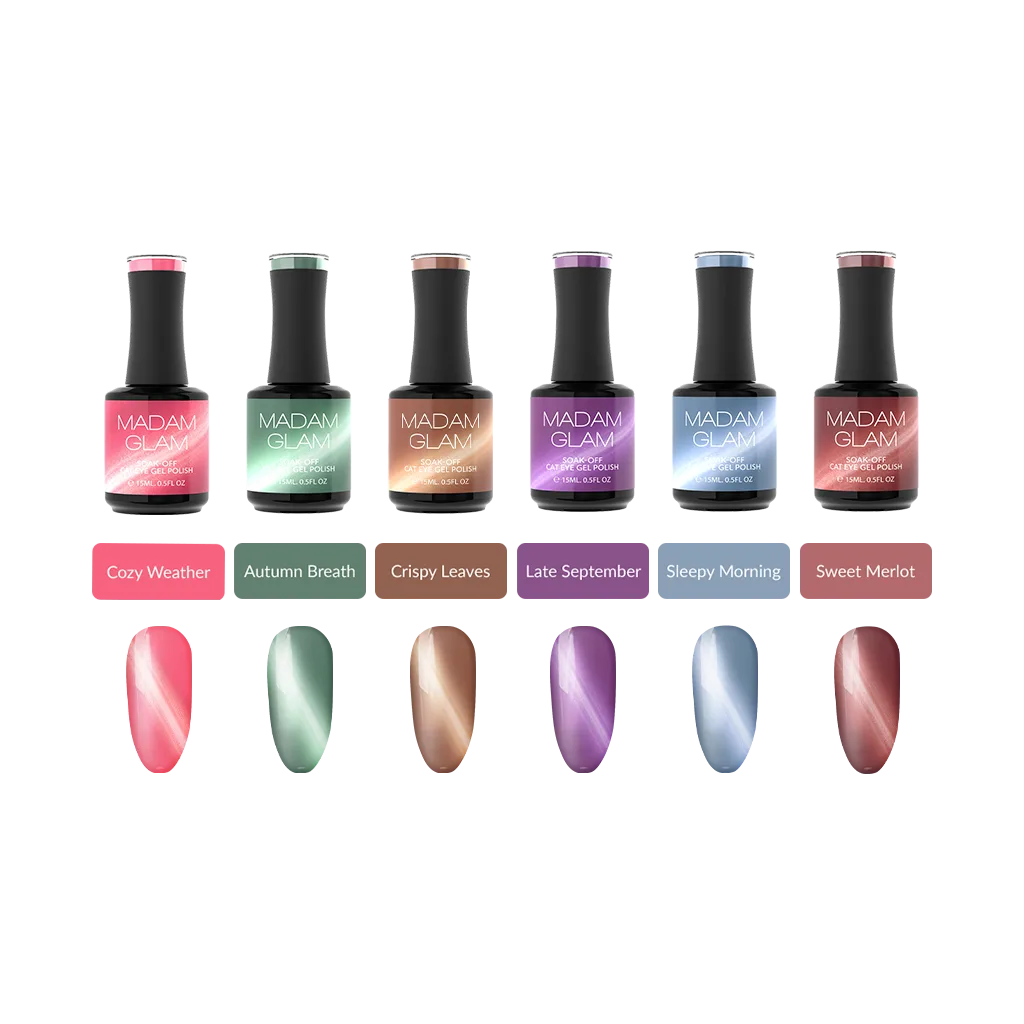
- Potion Dust: Potion Dust is a dark olive green with gold shimmer cat-eye soak-off gel polish that requires 1-2 coats and cures in 30 seconds under the Pro Elio LED Lamp or 60 seconds under any UV/LED lamp. If you want to add a cat-eye effect over your builder overlay, Potion Dust offers a quick-curing option that works with the same lamp system.