Quick answer
Use a single sheet of butterfly embroidery patterns as your design source, map the motifs on a pressed fabric panel, then transfer and stitch from the largest butterfly to the smallest. This keeps the composition balanced and prevents small motifs from getting lost in the stitching.
Why butterfly motifs reward a little planning
Butterflies are naturally varied in scale, wing shape, and direction, so a scattered approach can look busy rather than garden-like. Deciding on a focal butterfly and a flight path before you iron anything gives the finished piece a calm rhythm.
The blank butterfly included on the Butterfly Garden sheet is an open invitation: you can draw your own wing pattern before transferring. Treat that as a design decision, not an afterthought, because a custom butterfly will draw the eye.
Fabric and thread choices that support the theme
Light to medium-weight cotton or linen gives crisp transfer lines and holds small stitches well. Pre-wash and press the fabric flat; wrinkles and sizing can distort the iron-on transfer.
For a garden feel, choose threads that echo the outdoor palette: leaf greens, sky blues, and soft floral tones. Keep one or two brighter threads for the focal butterfly so it stands out without overwhelming the smaller motifs.
Step-by-step: build your butterfly garden embroidery
- Audit the sheet and choose your cast: Lay the Butterfly Garden sheet on a flat surface and identify each butterfly motif, including the blank one. Pick one large butterfly as the focal point, two medium motifs as supporting characters, and a few small ones for accents. Checkpoint: if every motif is the same size, the composition will look flat; vary scale deliberately.
- Map the flight path on paper: Sketch a simple curve or S-shape on tracing paper at the same size as your fabric panel. Place the focal butterfly near one third of the way in, then space the supporting motifs along the curve with breathing room between them. Common mistake: crowding motifs in the center; leave open fabric so the garden reads as airy.
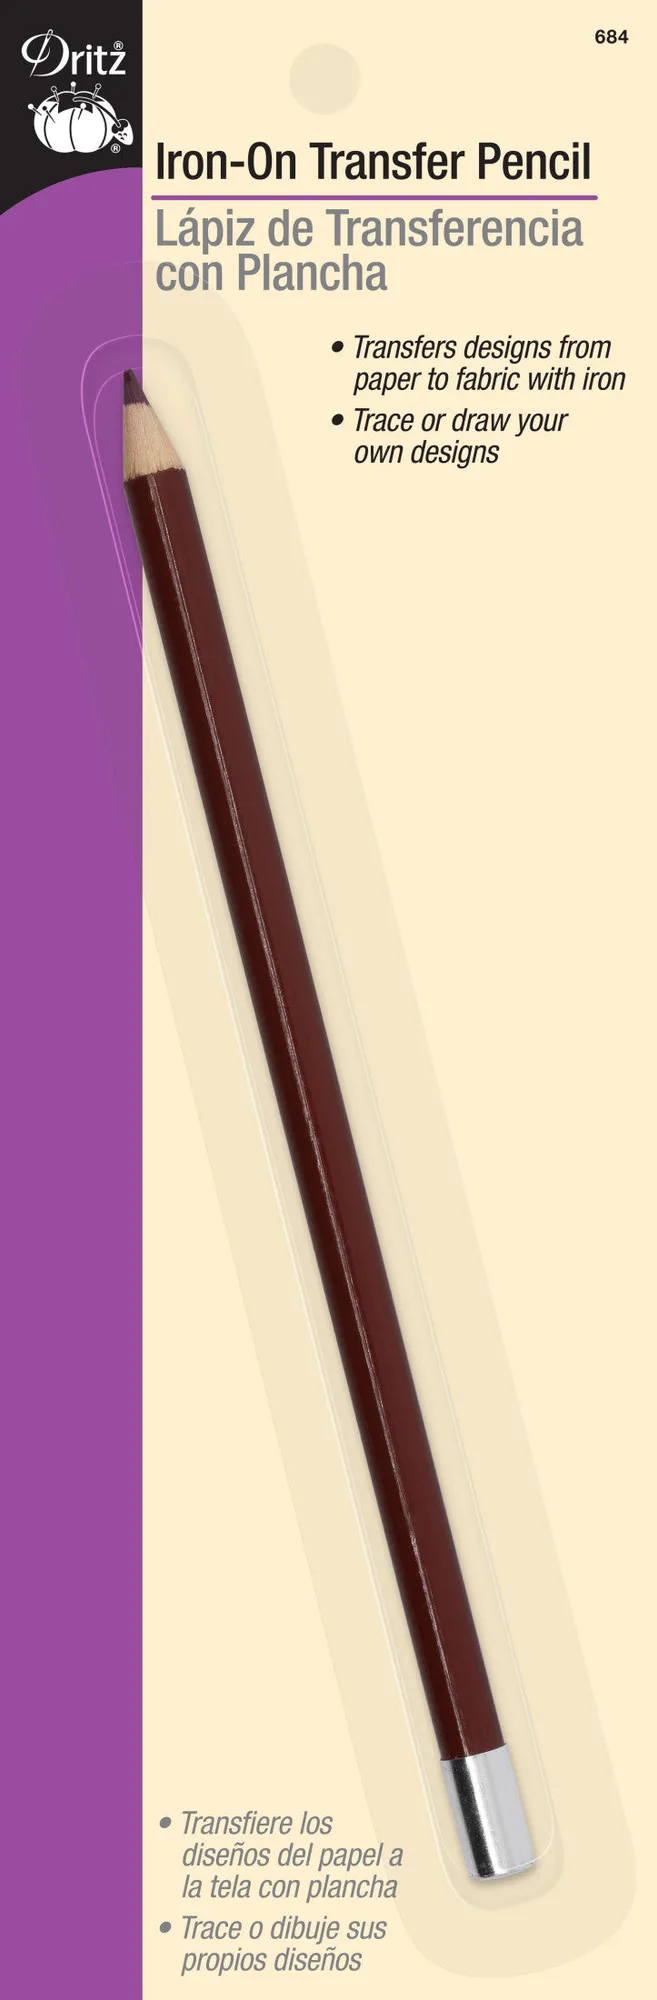
- Test the transfer on a scrap: Follow the included instructions to iron one small motif onto a scrap of your chosen fabric. Check that the lines are sharp and that the fabric did not scorch. Adjust iron temperature or pressing time before committing to the final panel. Checkpoint: if lines blur, reduce heat or pressing time; if they are faint, increase pressure slightly.
- Transfer the focal butterfly first: Position the largest butterfly on the fabric according to your paper map. Press it in place using the sheet instructions, then let the fabric cool completely before handling. Common mistake: moving the transfer while it is still warm, which smears the lines.
- Add supporting and accent motifs: Transfer the medium and small butterflies one at a time, checking spacing against your map after each. Keep the direction of flight consistent so the eye follows the path rather than jumping around. Checkpoint: step back at arm's length after each motif to confirm the balance still feels right.
- Stitch in order from large to small: Begin with the focal butterfly using outline or satin stitches for the wings, then work the medium motifs, and finish with the small accents. Use a fresh needle and thread length that will not tangle as you move around the design. Common mistake: stitching small motifs first and then finding the focal butterfly feels disconnected; large-to-small keeps the hierarchy clear.
- Finish and press from the back: Once all stitching is complete, remove any transfer residue according to the sheet instructions, then press the embroidery face down on a towel to protect the stitches. Frame, sew into a pouch, or bind the panel as planned. Checkpoint: pressing from the back prevents flattening the stitched wings.
Product facts
-
BUTTERFLY GARDEN - Iron On Embroidery Transfers (5 pack): Each 8 1/2" x 11" sheet includes complete transfer instructions plus a quick embroidery how-to, and the pack contains five individually packaged sheets. You get enough sheets to test placement and stitch a small garden scene without running short, and the included guidance covers the transfer step.
BUTTERFLY GARDEN - Iron On Embroidery Transfers (5 pack)
BUTTERFLY GARDEN - Iron On Embroidery Transfers (5 pack)