Quick answer
Route every cable along the aluminum extrusion, not across it. Mount clips with a deliberate gap, keep service loops at each device, and test full steering and pedal travel before you call the job done.
Why clip placement matters more than clip count
A tidy rig is not about hiding every wire. It is about keeping cables away from rotating wheelbase shafts, moving pedal arms, and hot motor surfaces. Clips that hold a cable tight against extrusion can rub through insulation over time, while clips spaced too far apart let cables sag into travel paths.
Plan the route first: start at the wheelbase, follow the extrusion toward the PC or console, and leave a small service loop at each device. That loop absorbs movement and lets you unplug a component without cutting ties.
When clips are the wrong tool
Cable management clips work well on aluminum extrusion profiles, but they are not a substitute for strain relief at the connector. If a cable is under tension, add slack before clipping. For cables that cross a hinge or quick-release area, use a loop rather than a straight run.
Step-by-step cable clip installation
- Map the route before mounting: With the rig powered off, lay each cable along the extrusion and mark clip positions every 6–8 inches, plus one at each end. Common mistake: clipping as you go and discovering the cable is too short at the wheelbase. Leave at least 4 inches of slack at every connector before you commit to a clip position.
- Insert and lock each clip: Press the clip into the extrusion channel and turn it 90 degrees until it seats. Check that the clip does not twist freely. Common mistake: forcing a clip into a channel that is blocked by a bracket or bolt head. If a clip will not lock, move it one slot over rather than forcing it.
- Route cables with a service loop: Feed the cable into the clip with a gentle bend, not a kink. Leave a small loop at the wheelbase and pedal ends. Common mistake: pulling the cable tight to look neat, which stresses the connector. A loop that moves freely when you turn the wheel is correctly sized.
- Test full travel and clearance: Power on and move the wheel lock-to-lock and press each pedal fully. Watch for cables rubbing on moving parts or pulling at connectors. Common mistake: checking only at center position. Re-check clip tension after the first 30 minutes of use; cables can settle.
Product facts
-
Cable Management Clips [10-Pack]: Pack of 10 cable management clips that insert into aluminum extrusion and turn 90 degrees to lock. Ten clips cover a typical wheelbase-to-pedal route with a few spares for future add-ons.
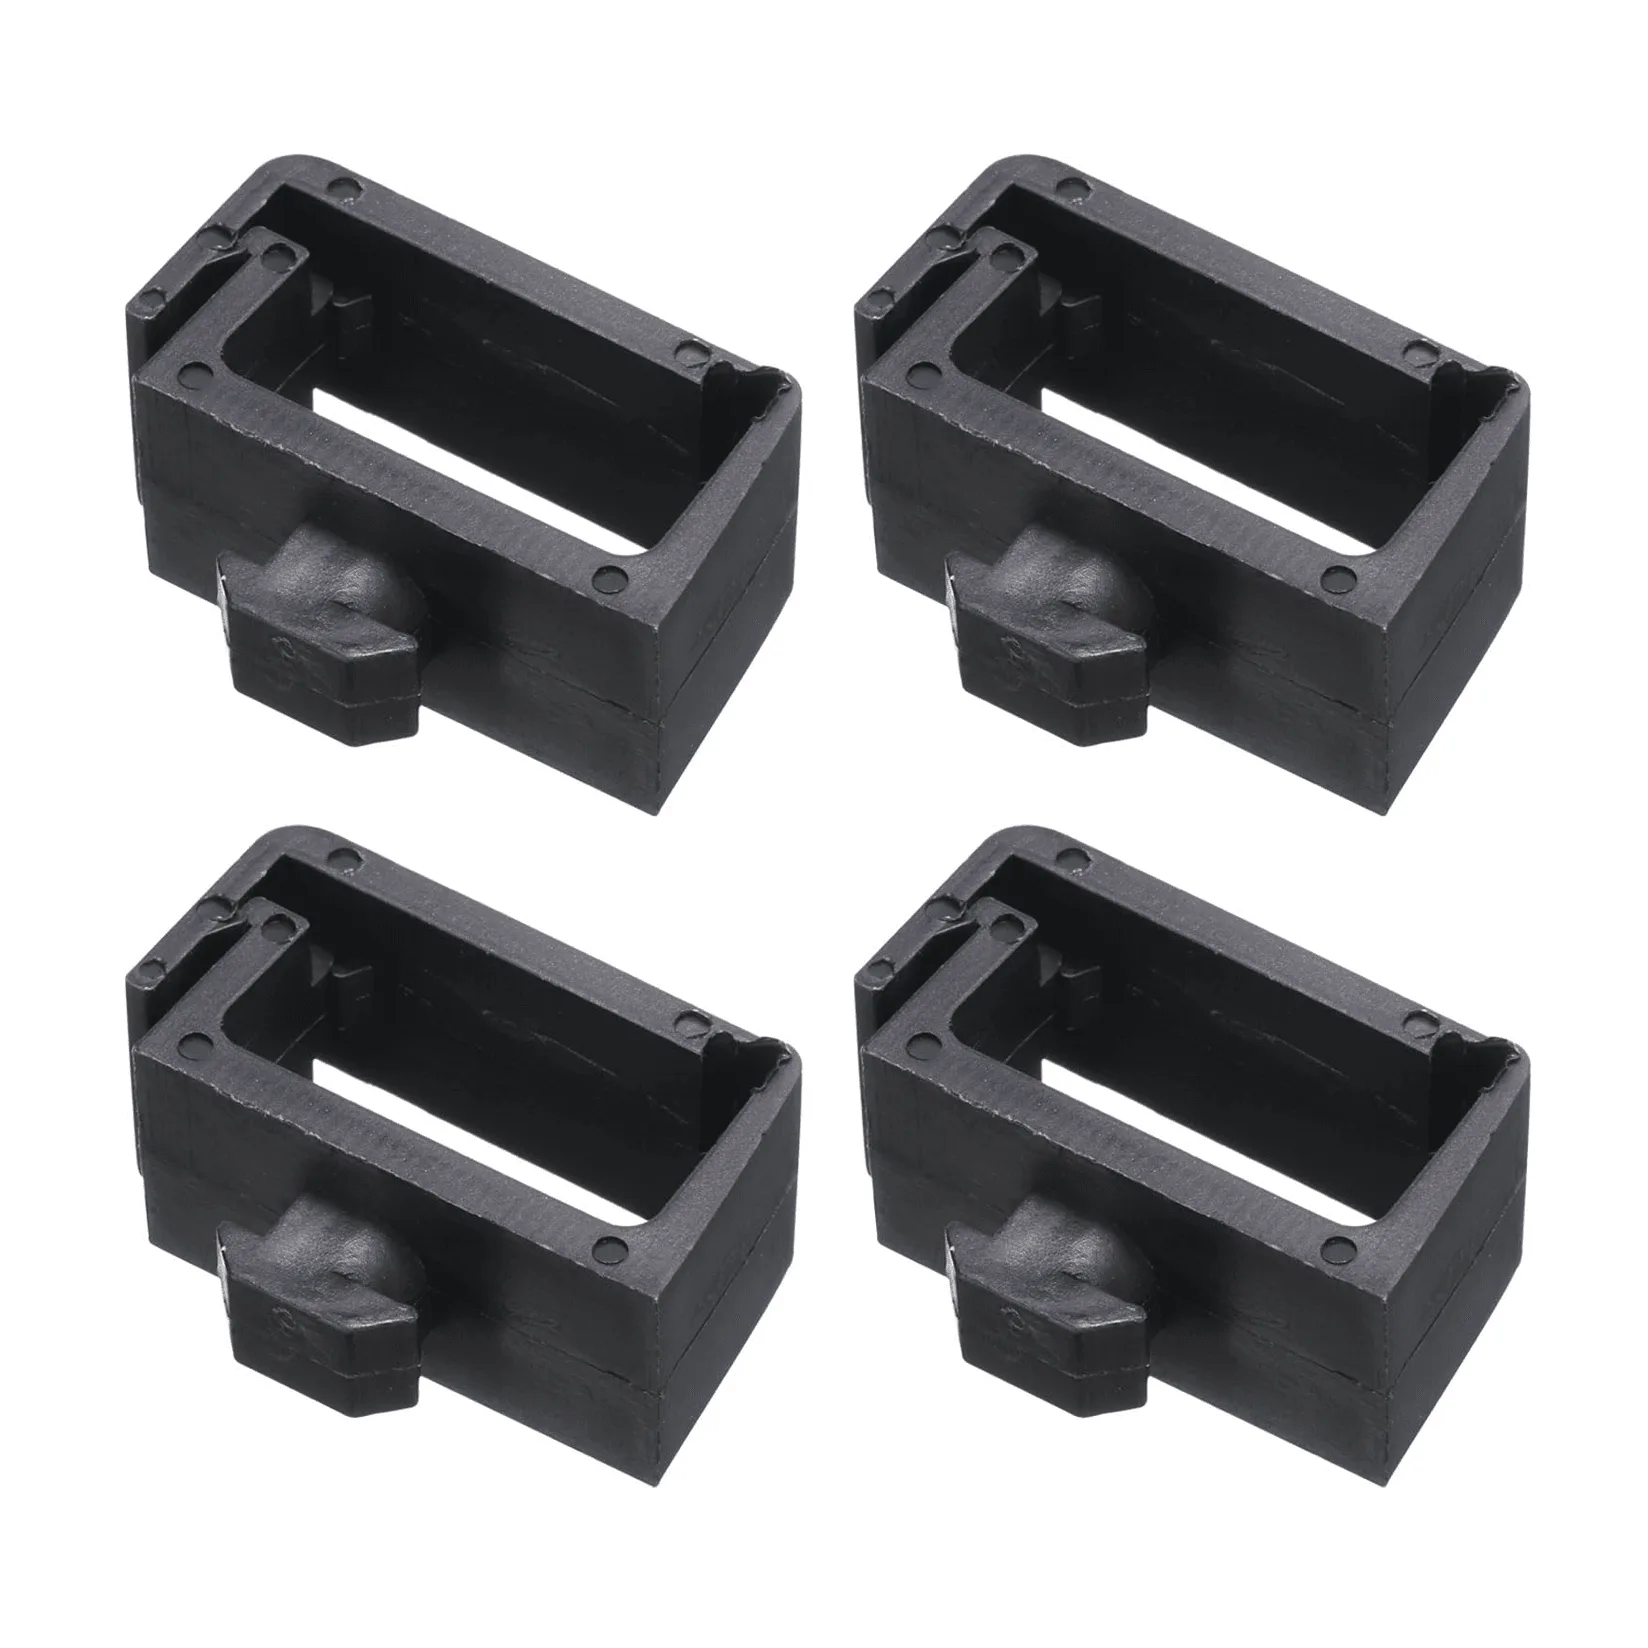
Cable Management Clips [10-Pack]