What Candy Cane Gel Polish Delivers
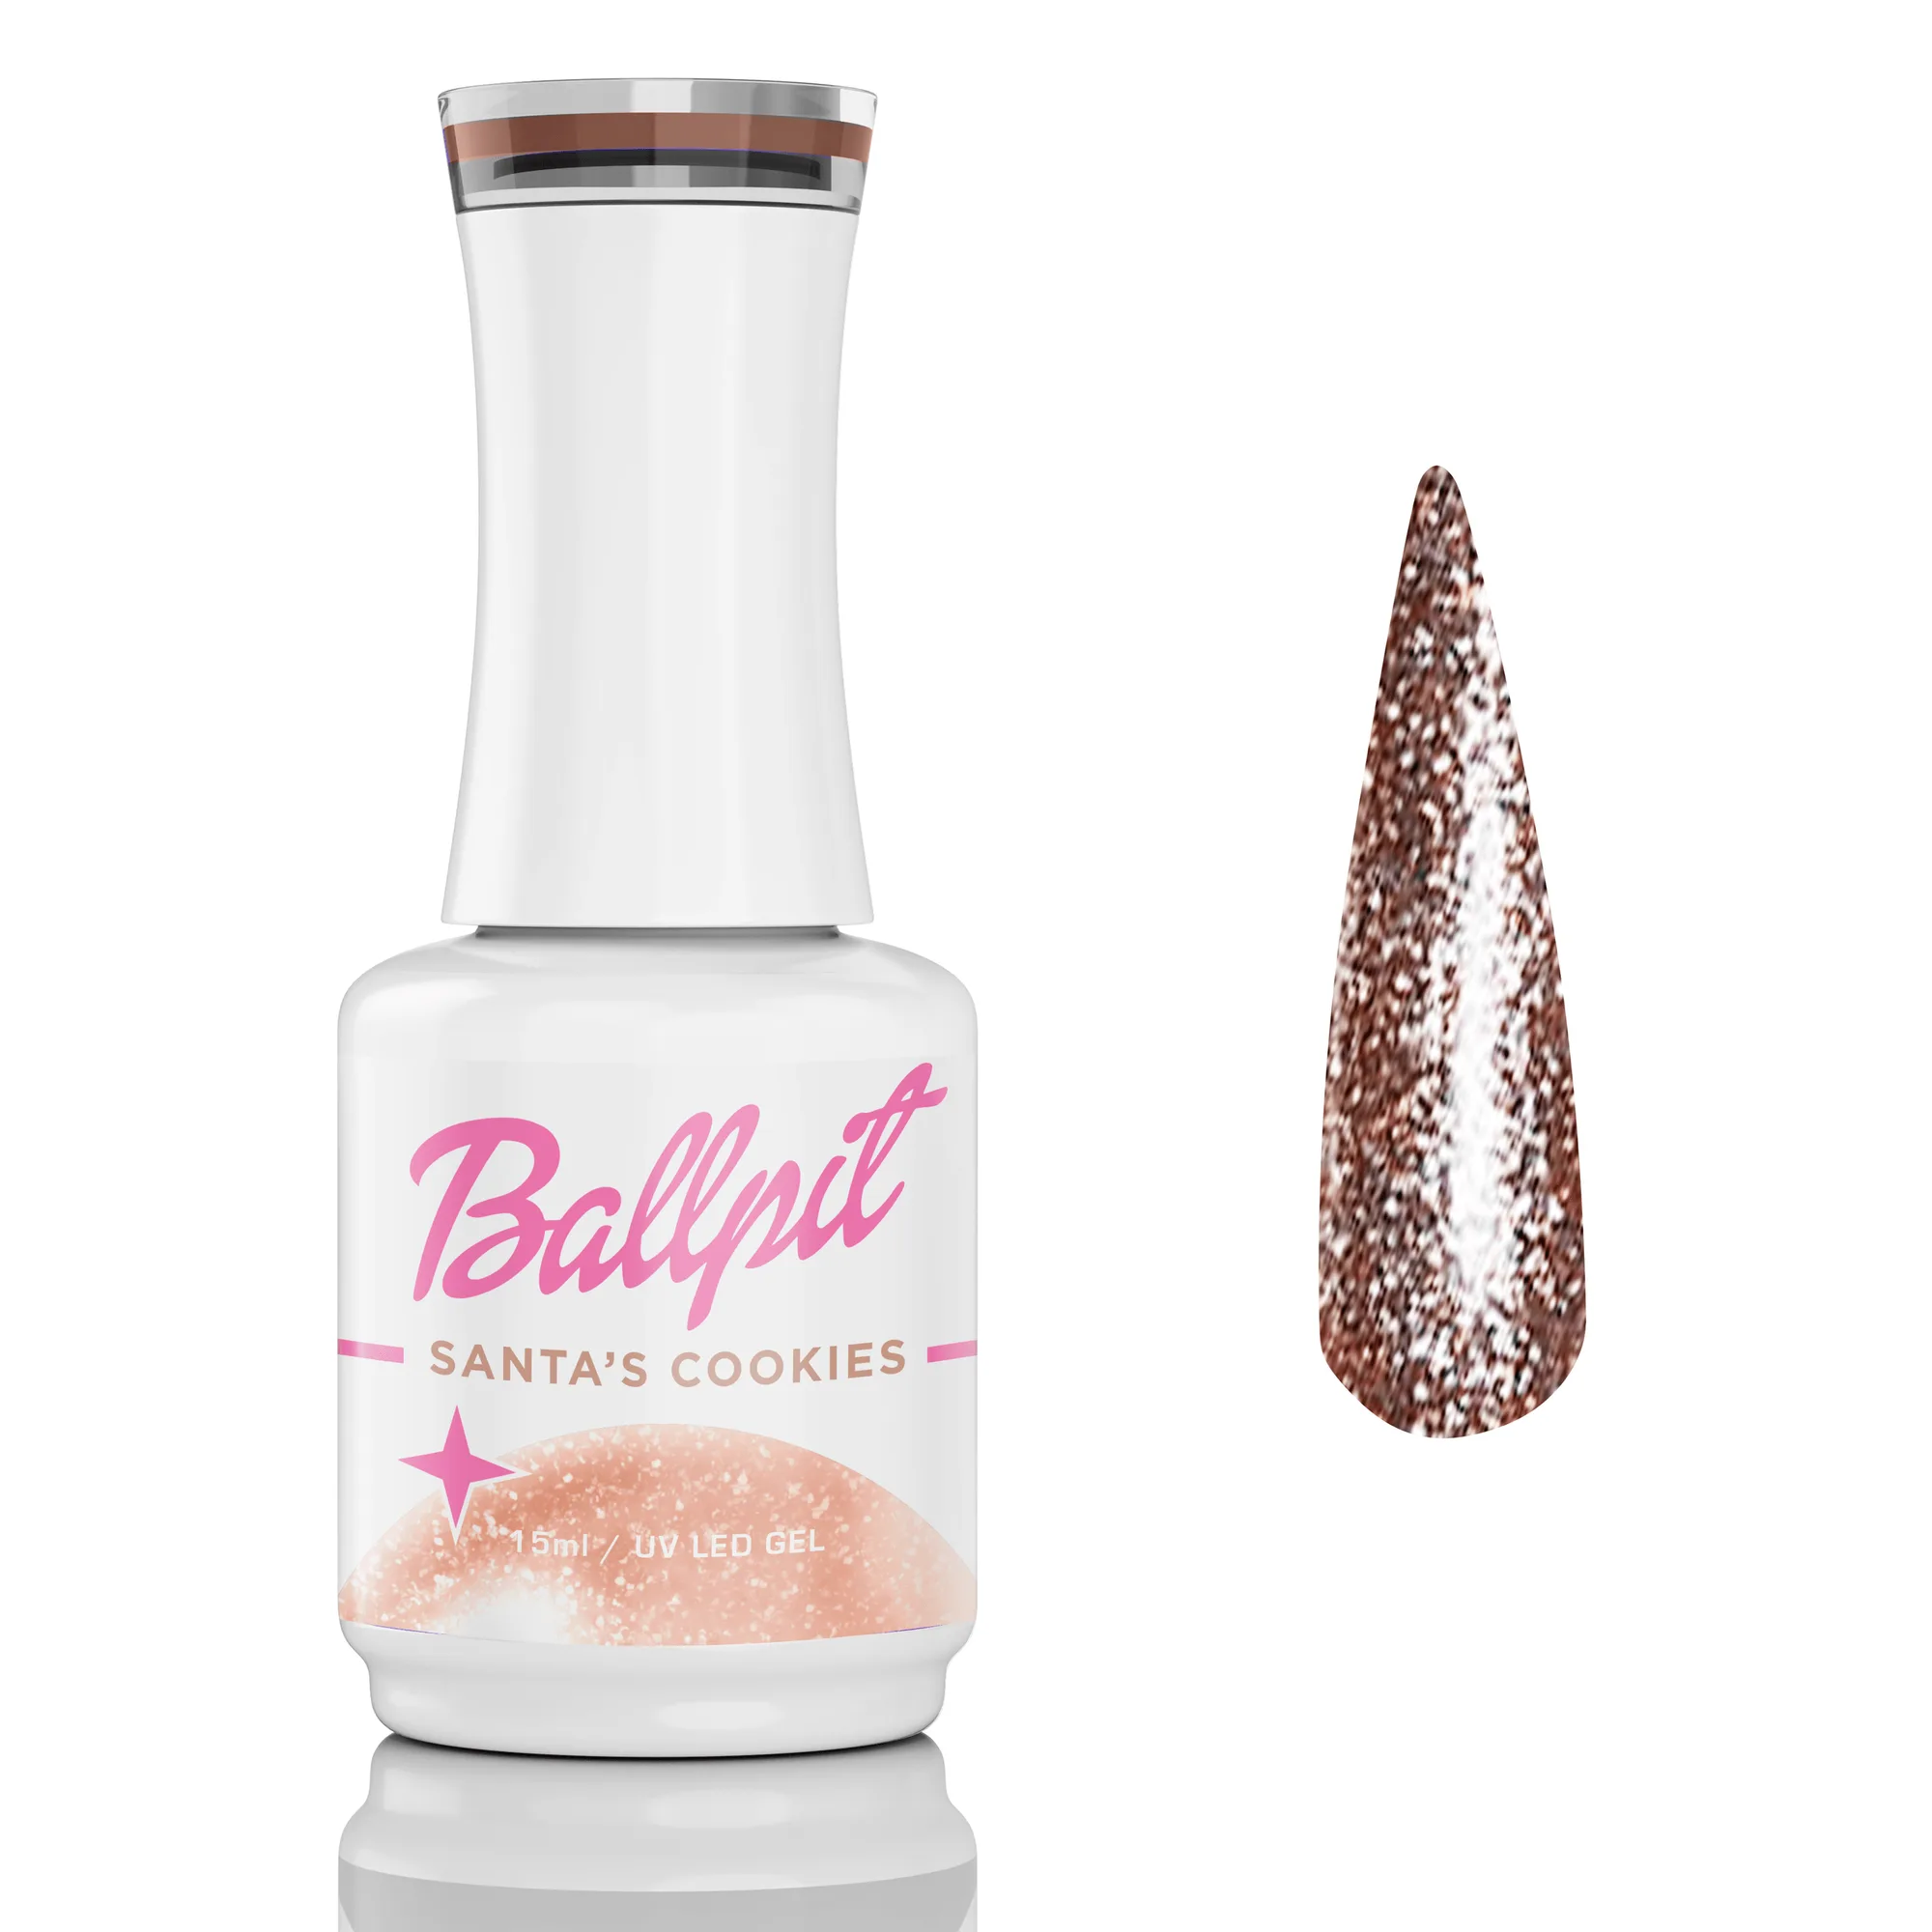
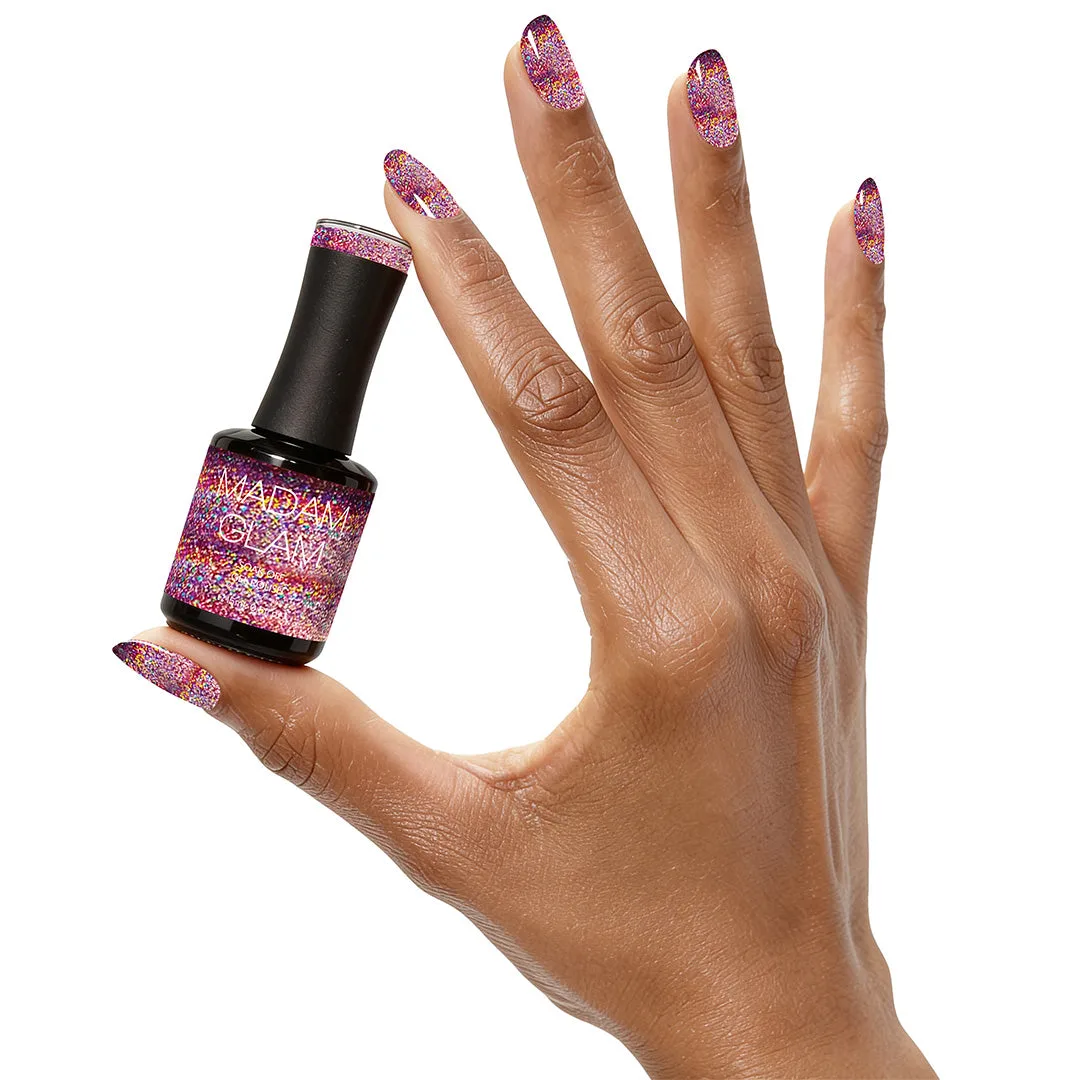
Candy Cane is a dark pink holographic gel with gold sparkles, not a traditional red-and-white striped polish. That means you won't get peppermint stripes straight from the bottle. Instead, it gives you a sparkling base that you can pair with white gel paint or nail art pens to create candy cane nail art. The holographic finish adds dimension, and the gold sparkles catch the light for a festive gel manicure.
The formula is a 3-step soak-off gel system that requires curing under a UV/LED lamp. It comes in a 15 ml (0.5 oz) bottle and needs 1–2 coats for full coverage. Curing takes 2 minutes under a UV lamp or 30–60 seconds under an LED lamp. For best results, use a soak-off base coat and top coat from the same line, as the brand recommends.
Candy Cane at a Glance
-
Candy Cane: Dark pink holographic gel with gold sparkles; 15 ml (0.5 oz) bottle; 1–2 coats for a flawless finish. This gives you the color and sparkle base for candy cane nail art, but you'll need additional white for stripes.
Candy Cane
-
Candy Cane: Curing time: 2 minutes under UV lamp, 30–60 seconds under LED lamp. Plan your curing schedule accordingly, especially if you're layering art on top.
-
Candy Cane: Recommended to use with Soak Off Base Coat Gel and Soak Off Top Coat Gel for guaranteed results. Using the matching base and top coat helps ensure adhesion and a long-lasting finish.
Step-by-Step: Candy Cane Nail Art with Stripes
- Prep your nails: Remove cuticles, push them back, buff the nail plate to remove shine, and clean with alcohol to remove oils and dust. Avoid applying lotion or cuticle oil before gel application, as it can cause lifting.
- Apply base coat: Apply one layer of soak-off base coat gel and cure for 30 seconds under the UV/LED lamp.
- Apply Candy Cane color: Apply 1–2 thin coats of Candy Cane, curing between each layer for 30–60 seconds under the UV/LED lamp. Darker colors may require longer curing time.
- Create stripes: Use a fine nail art brush or striping tape to paint white stripes over the cured Candy Cane base. If using white gel paint, cure each stripe according to the product instructions. For a peppermint nail art look, alternate diagonal stripes.
- Cap the free edge: After applying color and art, cap the free nail edge with top coat to create a protective seal around the tip and sides.
- Apply top coat: Apply one layer of soak-off top coat gel and cure for 30–60 seconds under the UV/LED lamp.
Design Ideas for Holiday Gel Nail Designs
- Classic candy cane stripes: Paint diagonal white stripes over Candy Cane for a peppermint-inspired look. Keep stripes thin and evenly spaced.
- Accent nail with gold sparkle: Use Candy Cane on all nails except one accent nail, which you can coat with additional gold glitter or a holographic top coat.
- Candy cane French tips: Apply Candy Cane as a base, then paint white stripes only on the tips for a festive twist on a French manicure.
- Peppermint swirl: Use a dotting tool to create small white dots in a swirl pattern over Candy Cane, mimicking peppermint candy.
Application Tips for a Flawless Festive Gel Manicure
Work in thin coats to avoid pooling and ensure even curing. Avoid getting gel on your skin or cuticles; if you do, clean it up before curing. For the striped nail tutorial, use a steady hand and cure each layer fully before adding the next. If you're using white gel paint for stripes, make sure it's also cured properly.
After finishing, apply daily cuticle oil to keep the surrounding skin hydrated. Avoid soaking your hands in hot water for the first few hours after your manicure to help the gel adhere properly.
Removal and Aftercare
Candy Cane gel polish removes easily by soaking in acetone or using a gel polish remover. Follow the removal process carefully to avoid damaging your nails. After removal, continue to moisturize your cuticles and nails regularly.