Quick answer
A carburetor fuel log is a distribution block that feeds both bowls of a dual-feed carburetor from one inlet, which keeps fuel pressure and volume more consistent between the bowls. For most street and mild-performance builds, install a quality fuel log kit with a built-in gauge port and a return-style regulator, then pressure-test every fitting before you drive. If you only run a single-feed carburetor, a fuel log adds plumbing without a real benefit.
A carburetor fuel log solves a simple problem: dual-feed carburetors have two fuel inlets, and feeding them from a single line with a T-fitting can starve one bowl under load. A log replaces that T with a dedicated distribution block, so both bowls see the same fuel pressure and volume. The result is steadier air-fuel ratios, especially during hard launches or long pulls.
This guide walks through the full carburetor fuel log setup in order, from deciding whether you need one to the final leak check. Along the way you will see the common mistakes that cause leaks, poor fitment, and false troubleshooting. The steps apply to most V8 and inline-six carbureted engines, whether you are plumbing a fresh build or upgrading an existing fuel system.
What a carburetor fuel log does and when it helps
A fuel log is a machined block with one inlet and two or more outlets, usually with a gauge port and a provision for a pressure regulator. It mounts to the carburetor fuel inlets and distributes fuel evenly to both bowls. The main benefit is consistent fuel delivery: instead of one bowl getting priority from a T-fitting, both bowls fill at the same rate. That matters most on engines that see sustained high-rpm use or rapid throttle changes.
A fuel log also cleans up the plumbing. Instead of a maze of brass fittings and hose clamps, you get a single feed line, a regulator, and a gauge in one assembly. That makes tuning and troubleshooting easier because you can read fuel pressure at the carburetor and adjust the regulator without disconnecting lines. For a mostly stock cruiser, the benefit is smaller, but the cleaner layout and easier pressure checks still have value.
- Best for: dual-feed carburetors, engines with a return-style regulator, and builds where consistent bowl fill matters.
- Skip it if: you run a single-feed carburetor or a stock fuel system that already delivers steady pressure.
Plan the fuel log plumbing before you buy parts
Start by mapping the fuel path: tank to filter, filter to pump, pump to regulator, regulator to fuel log, log to carburetor bowls, and return line back to the tank if the regulator is return-style. Decide where the regulator will live. Mounting it on the inner fender or firewall keeps it accessible and away from exhaust heat, but it adds line length. Mounting it on the log itself shortens the plumbing and reduces pressure drop.
Next, choose your line type and size. Most carbureted street builds use 6AN or 8AN hose and fittings. Match the hose to the regulator and log inlet sizes so you are not stacking adapters. If you are unsure about a specific fitting size or thread pitch, check the manufacturer specifications rather than guessing; a wrong adapter is the most common reason a fuel log install stalls halfway through.
- Write down every connection: pump outlet, filter inlet/outlet, regulator inlet/outlet, log inlet, and both bowl outlets.
- Keep the fuel log away from header tubes and other heat sources to reduce vapor lock risk.
Gather the right fuel log kit and supporting parts
A complete fuel log kit should include the log body, mounting hardware, and the fittings needed to connect to your carburetor. You will also need a fuel pressure regulator, a gauge, hose, and hose ends. If your regulator is return-style, add a return line and fittings. For a deadhead regulator, you can skip the return but you give up some pressure stability at low demand.
Use a fuel pressure gauge you can read while tuning. A liquid-filled gauge resists vibration better than a dry gauge, which matters if the gauge stays mounted. For the regulator, a return-style unit is usually the better choice for a fuel log setup because it bleeds excess pressure back to the tank instead of forcing the pump to deadhead. That keeps fuel cooler and pressure more consistent.
- Check that the log inlet matches your regulator outlet size before ordering adapters.
- Buy a spare set of O-rings or sealing washers for the log and regulator fittings; they are cheap insurance against a leak.
Install the fuel log step by step
Disconnect the battery and relieve fuel pressure before opening any line. Remove the old fuel line and fittings from the carburetor inlets. Clean the inlet threads and inspect them for damage. Mount the regulator in its planned location, then install the fuel log on the carburetor inlets using new gaskets or O-rings. Hand-tighten the log fittings first, then snug them with a wrench while holding the log body so you do not stress the carburetor threads.
Connect the feed line from the regulator to the log inlet, then connect the return line if equipped. Route hose away from sharp edges and heat, and use cushioned clamps to secure it. Install the pressure gauge in the log port. Once everything is connected, turn the regulator adjustment screw out to lower pressure, then cycle the ignition or crank briefly to pressurize the system and check for leaks before starting the engine.
- Common mistake: overtightening AN fittings. They seal on the flare, not by torque, so tight is enough.
- Checkpoint: with the pump running, pressure should hold steady. If it bleeds down, find the leak before driving.
Set fuel pressure and check for leaks
With the engine idling, adjust the regulator to the pressure your carburetor wants. Most street carburetors run best between 5 and 7 psi, but confirm the specification for your specific carburetor rather than assuming. If you have a return-style regulator, set pressure with the engine running so the return line is flowing. Watch the gauge for fluctuation; a needle that bounces wildly can indicate a worn regulator or air in the line.
After setting pressure, shut the engine off and watch the gauge for several minutes. A slow drop points to a leaking fitting, a bad regulator diaphragm, or a check valve issue. Dry the fittings with a rag and look for fresh fuel weepage. Fix any leak before driving. Once the system holds pressure, take a short test drive and recheck the fittings while the engine is cold.
- Do not set pressure with the engine off on a return-style system; the reading will be inaccurate.
- Recheck all fittings after the first heat cycle, since thermal expansion can loosen connections.
Fuel log install steps at a glance
- Relieve pressure and disconnect the battery: Before opening any fuel line, relieve system pressure and disconnect the negative battery terminal. Catch any residual fuel with a rag. Checkpoint: no fuel should spray when you crack the first fitting.
- Mount the regulator and fuel log: Install the regulator in its planned location, then mount the fuel log on the carburetor inlets with new gaskets or O-rings. Hand-tighten first, then snug while supporting the log body. Common mistake: letting the log hang on the carburetor threads while tightening, which can strip them.
- Connect feed and return lines: Run the feed line from the regulator to the log inlet, and the return line if your regulator is return-style. Route hose away from heat and sharp edges, and secure it with cushioned clamps. Checkpoint: hose should not touch exhaust or moving parts at any point.
- Install the pressure gauge and set base pressure: Thread the gauge into the log port, then cycle the pump to pressurize the system. Adjust the regulator to the carburetor's specified pressure with the engine running. Common mistake: setting pressure with the engine off on a return-style system, which gives a false reading.
- Leak-test and recheck after heat cycle: Watch the gauge for pressure drop with the engine off, then dry and inspect every fitting. After the first drive and cool-down, recheck all connections for seepage. Next step: if pressure will not hold, isolate the regulator, log, and fittings one at a time to find the leak.
Fuel system parts that support a clean fuel log setup
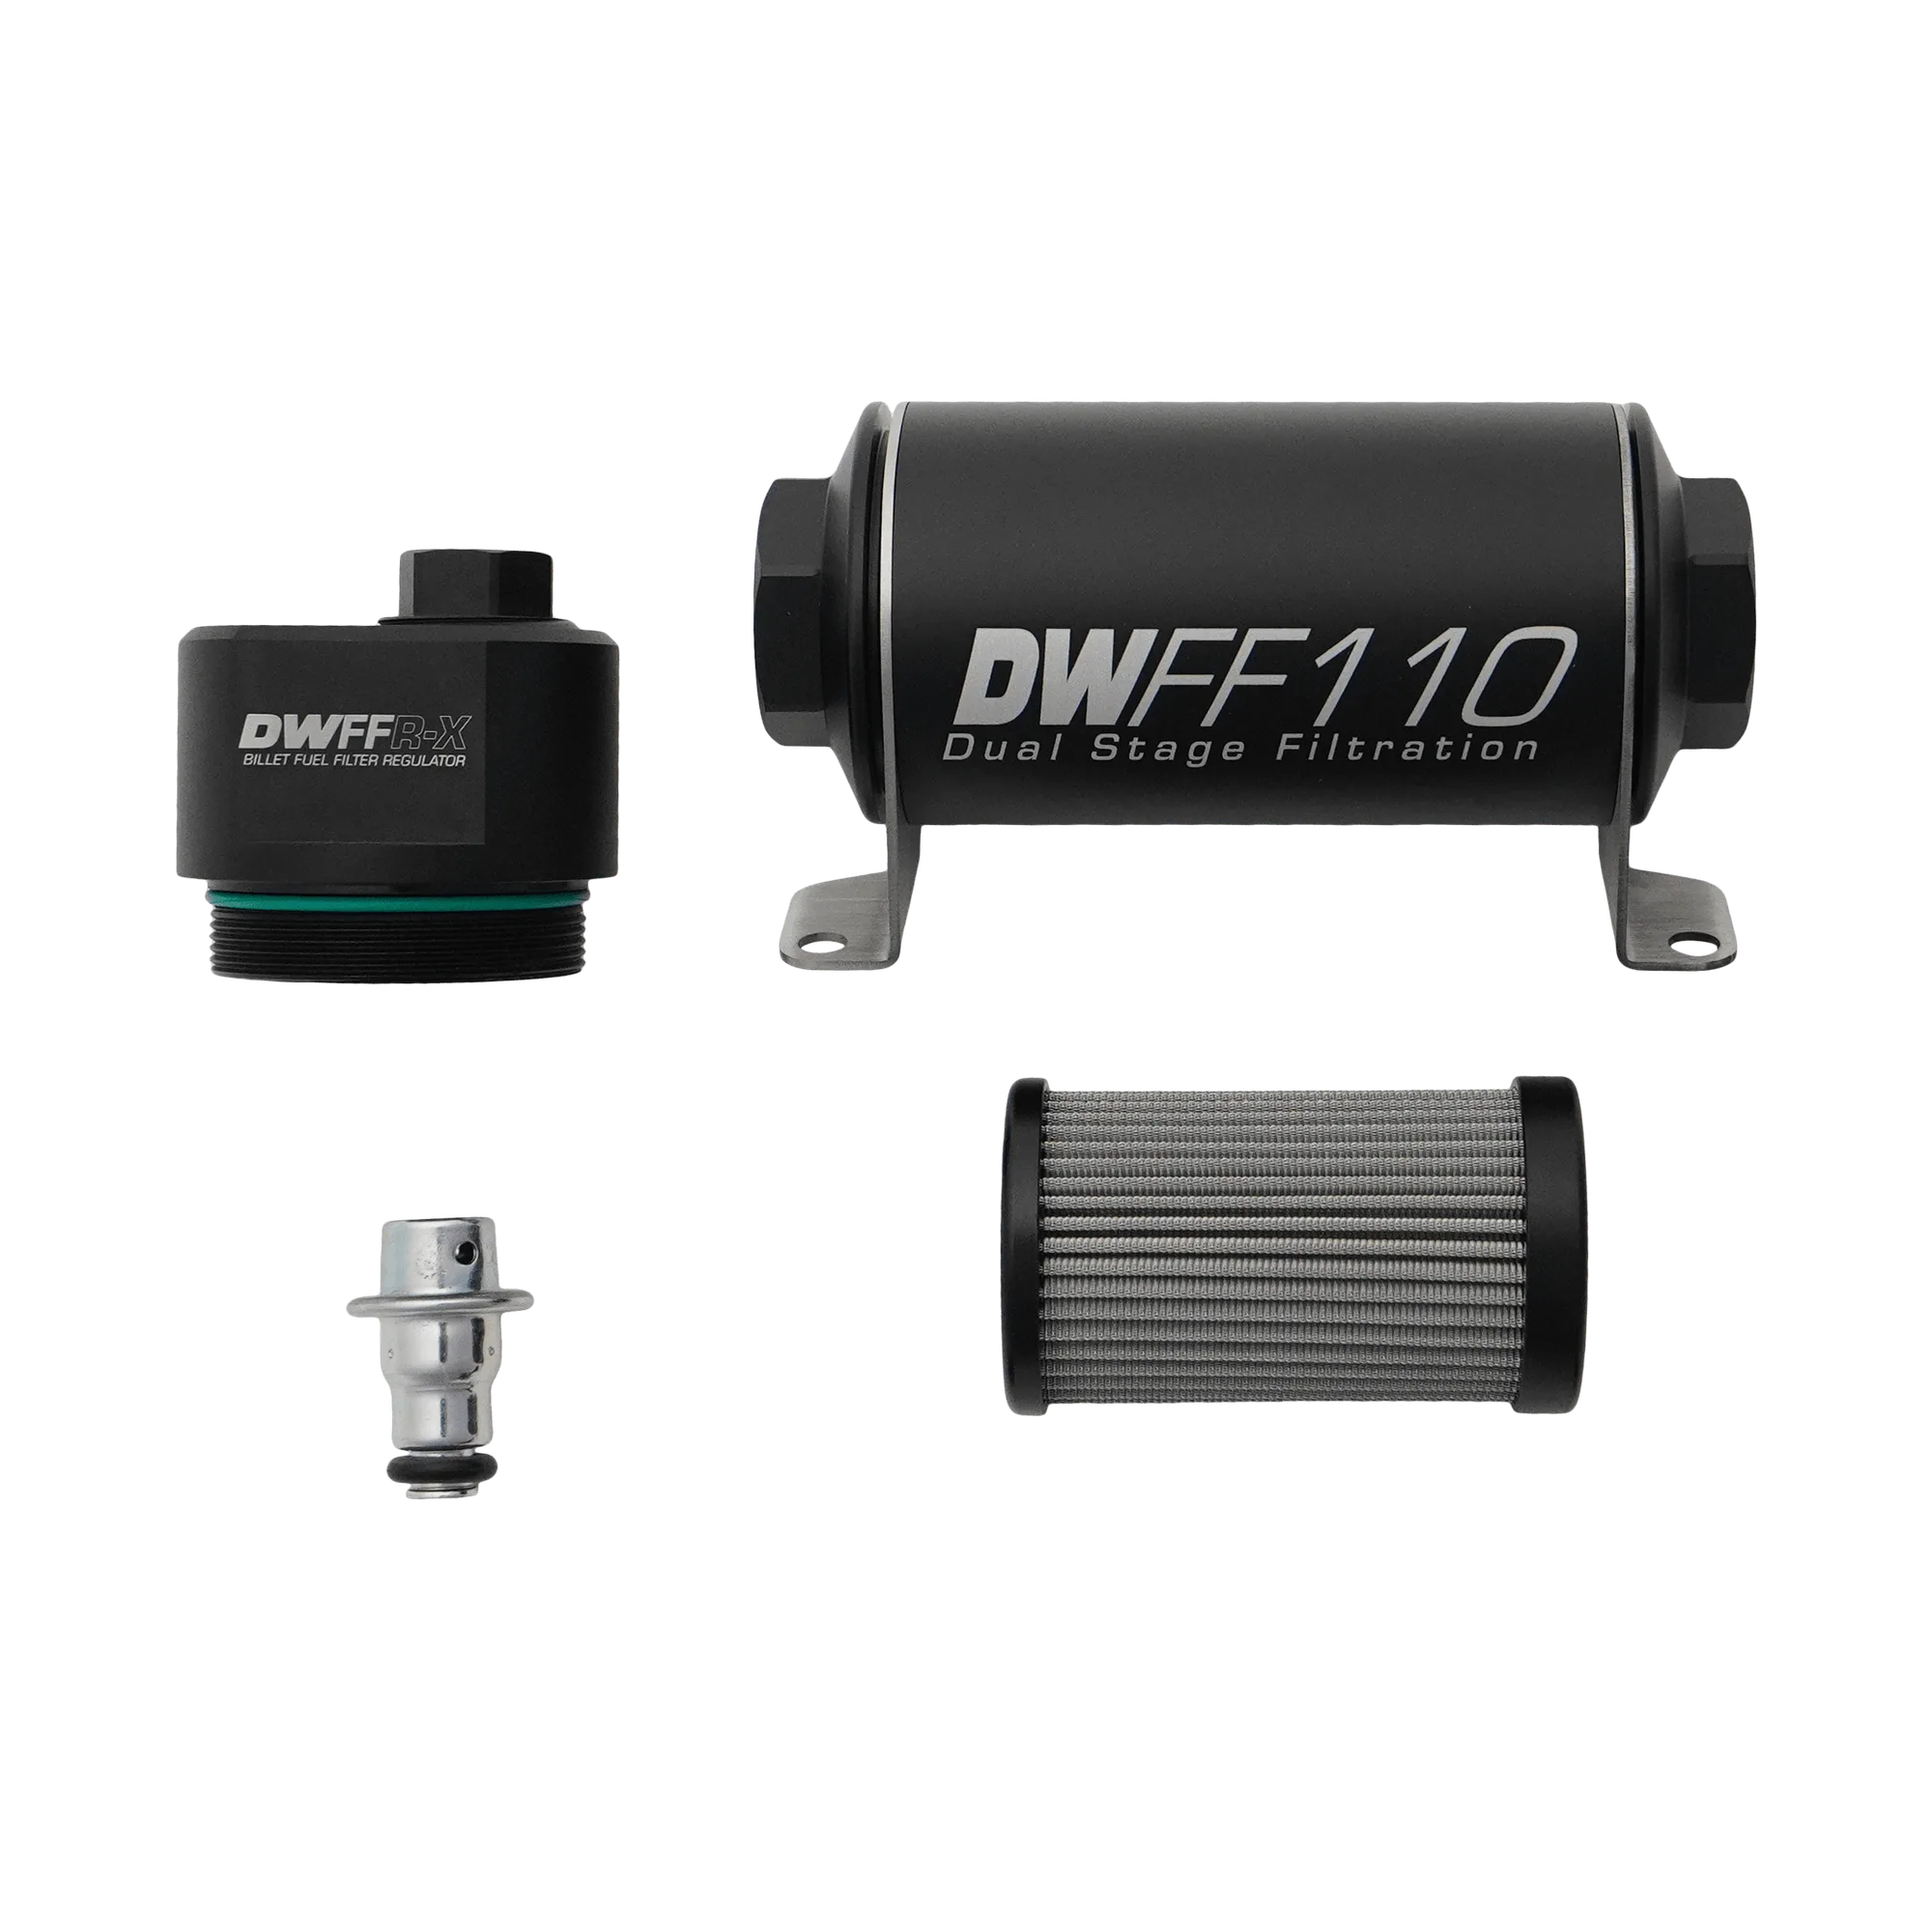
- 110mm Billet Fuel Filter Regulator 10 Micron: DWFFR-X 110mm Billet Fuel Filter Regulator, 10 Micron Combining a 10-micron filter and regulator in one unit simplifies plumbing and protects the carburetor from debris, which is useful when you are routing a new fuel log feed line.
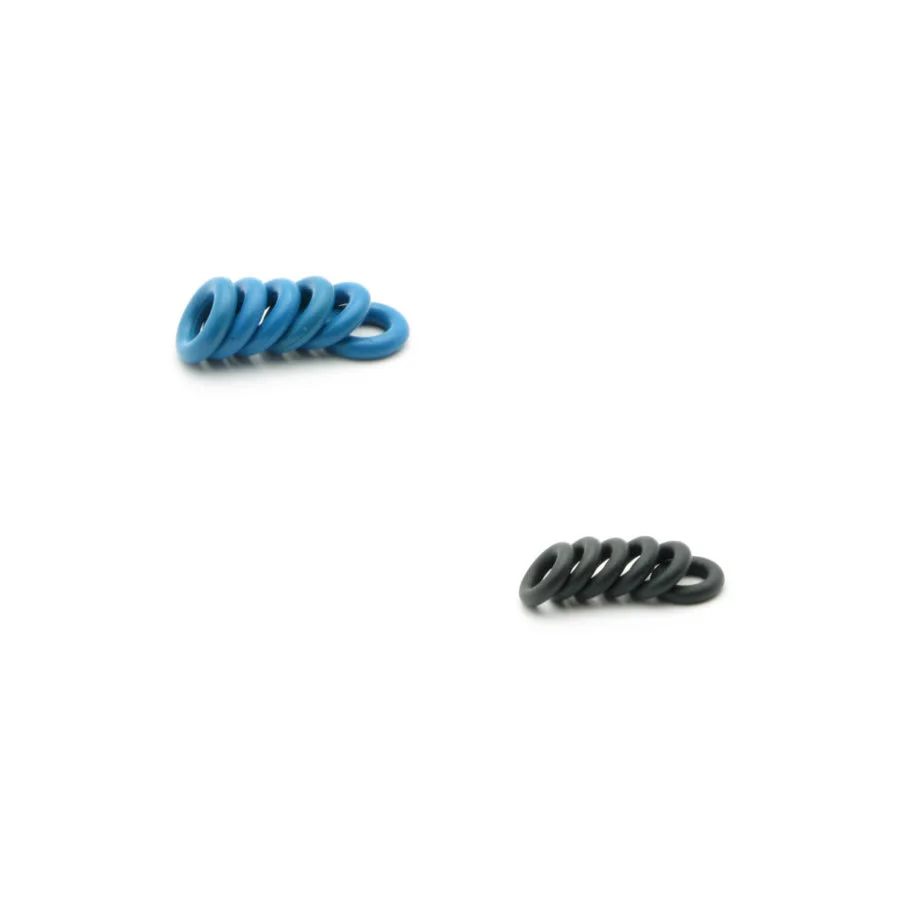
- DW replacement O-rings 6 Cylinder: DW replacement fuel injector O-rings 6 Cylinder. Specific DW injector PN must be provided for order fulfillment If your build uses DW injectors elsewhere in the fuel system, having the correct replacement O-rings on hand prevents leaks during service, though these are for injectors, not carburetor log fittings.
A carburetor fuel log setup is a straightforward upgrade that pays off in steadier fuel delivery and easier tuning, provided you plan the plumbing and pressure-test the system. Use a return-style regulator, keep the log away from heat, and recheck every fitting after the first heat cycle. If you only run a single-feed carburetor, spend the money elsewhere and keep your current fuel system simple.