Quick answer
A cat-back exhaust installation is a bolt-on job you can do on jack stands in two to four hours if the old system comes apart cleanly. Soak the flange hardware with penetrating oil the night before, support the old system before you remove the last hanger, and tighten clamps to the manufacturer's spec rather than guessing. Measure twice, hang once: most problems come from misaligned tips and over-tightened clamps, not from the parts themselves.
A cat-back system replaces everything from behind the catalytic converter to the tailpipe, so it changes sound and flow without touching emissions hardware. That makes it one of the more approachable upgrades in your driveway, provided you plan the removal as carefully as the install.
The parts usually fit. What causes trouble is order of operations: cutting a hanger instead of removing it, tightening clamps before the system is aligned, or forgetting that a 2019-2023 Ford Ranger and a 2004 Volkswagen R32 have completely different routing. This guide walks through the tools, the sequence, and the checkpoints that keep the job moving.
Tools you actually need before you start
You do not need a lift, but you do need safe access. Ramps work for the rear half of most cars; jack stands give you more room to swing a ratchet on the mid-pipe. Add penetrating oil, a wire brush, and a breaker bar, because factory flange nuts on a 2004 Volkswagen R32 or a 2003 Cadillac CTS have had years to rust in place.
For assembly, the critical tools are a torque wrench, a rubber mallet for seating slip joints, and a socket set that matches your clamp hardware. Exhaust install tools that save the most time are a hanger removal tool, a reciprocating saw with a metal blade for stubborn rusted bolts, and a second set of hands for lifting the new system into place.
- Safety glasses and gloves: rust flakes fall directly into your face when you break flange bolts loose.
- Penetrating oil applied the night before, not five minutes before.
- A torque wrench you trust, since exhaust clamp torque is a spec, not a feeling.
Step-by-step cat-back exhaust installation
Lift and support the vehicle on level ground, then let the exhaust cool completely. Spray penetrating oil on the flange bolts connecting the cat-back to the converter section and on every hanger. While it soaks, lay the new system out on the ground in order and confirm you have all clamps, gaskets, and hardware.
Support the old system with a jack or stand before removing the last hanger, then unbolt the flange and work front to back. Clean the mating surface with a wire brush. Install the new system loosely, starting at the front flange, and leave every clamp and bolt finger-tight until all hangers are engaged. Align the tips, check clearance to the bumper and fuel lines, then tighten from front to rear.
- Keep the old system intact until the new one is fully hung, so you can compare routing if something looks off.
- Do not fully tighten anything until the entire system is supported by its hangers.
- Check tip clearance with the suspension at ride height, not with the car on stands.
Exhaust clamp torque and leak checks
Over-tightening is the most common cause of crushed pipes and slipped clamps. Follow the clamp manufacturer's torque value, and if none is supplied, tighten in stages and stop when the joint stops moving. A clamp that deforms the pipe has already failed, even if it feels tight.
After the first heat cycle, recheck every clamp and flange. Metal expands and contracts, so a joint that was tight cold can loosen warm. Listen for a tick or drone at idle and look for soot streaks at joints, which are the clearest sign of a small leak.
- Re-torque after the first 50 to 100 miles of driving.
- Soot streaks point to the leaking joint faster than sound does.
- A slight drone that fades after warm-up is normal on many systems; a constant rasp is not.
Fitment tips that prevent returns
Fitment is decided before you buy, not after. Confirm year, make, model, engine, and body style, because a 2019-2026 Chevrolet Blazer RS 3.6L and a 2019-2023 Ford Ranger 2.3L use different routing and tip layouts. If your vehicle falls outside the listed range, stop and verify rather than forcing a pipe.
If a section will not seat, check that you are not fighting a hanger that is still attached or a heat shield that is bent into the path. Forcing a slip joint with a mallet can crack a weld. A small amount of exhaust sealant at slip joints is acceptable; using it to fill a gap is not.
- Photograph your original routing before removal if the new system has multiple sections.
- Check clearance around spare tires, trailer hitches, and aftermarket skid plates.
- If the tip sits crooked, loosen the whole system and re-align rather than bending the tip.
Installation sequence with checkpoints
- Step 1: Prep and soak hardware: Park on level ground, lift safely, and apply penetrating oil to flange bolts and hangers the night before. Common mistake: starting on a hot exhaust, which risks burns and warped flanges. Checkpoint: all hardware has been soaked and the vehicle is stable on stands or ramps.
- Step 2: Support and remove the old system: Support the old system with a jack before removing the last hanger, then unbolt front to back. Common mistake: letting the system drop onto your arm or the floor, which bends hangers and can damage the converter connection. Checkpoint: old system is out intact and the front flange surface is clean.
- Step 3: Hang the new system loosely: Start at the front flange, engage every hanger, and leave all clamps finger-tight. Common mistake: tightening the first joint before the rest of the system is supported, which locks in a misalignment. Checkpoint: the system hangs on its own with no hands supporting it.
- Step 4: Align tips and check clearance: Center the tips in the bumper cutout and verify clearance to fuel lines, heat shields, and suspension. Common mistake: checking clearance on jack stands only, which hides contact that appears at ride height. Checkpoint: no contact points and even tip gaps on both sides.
- Step 5: Torque front to rear and heat cycle: Tighten flange bolts and clamps to spec, working from the front of the car to the rear. Common mistake: over-tightening clamps until the pipe deforms. Recheck torque after the first 50 to 100 miles. Checkpoint: no soot streaks at joints and no new rattles after the first drive.
Product facts that affect installation
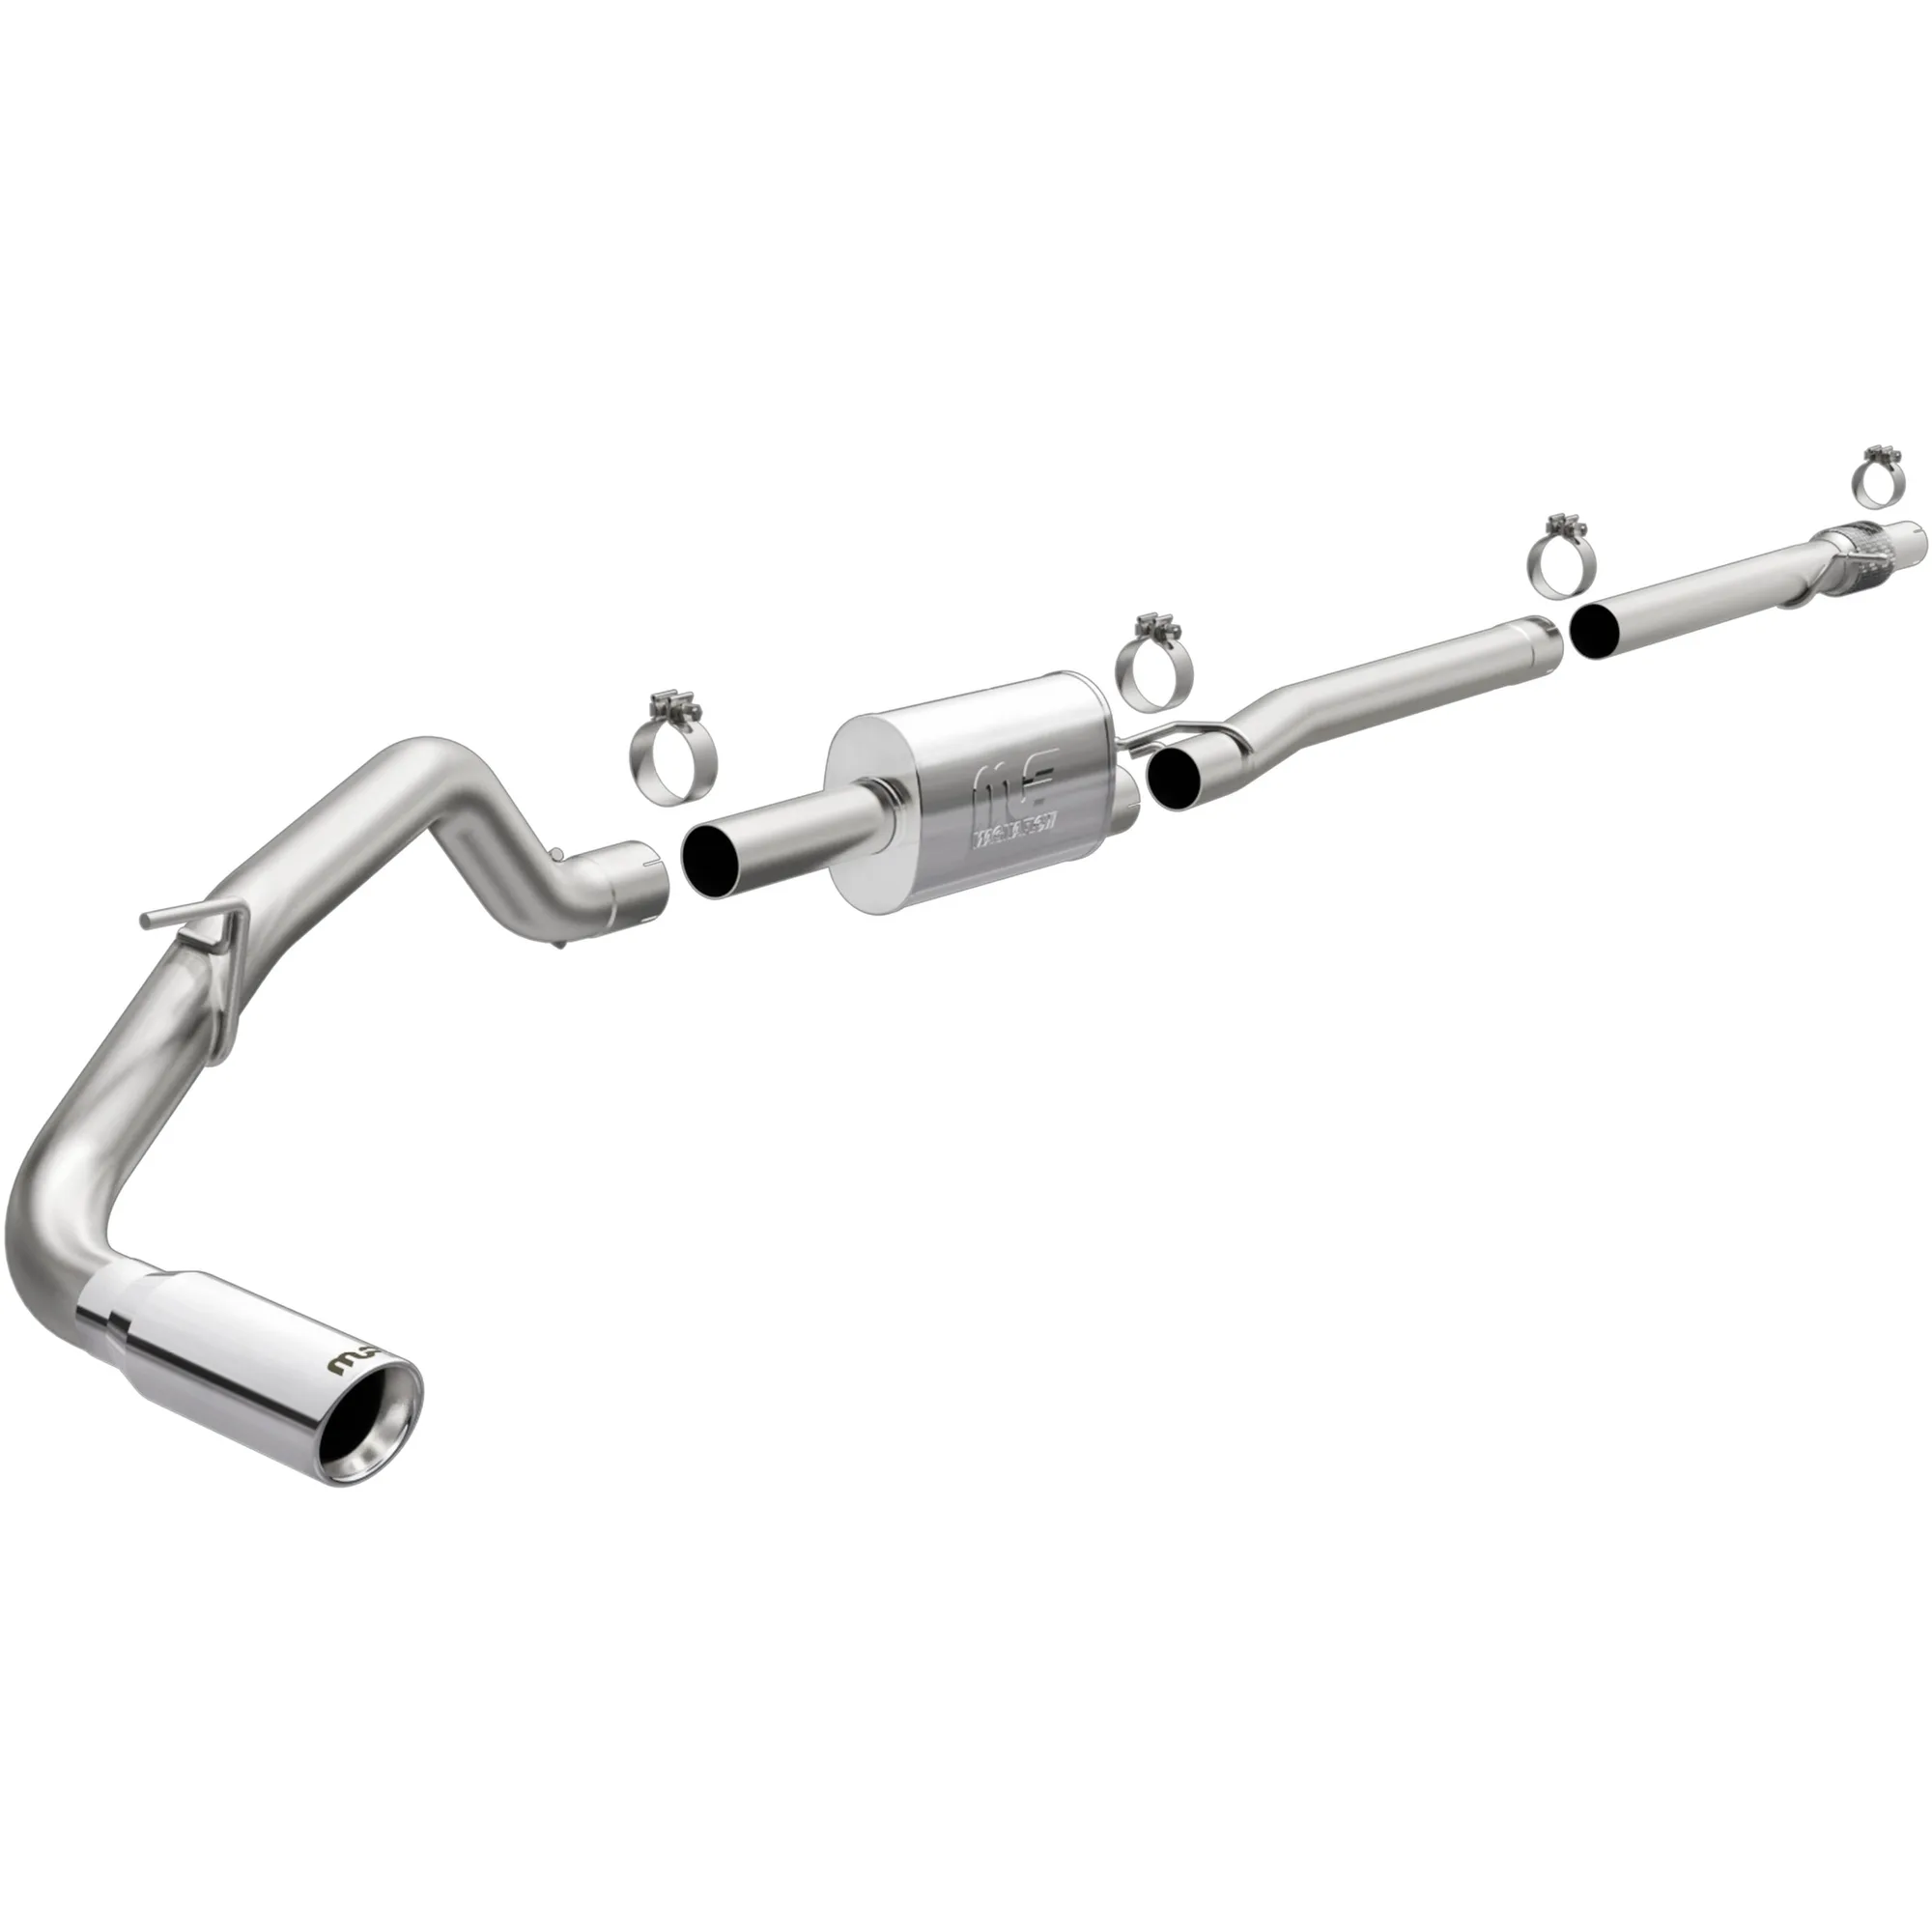
- MagnaFlow 2019-2023 Ford Ranger 2.3L Street Series Cat-Back Performance Exhaust System: Fits 2019-2023 Ford Ranger 2.3L applications and is available with a Polished tip finish (SKU 19451) or a Black Coated tip finish (SKU 19452). Choosing the tip finish at purchase avoids a second order later, and the tip is the part you see every day.
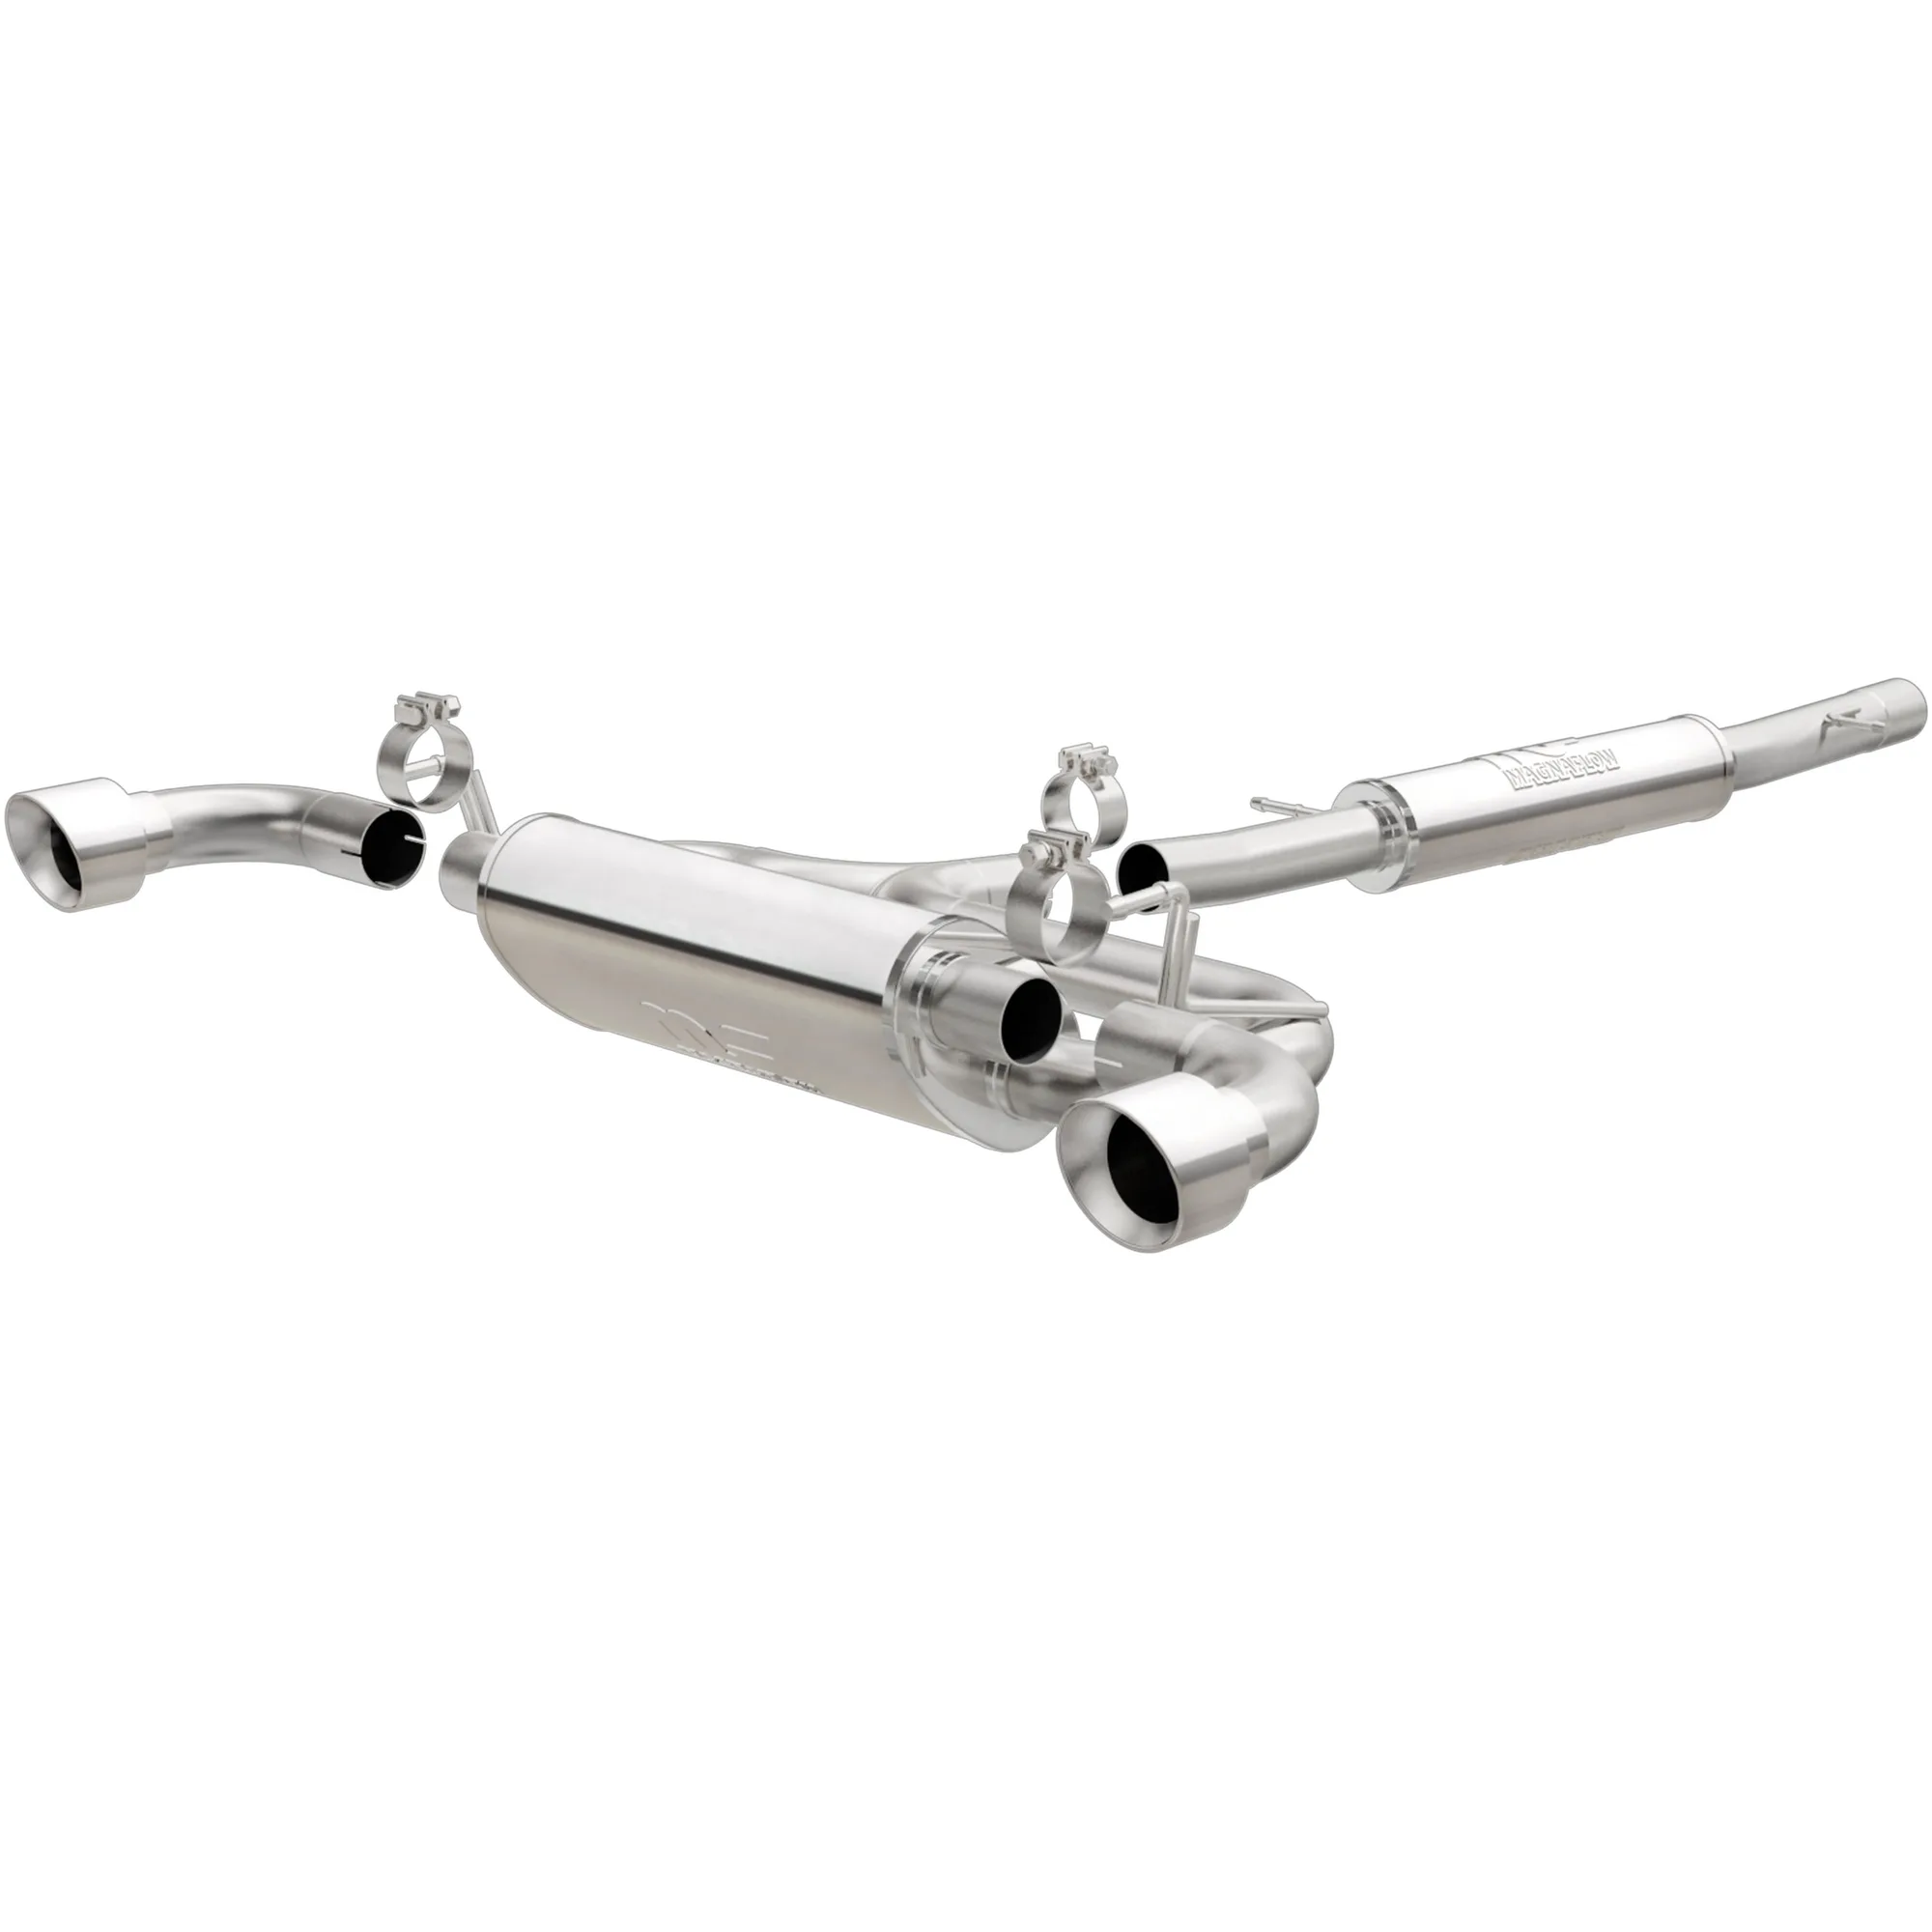
- MagnaFlow 2019-2026 Chevrolet Blazer RS 3.6L Street Series Cat-Back Performance Exhaust System 19466: Uses fast-flowing, mandrel bent 2.5in. main piping and 3 Straight-Through mufflers ending in a Quad Split Rear exit with 3.5in. Polished Welded-On Double Wall Angle Cut Folded Edge tips. A quad-tip rear exit leaves less margin for error on tip alignment, so plan to adjust the system before final tightening.
- MagnaFlow 2004 Volkswagen R32 3.2L Touring Series Cat-Back Performance Exhaust System 16650: A durable, corrosion resistant stainless steel exhaust kit engineered for the 3.2L Volkswagen R32. Stainless construction resists the corrosion that seizes factory hardware, which makes future removal easier.
A cat-back install rewards patience more than strength. Soak the hardware, support the old system, hang the new one loose, and tighten only after everything is aligned. Do that, and the job is a few hours in the driveway instead of a weekend of chasing leaks and rattles.