Quick answer
Stage your Combat Application Tourniquet (CAT) high on your gear, accessible with either hand, and apply it high and tight on the limb—then tighten the windlass until bleeding stops. Practice both staging and application regularly so it becomes automatic under stress.
Why staging and placement matter more than the tourniquet itself
A tourniquet is only as effective as your ability to reach it and use it quickly. Poor staging—such as burying it in a pouch or placing it on your back—can cost critical seconds. Similarly, incorrect placement on the limb can fail to occlude blood flow or cause unnecessary tissue damage. This guide walks through a reliable process for staging your CAT on your gear and applying it correctly, with checkpoints to avoid common mistakes.
Choosing the right carry position for your tourniquet
Your tourniquet should be accessible with either hand, ideally from a standing, kneeling, or prone position. Common locations include the front of a chest rig, the side of a belt, or a dedicated tourniquet pouch on a plate carrier. Avoid placing it behind you or in a pocket that requires two hands to open. Consider your primary hand and any gear that might obstruct access. Test access while wearing gloves and in low light.
Pouch setup and staging tips for the CAT
The CAT comes folded and secured with a rubber band or time strap. You can stage it in a pouch or use a tourniquet holder that keeps it flat and ready. If using a pouch, ensure the windlass is accessible and the strap is not tangled. Some users prefer to pre-loop the strap or leave the windlass partially exposed for faster one-handed application. Practice retrieving and applying the tourniquet from your chosen setup until it’s smooth.
Step-by-step: Staging and applying your CAT tourniquet
- Choose a consistent carry position: Place your CAT on your chest rig, belt, or plate carrier where you can reach it with either hand. Avoid behind-the-back or deep-pocket carry. Checkpoint: Can you access it while wearing gloves and in a kneeling position? Test access in multiple positions and with both hands.
- Stage the tourniquet for quick retrieval: If using a pouch, ensure the windlass is accessible and the strap is not tangled. Consider pre-looping the strap or leaving the windlass partially exposed. Checkpoint: Can you pull the tourniquet out and prepare it with one hand? Practice retrieval until it’s smooth and automatic.
- Apply the tourniquet high and tight on the limb: Place the CAT high on the limb (as close to the torso as possible) over clothing, with the windlass on the outside of the limb. Pull the strap tight and secure it. Checkpoint: Is the tourniquet snug enough that you can’t slide it down? High and tight placement maximizes effectiveness and reduces nerve damage.
- Tighten the windlass until bleeding stops: Twist the windlass until the bleeding stops and the distal pulse is eliminated. Secure the windlass in the clip. Checkpoint: Is the bleeding controlled? If not, tighten more or consider a second tourniquet. Don’t stop at the first sign of resistance; ensure bleeding has ceased.
- Document and reassess: Note the time of application and monitor the patient. Checkpoint: Is the tourniquet still tight and the bleeding controlled? Reassess frequently. Record the time and keep the tourniquet visible for reassessment.
Product facts
-
Combat Application Tourniquet: The patented C-A-T® is a true one-handed tourniquet proven to be 100% effective by the U.S. Army’s Institute of Surgical Research. This means you can apply it to yourself with one hand if injured, making it a reliable choice for self-aid.
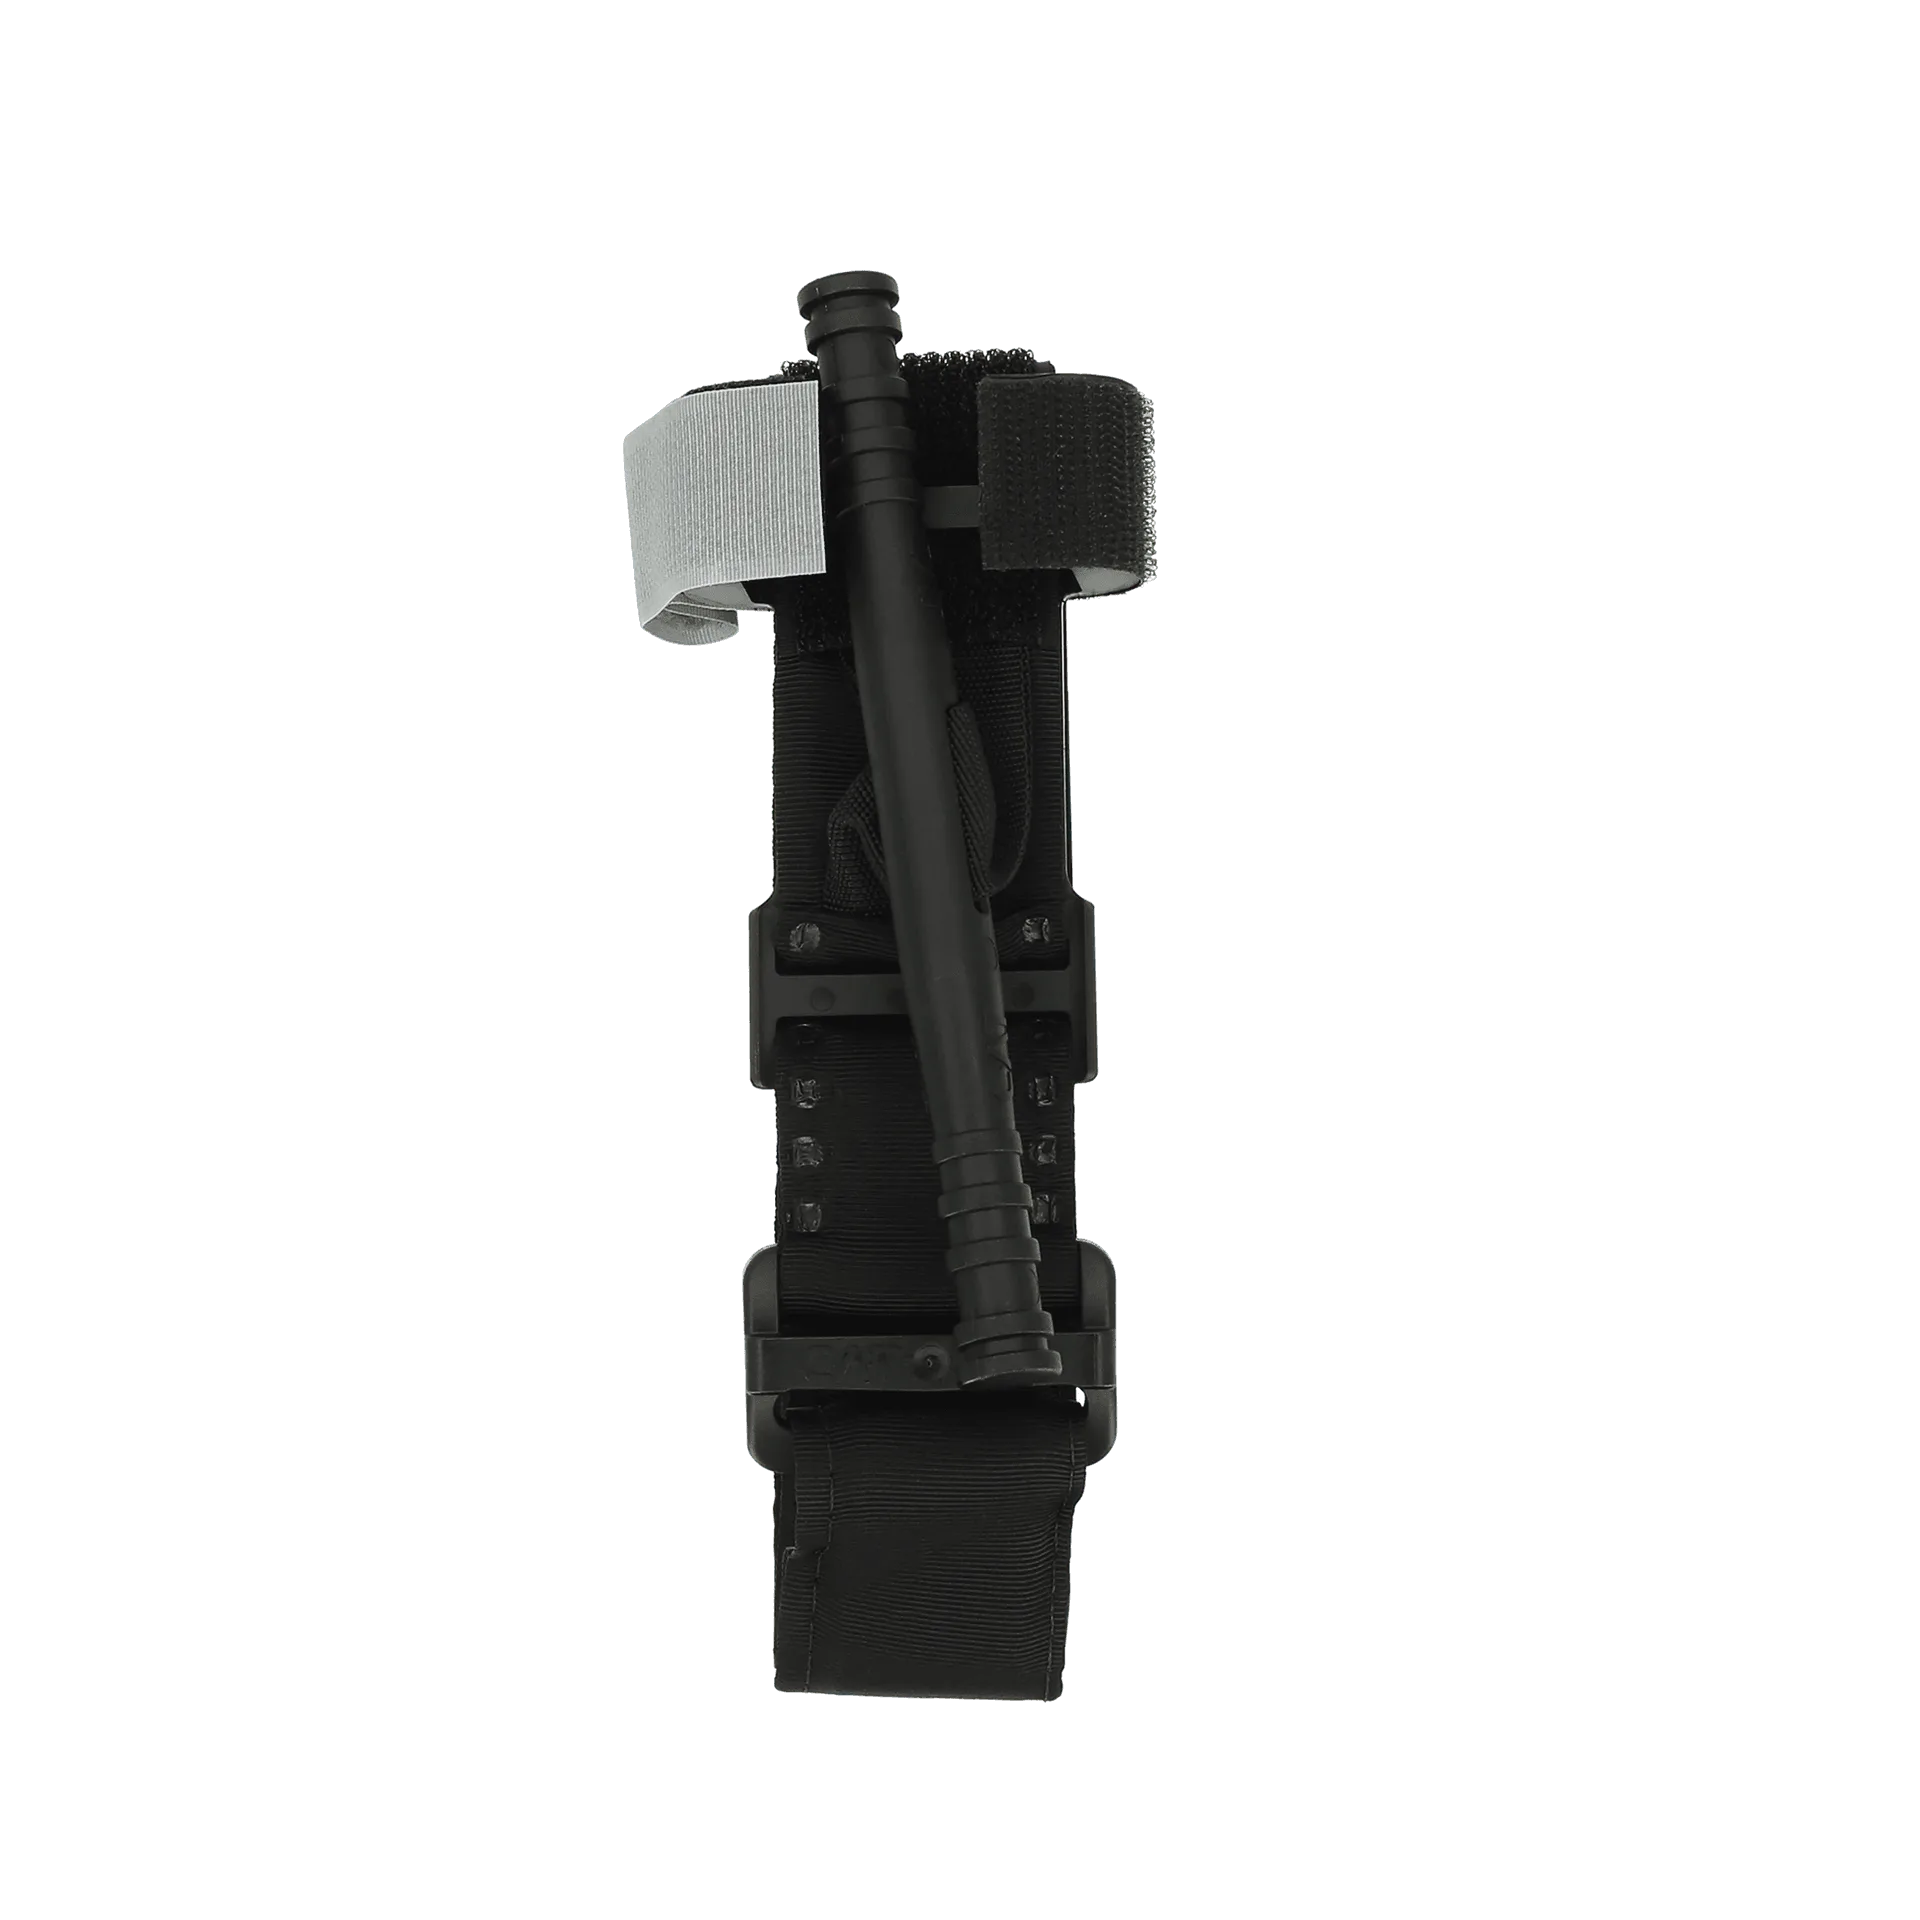
Combat Application Tourniquet
-
Combat Application Tourniquet: The Gen 7 CAT utilizes a durable windlass system with a patented free-moving internal band providing true circumferential pressure. The internal band helps distribute pressure evenly around the limb, which is critical for stopping blood flow effectively.