Quick answer
If you drive a turbo Honda, an air oil separator (AOS) is the better long-term choice over a basic catch can because it actively returns separated oil to the crankcase instead of storing it for you to drain. A simple catch can is still a valid, lower-cost option for mild builds. Either way, the install follows the same basic path: mount the unit, route the crankcase vent hose, seal every connection, and check the can or drain line on a set interval.
Turbo Hondas run high cylinder pressure, and that pressure has to go somewhere. It escapes past the piston rings as blow by, carrying oil vapor and combustion moisture into the crankcase vent system. On a factory setup, that vapor is routed back into the intake to be burned, which is fine until it coats your intake valves, intercooler, and charge pipes with an oil film.
A catch can or air oil separator interrupts that path and pulls the oil out before it reaches the intake. The two devices solve the same problem in different ways, and the right pick depends on how you use the car. This guide walks through what each one does, what to buy, and the install and maintenance steps that keep the system working.
What blow by actually does to a turbo Honda
Every turbo engine produces some blow by, but direct-injection Honda 1.5T and 2.0T engines are especially sensitive to it. Because fuel is sprayed directly into the cylinder, there is no fuel wash over the intake valves to clean them. Oil vapor that makes it past the PCV system bakes onto the valve stems and intake ports, and over tens of thousands of miles that buildup restricts airflow.
The same oil mist also lands in the intercooler and charge pipes. It does not usually cause immediate damage, but it reduces heat exchange efficiency and leaves a film that traps dust. A separator keeps that vapor out of the intake tract, which is the main air oil separator benefit for a daily-driven turbo Honda.
- Checkpoint: pull the intake hose at the throttle body on a high-mileage 1.5T and look for an oily film. That residue is the problem a separator solves.
Catch can vs AOS: which one fits your build
A catch can is a sealed container that collects oil vapor and liquid. It is simple, inexpensive, and effective, but it has to be manually drained. An air oil separator adds internal baffling and a return path so separated oil drains back to the crankcase, which means far less frequent attention. The tradeoff is cost and slightly more complex plumbing.
For a mostly stock daily with occasional spirited driving, a basic catch can is a reasonable budget choice. For a car that sees track days, autocross, or sustained boost, an AOS is worth the extra money because it keeps working without you remembering to empty it. If you are not sure which you have, look for a drain fitting on the bottom of the can: a manual drain valve means catch can, a return line to the block or oil pan means AOS.
- Common mistake: buying a universal can with no vehicle-specific bracket. A poor mount lets the unit vibrate, and vibration is what cracks fittings and hoses.
Choosing the right unit and supporting parts
Match the separator to your engine and your climate. A unit sized for a naturally aspirated engine will not flow enough on a turbo Honda in cold weather, and a can that is too large can let vapor condense in the lines instead of the can. Look for a baffled design, a dipstick or sight glass, and a mounting bracket made for your chassis.
Do not overlook the small parts. The hose you use matters as much as the can. A collapsing or kinking line will restrict crankcase venting and push oil past seals. Use reinforced hose rated for oil and vacuum, and route it with a gentle slope back toward the can so liquid cannot pool in a low spot. Fresh clamps and a spare gasket for the PCV port are cheap insurance.
- Checkpoint: confirm the hose routing has no uphill sections between the valve cover and the can. Oil has to be able to drain, not fight gravity.
Installation: what to expect on a 1.5T Civic
A catch can install on a Civic 1.5T is a two-hour job for most people with basic hand tools. You will remove the engine cover, locate the PCV and crankcase vent ports, mount the can on a solid bracket, and connect the hoses. The exact port locations vary by model year and engine, so check a service manual or a model-specific guide before you start cutting hose.
One thing that surprises people is how little space there is around the intake manifold on a 1.5T. Plan the hose route before you tighten anything. If you have to force a hose into place, it will rub through. Also keep the can away from the exhaust manifold and turbocharger; heat degrades the hose and the can's internal seals.
- Common mistake: capping or plugging the wrong port. That can pressurize the crankcase and push oil past the rear main seal. Label the ports before you disconnect anything.
Maintenance and what to watch for
A catch can needs to be drained every 1,000 to 3,000 miles depending on how much blow by your engine makes and how cold the weather is. In winter, the can collects water and emulsified oil, so check it more often. An AOS needs less frequent attention, but you should still inspect the return line and the can body at every oil change.
Watch for a sudden increase in how much the can collects. That can indicate worn rings, a failing PCV valve, or a boost leak. If the can fills quickly and the car starts smoking or idling rough, stop driving and diagnose the cause instead of just emptying the can. A separator manages blow by, it does not fix a mechanical failure.
- Checkpoint: keep a small log of drain volume and date. A rising trend is an early warning sign that something in the engine has changed.
Install and maintenance steps
- 1. Identify your crankcase vent ports: Locate the PCV valve and the fresh-air vent on the valve cover. Label each hose with tape before removing anything so you cannot mix them up. Checkpoint: if you cannot tell which port is which, stop and consult a model-specific guide. Swapping them can pressurize the crankcase.
- 2. Mount the can or AOS on a solid bracket: Use a vehicle-specific bracket and bolt it to a rigid point away from the exhaust manifold and turbo. Test that the unit does not move when you push on it. Common mistake: zip-tying the can to a hose or wiring loom. Vibration will crack the fittings within a few thousand miles.
- 3. Route and connect the hoses: Run reinforced oil-rated hose from the valve cover port to the inlet side of the can, and from the outlet side back to the intake or atmosphere per the manufacturer's instructions. Keep a continuous downward slope to the can. Checkpoint: no kinks, no uphill loops, and no contact with hot parts. Recheck after the first heat cycle.
- 4. Seal and leak-test the system: Tighten all clamps and start the engine. Let it idle and rev it lightly while you listen for a whistle or hiss at the connections. Common mistake: overtightening clamps on silicone hose and cutting it. Snug is enough; a boost leak test confirms the system is sealed.
- 5. Set a drain or inspection interval: For a catch can, drain every 1,000 to 3,000 miles and more often in winter. For an AOS, inspect the return line and can body at every oil change. Checkpoint: log the date and volume each time. A sudden increase means you should diagnose the engine, not just empty the can.
Parts that support a clean install
- https://prlmotorsportsec.com/products/genuine-honda-high-pressure-fuel-pump-assembly-civic-si-4500d269624fdc6d5e4279a0-2681092https://prlmotorsportsec.com/products/genuine-honda-high-pressure-fuel-pump-assembly-civic-si-6f68cc0319a220a3038da3da-2681095Genuine Honda High Pressure Fuel Pump Assembly - Civic Si / CR-V / Accord: Factory replacement HFPF, Honda part number 16790-5PC-H02, fitting 2017-2021 Civic Si 1.5T, 2018+ Accord 1.5T, and 2017-2022 CR-V 1.5T. If you are already chasing fuel and airflow issues on a 1.5T, a genuine replacement pump keeps the fuel side factory-correct while you sort out crankcase ventilation.
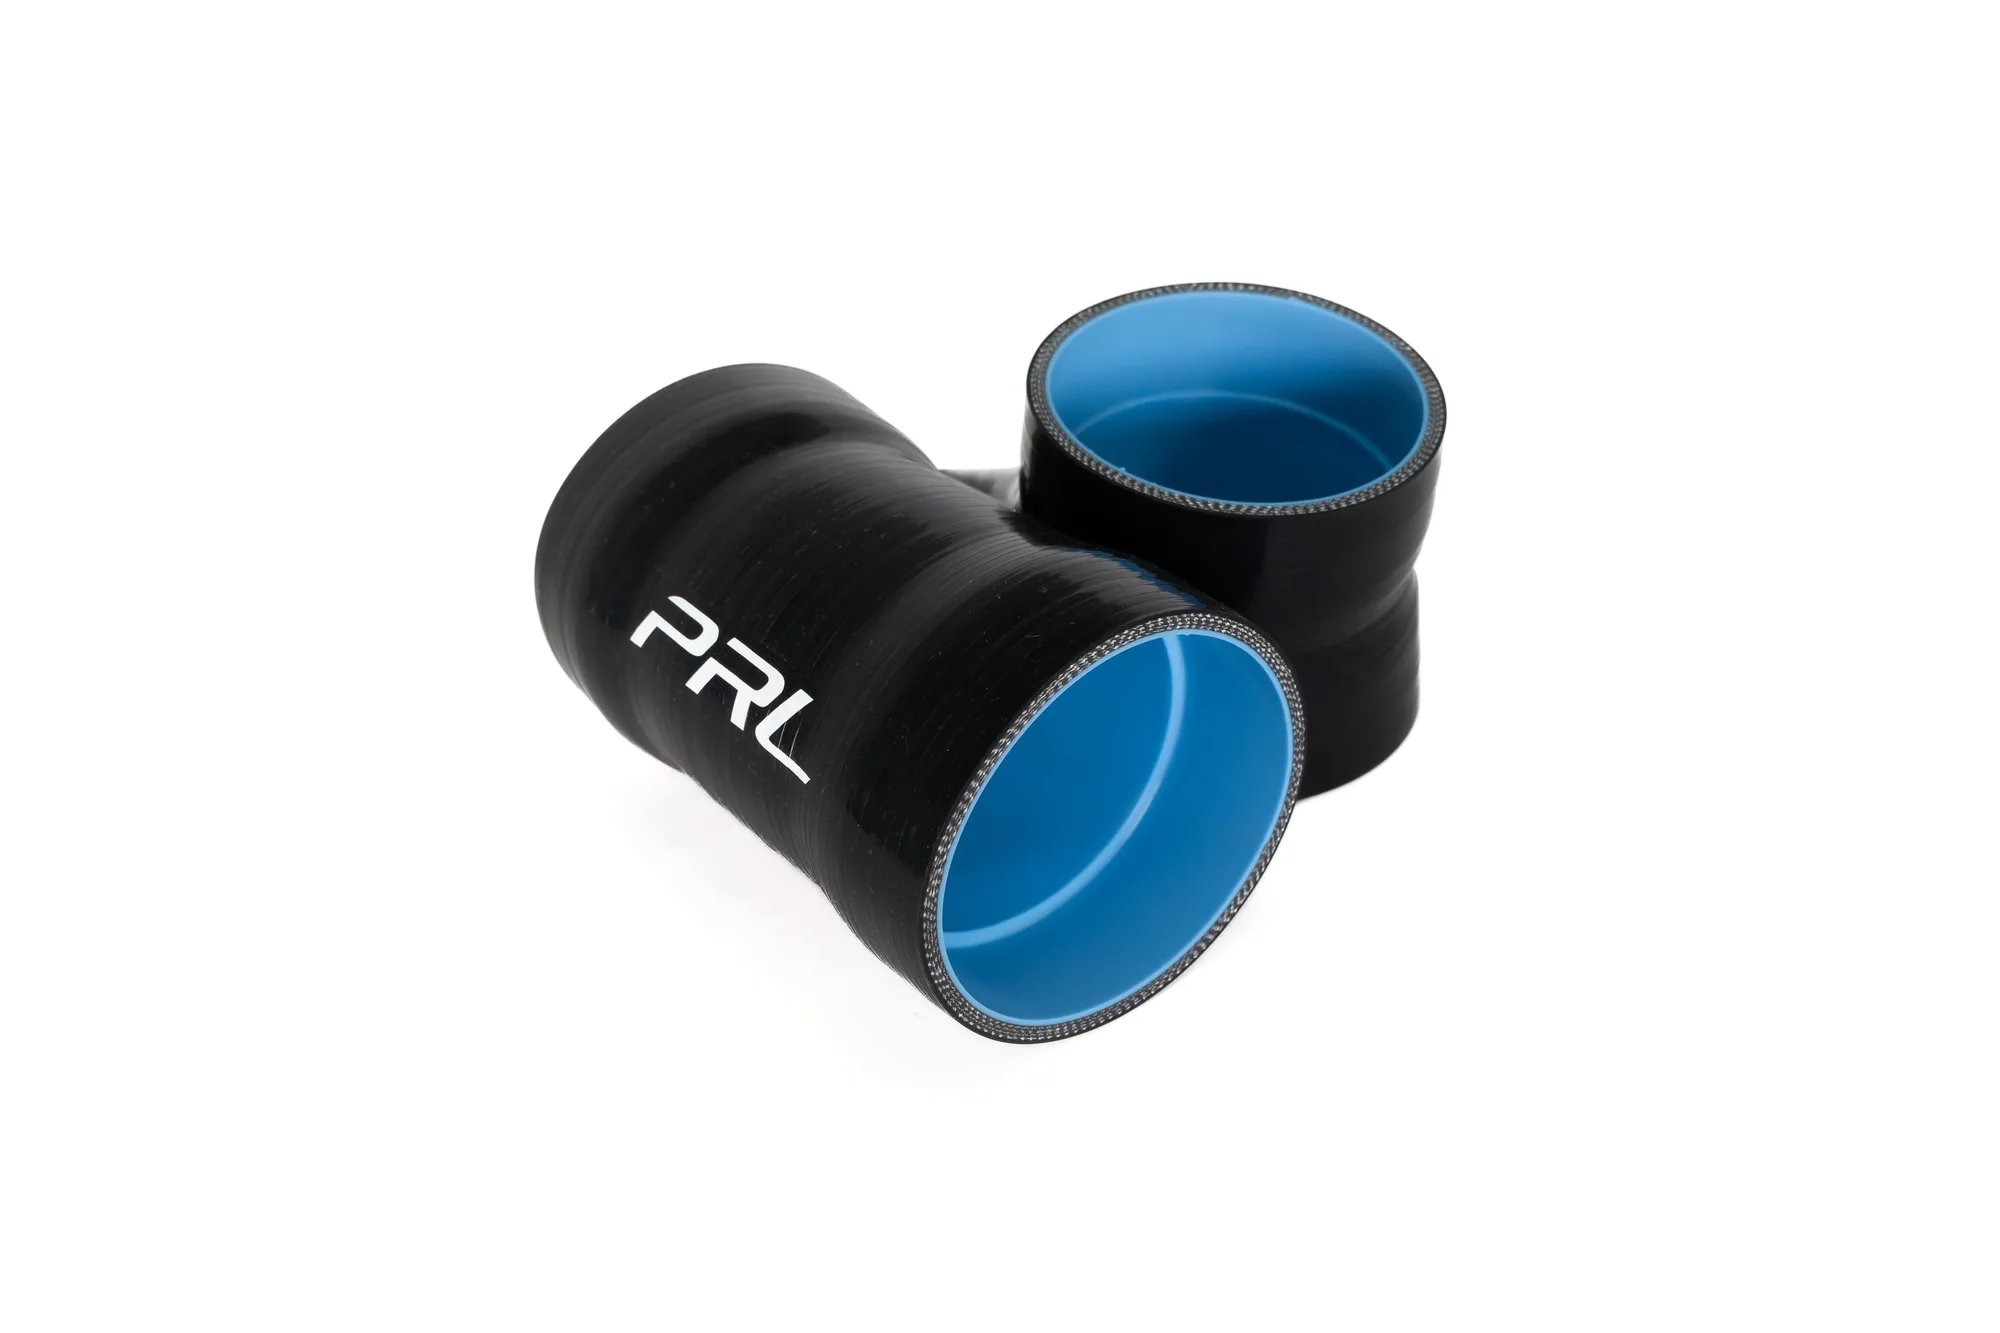
- 2023+ Honda Civic Type-R FL5 Silicone Intake Hose Kit: Replaces the corrugated factory inlet hoses with 4-ply silicone, is CARB approved (EO D-878-8), and requires no ECU calibration. Smoother intake flow pairs well with a separator because you are keeping oil out of the intake path you just cleaned up, and it is a no-tune bolt-on.
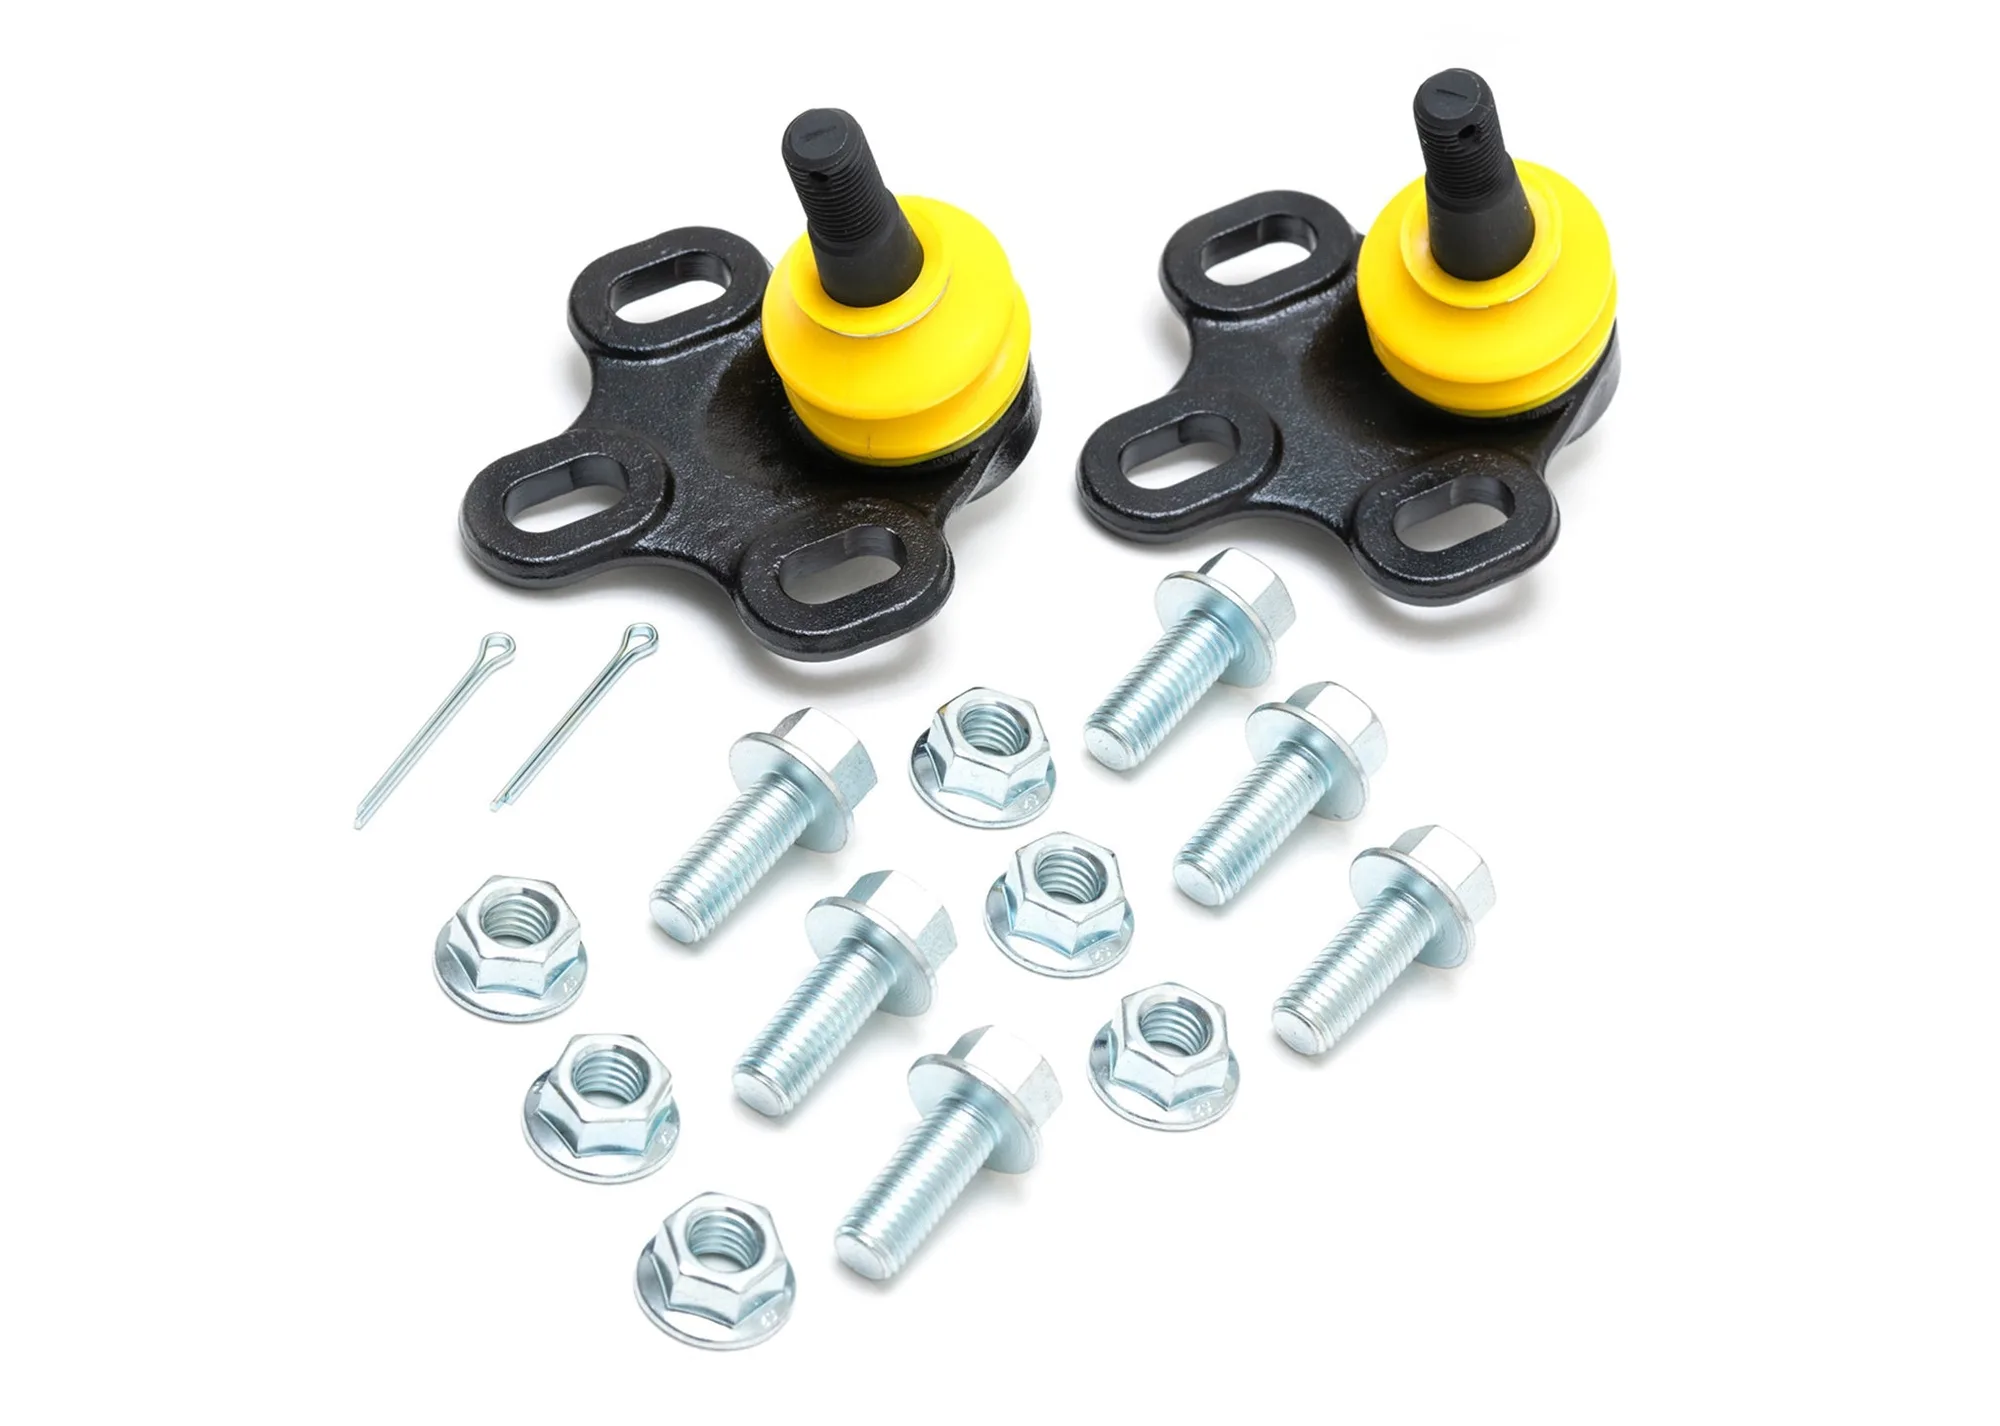
- Whiteline 2016-2021 Honda Civic Lower Ball Joint Front Camber Adjuster Kit (Zero Bump Steer Kit): Adjustable ball joints that let you fine tune camber for better tire contact and longer tire life, fitting 2016-2021 Civic 1.5T and 2.0L. If you track the car and are already under it for maintenance, addressing alignment at the same time keeps the handling consistent with the engine work.
A catch can or AOS is one of the few mods that protects your turbo Honda instead of just adding power. Pick the design that matches how hard you drive, install it with solid mounts and clean hose routing, and check it on a schedule. Do that, and you keep oil out of your intake where it does not belong.