Quick answer
To install front turn signal mount plates on a 2025-2026 CB1000 Hornet, remove the stock signals, test-fit the plates, mount your aftermarket signals with M8 stems, route the wiring, and torque all hardware to spec. These plates are not compatible with stock turn signals, so you must use aftermarket units with M8 mounting stems.
Why you need these plates (and what they replace)
The CB1000 Hornet’s original front turn signals are integrated into the fairing, so removing them leaves exposed mounting points. These 3D-printed plates from Yoshimura R&D of America, Inc. bolt directly to those points and provide a clean M8 threaded hole for aftermarket signals. They are made from Onyx, a nylon mixed with non-continuous carbon fiber, which gives them high strength and excellent UV and heat resistance—important for a part that sits in direct sunlight and near engine heat. The material is also paint-able if you want to color-match your bike.
Tools and parts you’ll need
Gather these before you start: the mount plates (part 2721773), aftermarket turn signals with M8 mounting stems (such as Yoshimura’s 072BGLTSFK or 072BGLTSFK-S), a set of metric hex keys or sockets, a torque wrench, wire cutters/crimpers, heat-shrink tubing, and zip ties. You’ll also need a service manual for your specific model year to confirm torque values and wiring colors. If you’re using LED signals, you may need load resistors or a flasher relay to prevent hyper-flash; check your signal kit’s instructions.
What to watch out for
The most common mistake is trying to reuse the stock turn signals—these plates are not compatible with them. Another is over-tightening the M8 stem, which can crack the plate or strip the threads. Also, be careful when routing wires near the steering head; they can get pinched or chafed if not secured properly. Finally, if you paint the plates, use a paint suitable for nylon and allow full cure before installation.
Step-by-step installation
- Prep the bike: Park on a level surface, turn off the ignition, and disconnect the battery’s negative terminal. Remove the stock front turn signals by unplugging their connectors and unscrewing their mounting bolts. Keep the hardware; you may need it for the new signals. Label or photograph wiring before disconnecting to avoid mix-ups.
- Test-fit the plates: Hold each plate against its mounting point on the fairing. The plates are side-specific; check that the angled face points outward and the M8 hole aligns with the signal location. Do not force them—if they don’t sit flush, you may have them swapped left-to-right. A dry fit now saves rework later.
- Mount the plates: Secure each plate using the original fairing bolts or the hardware provided with your signal kit. Tighten them snugly, but do not overtighten—these are composite plates and can crack if you crush them. Consult your service manual for the correct torque value. Use a torque wrench if you have one; hand-tight plus a quarter turn is a safe fallback.
- Install the turn signals: Thread the M8 stem of each aftermarket signal through the plate’s hole and secure it with the nut and washer from your signal kit. Position the signal so it points forward and slightly outward, then tighten the stem nut. Do not exceed the signal manufacturer’s torque spec. Check that the signal can’t rotate by hand before moving on.
- Route the wiring: Run the signal wires along the original harness path, using zip ties to secure them every few inches. Avoid sharp edges and moving parts. If you’re using LED signals, install load resistors or a compatible flasher relay now, following the kit’s instructions. Leave a small service loop near the signal so you can remove it later without cutting wires.
- Connect and test: Plug the signals into the factory connectors. If the connectors don’t match, use the adapter pigtails from your signal kit or crimp on new terminals. Reconnect the battery and test the turn signals with the key on. Check for proper flash rate and that left/right correspond correctly. If the flash rate is fast, you likely need load resistors or a different flasher relay.
- Final check: With the bike on the ground, turn the handlebars lock-to-lock and verify that the wires don’t pull tight or rub. Check that the signals are secure and aimed correctly. Go for a short test ride and re-check tightness afterward. Re-torque the plate bolts after the first 50 miles.
Product facts
-
CB1000 Hornet 25-26 Front Turn Signal Mount Plates: These plates are 3D printed with Onyx, a nylon mixed with non-continuous carbon fiber. This material offers high strength and UV/heat resistance, so the plates hold up to sun and engine heat without warping.
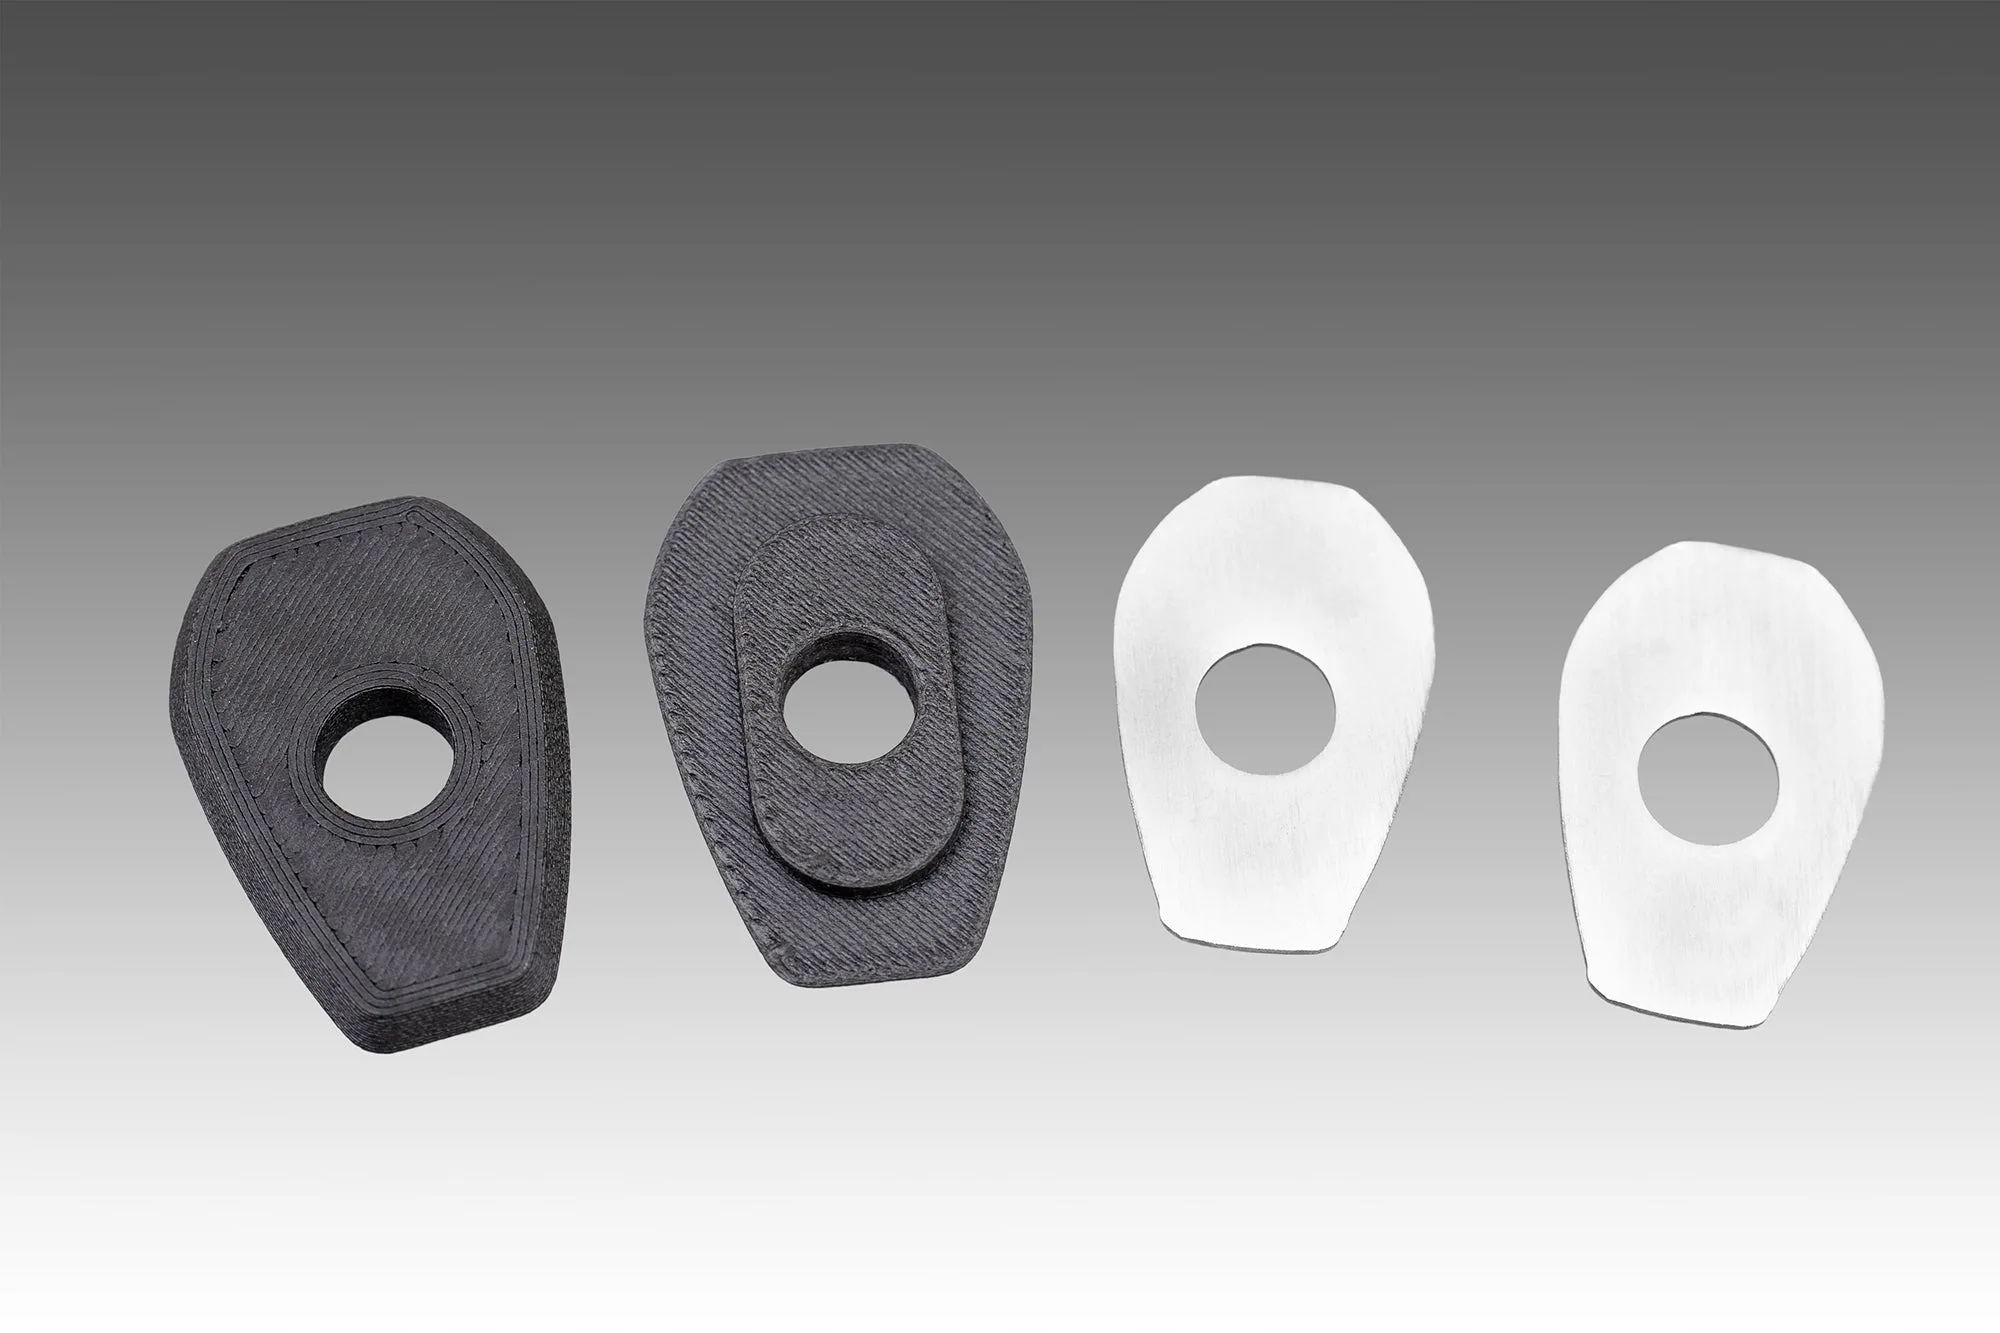
CB1000 Hornet 25-26 Front Turn Signal Mount Plates