Quick Answer
Most cracking in a cedar raised bed is surface checking, not structural failure, and it happens when the boards dry out faster than they can reabsorb moisture. Fix the cause first: water deeply and less often, add mulch, and keep soil off the exposed board faces. Treat the wood only after the boards are dry, and stop when cracks are shallow or when a split runs through the full board thickness and loosens a fastener.
Check the Crack Before You Treat Anything
Run your fingernail across the crack. A surface check is shallow, runs along the grain, and stops before the board's full thickness. A true split runs through the board, opens when you press the sides, and often shows at a fastener or corner joint. Cedar moves with moisture, so thin checks on the sun-facing side are normal weathering, not a defect you need to seal immediately.
Look at where the crack sits. Cracks near the top edge of a board dry first because that face gets sun and air on both sides. Cracks at the bottom edge usually mean the board is sitting in constantly wet soil, which is a drainage problem rather than a drying problem. Those two situations need opposite fixes.
Why Cedar Dries Out Faster Than You Expect
Cedar is naturally resistant to rot, but it is still a wood that shrinks as it loses moisture. A raised bed exposes more board surface to sun and wind than a fence or planter box, so the outer face can dry while the soil side stays damp. That moisture difference is what pulls a check open. Watering a little every day keeps only the top inch of soil wet, so the boards cycle between wet and dry and the movement repeats.
Bare soil against the boards also wicks moisture out of the wood and deposits salts at the soil line. If you leave a wide strip of exposed board above the soil, that strip takes the full force of sun and wind with no shade and no moisture source. The result looks like the wood is failing when it is really just doing what wood does.
Corrective Steps That Actually Slow Cracking
Water deeply two or three times a week instead of a light daily pass, so the soil holds moisture longer and the boards stay in a narrower moisture range. Add two to three inches of mulch over the soil, keeping it a couple of inches back from the boards so air can still move. If your bed is in full afternoon sun, a shade cloth or a taller planting along the hot side reduces the surface temperature of the boards.
When you do treat the wood, wait for a stretch of dry weather so the boards are at their driest, then apply a penetrating oil or a breathable exterior finish. Do not wrap cedar in a solid film sealer; trapped moisture under a cracked film causes more damage than an unfinished board. Reapply according to the product label rather than on a fixed yearly schedule.
When to Repair, Replace, or Stop Worrying
Stop and reassess if a crack runs through the full thickness of a board, if a corner pulls apart, or if a fastener no longer holds. Those are structural, and no finish will close them. On a build-your-own bed, the practical fix is to swap the affected board rather than rebuild the whole frame, which is one reason modular cedar systems are worth the slightly higher upfront cost.
If the crack is shallow, along the grain, and the board is still solid when you press it, leave it alone and keep up with watering and mulch. Sealing every check as it appears adds cost and labor without changing how long the bed lasts.
Cedar Bed Cracking Diagnosis
- Shallow checks along the grain on the sunny side: The board face is drying faster than the soil side. This is normal cedar movement, not rot. Water deeply less often, mulch the soil, and leave the checks alone.
- Cracks at the soil line with dark, soft wood: Constant moisture and poor drainage, not dryness, are the cause. The board is staying wet rather than drying out. Improve drainage and airflow before applying any finish.
- A split through the full board thickness or a loose corner: This is structural. A finish will not close it, and the board needs to be replaced. Replace that board rather than resealing the whole bed.
Parts That Help You Add Height Without Stressing Boards
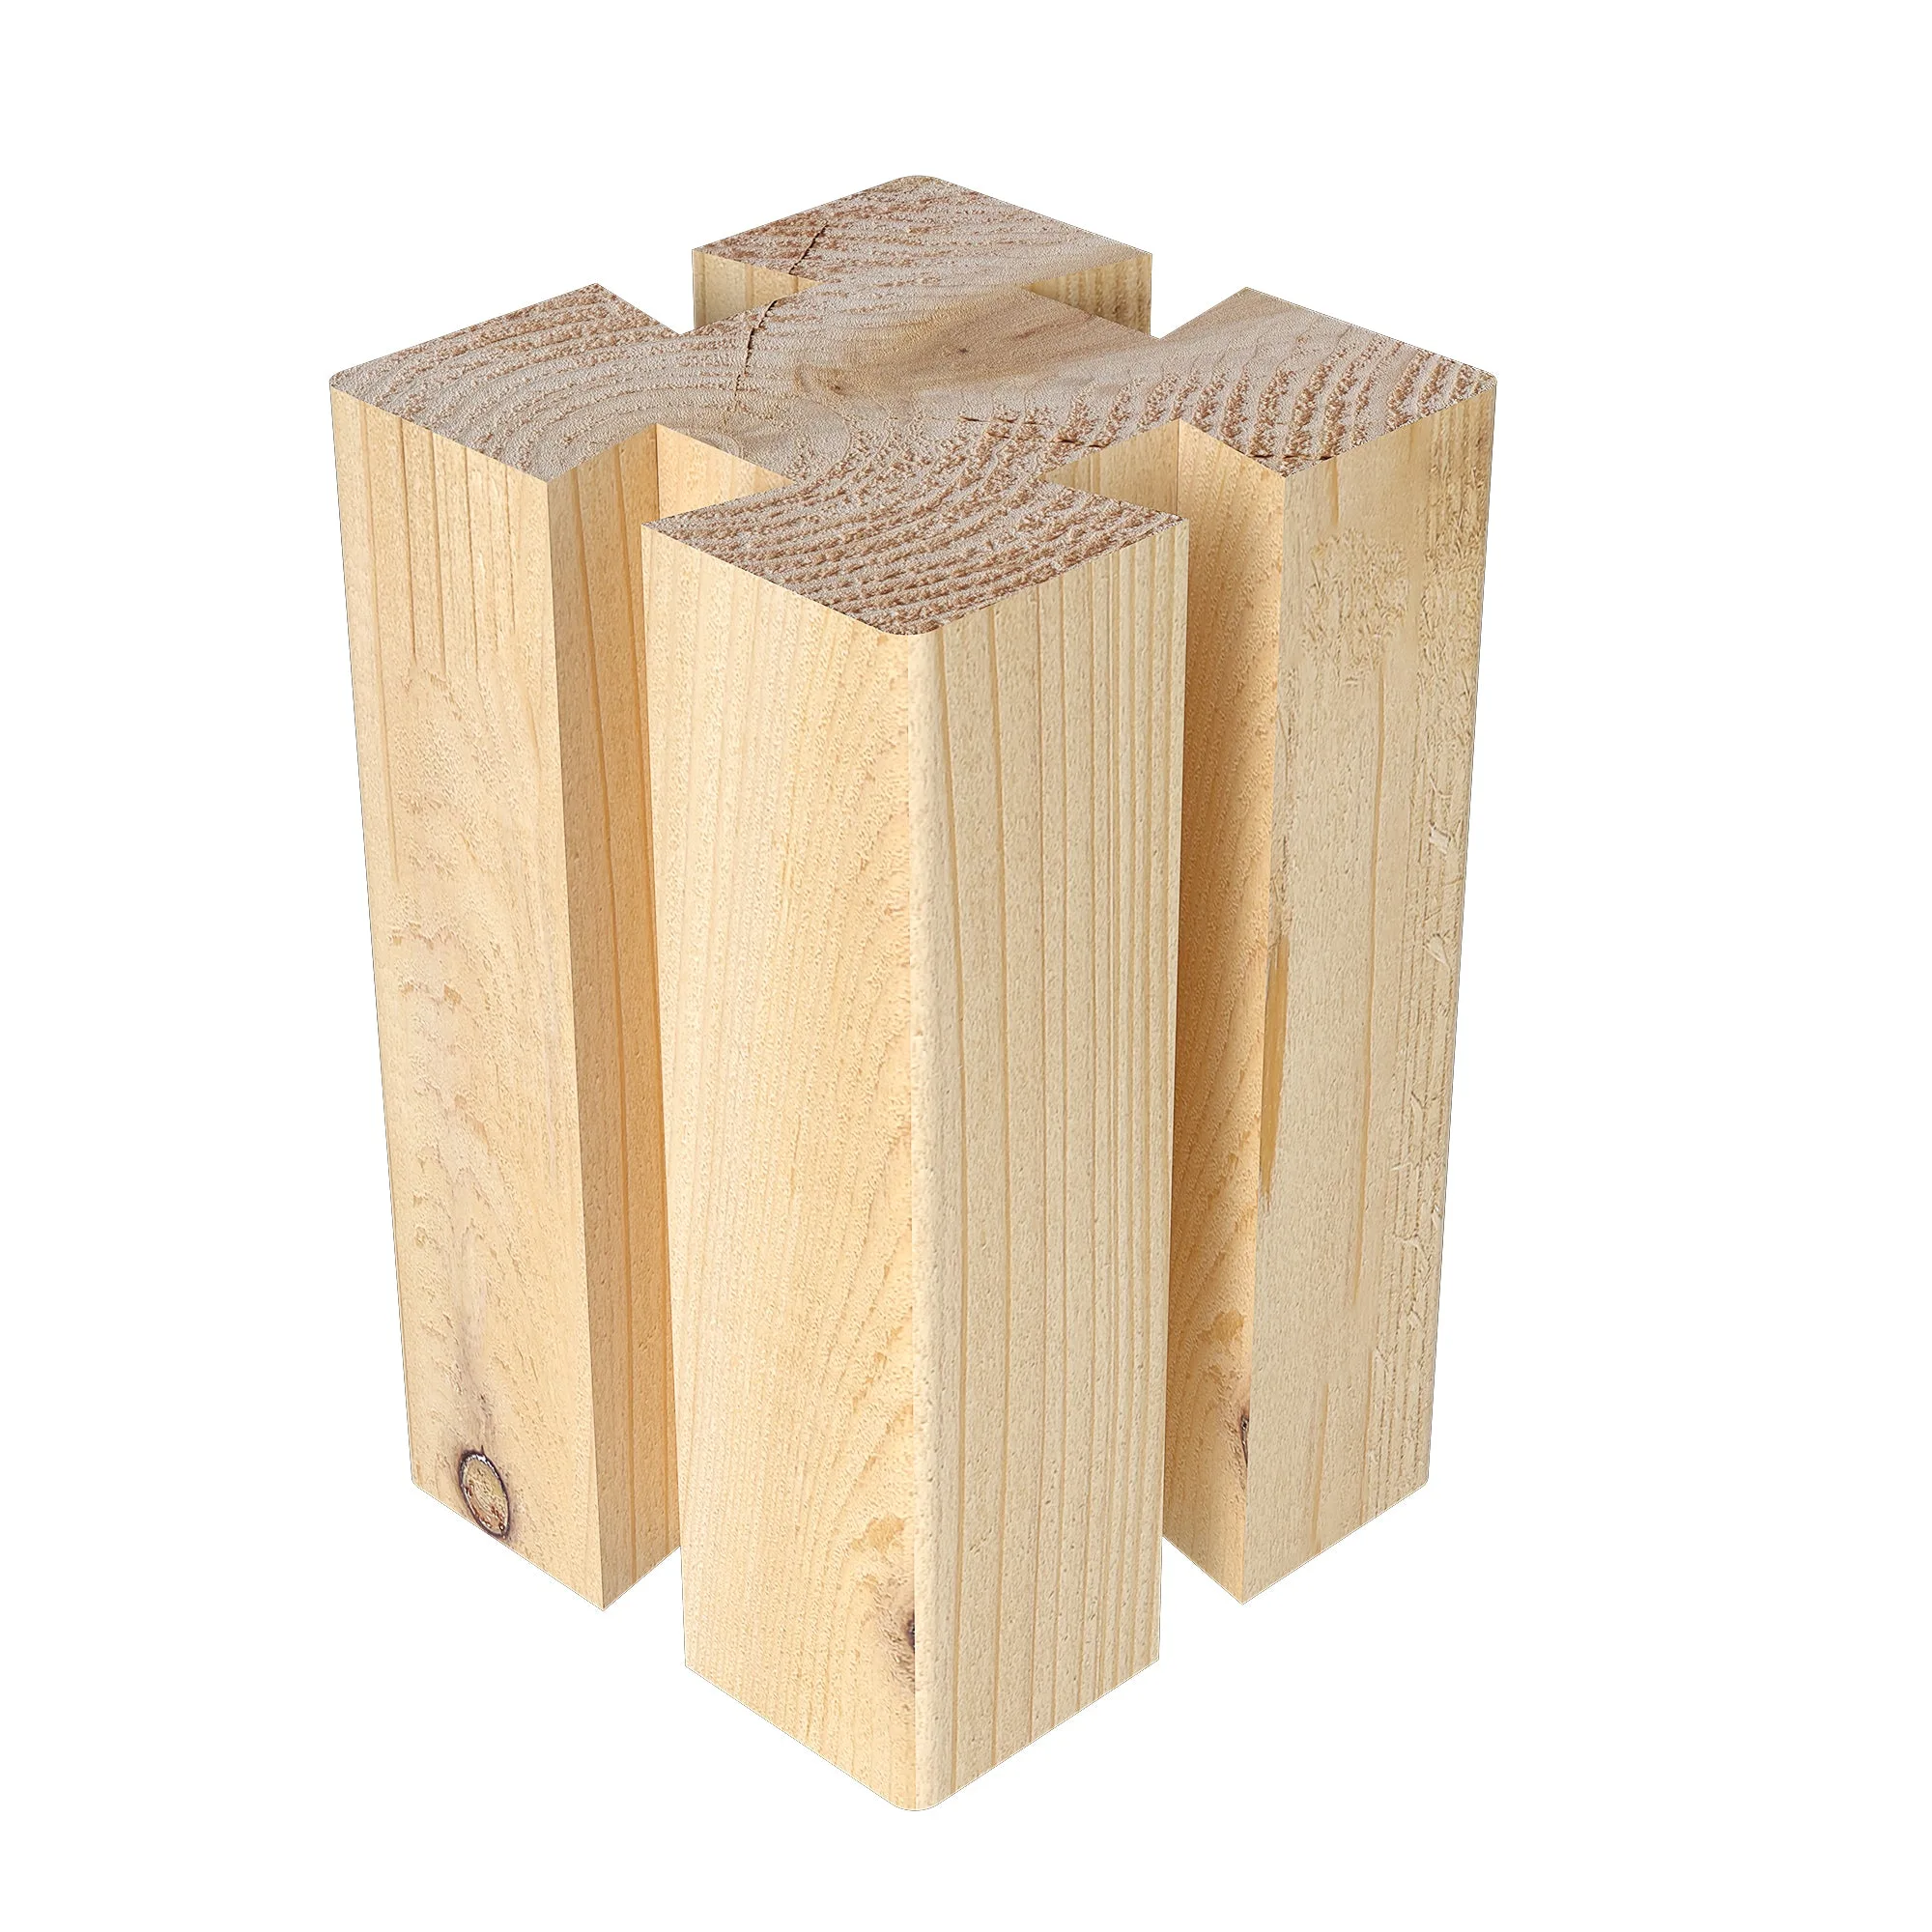
- Premium Cedar Short Post 6 in x 2.5 in x 2.5 in RCSP: Premium Cedar Short Post 6 in x 2.5 in x 2.5 in RCSP holds one 5.5 in. tall premium board high, adding five and a half inches of height per layer, and the posts stack on top of each other. Stacking a layer at a time lets you raise the soil line gradually instead of burying a tall board face that would dry and check in the sun.
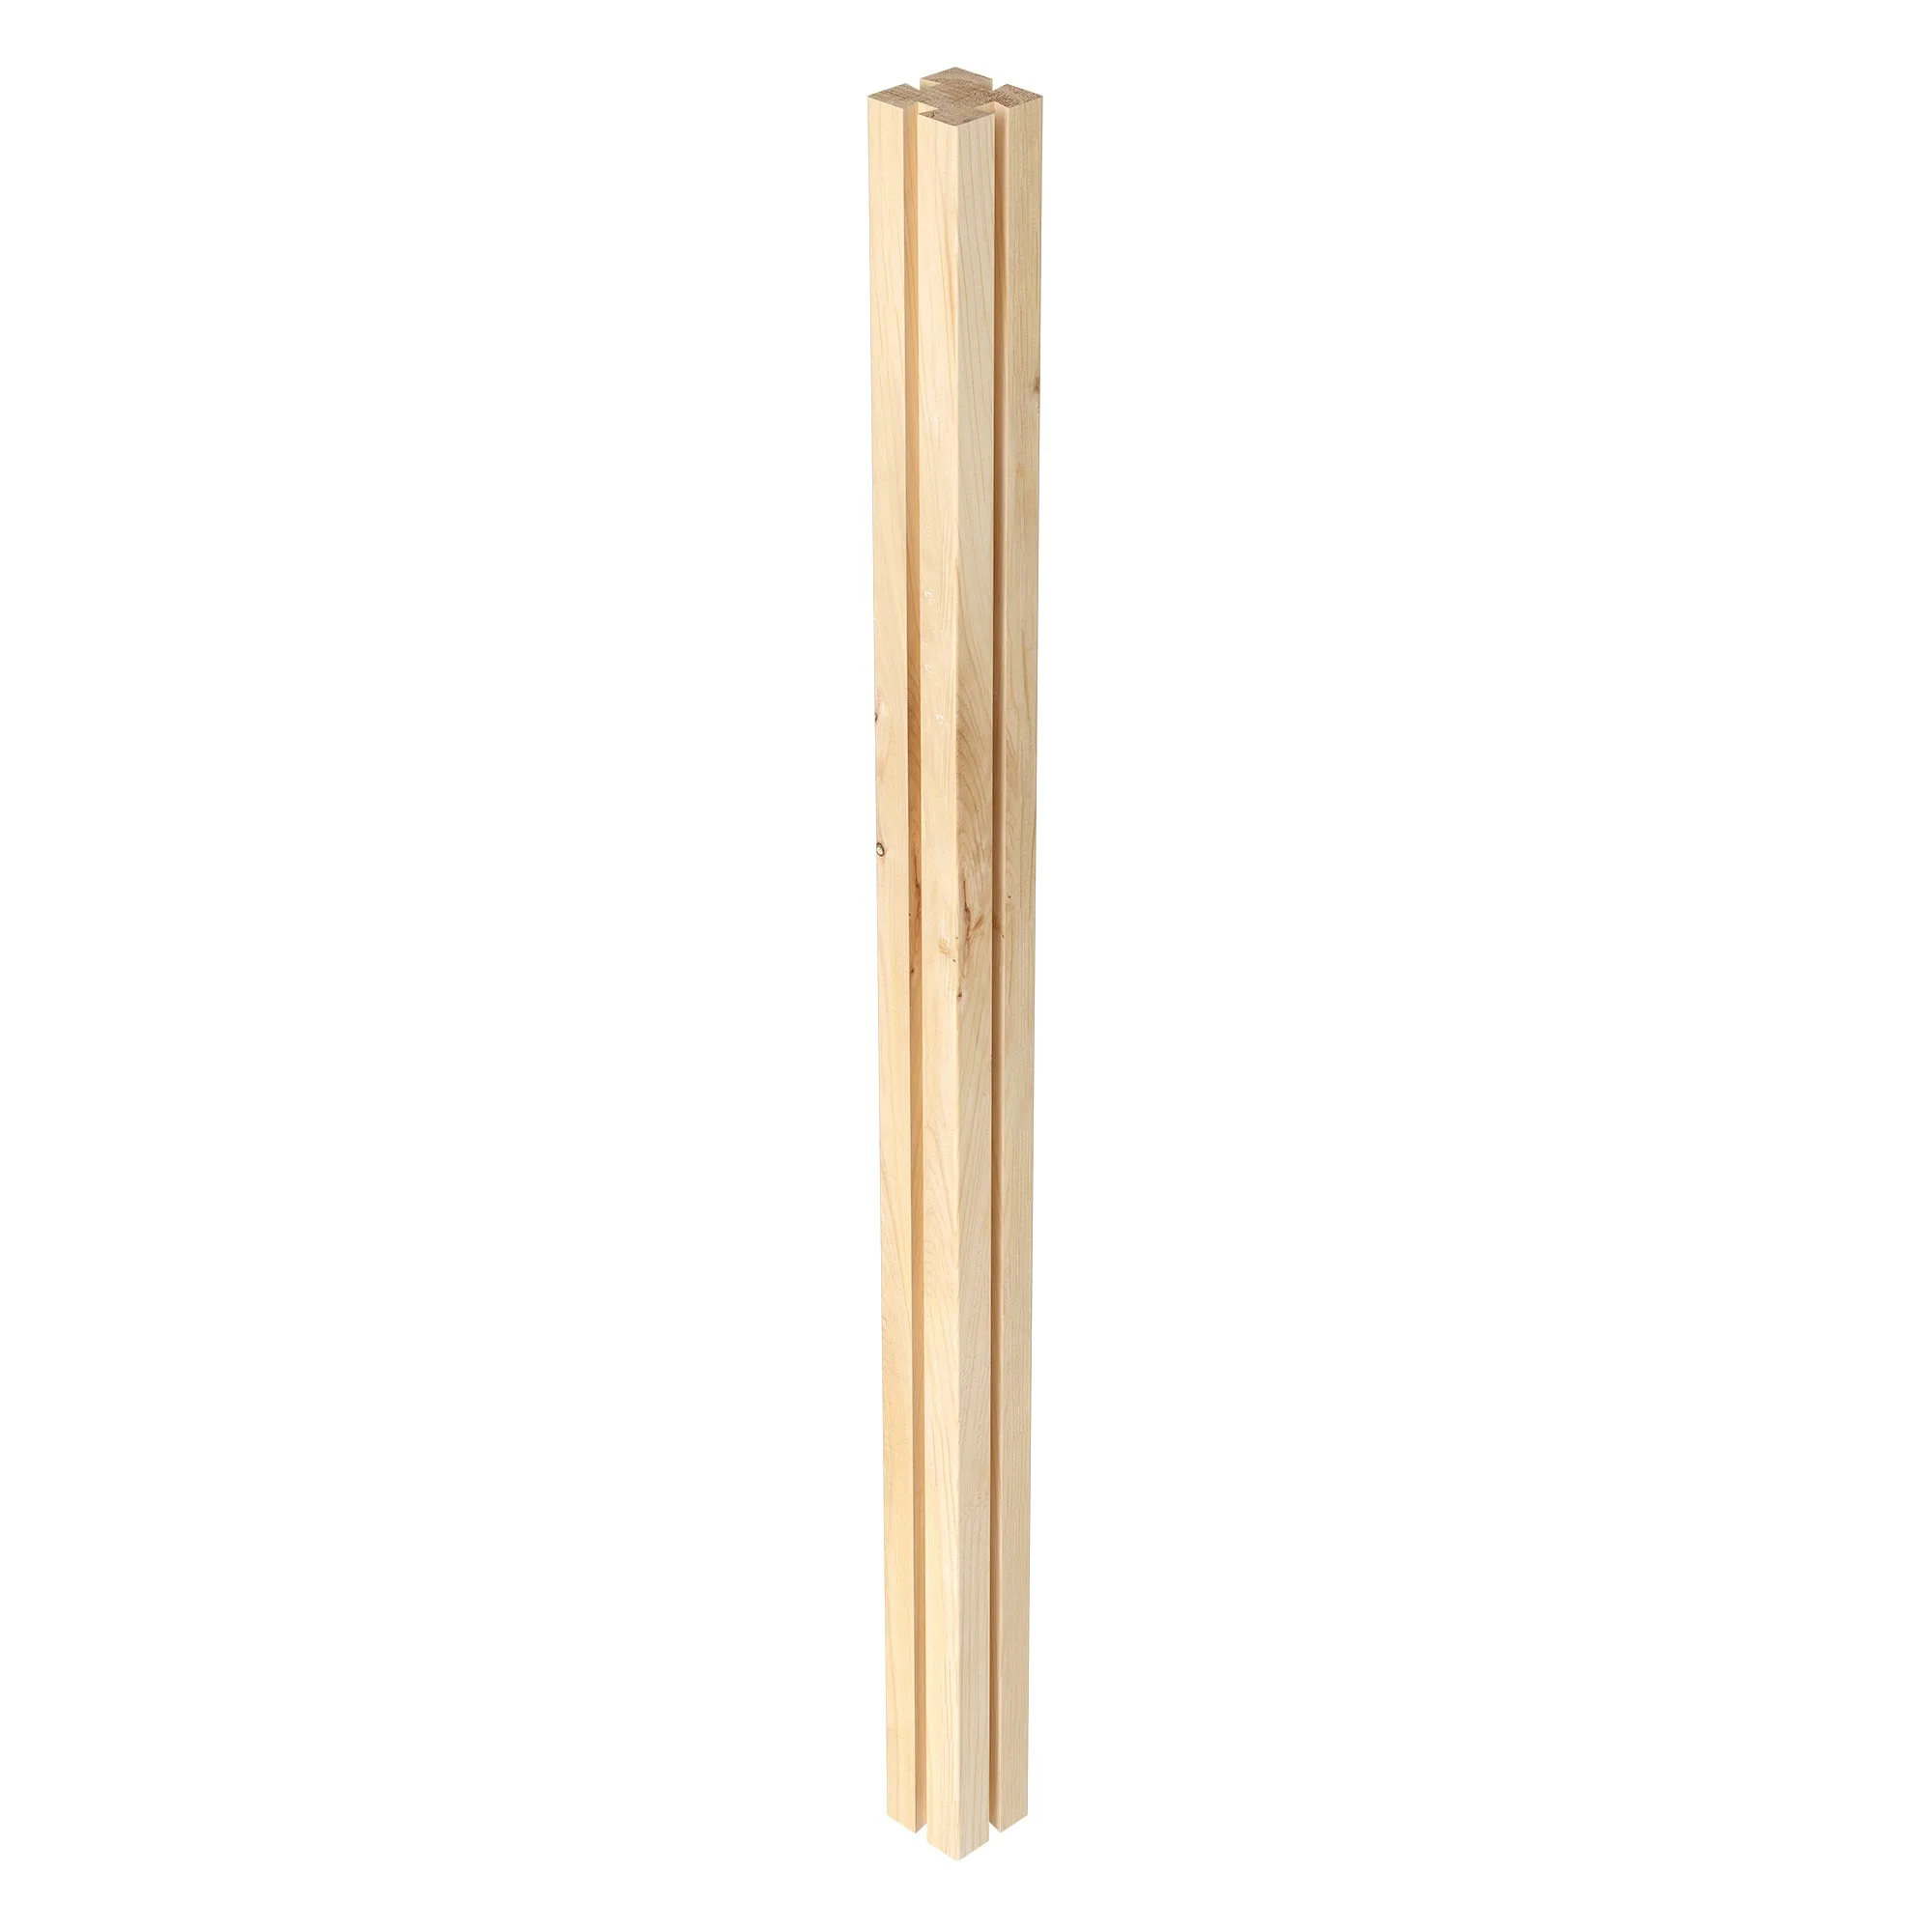
- Premium Cedar Trellis Post 46.5 in x 2.5 in x 2.5 in RCP46: Premium Cedar Trellis Post 46.5 in x 2.5 in x 2.5 in RCP46 measures 2.5 in. wide by 2.5 in. deep by 46.5 in. tall and is meant for building a cedar trellis. A trellis post shades part of the bed's exposed board face and gives vining crops a place to climb, which reduces direct sun on the wood.
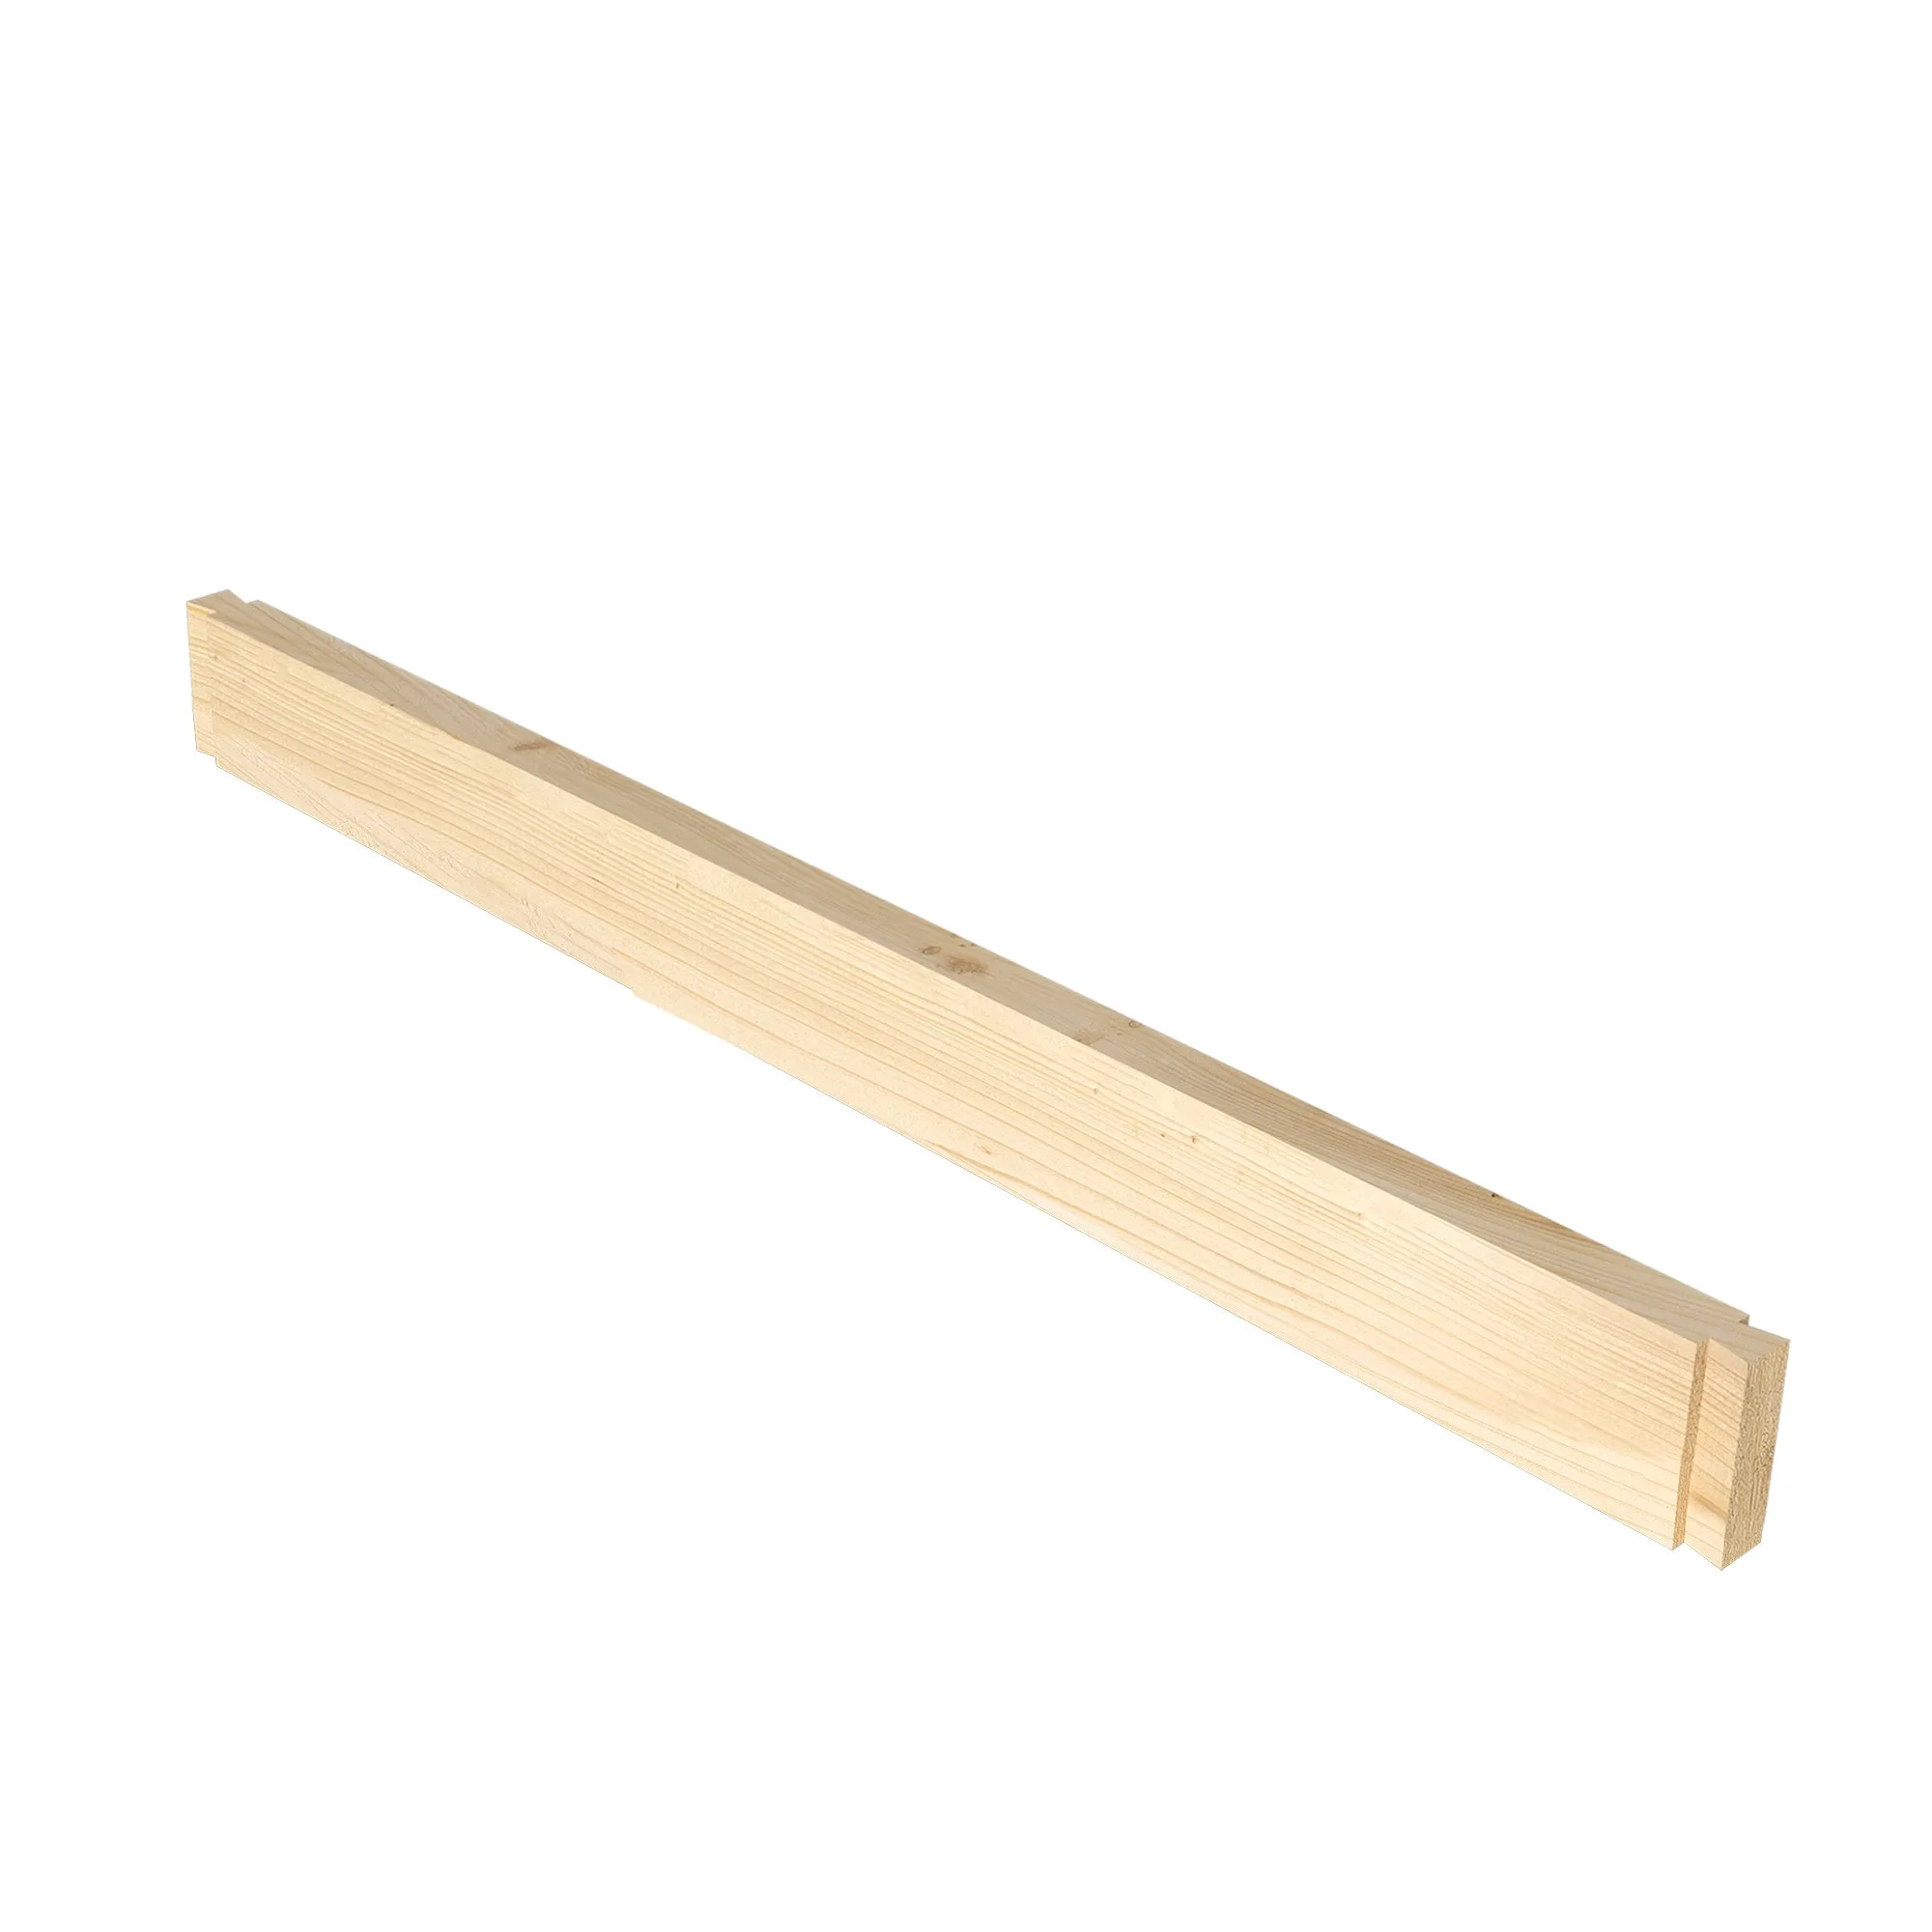
- Cedar Trellis Slat 24 in RC24SLT: Cedar Trellis Slat 24 in RC24SLT measures 3/4 in. x 1 1/4 in. x 23 in., and the slats are smaller than garden bed side wall boards, with a height of 1-1/4 in. Trellis slats are not a substitute for side wall boards, so do not use them to replace a split bed board; order the correct board model instead.