Making homemade chocolates is a delightful and rewarding hobby that lets you craft personalised treats for any occasion. From simple chocolate bars to intricate figurines, the key to achieving professional-looking results lies in selecting the right mould. With the right tools, you can create chocolates that rival those from a confectionery shop, whether you are a beginner or an experienced chocolatier.
Choosing a chocolate mould involves more than just picking a pretty shape. You need to consider the material, size, ease of demoulding, and how the mould interacts with tempered chocolate. This buying guide will walk you through the essential factors to consider when buying chocolate moulds, and highlight some complementary products from Lakeland that can help you along the way.
Silicone vs Plastic Moulds: Pros and Cons
The most common materials for chocolate moulds are silicone and polycarbonate plastic. Silicone moulds are flexible, making demoulding very easy – you can simply pop the chocolate out without the risk of breaking delicate details. They are also heat-resistant and dishwasher-safe, which simplifies clean-up. However, silicone moulds may not give the same high-gloss finish as plastic moulds because the surface is slightly more porous. They are ideal for beginners and for making chocolates for gifting, where a matte finish is acceptable.
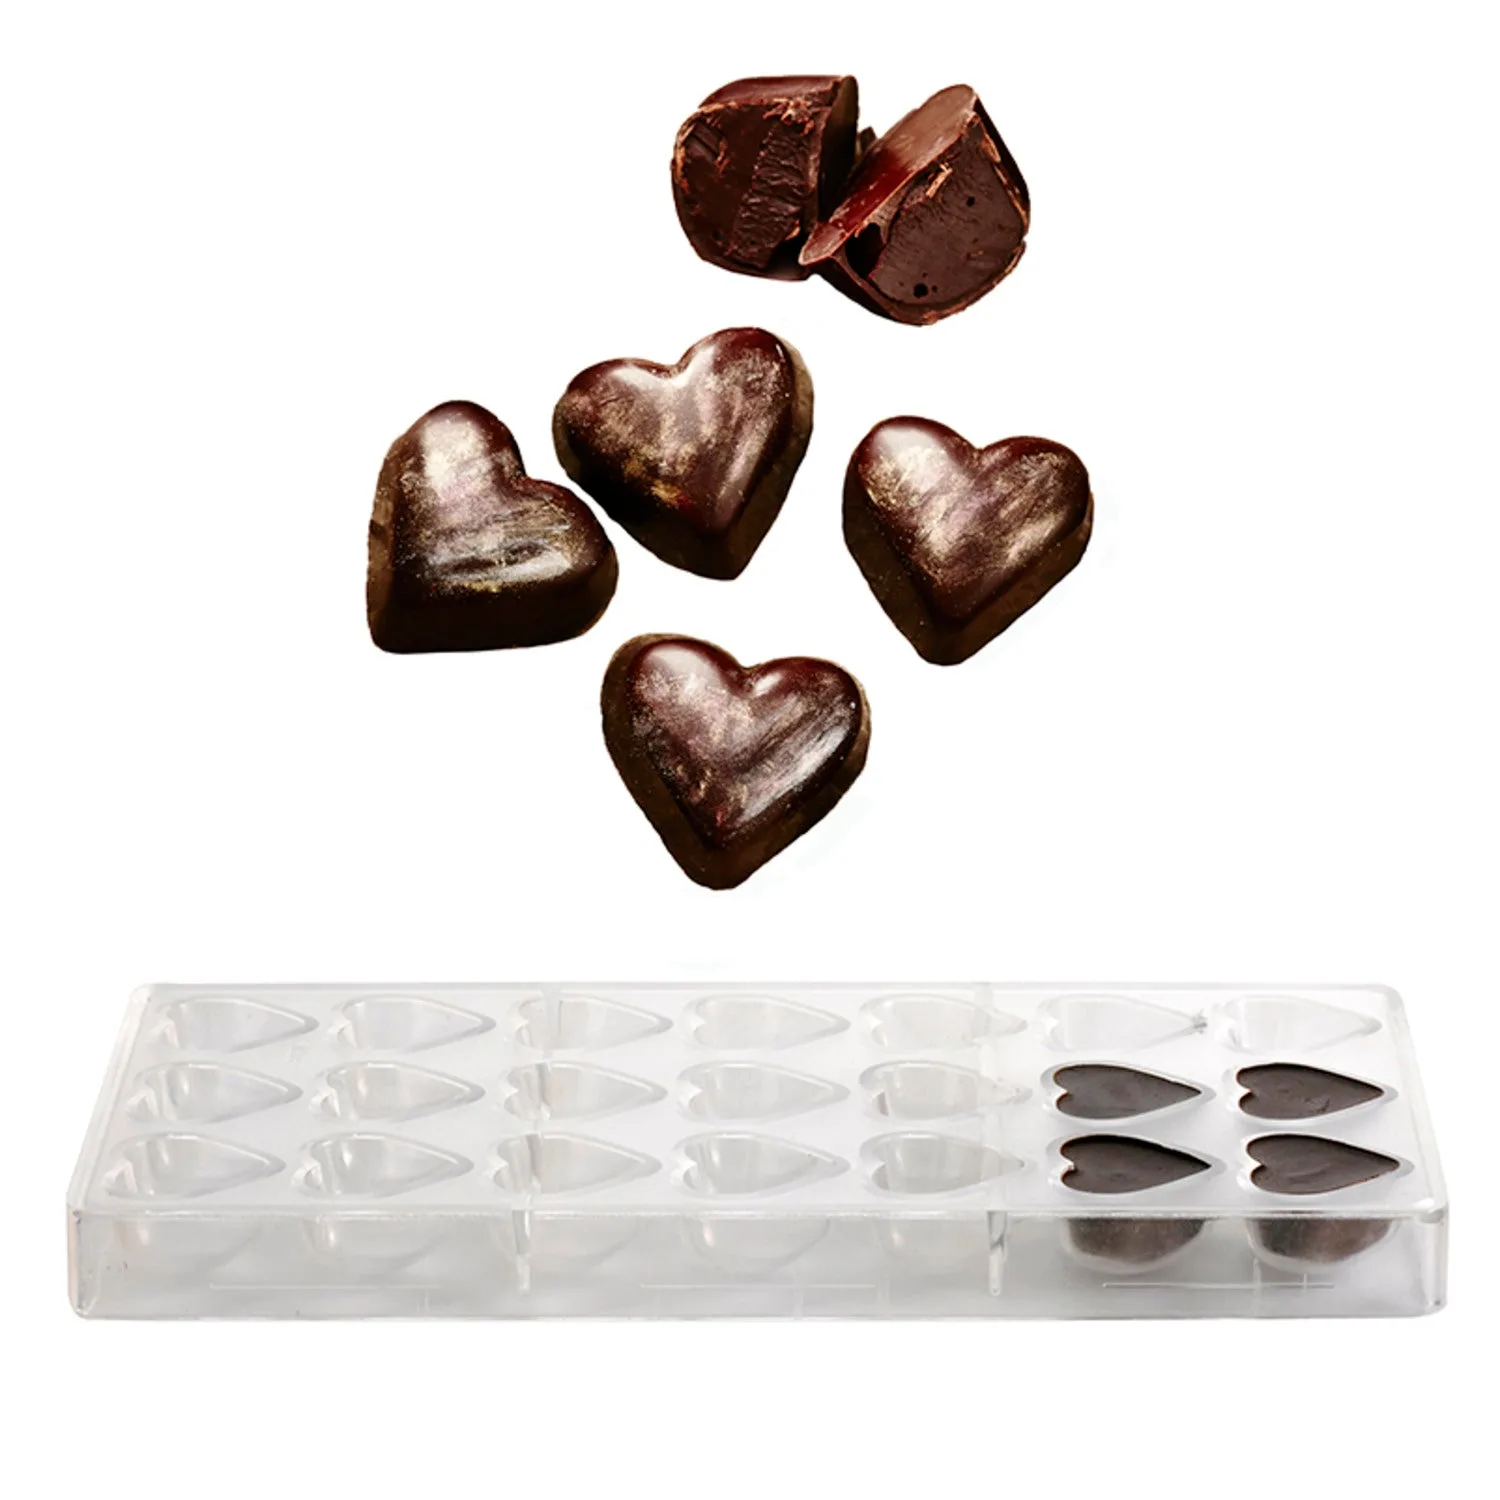
Polycarbonate plastic moulds are the professional’s choice. They are rigid, durable, and have a smooth surface that yields a glossy, snappy chocolate finish. These moulds often come in multiple cavities and intricate designs, perfect for filled chocolates or detailed shapes. The downside is that they are less forgiving; you must temper your chocolate correctly or the chocolate may stick. They also require careful hand-washing. For those starting out, silicone moulds are a fantastic entry point, while serious hobbyists may eventually invest in plastic moulds.
- Tip: If you are new to chocolate making, start with a small silicone mould with simple shapes to practise tempering and demoulding.
Shapes and Sizes: Matching Moulds to Your Projects
Chocolate moulds come in an astounding variety of shapes and sizes, from classic hearts and stars to sophisticated geometric designs and seasonal figures like Easter eggs or Christmas trees. When selecting a mould, consider the occasion and the type of chocolate you intend to make. For everyday treats, small bar moulds or round bonbon moulds are versatile and quick to fill. For special celebrations, you might want intricately detailed moulds that allow you to create thin, delicate shells for filling.
Size also matters: larger moulds require more chocolate and longer setting times, while tiny moulds are perfect for tasting portions or decorating cakes. Beginners often find it easiest to start with medium-sized cavity moulds that hold about 10–15g of chocolate per piece. You can also buy themed moulds for holidays. Remember that the volume of the cavity determines how much chocolate you need – always check the capacity listed on the product. Lakeland offers a range of moulds and kits that cater to different skill levels and occasions.
- Tip: If you are making filled chocolates, choose a mould with a smooth cavity and a slightly tapered shape for easier demoulding.
Temperature and Tempering: How Your Mould Choice Affects Results
Tempering chocolate is the process of heating and cooling it to specific temperatures so that the cocoa butter crystallises properly, resulting in a shiny, snappy finish. The material of your mould can influence how quickly the chocolate cools and sets. Silicone moulds are poor conductors of heat, meaning the chocolate will cool more slowly, which can sometimes lead to bloom (streaks or white spots) if the temperature fluctuates. Plastic moulds conduct heat more evenly and help the chocolate set faster, giving a more consistent gloss.
For best results, always pre-warm your moulds to around 30°C to ensure the chocolate flows into all crevices without cooling too quickly. With silicone moulds, you can place them in the refrigerator for a few minutes to help the chocolate set, but be careful not to shock the chocolate. With plastic moulds, a short rest at room temperature is usually sufficient. Regardless of the mould, proper tempering is essential. If you are new to tempering, practicing with a simple silicone mould can build confidence before moving to more advanced materials.
- Tip: Use a kitchen thermometer and follow the tempering curves for your chocolate type (dark, milk, or white) to avoid failures.
Caring for Your Chocolate Moulds
To extend the life of your chocolate moulds, proper cleaning and storage are essential. Silicone moulds can be washed in warm soapy water or placed on the top rack of a dishwasher. Make sure they are completely dry before use, as any moisture will cause the chocolate to seize. Store silicone moulds flat or rolled carefully to avoid permanent creases. Plastic polycarbonate moulds must never go in the dishwasher, as high heat can warp them. Wash them by hand with a soft cloth and mild detergent, then dry immediately.
Never use abrasive sponges or metal utensils on any mould, as scratches will transfer to the chocolates. After cleaning, store plastic moulds in a cool, dry place, ideally stacked with a soft cloth between them to prevent scratches. If you need to remove stubborn chocolate residue, wipe the mould with a soft cloth dipped in a little cocoa butter or vegetable oil – do not use soap. With proper care, good quality moulds will last for many batches of delicious homemade chocolates.
- Tip: If you plan to store moulds for a long period, wrap them in acid-free tissue paper to protect the surface.
Beyond Moulds: Essential Tools and Ingredients for Chocolate Making
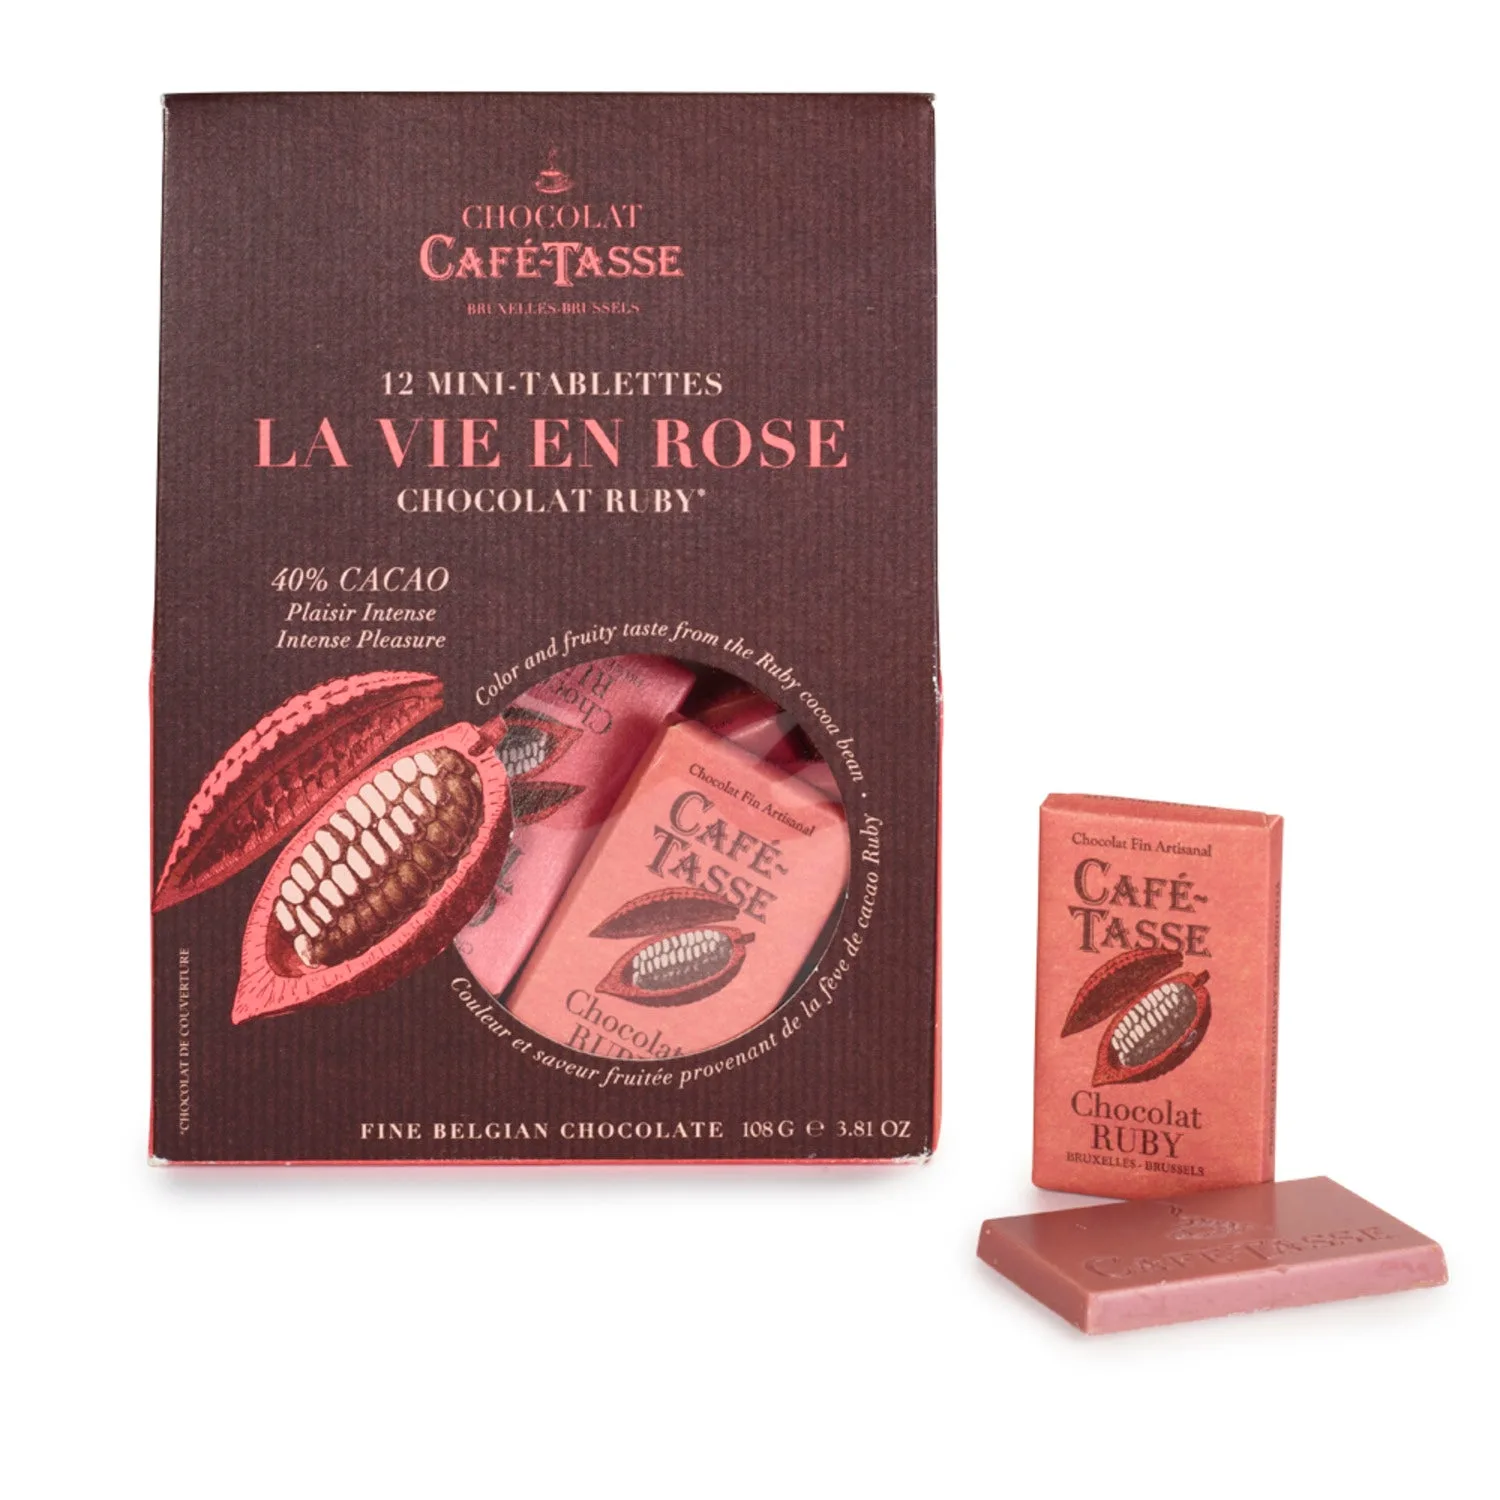
While the mould is the star of the show, other equipment and ingredients play a vital role in your success. A good quality digital thermometer is indispensable for tempering. You might also invest in a cooling rolling pin if you work with chocolate sheets or ganache. For decorating your finished chocolates, Lakeland offers colourful products like the Decora Pink Macaron Kit, which provides everything you need to create beautiful macarons – a perfect companion to your chocolate skills. If you prefer ready-made luxury, the 12 Café-Tasse Ruby Chocolates 108g are exquisite ruby chocolates that can be used as a filling or simply enjoyed as a gift.
When selecting ingredients, always choose high-quality couverture chocolate for the best flavour and workability. If you are making filled chocolates, consider using a piping bag and a small tip for precise filling. The Happy Sprinkles Football Party - 90g can add a fun touch to chocolate lollipops or cake pops if you are making treats for a sports-themed event. By combining great moulds with the right tools and ingredients, you can create professional-quality chocolates in your own kitchen.
- Tip: For a glossy finish on your chocolates, gently polish the inside of plastic moulds with a clean cotton ball before pouring in the chocolate.
Choosing the right chocolate mould is the first step to creating beautiful, delicious homemade chocolates. Whether you start with flexible silicone moulds or progress to professional plastic ones, remember that practice and patience are key. Explore Lakeland's range of moulds and complementary products to find everything you need for your next chocolate-making adventure. Visit our shop to see the full selection and get inspired.