Restoring or customizing leather footwear is a rewarding project that can breathe new life into a beloved pair of shoes or boots. Whether you're a reenactor looking to match period-correct shades or a hobbyist wanting to refresh vintage finds, choosing the right dye is critical for achieving professional results. Liquid dyes offer deep penetration and even color, making them a top choice for leather footwear. This guide covers everything from selecting the right dye to application techniques, with special focus on Griffin shoes dye and practical tips for success.
Leather is a natural material that responds differently to each dye formulation. Understanding the type of leather you're working with—whether it's full-grain, top-grain, or corrected grain—will influence your dye choice and preparation steps. Liquid dyes, especially alcohol-based ones, are ideal for achieving uniform color on smooth leather, while oil-based dyes work better for absorbent or unfinished leathers. For most footwear projects, a high-quality liquid dye like those used on https://wildernessworks.shop/products/low-quarter-shoes-99220Low Quarter Shoes offers excellent coverage and durability.
Understanding Leather Dye Types: Why Liquid Dye Wins for Footwear
When it comes to dyeing leather shoes, not all dyes are created equal. Liquid dyes, particularly alcohol-based formulations, penetrate the leather fibers deeply rather than sitting on the surface like paint. This results in a color that flexes with the leather, resisting cracks and peeling. For footwear that endures bending and friction, this is essential. Griffin shoes dye is a popular alcohol-based option that dries quickly and allows for layering to achieve the exact shade you need. Unlike acrylic paints, liquid dye maintains the leather's natural texture and breathability.
Another advantage of liquid dye is its versatility. You can apply it to both new and old leather, as long as the surface is properly prepared. For reenactors restoring vintage gear, such as a pair of original Low Quarter Shoes, liquid dye can restore faded areas or even change the color entirely. It's also ideal for touching up scuffs and scratches, as the dye can be applied precisely with a small brush or sponge. Always test the dye on a hidden area first to ensure compatibility with your specific leather.
- Alcohol-based liquid dyes dry fast and bond with leather fibers for lasting color.
- Oil-based dyes are better for unfinished or very dry leather but take longer to set.
- Avoid using shoe polish as a dye; it only coats the surface and wears off quickly.
Preparing Leather Footwear for Dye Application
Proper preparation is the most important step in any leather dyeing project. Start by cleaning the shoes thoroughly with a leather cleaner or saddle soap to remove dirt, oils, and old polish. Allow them to dry completely—moisture trapped under the dye can cause blotching. For best results, lightly sand the surface with fine-grit sandpaper (400-600 grit) to open the pores and remove any glossy finish. This step is crucial for smooth, even absorption of the liquid dye.
Next, apply a leather deglazer or acetone to strip any remaining finishes. This is especially important if the shoes have been previously polished or treated with conditioners. After deglazing, wipe the surface with a clean cloth and let it dry for 30 minutes. You're now ready to apply the dye. For a project like restoring a pair of Low Quarter Shoes, this preparation ensures the dye adheres uniformly and doesn't peel later. Use painter's tape to protect soles, heels, and any hardware.
- Always clean and deglaze leather before dyeing to remove old finishes.
- Light sanding helps the dye penetrate evenly—don't skip this step.
- Tape off areas you don't want dyed, such as soles and metal eyelets.
How to Apply Liquid Dye for a Professional Finish
Applying liquid dye requires patience and a steady hand. Use a small foam brush, sponge, or wool dauber to apply the dye in thin, even coats. Start from the center of the shoe and work outward, following the grain of the leather. Avoid overloading the applicator, as drips can create dark spots. Let each coat dry for 15-20 minutes before applying the next. Two to three thin coats usually provide full coverage, but you can add more for a darker shade. Griffin shoes dye is known for its rich pigmentation, so you may need fewer coats than with other brands.
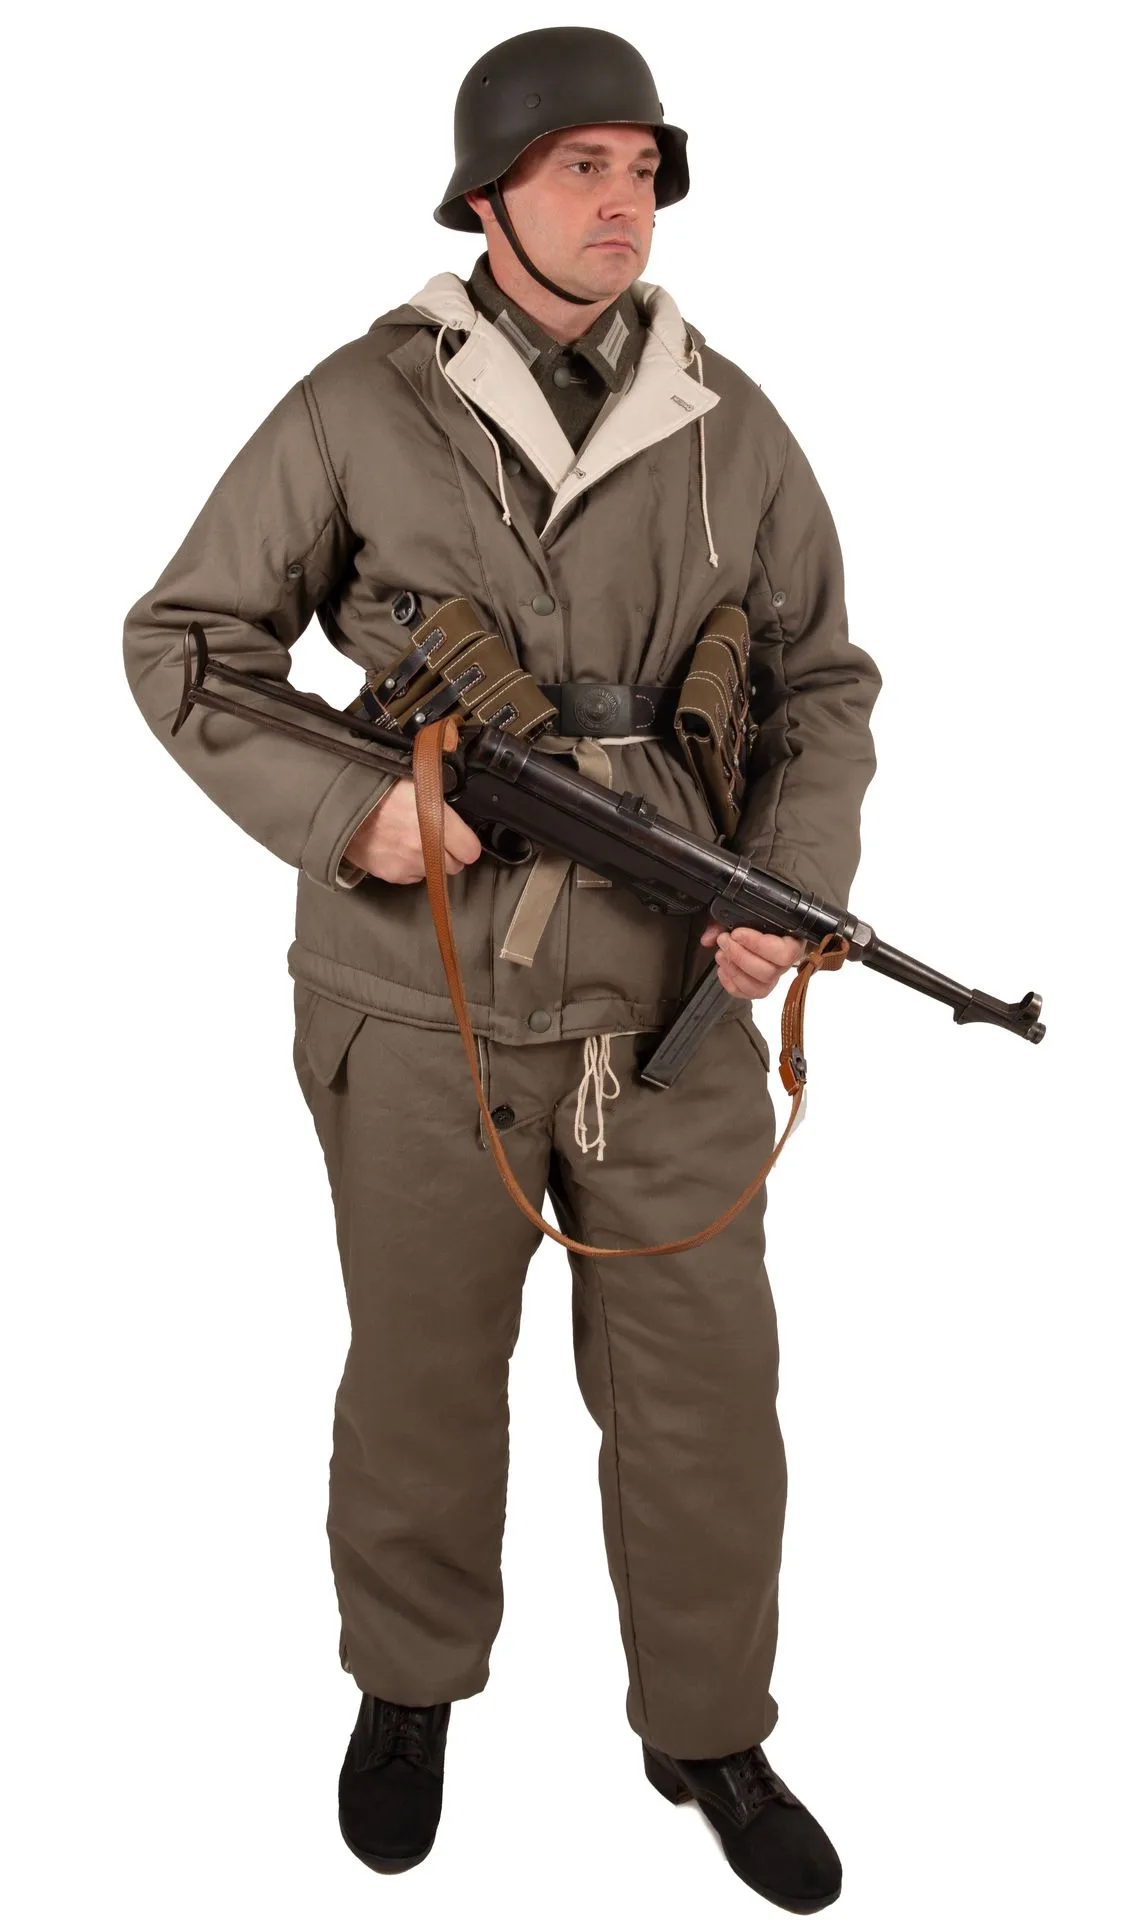
After the final coat dries, seal the dye with a leather finisher or resolene to protect the color from water and wear. Buff the shoes gently with a soft cloth to restore a natural sheen. For a matte look, skip the buffing or use a matte finisher. This method works beautifully on a range of footwear, from combat boots to dress shoes. Reenactors often use this technique to match the exact shade of period-correct uniforms, such as pairing dyed boots with a https://wildernessworks.shop/products/heer-gray-winter-uniform-package-99346Heer Gray Winter Uniform Package for a cohesive impression.
- Apply thin coats rather than one thick coat to avoid streaks and uneven color.
- Allow each coat to dry completely before adding the next layer.
- Seal the dye with a leather finisher to prevent color transfer and wear.
Common Mistakes to Avoid When Dyeing Leather Shoes
One of the most frequent mistakes is skipping the deglazing step. If you apply dye over old polish or conditioner, it won't absorb properly and will peel off quickly. Another error is using too much dye at once, which leads to pooling and dark splotches. Always work in thin layers. Also, avoid dyeing leather that is too cold or too humid, as this affects drying time and adhesion. Room temperature (around 70°F) with low humidity is ideal.
Another pitfall is neglecting to test the dye on a small area first. Leather can vary greatly in how it absorbs color, even within the same pair of shoes. Testing ensures you achieve the shade you want before committing to the entire surface. Finally, don't rush the drying process. Using a hair dryer on high heat can cause the dye to crack. Patience pays off with a smooth, durable finish that lasts for years. For those new to dyeing, starting with a simple project like a pair of Low Quarter Shoes is a great way to build confidence.
- Always deglaze old leather to remove previous treatments.
- Test dye on a hidden spot to preview the final color.
- Avoid heat guns or hair dryers; let dye air dry naturally.
Caring for Dyed Leather Footwear: Long-Term Maintenance Tips
Once your shoes are dyed and sealed, proper care will extend the life of the color. Use a leather conditioner specifically designed for dyed leather every few months to keep the material supple. Avoid harsh cleaners or solvents that can strip the dye. When storing, keep shoes away from direct sunlight, which can fade the color over time. For reenactors, rotating between multiple pairs of footwear reduces wear and tear on any single pair.
If you notice minor scuffs or fading, you can touch up the area with a small amount of liquid dye using a cotton swab. This is much easier than redyeing the entire shoe. For deep scratches, lightly sand the area before reapplying dye. With proper care, a dyed pair of boots can last for many years of field use or daily wear. Investing time in the initial dye job pays off with a custom look that stands out at events or on the street.
- Condition dyed leather every 2-3 months to prevent drying and cracking.
- Store footwear in a cool, dark place to prevent color fading.
- Touch up scuffs promptly with a small amount of leftover dye.
Mastering the art of leather dyeing opens up endless possibilities for customizing and restoring footwear. Whether you're refreshing a vintage pair or creating a period-correct impression, the right liquid dye and careful application make all the difference. For a reliable and high-quality option, explore the selection of leather care products available at atthefront, including the versatile Low Quarter Shoes that serve as an excellent canvas for your next dye project.