Quick Answer
If your Civic Si is a stock or lightly modified street car, replace worn rubber hoses and clamps with quality OEM-equivalent parts and skip the rest. If you track the car, run sustained high RPM, or live in a hot climate, a silicone radiator hose kit plus a fresh thermostat, cap, and correctly tensioned clamps is the sensible upgrade. Don't buy a full cooling overhaul before you've confirmed the actual failure point.
Cooling problems on a Civic Si rarely announce themselves politely. You get a sweet smell at a stoplight, a temperature gauge that creeps at idle, or a puddle under the front bumper after a cold night. By then, the original rubber hoses on a 2006-2015 Si are likely 10-20 years old and past their design life.
This guide is about deciding what to replace, in what order, and when an upgrade actually earns its cost. It is not a pitch to replace everything at once. Most owners get better results by fixing the real failure point first, then upgrading only the parts that see heat, pressure, and movement.
Start With Diagnosis, Not Parts
Before ordering anything, identify where the coolant is going. A pressure test holds the system at roughly 1.1-1.5 bar and reveals seeping hoses, a weeping water pump seal, or a failing radiator end tank. A combustion gas test in the coolant tells you whether a head gasket is involved, which changes the entire plan. If the system holds pressure and the level is stable, you may only need a cap or thermostat.
Common Civic Si failure points, in rough order of frequency: upper and lower radiator hoses, the heater hoses at the firewall, the thermostat housing gasket, the coolant bypass hoses under the intake manifold, and plastic radiator end tanks on high-mileage cars. Address the confirmed leak first. Replacing a healthy radiator because a hose failed wastes money you could put toward a proper hose kit.
- Pressure test before buying parts; it is the cheapest diagnostic you can run.
- Check hose clamps for corrosion and 'spring back' — a clamp that no longer grips is a leak waiting to happen.
- Look for white or green crust at hose ends; that residue marks the actual leak path.
When a Silicone Radiator Hose Kit Is Worth It
Silicone hoses resist heat aging and ozone cracking better than standard EPDM rubber, and they hold their shape under sustained high temperature. That matters on a track car where coolant temps sit higher for longer, and on a turbo build where the hoses near the manifold see radiant heat. A silicone radiator hose kit also gives you a known, consistent wall thickness and a cleaner install than a 15-year-old rubber hose that has hardened.
The tradeoff is real. Silicone is more permeable to coolant vapor over long periods, so you may notice a slightly lower expansion tank level between services. It also costs more, and cheap silicone with thin walls or poor reinforcement can collapse under suction on the lower hose. Buy a kit with a molded shape and reinforced layers, not a universal flex hose.
- Choose silicone for track use, forced induction, or hot climates — not as a default on a stock daily.
- Avoid universal corrugated hoses; they restrict flow and look wrong in a clean engine bay.
- Keep the original hoses as spares if they are still soft and crack-free.
Clamps, Thermostat, and Cap: The Cheap Parts That Cause Expensive Problems
Most coolant leaks after a hose swap come from clamp choice, not the hose. Worm-gear clamps cut into silicone and loosen as the hose cold-flows. Constant-tension spring clamps or lined worm-gear clamps hold more evenly. If you install silicone, use clamps rated for it and re-check torque after the first heat cycle.
The thermostat and radiator cap are wear items too. A cap that no longer holds its rated pressure lowers the boiling point of the whole system and lets the engine run hotter than the gauge suggests. Replace the cap with the correct pressure rating for your Si, and replace the thermostat if it is original or the car has had an overheating event. A stuck-open thermostat causes slow warm-up and poor fuel economy; a stuck-closed one causes rapid overheating.
- Match the cap pressure rating to the factory spec; higher is not better.
- Replace the thermostat and its gasket together — the gasket is the usual leak point.
- Bleed the system properly after any hose or thermostat change; trapped air mimics a bad head gasket.
What Not to Upgrade on a Street Civic Si
A larger aluminum radiator, an upgraded fan shroud, and a lower-temperature fan switch are common recommendations, but on a stock street Si they mostly add cost and install complexity without solving a problem you have. The factory cooling system has margin for normal driving and occasional spirited use. If your car overheats in traffic with a stock engine, the fix is a diagnosis, not a bigger radiator.
Similarly, do not replace the water pump, timing components, and every hose at once 'while you're in there' unless mileage and service history justify it. Bundling unrelated work increases the chance of a mistake and makes it harder to know which change fixed the issue.
- Skip the aluminum radiator unless you have a documented heat-soak problem or a track schedule.
- Do not mix coolant types; use the formula specified for your model year.
- Photograph hose routing before removal if the job is unfamiliar.
Fitment and Model-Year Reality Check
Civic Si cooling layouts differ significantly across generations. The 8th Gen (2006-2011) and 9th Gen (2012-2015) Si use different hose routing, and the 10th Gen (2017-2021) and 11th Gen (2022+) turbo cars use entirely different plumbing. A hose kit listed for one generation will not fit another, even if the engine family looks similar.
Before ordering, confirm three things: your chassis code, your engine code, and whether the car has been swapped or modified. If you have a K-swap in an older chassis, the radiator and hose routing may be custom, and a stock Si hose kit will not be the answer. When a listing does not state a specification you need, treat that as missing information rather than assuming it fits.
- Match the kit to your chassis and engine code, not just the model name.
- For swapped cars, measure hose diameters and plan custom routing.
- If a product page omits a fitment detail you need, ask before buying.
Decision Rules for Your Civic Si Cooling System
- If the car is a stock daily with no overheating history: Replace only the confirmed leaking hose, the cap if it fails a pressure test, and any clamp that no longer grips. Use OEM-equivalent rubber. Spend the savings on maintenance you can verify, not on parts you cannot justify.
- If you track the car or run sustained high RPM: Install a reinforced silicone radiator hose kit, replace the thermostat and cap, and use constant-tension or lined clamps. Re-check clamp torque after the first heat cycle. Silicone earns its cost under sustained heat; on a street car it mostly earns looks.
- If the car has overheated or lost coolant repeatedly: Pressure test and combustion gas test before buying any upgrade. A head gasket or water pump failure will not be fixed by a hose kit. Diagnosis first; parts second. This rule saves the most money.
- If you have a swapped or heavily modified chassis: Measure hose diameters and plan custom routing. Stock Si hose kits are unlikely to fit a K-swap or custom radiator setup. Treat missing fitment specs as a stop sign, not a maybe.
Catalog Facts That Matter Here
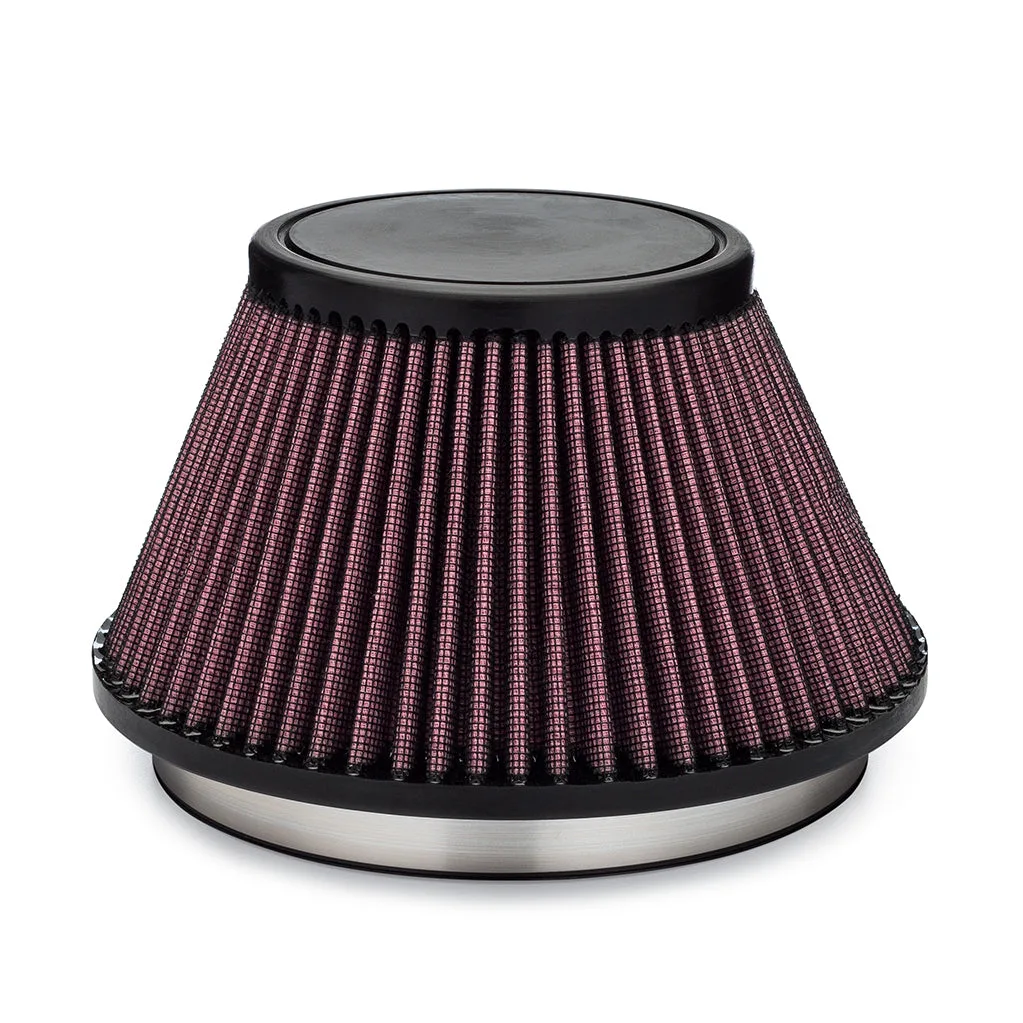
- Replacement Air Filter for 1891 Cold Air Intake Kits: Direct replacement for the filter used on ACUiTY's 1891 Curl Control Intake Kits for the 2012-2015 9th Gen Honda Civic Si; washable, reusable cotton gauze construction with a 6-inch opening, 5-inch overall height, and 7.5-inch max width. If your 9th Gen Si runs an 1891 intake, this is the exact filter to keep on hand instead of buying a whole new intake when the element gets dirty. The washable design means one purchase covers many cleaning cycles, and the stated dimensions let you confirm it matches your intake before ordering.
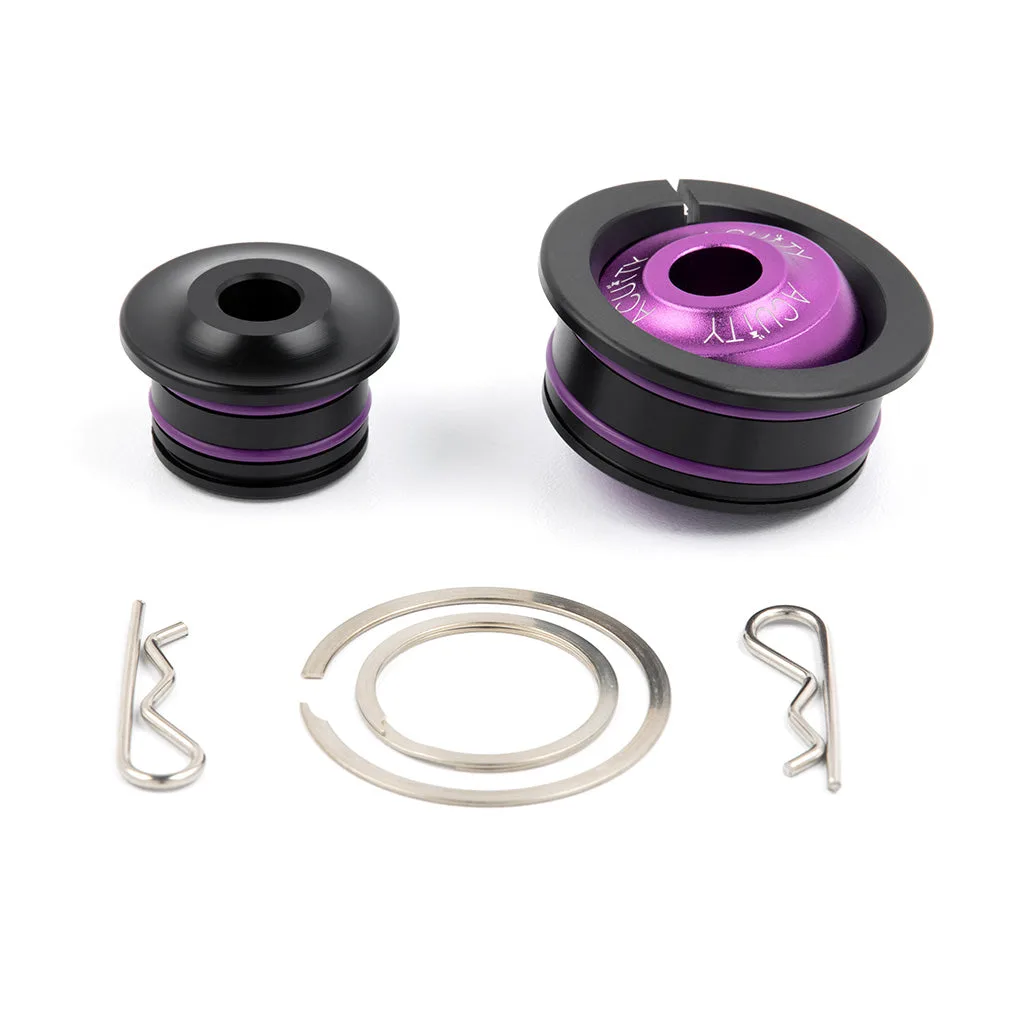
- 1917 SHIFTER CABLE BUSHING UPGRADE (for various 2006 and earlier applications): O-ring loaded spherical design that wear-compensates and decreases shift resistance, with solid construction for a stiffer feel than OEM rubber bushings, plus stainless steel hardware to avoid corrosion. This is a useful example of the same principle that applies to cooling parts: replacing compliant, aged rubber with a part designed for the load and heat gives a more consistent result. The stainless hardware detail matters on a car that sees coolant and road spray.
- 7th Gen Accord & 7th Gen Civic Si/R Stage 1 Shift Kit: Combines compliance-reducing shifter base bushings with spherical shifter cable bushings as an entry-level option for the 7th Gen Accord and 7th Gen Civic Si/R, and allows adding a shift knob or boot collar. If you own a 7th Gen Civic Si, this shows how ACUiTY structures staged upgrades — start with the highest-impact bushings, then add cosmetic and feel items later. The same staged logic applies to cooling: fix the failure point, then upgrade.
Who This Guide Is For
Best for
- 8th and 9th Gen Civic Si owners with original rubber hoses showing age or seepage
- Track-day or turbo Civic Si owners who need hoses that hold up to sustained heat
- Owners who want a clear order of operations before spending on cooling parts
Not for
- Owners with a confirmed head gasket failure who need engine repair, not hoses
- Swapped-chassis builds that require custom hose routing and measurements
- Drivers looking for a cosmetic engine-bay dress-up kit with no functional goal
A Civic Si cooling system upgrade is worth doing when the car actually sees heat and load, and worth skipping when it does not. Diagnose the leak, replace the failed part with something rated for the job, and upgrade to silicone only when track use or forced induction justifies it. That order keeps the car reliable and your budget honest.