Quick answer
Installing a cedar decorative cap on your raised bed post is a simple, one-screw job that adds a finished look. This guide walks you through the process and common pitfalls.
Why Add a Decorative Cap?
A cedar decorative cap tops off your raised garden bed posts, providing a clean, finished appearance. It also helps protect the end grain of the post from moisture, which can extend the life of your bed. The cap is a small, low-cost addition that makes a big visual difference.
Installation Steps
- Gather Your Tools: You only need the decorative cap, the included galvanized screw, and a screwdriver (manual or powered). The cap is sized to fit a standard 3x3 inch post. Check that your post top is clean and flat before starting. A small piece of sandpaper can smooth any rough edges.
- Position the Cap: Place the cap centered on top of the post. The cap has a 1/2-inch height and 3x3 inch footprint, so it should sit flush with the post edges. Make sure the cap is oriented evenly; a slight tilt will be noticeable once tightened.
- Drive the Screw: Insert the galvanized screw through the pre-drilled hole in the cap and into the post. Tighten with a screwdriver until the cap is snug against the post. Do not overtighten, as this can crack the cedar. If the screw feels loose, remove it, add a small dab of exterior wood glue into the pilot hole, and re-drive. This prevents the cap from shifting over time.
Product Facts
-
Classic Cedar Decorative Cap 3 in x 3 in RCCEC: Each Classic Cedar Decorative Cap is made from sustainable North American cedar and includes its own galvanized screw for easy installation. You don't need to buy extra hardware, and the galvanized screw resists rust, ensuring a long-lasting hold in outdoor conditions.
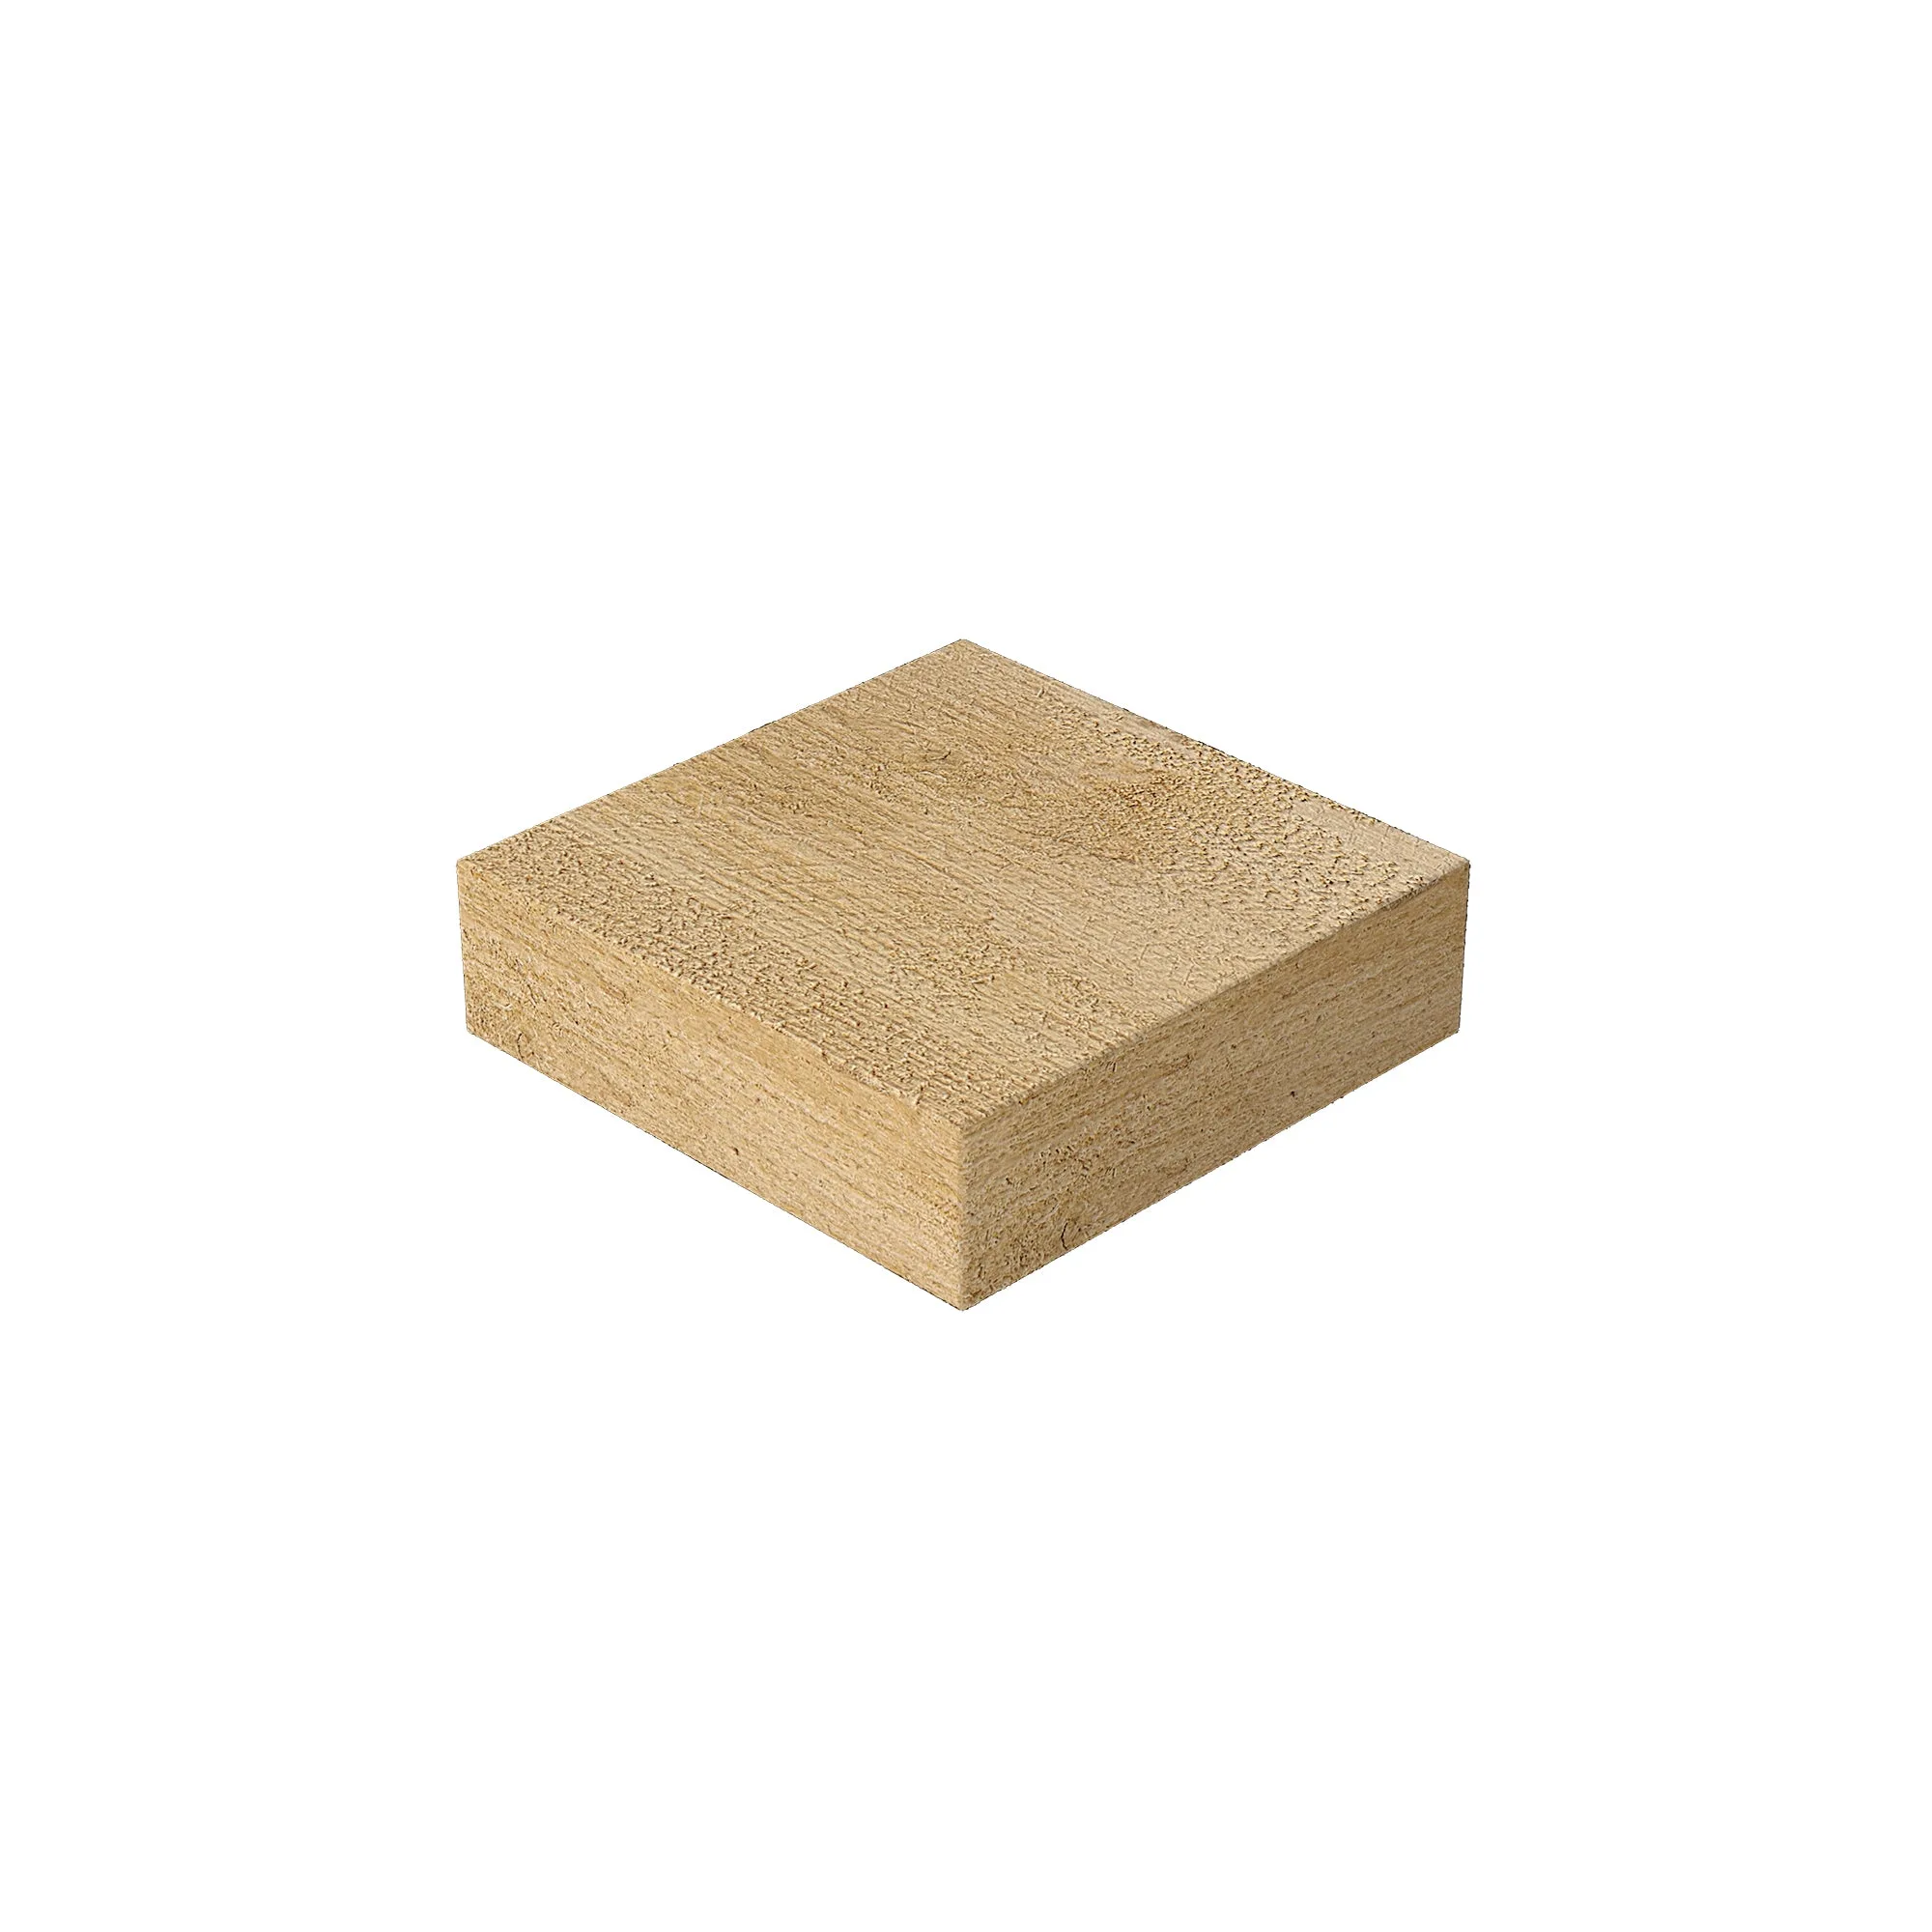
Classic Cedar Decorative Cap 3 in x 3 in RCCEC