Quick answer
Use one Classic Cedar Tall Post 11 in at each corner of your raised bed, stacking posts to reach your desired height. Space posts according to your board length, and always check for plumb before adding soil.
Why corner posts matter for a sturdy raised bed
Corner posts anchor your raised bed boards and keep the frame square under soil pressure. The Classic Cedar Tall Post 11 in is designed to hold three Classic boards high, adding 10.5 inches of height per layer. Because these posts stack on top of each other and on Classic short posts, you can expand your bed without replacing the entire corner system. This modular approach saves time and money, but it requires careful planning to ensure stability.
When to use tall posts instead of short posts
Tall posts are ideal when you want a bed deeper than the standard height, such as for deep-rooted vegetables or to reduce bending. However, taller beds require more soil and may need additional support. If you only need a shallow bed, short posts may be sufficient and more economical. Also, consider the weight of wet soil: stacking multiple tall posts increases the load on the bottom connections, so ensure the base is level and firm.
Step-by-step corner post installation
- Plan your post spacing: Measure your board lengths and decide where each corner post will go. For a rectangular bed, place posts at all four corners. For longer beds, add intermediate posts every 4 to 6 feet to prevent board bowing. Use a cedar post spacing guide: mark positions with stakes and string line. Common mistake: spacing posts too far apart, causing boards to sag under soil pressure.
- Prepare the ground and base: Level the ground where the posts will sit. If stacking on existing short posts, ensure they are clean and secure. For new beds, dig a shallow hole or set posts on a firm base like gravel to prevent settling. Checkpoint: use a spirit level to confirm the base is flat before placing posts.
- Install the first tall post: Place the Classic Cedar Tall Post 11 in at the corner, ensuring the 2 in x 2 in profile fits snugly against the boards. If stacking on a short post, align the ends and press firmly together. Secure with screws through the boards into the post, but do not overtighten. Common mistake: forcing the post if it doesn't fit; check for debris or misalignment.
- Stack additional posts for height: To add height, stack another tall post on top of the first, interlocking the ends. Each layer adds 10.5 inches. Secure each layer with screws through the boards. Repeat until you reach your desired height. Checkpoint: after each layer, verify the post is plumb and the bed remains square.
- Complete all corners and check alignment: Repeat the process for each corner. Use a diagonal measurement to ensure the bed is square (the two diagonals should be equal). Adjust posts as needed before filling with soil. Common mistake: skipping the square check, leading to a twisted frame that is hard to fix later.
Product facts
-
Classic Cedar Tall Post 11 in x 2 in x 2 in RCTEC: Classic Cedar Tall Post 11 in x 2 in x 2 in RCTEC holds three Classic boards high, adding 10.5 inches of height per layer. This lets you build a taller bed in modular layers, but you must account for the increased soil volume and weight.
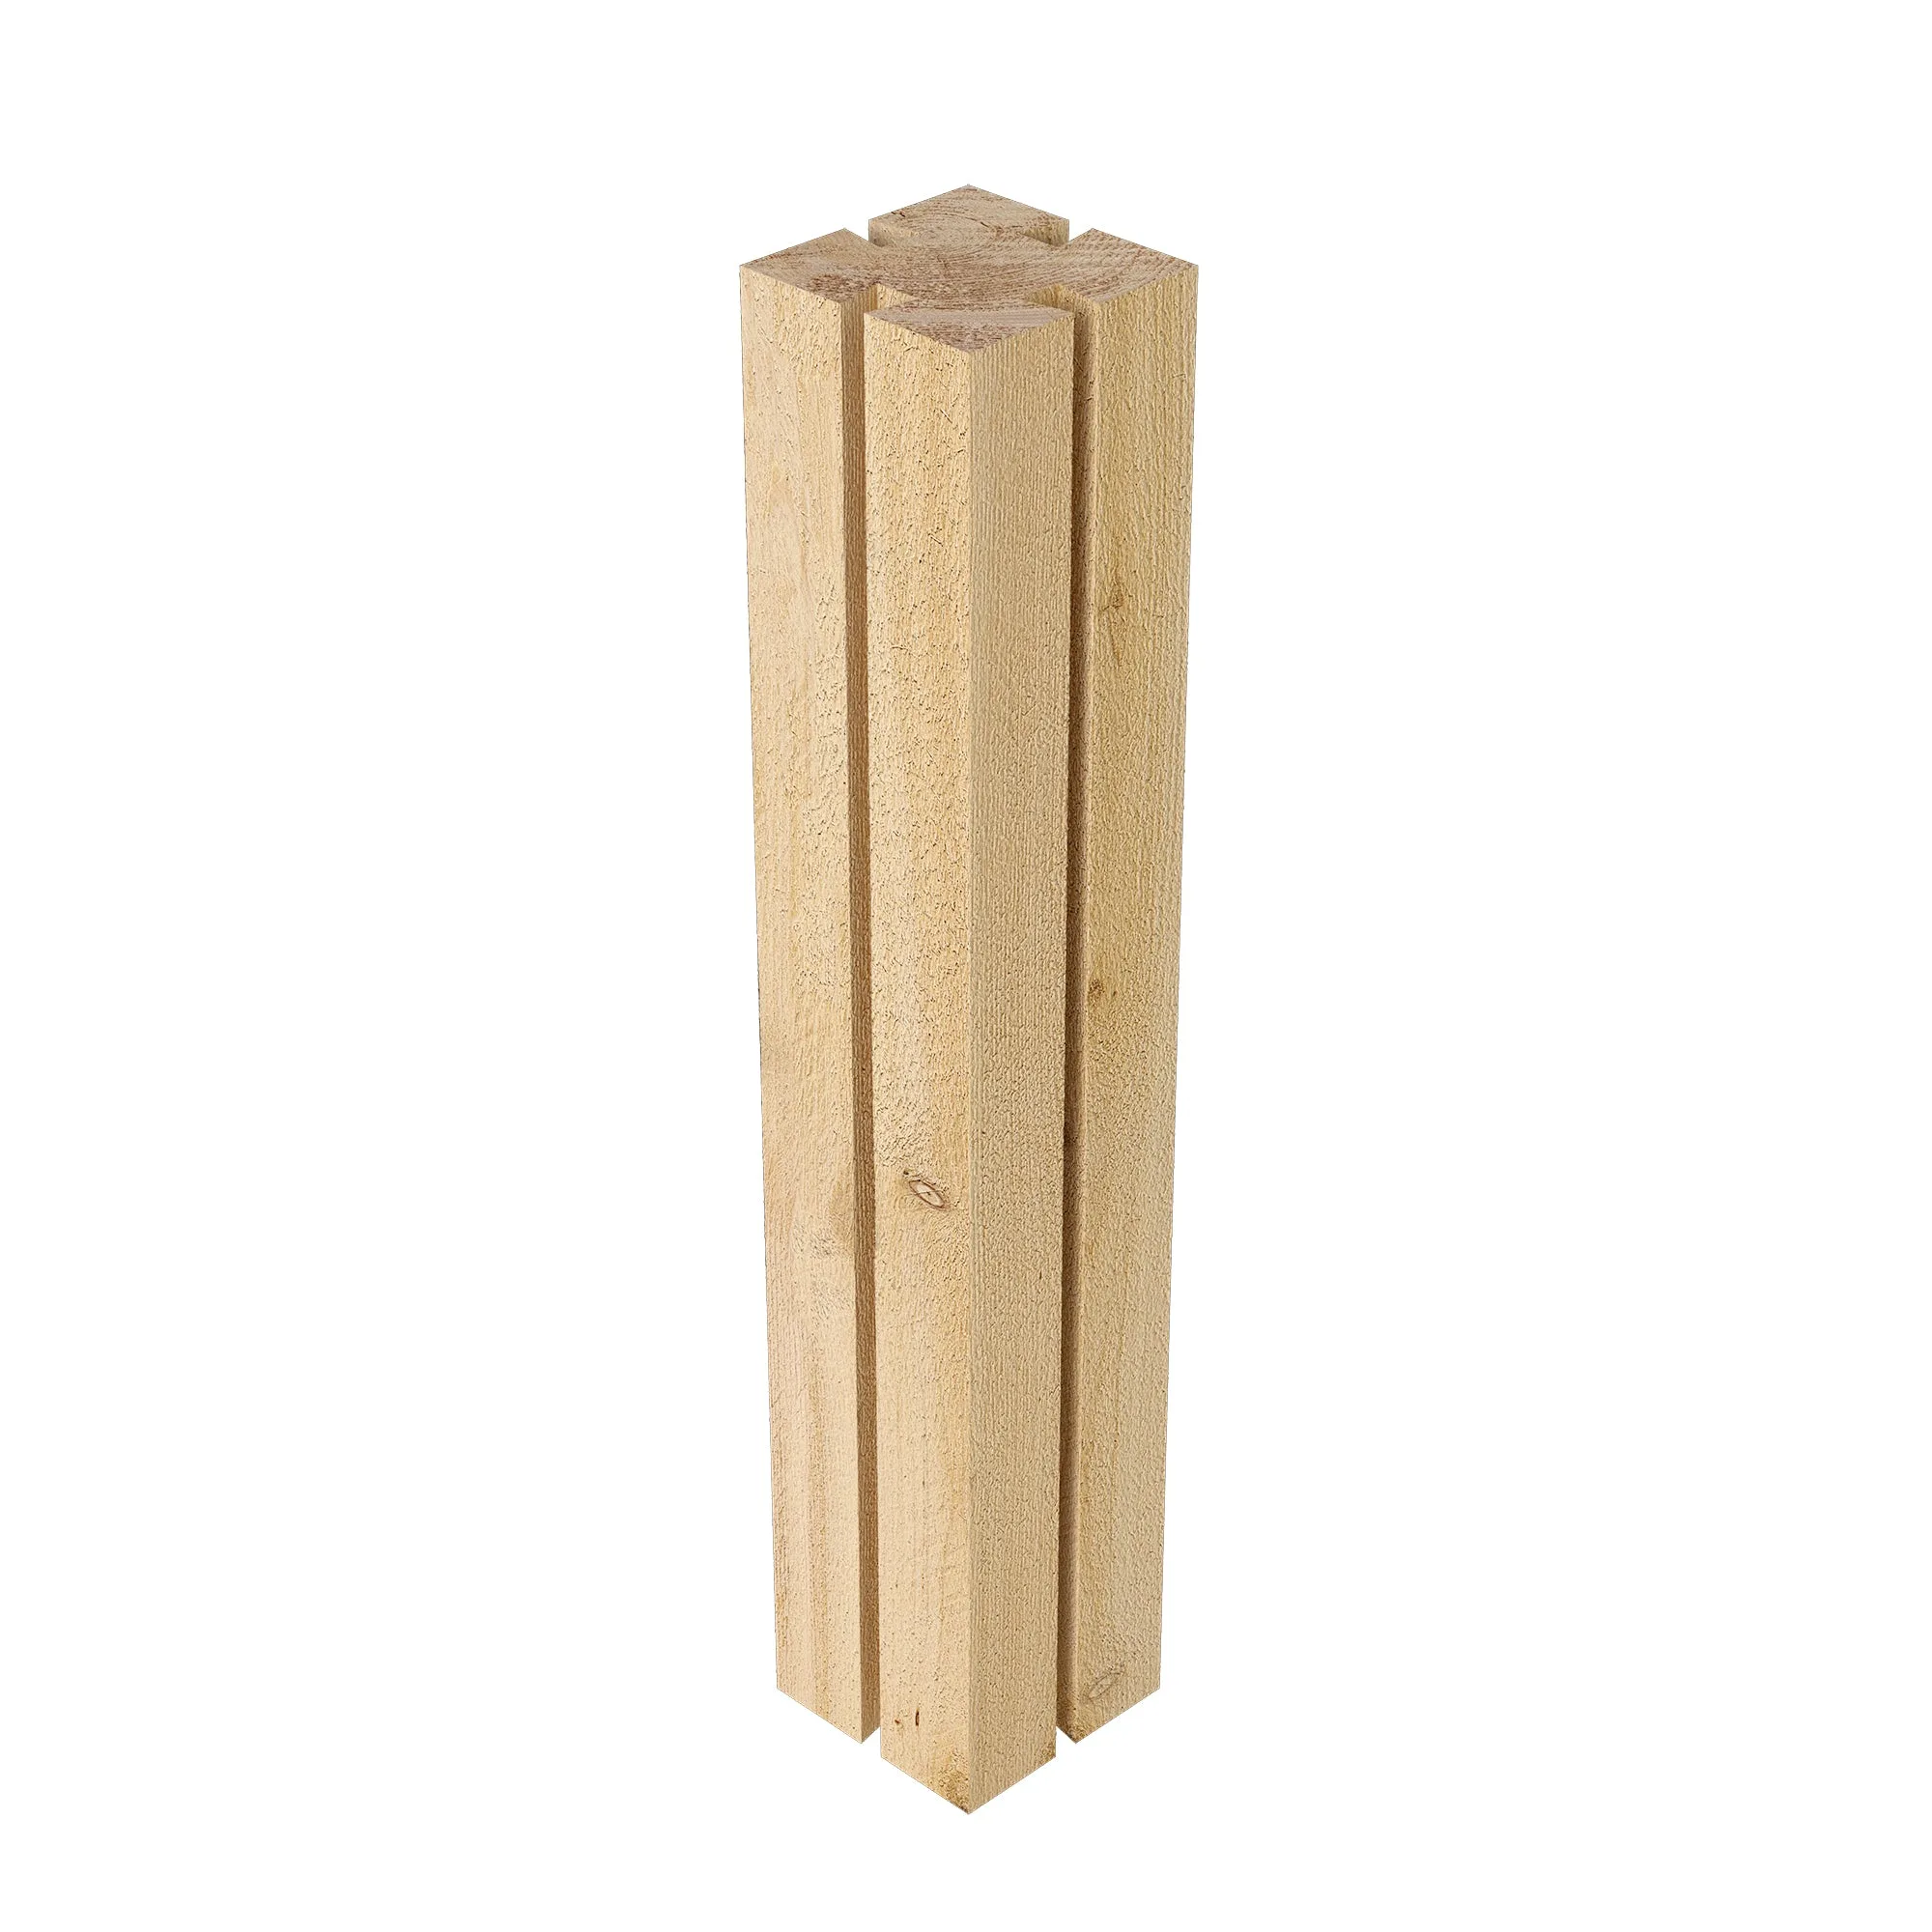
Classic Cedar Tall Post 11 in x 2 in x 2 in RCTEC