Quick answer
Treat each roll as a separate tool: start with the 15mm gold foil Coffee Lover as your anchor strip, then add the 10mm washi rolls for borders and the gold foil Coffee Beans for small accents. Build one coffee themed planner spread in that order so width and finish do the work before you add stickers.
Why the two finishes change where each roll goes
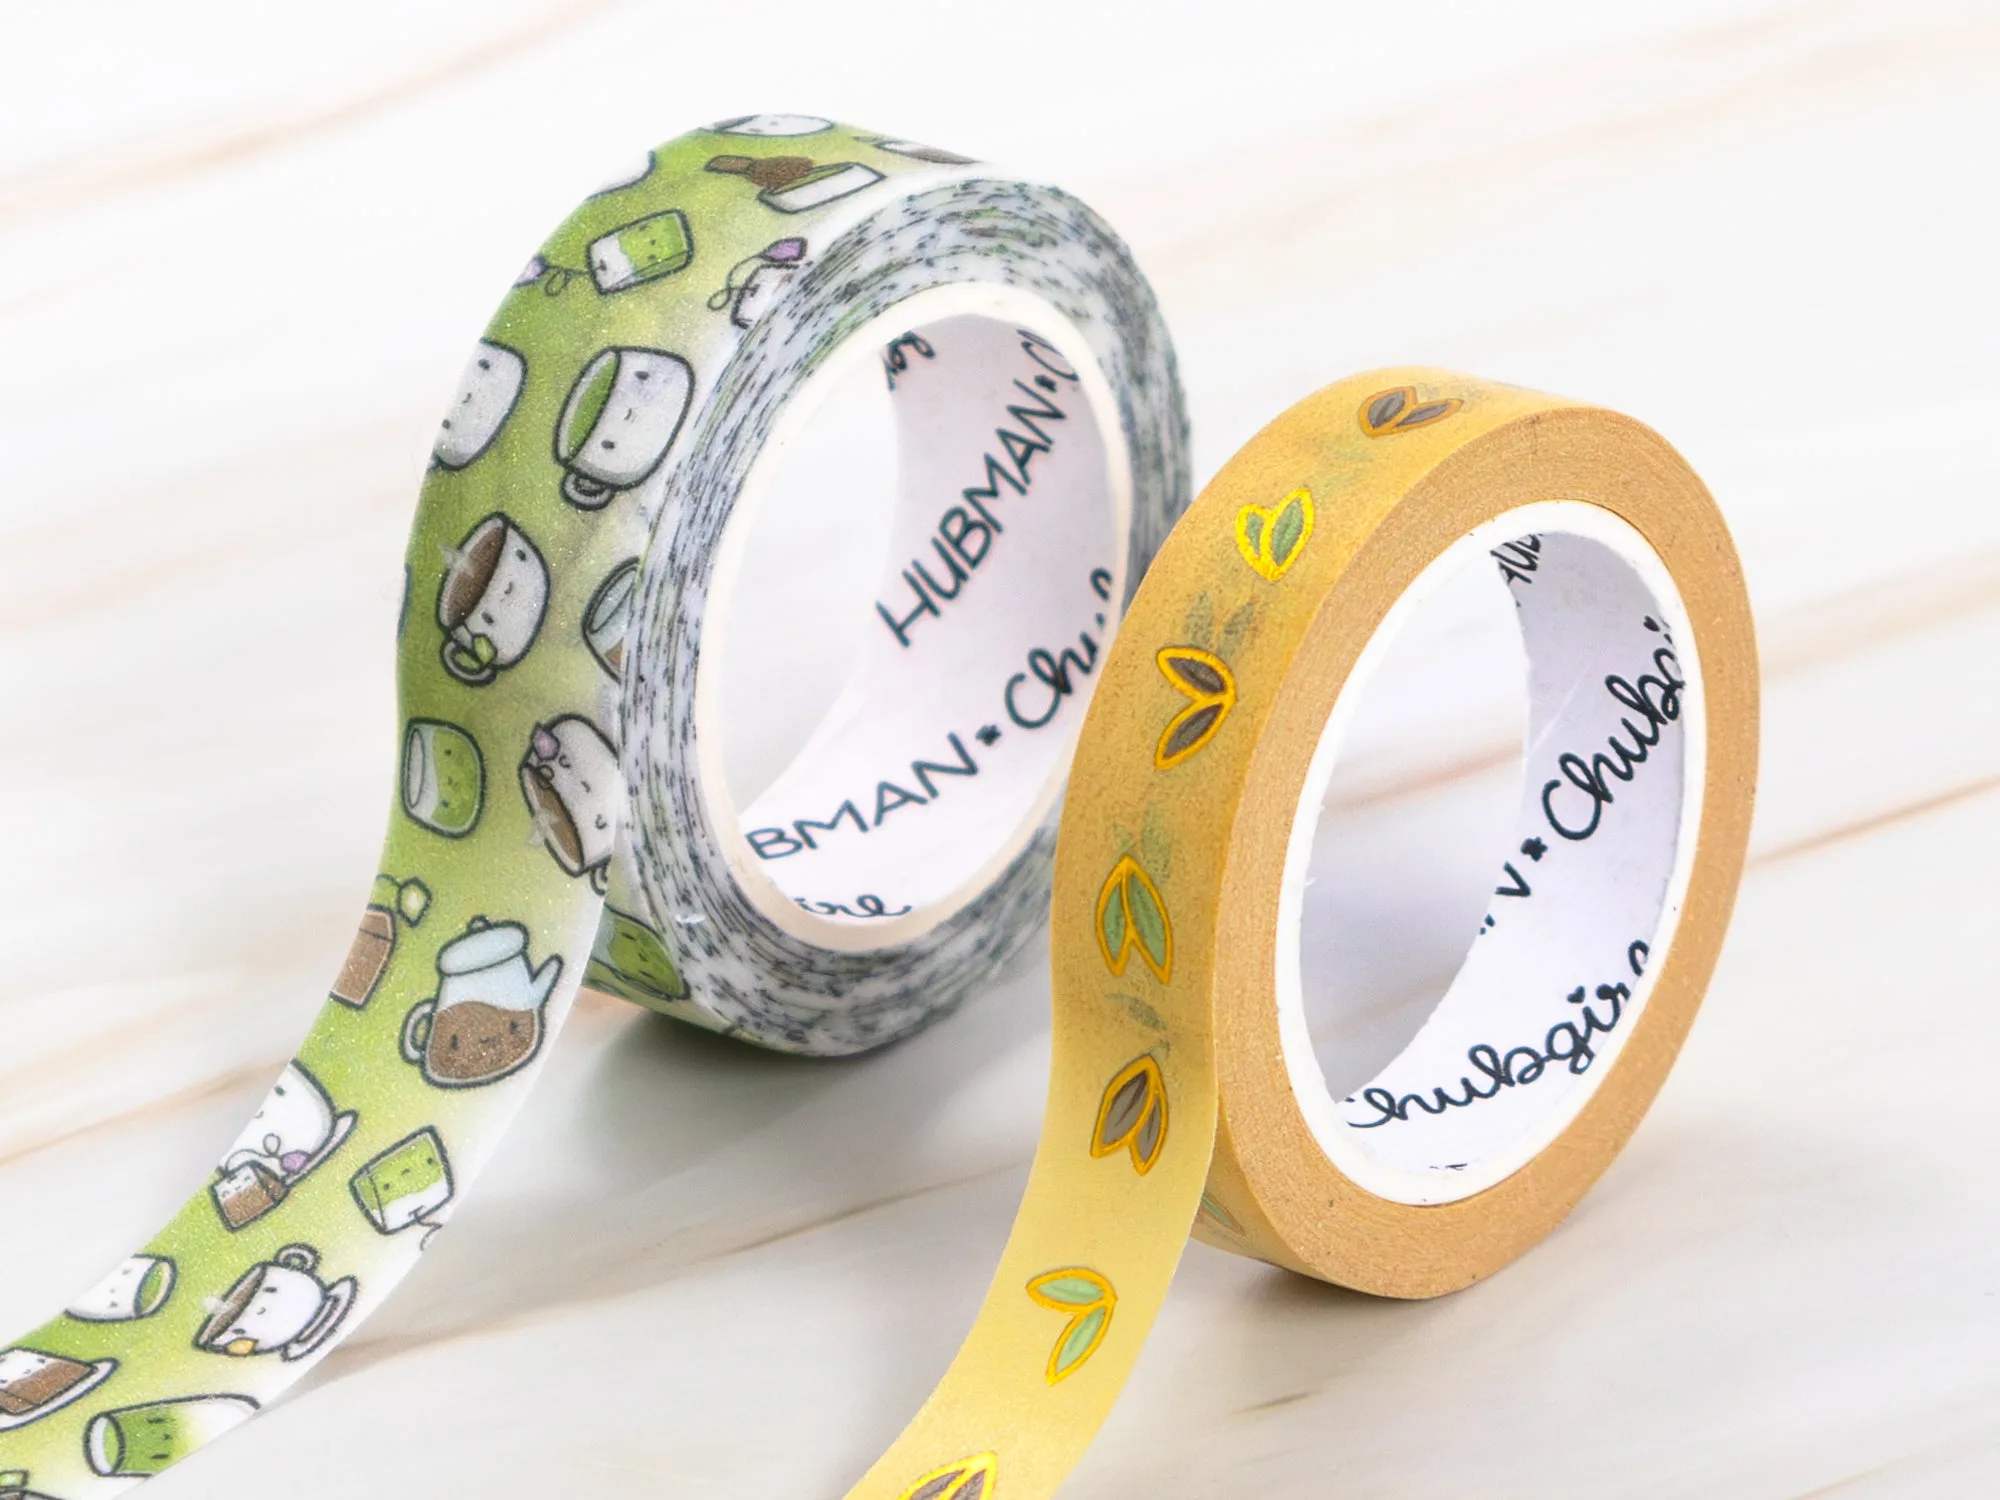
The set mixes a gold foil finish (Coffee Lover and Coffee Beans) with a plain washi finish (It's Coffee Time and Love you a Latte). Foil reflects light and reads as a highlight, so it works best where you want the eye to land first: a header, a date box, or a single accent. Plain washi is quieter and blends into the page, which makes it the better choice for long borders, page edges, and repeated dividers.
Width matters just as much. The 15mm Coffee Lover roll covers more paper per strip, so it can carry a title block on its own. The three 10mm rolls are narrow enough to sit beside handwriting without crowding it.
When this set is not the right pick
If you need large background panels or full-page coverage, four rolls totaling roughly 35 meters will run out faster than you expect, and the narrow widths are not designed for wide washes of color. This set suits accents, borders, and small layered clusters rather than covering whole pages. If your journaling style is minimal and monochrome, the gold foil may also feel too flashy for everyday spreads.
Steps for a coffee themed planner spread
- 1. Pick the anchor zone: Choose one area of the page, such as the top header or the weekly title block, and place a single strip of the 15mm Coffee Lover tape there. Tear the end rather than cutting it for a softer edge. Checkpoint: if the strip covers more than about a fifth of the page, you have chosen too large an anchor zone.
- 2. Add one narrow border: Run a strip of It's Coffee Time or Love you a Latte along one edge of the page or beside a column of writing. Keep it to a single edge so the spread still has open space. Common mistake: bordering all four sides makes the page feel closed and leaves no room for stickers.
- 3. Place foil accents last: Cut short pieces of Coffee Beans gold foil tape and place them as small marks next to dates, habit trackers, or a single word you want to highlight. Two or three accents per spread is usually enough. Checkpoint: step back and confirm the foil accents do not compete with the anchor strip for attention.
- 4. Layer with a gap: When you overlap two tapes, leave a small offset so both finishes remain visible, and press the lower layer down firmly before adding the top one. Build layers from widest to narrowest. Common mistake: stacking three or more layers in one spot creates bulk that lifts at the edges in a planner.
- 5. Test on a scrap page first: Before committing tape to a finished spread, press each roll onto a scrap sheet and check how it releases. Washi generally lifts cleanly, but the foil finish can behave differently on coated or glossy paper. Checkpoint: if a test strip pulls paper fibers, move that roll to smoother pages or use it on cards instead.
What is in the set
-
Coffee Lovers Washi Tape (Set of 4): Four rolls: Coffee Lover at 15mm x 5m with a gold foil finish, plus It's Coffee Time, Love you a Latte, and Coffee Beans at 10mm x 10m each. The single wide roll is your anchor and the three narrow rolls are your detail layers, so plan the spread around that one-to-three ratio.
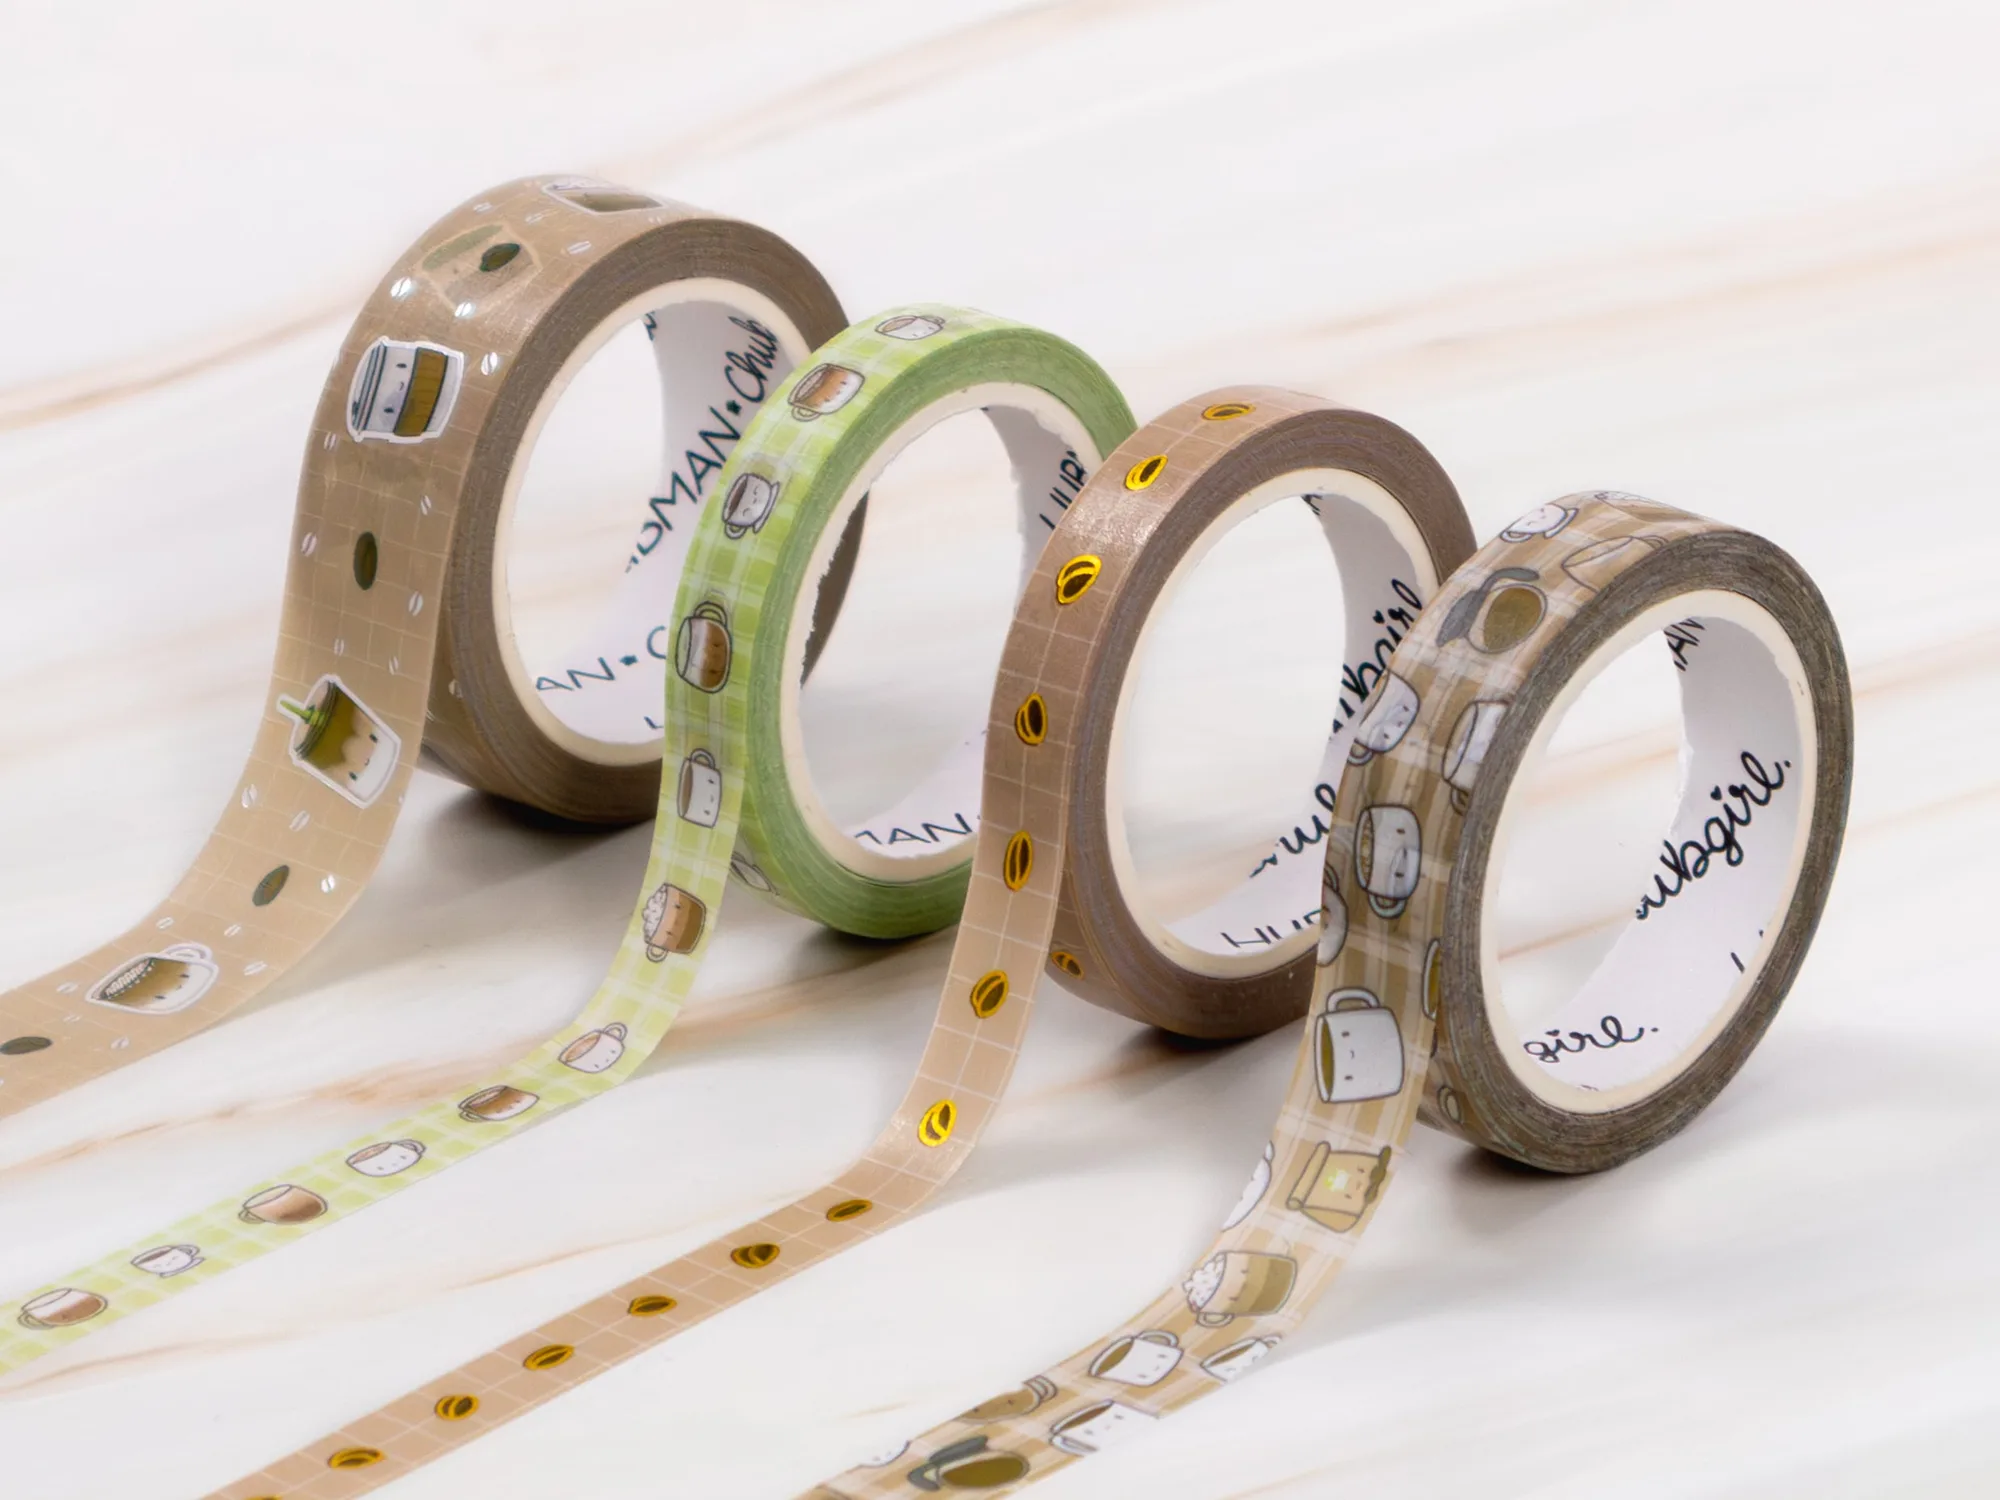
Coffee Lovers Washi Tape (Set of 4)