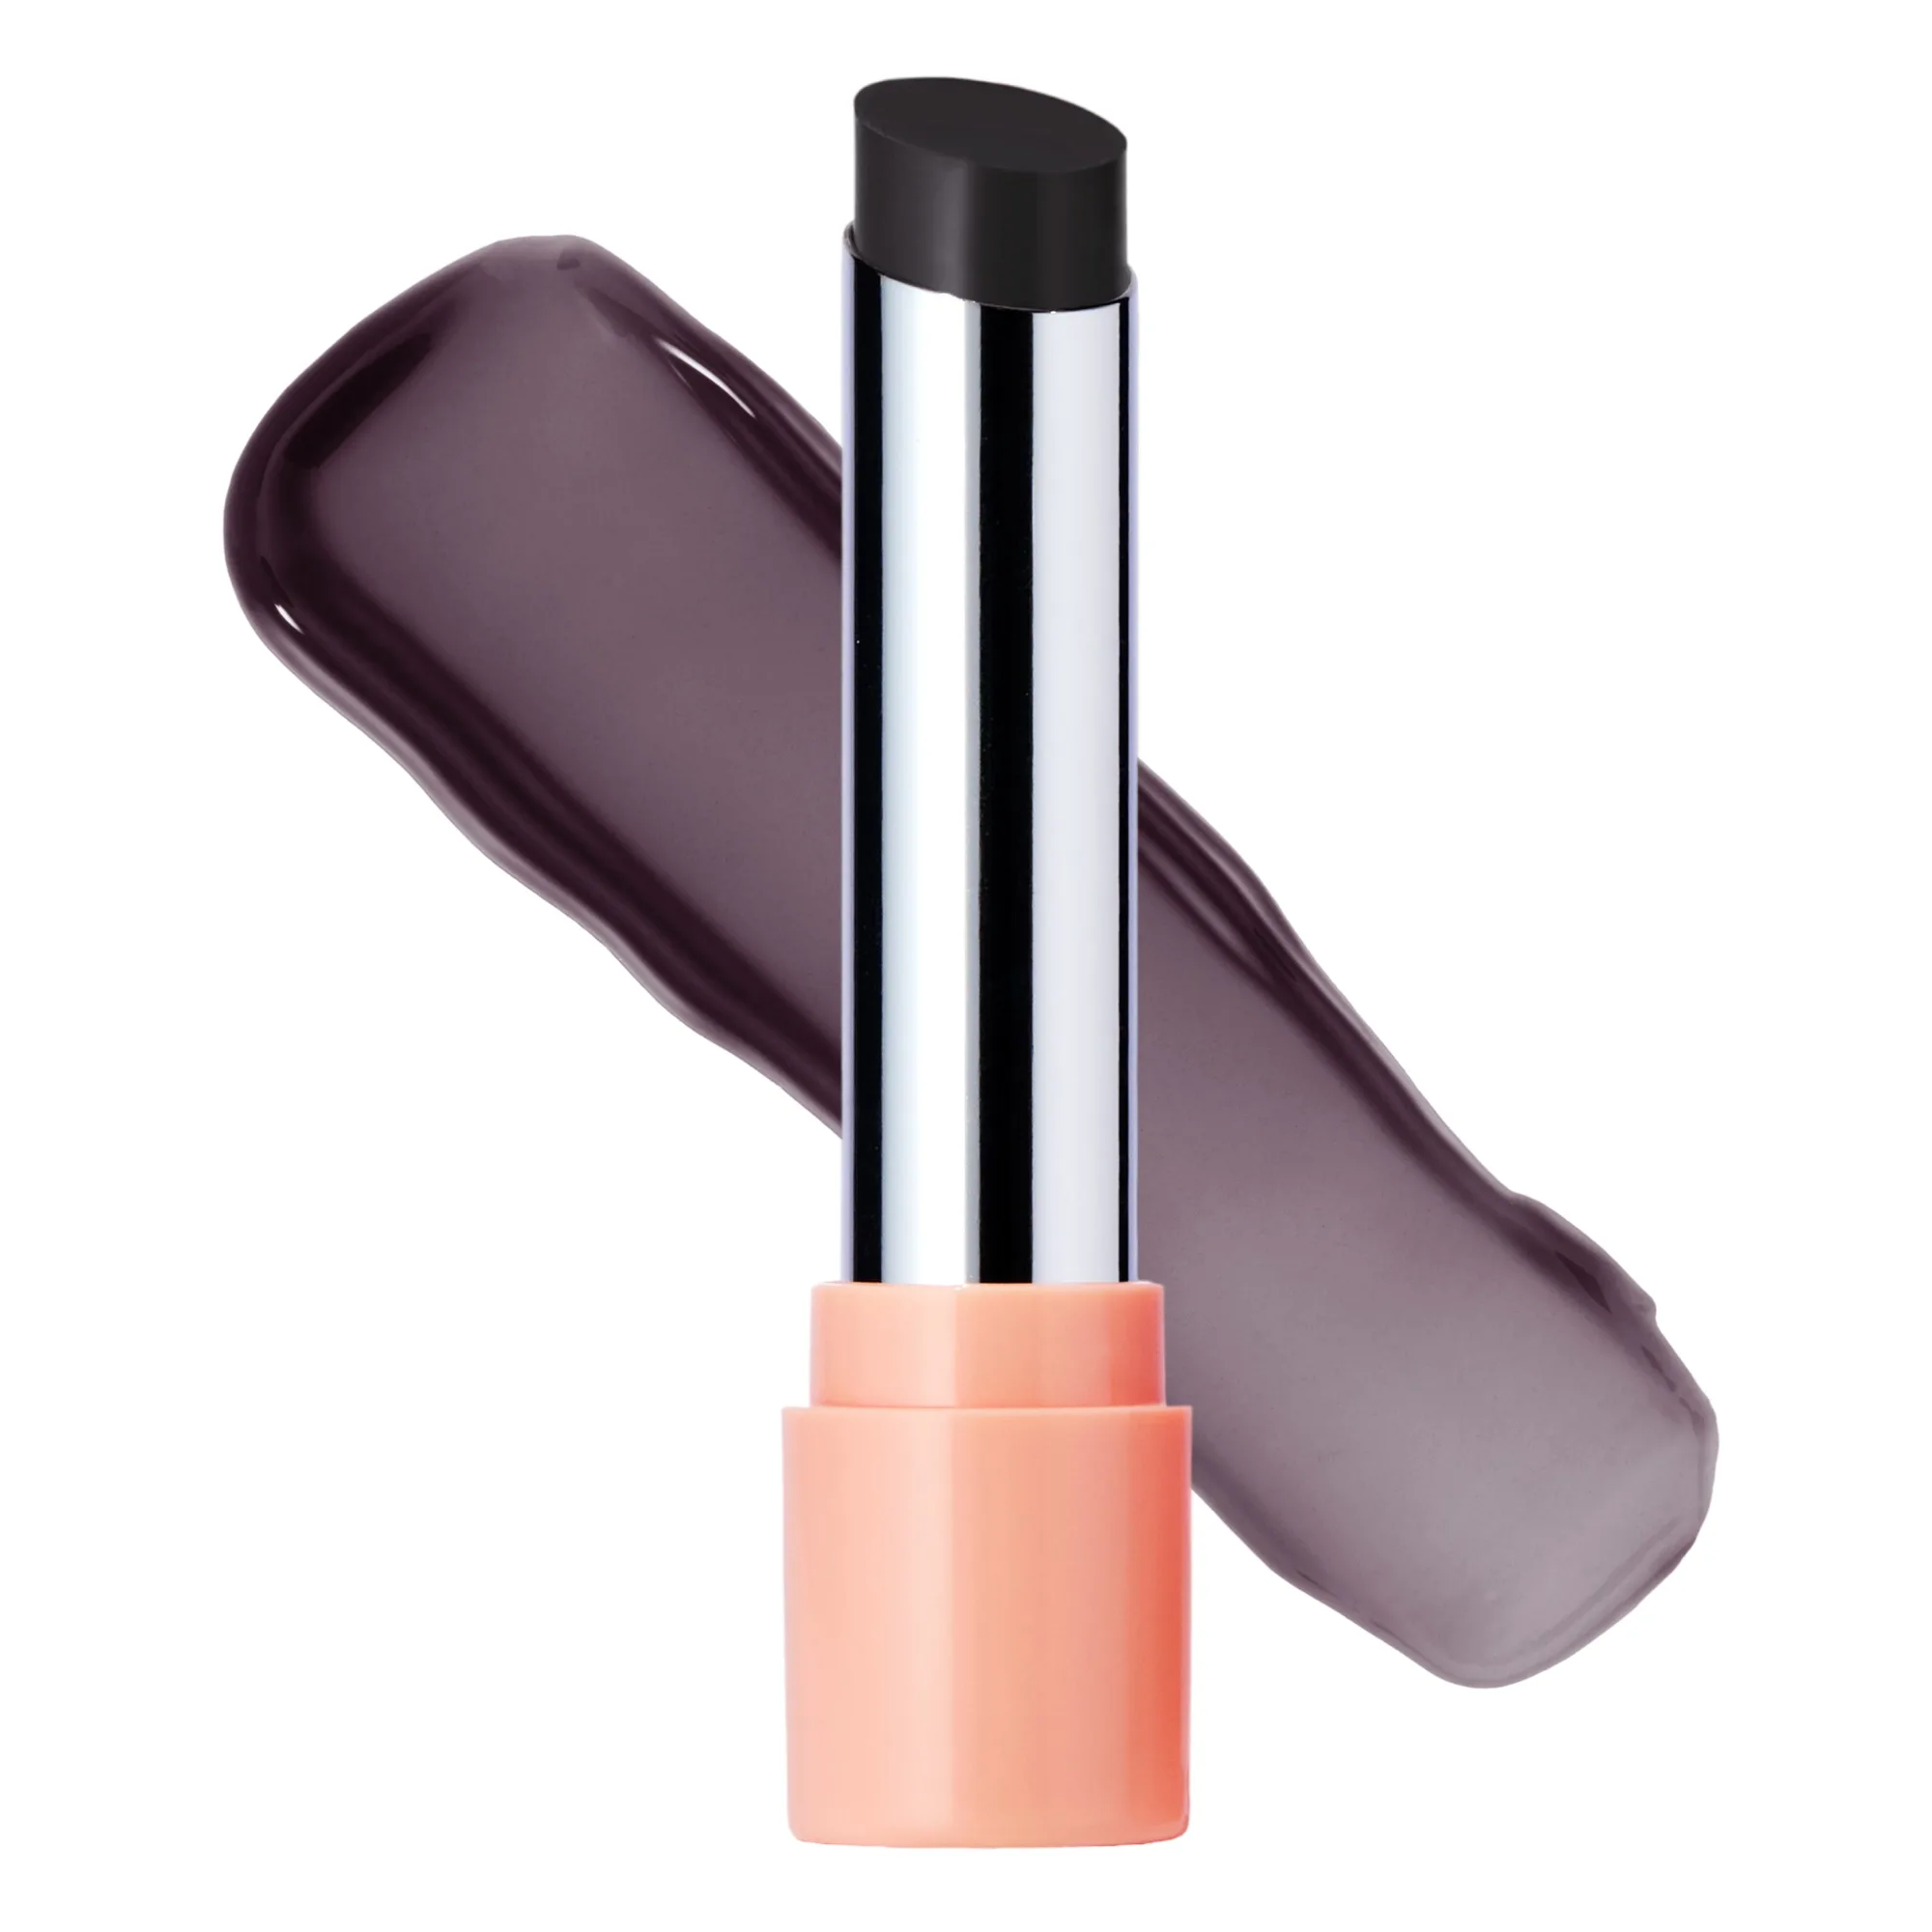
Your eyebrows are the unsung heroes of your makeup look — they frame your face, define your expression, and can instantly lift or soften your features. But getting that perfect, natural-looking brow can feel like a mystery. With the right tools and techniques, you can achieve salon-worthy brows at home using ColourPop’s versatile brow collection.
In this brow makeup tutorial, we’ll walk you through how to fill and shape brows like a pro, covering everything from choosing the right shade to mastering the perfect stroke. Whether you prefer a bold, structured brow or a soft, feathery look, ColourPop has the products to help you get there.
Why Your Brow Routine Matters
Well-groomed brows do more than just complete your makeup — they balance your facial proportions, draw attention to your eyes, and can even make you look more youthful. A good brow routine doesn’t have to be complicated, but it does require the right products and a bit of practice. ColourPop’s brow lineup includes pencils, powders, gels, and pomades designed to suit every skill level and brow type.
Before you begin, assess your natural brow shape. Identify areas where hair is sparse or uneven, and think about the overall shape you want to achieve. For most people, a gentle arch that follows the natural brow bone looks most flattering. The goal is to enhance, not overpower, your natural brows.
- Start with clean, dry brows for best product adherence.
- Brush brows upward with a spoolie to see their natural shape.
- Choose a shade that matches your natural brow hair — for most, one to two shades lighter than hair color works best.
Choosing the Right ColourPop Brow Product
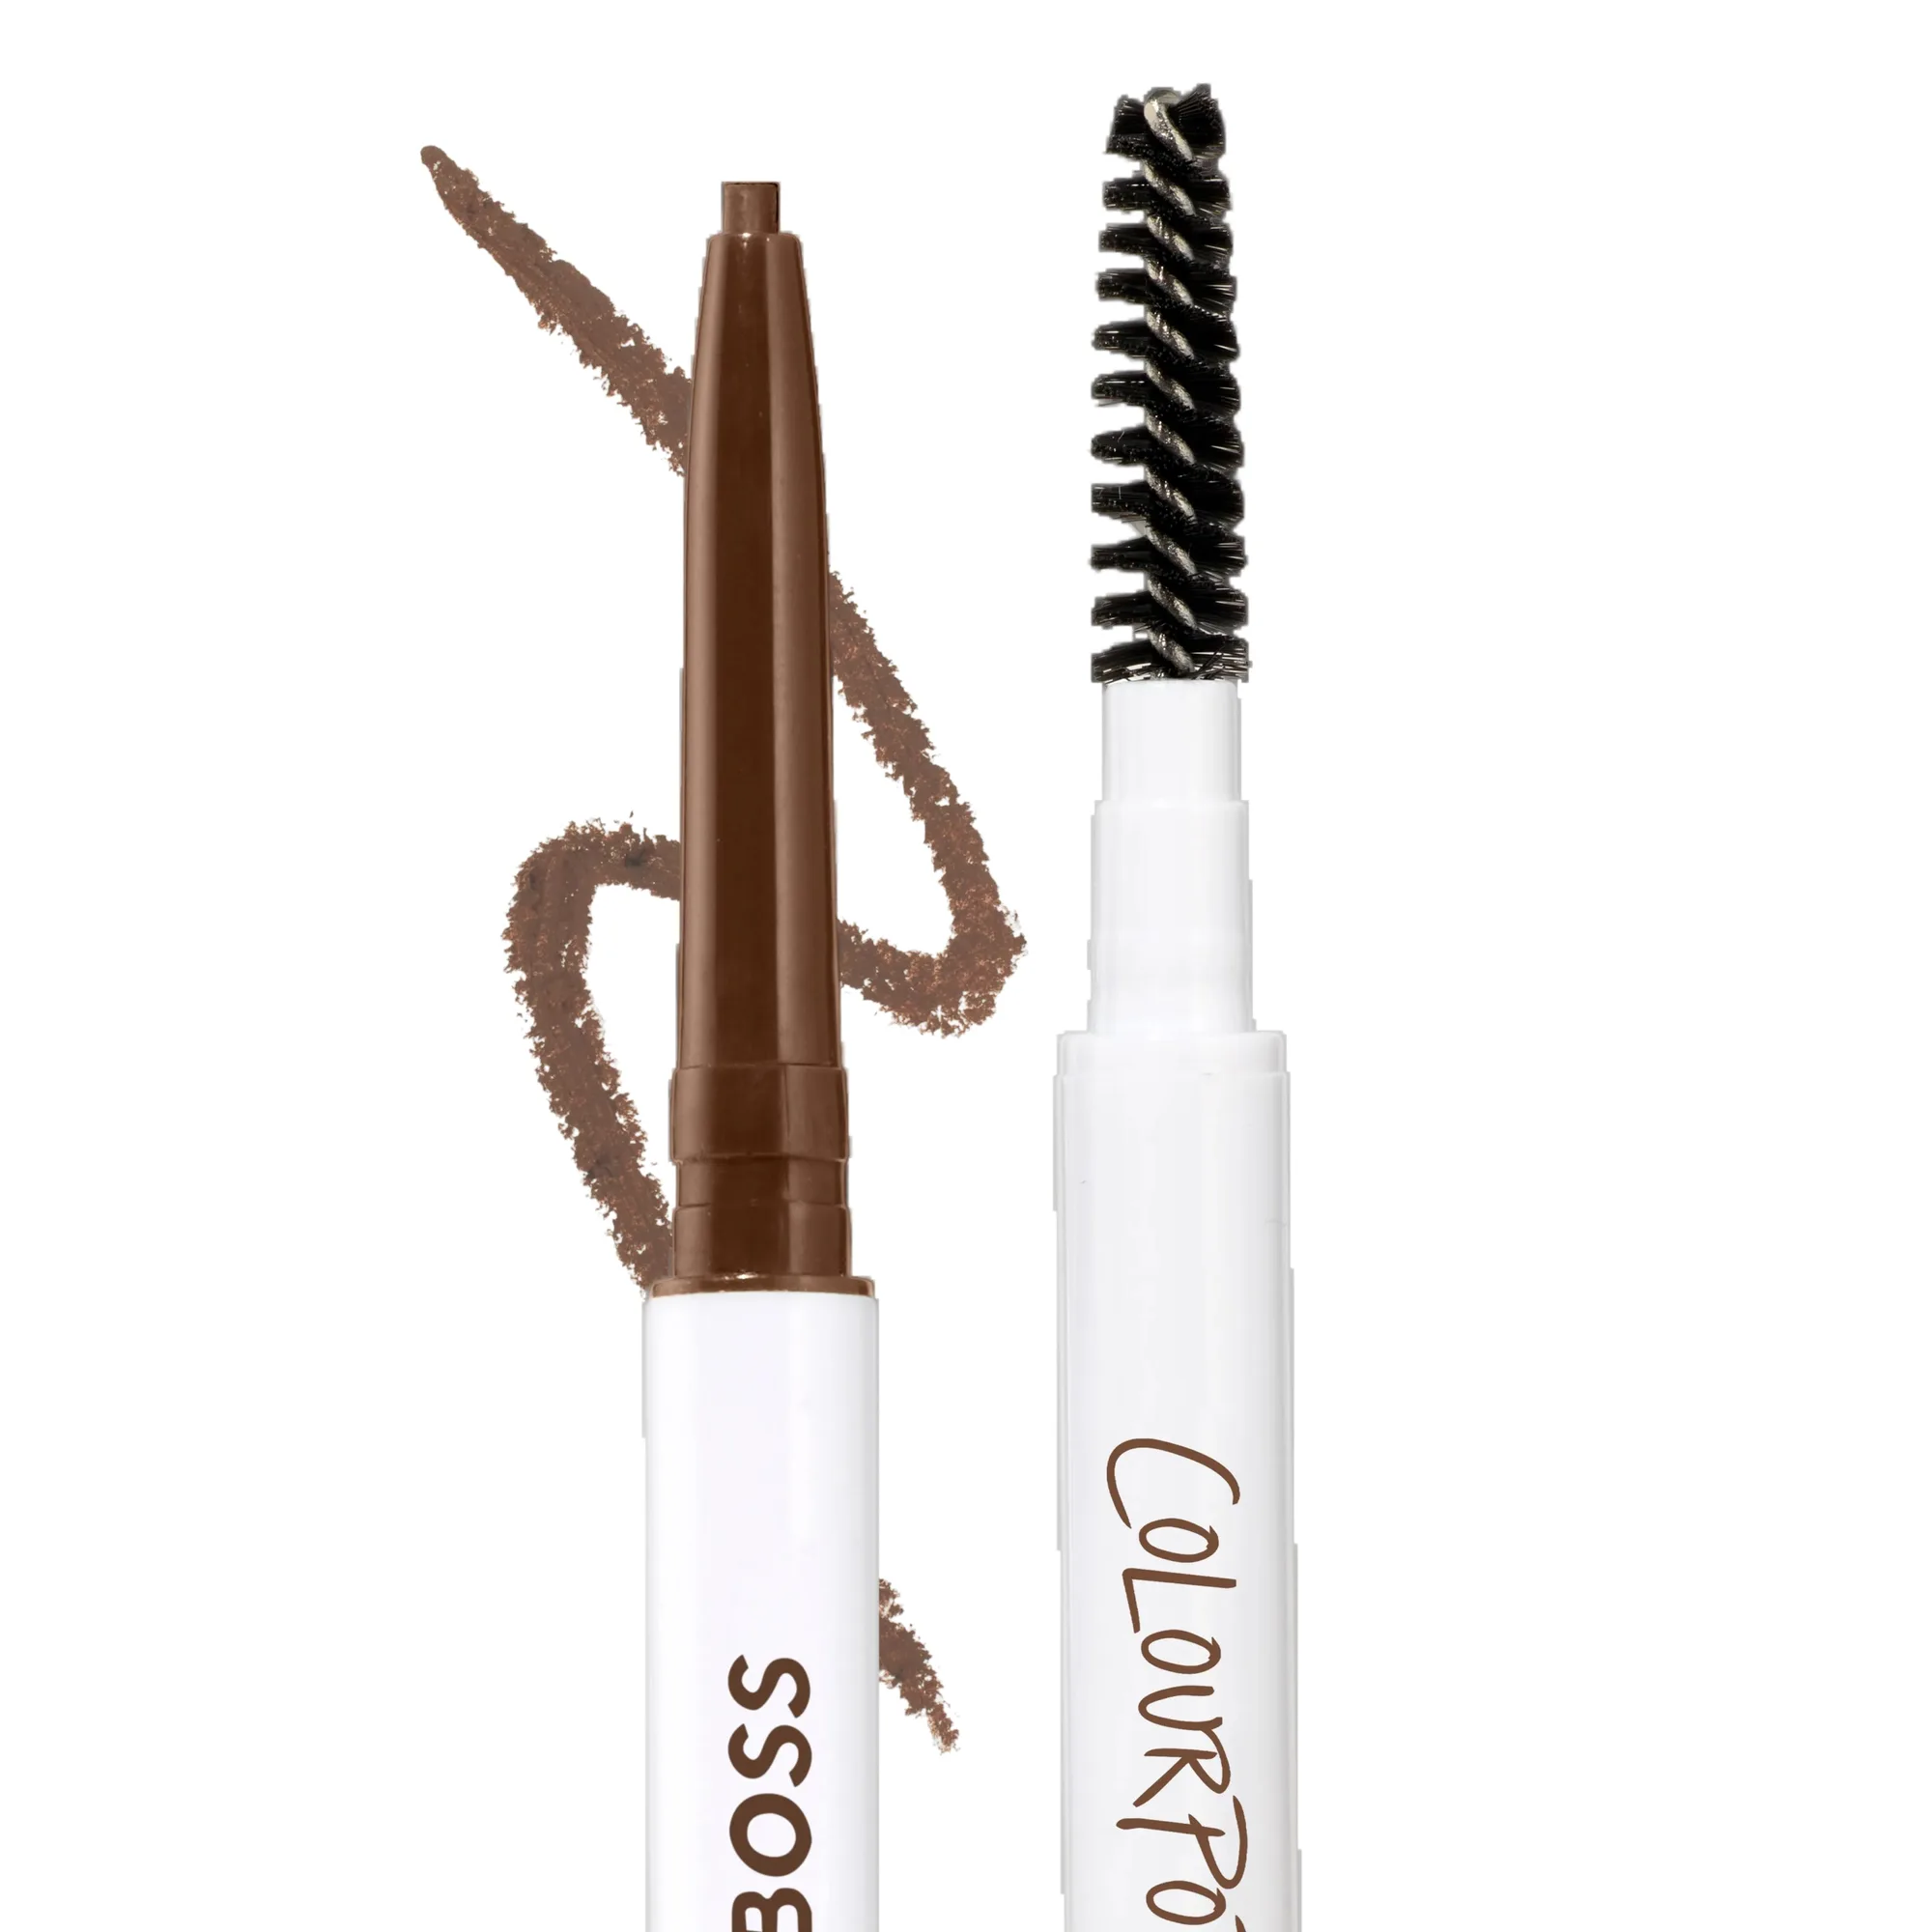
ColourPop offers a range of brow products, each with its own texture and finish. For a natural, hair-like look, a fine-tipped pencil is ideal. The ColourPop brow pencil in shades like light-brown-112943">Light Brown or vanilla-113705">Vanilla allows you to create precise, feathery strokes that mimic real hair. If you prefer a softer, more diffused finish, a brow powder or pomade can fill in sparse areas with a more blended effect.
For a quick, everyday brow, a tinted brow gel can add color and hold in one step. ColourPop’s brow gels come in shades like That's Taupe and Petal Plush, which add subtle definition while keeping brows in place. The key is to match the product to your desired intensity and the amount of time you want to spend.
- Pencils: Best for precision and mimicking hair strokes.
- Powders: Great for soft, natural fullness.
- Gels: Perfect for quick, low-effort brows with hold.
Step-by-Step Brow Filling and Shaping Tutorial
Step 1: Brush and outline. Use a spoolie to brush your brow hairs upward and outward. Then, lightly outline the bottom edge of your brow with a brow pencil in a shade like Light Brown. This creates a guide for your shape. Step 2: Fill with light strokes. Using short, upward motions, fill in the sparse areas of your brow. Focus on the arch and tail, where hair is often thinner. Avoid pressing too hard — light strokes look more natural.
Step 3: Define the arch. For a lifted look, concentrate product at the highest point of your brow arch. Blend any harsh lines with the spoolie. Step 4: Set with gel. Apply a clear or tinted brow gel, like Vanilla or That's Taupe, to lock your brows in place and add a polished finish. If you want a more dramatic look, you can layer a pomade or powder over the pencil for extra depth.
- Always start with less product — you can always add more.
- Use a light hand and build gradually for the most natural effect.
- Blend with a spoolie after each step to soften any harsh lines.
Pro Tips for Flawless Brows
One common mistake is choosing a brow shade that’s too dark or too warm. For a natural look, stick to neutral or cool-toned shades that match your brow hair. ColourPop’s brow pencils in Light Brown and Vanilla are excellent neutral options that work on a variety of skin tones. Another tip: don’t forget to blend! A spoolie is your best friend for softening product and creating a seamless gradient from the inner brow to the tail.
If you have very sparse brows, consider using a brow powder or pomade for fuller coverage. Start by applying a small amount to the tail and arch, then blend forward. For a more defined look, you can also use a concealer or highlighter to clean up the edges. A tiny brush dipped in concealer can sharpen your brow shape and make your arch pop.
- Use a concealer brush to carve out the bottom of your brow for a crisp shape.
- Set your brows with a clear gel to keep them in place all day.
- Practice makes perfect — don’t be afraid to experiment with different techniques.
Common Brow Mistakes and How to Fix Them
Even pros make mistakes. One of the most common is over-filling the front of the brow, resulting in a blocky, unnatural look. To fix this, use a lighter hand and apply less product to the inner brow — let it fade naturally. Another mistake is using a shade that’s too warm or red-toned, which can clash with your hair color. Stick to neutral or ash tones like That's Taupe for a more believable finish.
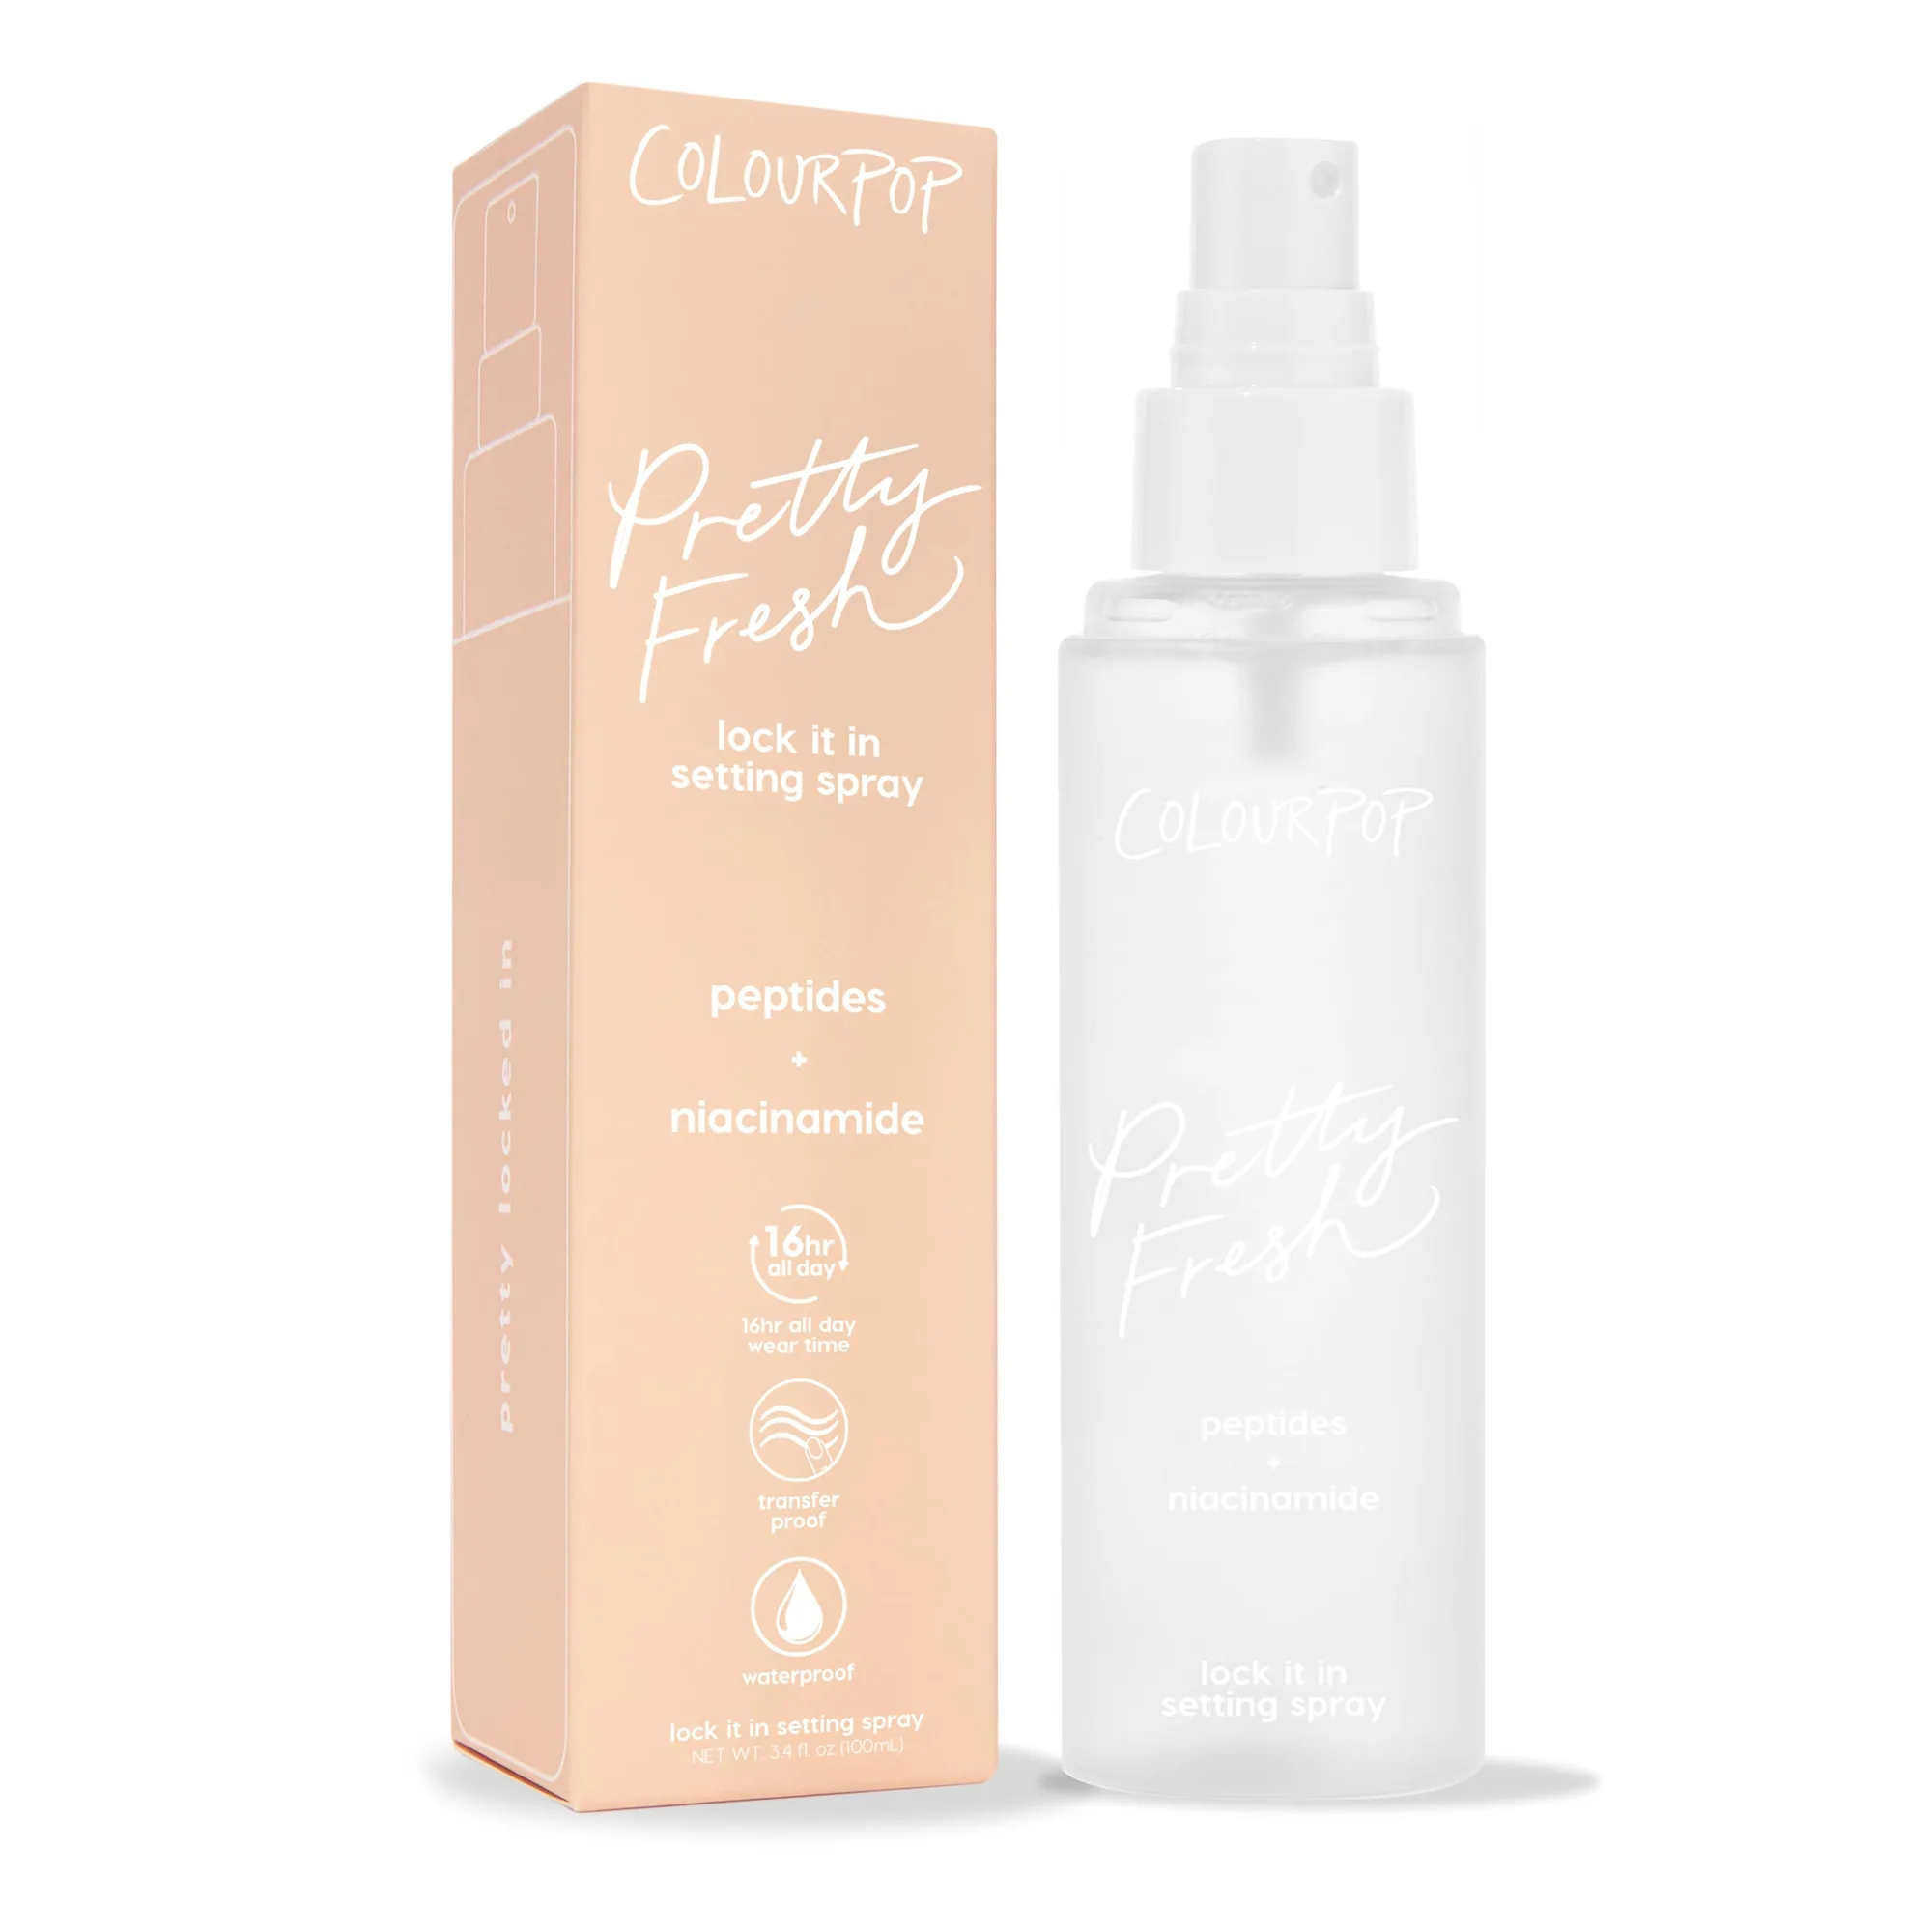
If your brows look too drawn-on, go over them with a spoolie to soften the product. You can also use a bit of setting spray on a clean spoolie to brush through and diffuse the color. For brows that won’t stay put, finish with a brow gel. ColourPop’s gel formulas provide flexible hold without stiffness, keeping your brows in place without looking crunchy.
- Avoid starting the brow with a heavy hand — begin at the arch and blend forward.
- Use a light, feathery motion when filling to mimic natural hair.
- Always check your brows in natural light before heading out.
Ready to perfect your brow game? Explore ColourPop’s range of brow pencils, gels, and powders to find your perfect match. Whether you’re a beginner or a brow pro, the right tools make all the difference. Start with a versatile shade like Light Brown or Vanilla and build your routine from there — your brows will thank you.