Quick answer
Most miniature painting mistakes come down to one of four causes: paint that is too thick, a brush that is too small for the job, working on a surface that was never cleaned, or trying to fix a problem while the paint is still wet. Match the symptom to the cause before you touch the model again, and fix it locally rather than repainting the whole figure. If the mistake has already cured into a thick ridge, stop and strip just that area instead of chasing it with more paint.
Almost every painter hits the same handful of problems, and almost all of them are fixable without starting over. The trick is to stop guessing and diagnose what actually went wrong. A chalky highlight, a clogged detail line, and a patchy basecoat look similar on the table but have completely different causes and completely different fixes.
This guide works through the mistakes that show up most often on 28mm heroic and 30mm heroic scale figures, including Victoria Miniatures resin and 3D printed kits. For each one you get the symptom, the likely cause, the corrective action, and a clear point where you should stop and choose a different option instead of making things worse.
Start with surface prep, not paint
A large share of painting errors are actually preparation errors that only become visible once paint goes down. Resin and 3D printed parts carry mold release, print residue, and fine dust that stop paint from gripping evenly. If your basecoat pulls away from edges, pools in recesses, or dries with a grainy texture, the surface is the first suspect, not your brush technique.
Wash resin and printed components in warm water with a mild dish soap, rinse thoroughly, and let them dry completely before priming. A soft toothbrush gets into the fine detail that a rinse alone misses. Once dry, handle parts by the base or with clean hands, because skin oils create the same patchy adhesion you just washed away.
Priming is the second half of prep. Two thin passes from different angles beat one heavy coat every time, because a single wet pass fills detail and creates the soft, blobby look that painters then try to fix with more paint.
- Wash, rinse, and fully dry before priming, not after.
- Two thin primer passes from different angles, not one heavy coat.
- Let primer cure fully before judging coverage.
Thick paint, clogged detail, and the two-thin-coats rule
If detail lines, eye sockets, or armor panel gaps have gone soft and rounded, the paint is too thick. This is the single most common painting error, and it is usually caused by loading the brush straight from the pot and applying color in one pass. Thick paint sits on top of detail instead of flowing into it, and each additional coat buries the sculpt a little further.
Thin paint to a skim-milk consistency on a palette and build color over two or three passes. You will see the first coat look patchy and translucent, which is correct. The second coat evens it out, and the third only goes where coverage is still weak. This approach preserves crisp edges on fine features like faces and small gear.
If detail is already clogged, do not add more layers. Strip the affected area with isopropyl alcohol and a soft brush, then restart that section with thinner paint. Chasing a clogged area with more pigment is the fastest way to lose the detail permanently.
- Skim-milk consistency on a palette, not straight from the pot.
- Expect the first coat to look patchy; that is normal.
- Stop and strip once detail is buried, rather than layering over it.
Chalky highlights and the wrong brush for the job
Chalky, dusty highlights come from two sources: paint that dried on the brush before it reached the model, or a brush that is too small and too dry for the area. A tiny brush holds very little moisture, so the paint dries mid-stroke and leaves a powdery edge. This is especially visible on large flat surfaces like cloaks, vehicle panels, and shoulder pads.
Use a larger brush with a fine point for broad areas and keep the paint moving. If the highlight still looks dusty, the paint is drying too fast; add a small amount of water or a drying retarder rather than more pigment. For edges, load less paint and drag the side of the brush along the edge instead of the tip.
If you have already built up a chalky layer, glaze over it with a thin mid-tone to unify the surface, then re-highlight with a smoother mix. Repeatedly drybrushing a chalky area just adds texture you will have to cover later.
- Match brush size to the area, not to the level of precision.
- Add water or retarder when paint dries mid-stroke.
- Unify a chalky surface with a thin glaze before re-highlighting.
Faces, eyes, and small details that go wrong fast
Faces are where small mistakes become very visible. Eyes that look like dark holes usually mean the eye was painted as a single dark dot on a light face. Paint the eye area with a light tone first, then add a smaller dark pupil inside it, leaving a sliver of light on each side. If the eyes are already too dark, repaint the surrounding skin and try again with less paint on the brush.
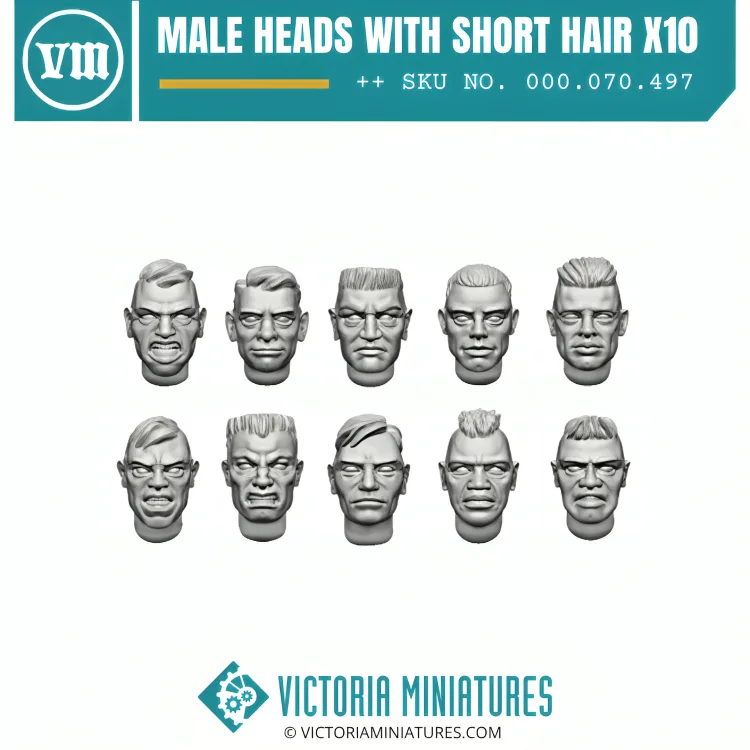
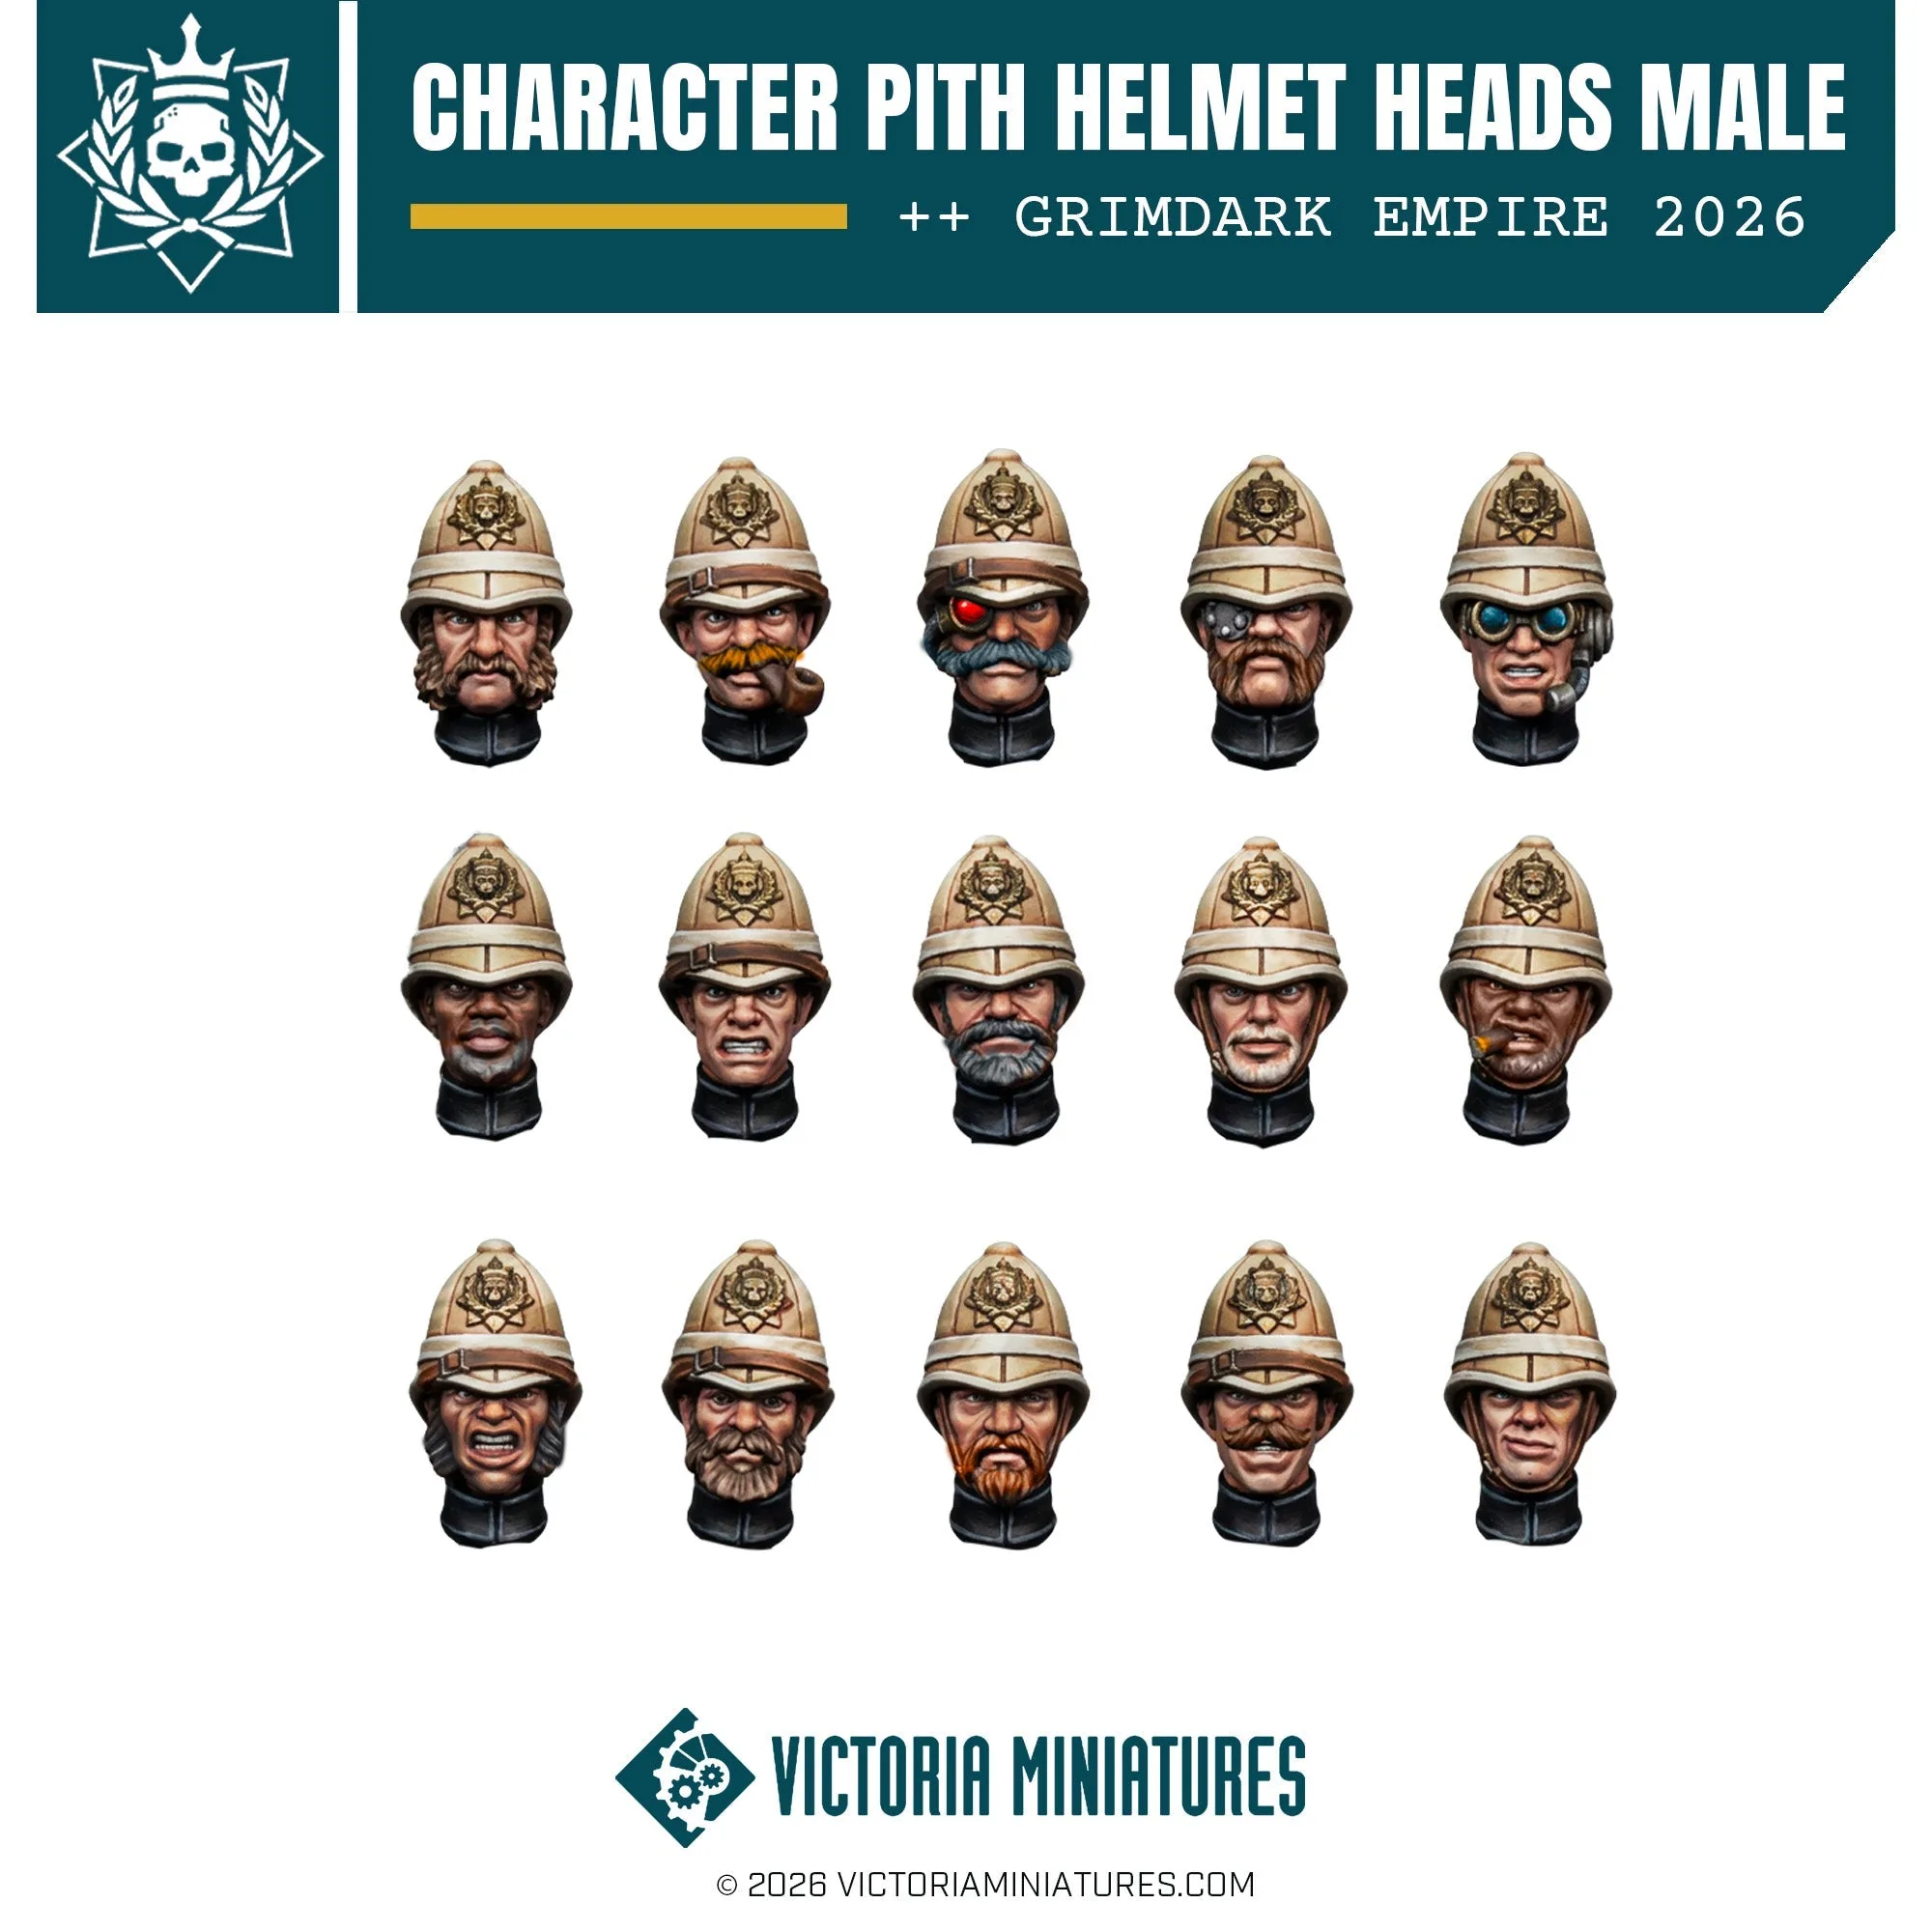
For heads and faces, the sculpt does a lot of the work. Clean, sharply cast heads with defined features are far easier to paint than soft ones, and swapping in heads with crisper detail can remove a whole category of painting errors. If you are painting many identical faces, working from a single well-defined head style keeps your results consistent across the unit.
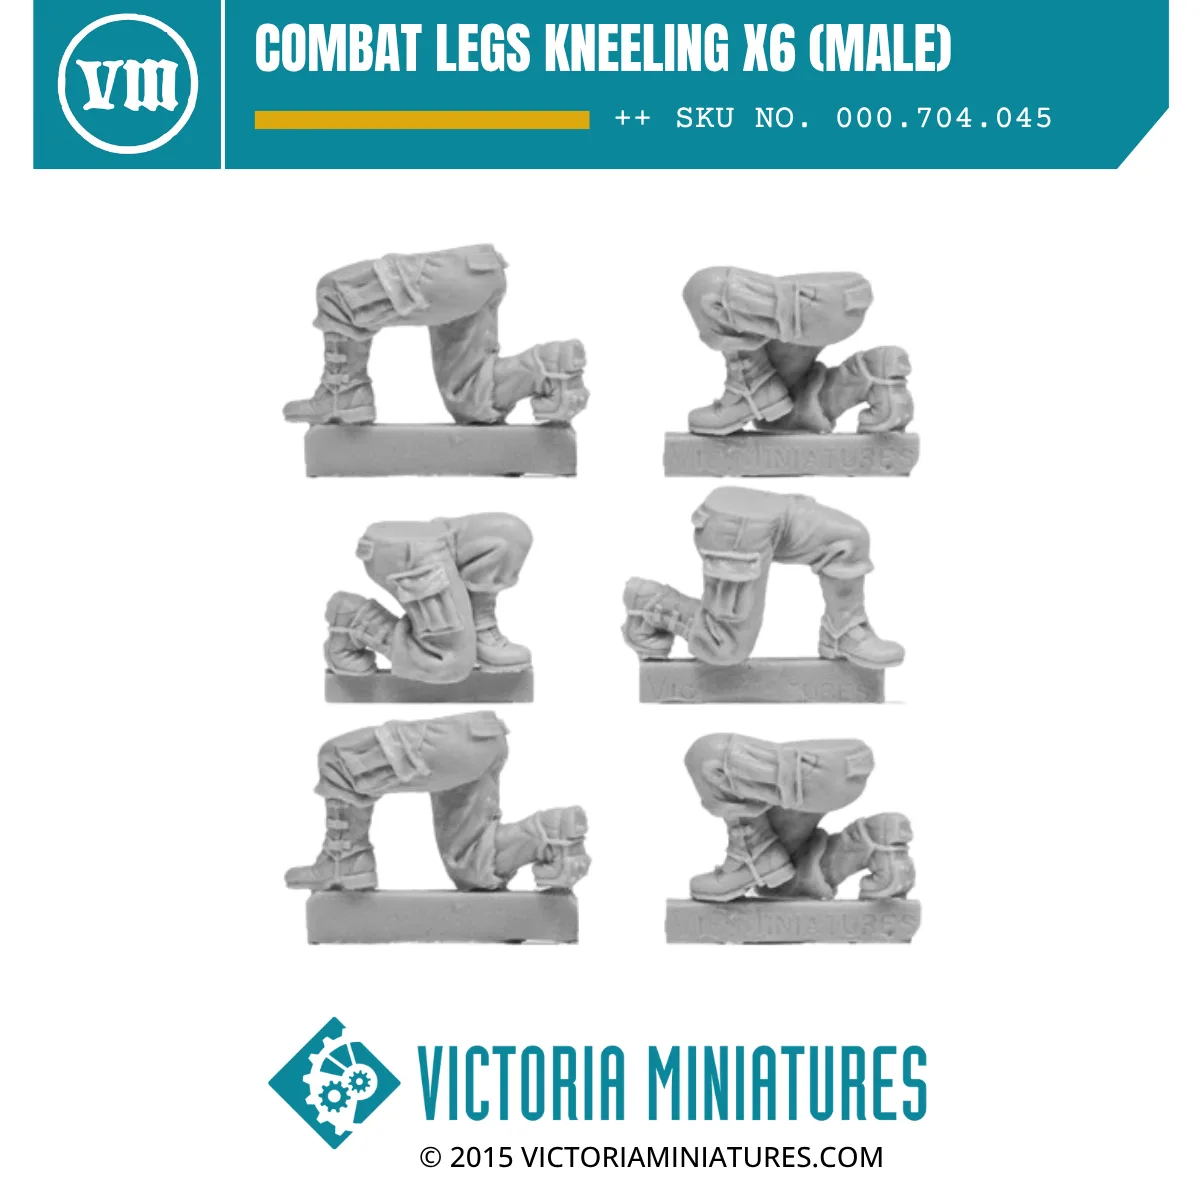
The same logic applies to legs and bodies: a clean, well-fitted component means you spend your time painting instead of filling gaps and hiding seams.
- Light shape first, small dark pupil second, never one dark dot.
- Repaint the skin around a failed eye rather than adding more dark.
- Crisper sculpted detail reduces the number of corrections you need.
When to fix, and when to stop
Not every mistake is worth fixing in place. A thin, slightly uneven coat is normal and will disappear under the next layer. A thick ridge, a clogged detail line, or a chalky texture across a whole panel will not. Those need stripping or a deliberate cover-up, and continuing to paint over them only adds thickness and hides the sculpt.
Set a simple threshold for yourself: if the mistake changes the shape or texture of the model, stop and correct it. If it only changes the color, keep going and correct it with the next coat. That one rule prevents most of the damage painters do while trying to rescue a figure.
If a component is the source of repeated problems, such as a body that will not sit flush or a head that will not read clearly, swapping the component is faster and cheaper than fighting it. A clean replacement part costs less than the hours you would spend filling and re-sculpting.
- Shape or texture changed: stop and correct.
- Only color changed: continue and correct with the next coat.
- Repeated problems from one component: replace it instead of fighting it.
Painting mistake diagnosis chart
- Soft, rounded detail and clogged recesses: Paint applied too thick, usually straight from the pot in one heavy pass. Thin to skim-milk consistency and rebuild color over two or three coats. If detail is already buried, strip that area with isopropyl alcohol and restart rather than adding more layers.
- Chalky, dusty highlights on flat surfaces: Paint drying on the brush mid-stroke, often because the brush is too small and too dry for the area. Switch to a larger brush with a fine point and add water or a drying retarder. Unify the surface with a thin mid-tone glaze before you attempt the highlight again.
- Patchy basecoat that pulls away from edges: Mold release, print residue, or skin oils left on the surface before priming. Wash with mild dish soap, rinse, dry fully, and prime in two thin passes. If adhesion still fails after a proper wash and prime, the surface was contaminated again during handling.
- Dark, hollow-looking eyes: The eye was painted as one dark dot on a light face. Paint the light eye shape first, then add a smaller dark pupil inside it. If the eyes are too dark, repaint the surrounding skin and retry with less paint on the brush.
Parts that reduce painting problems
- Male Heads with Short Hair x10: Includes 10x unique male heads sculpted by Victoria Lamb. This product is a high resolution 3D print. Suitable for 30m heroic scale miniatures. This is a physical product. Ten unique, high-resolution heads give you consistent, clearly defined faces to paint, so you can practice eye and skin work without repeating the same face ten times.
- Penal Guard Legs (male): 5 pairs of resin penal guard legs. Suitable for 28mm heroic troops. Compatible with the Victoria Miniatures male range and popular plastic guard. Cleanly cast legs that fit the Victoria Miniatures male range and popular plastic guard mean less gap filling and seam hiding, which removes a common source of patchy, uneven paint coverage.
Most miniature painting mistakes are preparation or consistency problems, not talent problems. Diagnose the symptom, fix it locally, and stop as soon as the mistake starts changing the shape of the model rather than just its color. That habit alone will improve your painting faster than any new technique.