Quick answer
Most shifter install mistakes come from reusing worn hardware, skipping the supplied grease, and tightening everything before the linkage is centered. Work slowly, follow the included instructions, and use the supplied alcohol wipe and grease. If you hit a symptom you cannot trace to a simple cause, stop and reassess rather than forcing parts together.
You have the parts laid out, the car is on jack stands, and the install looks straightforward. Then the shifter feels vague, the knob is crooked, or a bolt will not thread. Almost every one of those problems traces back to a handful of avoidable mistakes that show up during the job, not after it.
This guide walks through the symptoms you are most likely to hit, what usually causes them, and the corrective action that actually works. It also tells you when to stop and choose a different approach, because forcing a part is how a simple upgrade turns into a broken clip or a stripped thread.
Mistake 1: Reusing old hardware and worn bushings
Reusing the original nuts, bolts, and rubber bushings is the most common shortcut. Old hardware may look fine, but stretched threads or corroded fasteners can prevent you from reaching the correct torque. Worn rubber bushings also reintroduce the compliance you are trying to remove, so the new shifter feels only marginally better than stock.
The fix is to install new hardware where the kit supplies it and to inspect every reused fastener for corrosion or rounded heads. If a nut will not thread by hand, stop. Chasing it with a wrench will cross-thread it and create a much bigger problem than a trip to the hardware store.
- Thread every nut and bolt by hand first to confirm the threads are clean.
- Replace any fastener with rounded corners or visible rust.
- Keep old bushings and hardware in a labeled bag so you can compare them later.
Mistake 2: Skipping the supplied grease or alcohol wipe
Some installers treat the small packet of grease and the alcohol wipe as optional extras. They are not. The alcohol wipe removes oils and debris so the new parts seat cleanly, and the grease protects moving surfaces from binding and premature wear. Skipping either step can leave you with a notchy or noisy shifter.
Use the wipe on the mating surfaces before assembly, then apply the grease where the instructions specify. More grease is not better; excess grease attracts grit. A thin, even film on the contact points is what you want.
- Wipe mating surfaces until the cloth comes away clean.
- Apply grease sparingly to the pivot and sliding contact points.
- Do not substitute a heavy chassis grease for the supplied lubricant.
Mistake 3: Tightening bolts before the linkage is centered
If you tighten the base bolts and linkage bolts before centering the shifter, you lock in whatever misalignment exists. The result is a shifter that leans to one side, refuses to find neutral easily, or binds in one direction. This is one of the most common shifter alignment problems, and it is entirely preventable.
Center the shifter first, confirm it moves freely through the pattern, then tighten in a star pattern and recheck. If the shifter pulls to one side after tightening, loosen the fasteners and repeat the centering step. Do not adjust the cables or linkage to compensate for a base that is bolted down crooked.
- Hand-tighten fasteners, center the shifter, then torque in stages.
- Cycle the shifter through every gear before final tightening.
- If it binds after torquing, loosen and re-center rather than forcing it.
Mistake 4: Forcing a knob or adapter onto damaged threads
Cross-threading a shift knob is easy to do and expensive to fix. If the knob does not spin on smoothly by hand, stop immediately. Forcing it damages the threads on both the knob and the shifter, and a damaged stainless steel core is not something you can repair with a thread file in the driveway.
Check the thread pitch and the condition of the shifter threads before you start. If the threads are damaged, address that first. A knob with a stainless steel core and durable hand-filled lettering is worth protecting, and the few seconds it takes to start it by hand will save you from a stripped thread.
- Start every knob by hand and only use a wrench if the instructions call for it.
- Never use thread-locking compound on a shift knob unless specified.
- If the knob wobbles after tightening, the threads are likely damaged.
Mistake 5: Ignoring the point where you should stop
The hardest mistake to avoid is continuing when something feels wrong. A bolt that will not seat, a linkage that binds, or a shifter that will not center are all signals to pause. Forcing parts can crack a housing, bend a linkage, or strip a thread, turning a two-hour job into a multi-day repair.
Set a clear stopping point before you start. If a step does not go together with hand pressure, stop, re-read the instructions, and check for a missed washer or an upside-down bracket. If you still cannot resolve it, reassemble the stock parts and drive the car while you get guidance. That is not failure; it is protecting your investment.
- If it needs a hammer, you are doing it wrong.
- Photograph each step as you disassemble so you can reverse it.
- Reassemble stock parts if you cannot identify the cause of a bind.
Diagnosis: match the symptom to the fix
- Shifter leans to one side or will not find neutral: The base or linkage was tightened before the shifter was centered. Loosen the fasteners, center the shifter by hand, cycle it through the pattern, then torque in a star pattern and recheck. If it still leans after re-centering, check for a bent linkage or a missed alignment pin.
- Notchy or noisy movement after installation: The supplied grease was skipped or applied too sparingly, or an old rubber bushing was reused. Disassemble the contact points, clean with the alcohol wipe, apply a thin film of grease, and replace any reused compliant bushings. If the noise persists, inspect for a misrouted cable or a binding pivot.
- Knob will not thread on smoothly: The threads are cross-threaded or damaged. Stop immediately. Remove the knob, inspect both sets of threads, and if the shifter threads are damaged, repair or replace the shifter before trying again. Never force a knob. A stainless steel core is strong, but the threads on the shifter may not be.
- Bolt will not seat or feels tight all the way down: The threads are dirty, damaged, or the wrong pitch. Remove the bolt, clean the threads, and try by hand. If it still will not seat, stop and get the correct fastener rather than running it in with a wrench. A cross-threaded bolt can crack a housing. Hand-thread first, every time.
Parts that help you avoid these mistakes
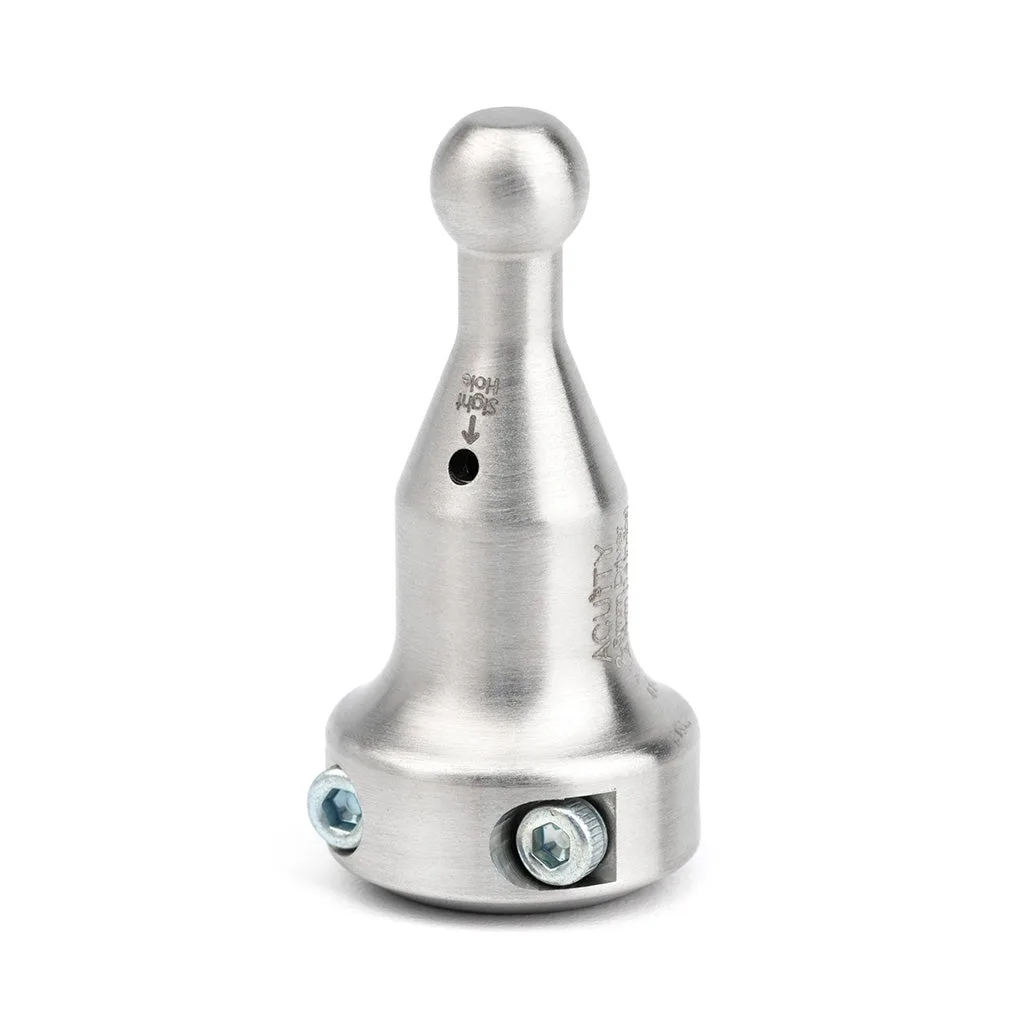
- Short Throw Adapter for the 10th Civic/10th Accord: Supplied with grease and alcohol wipe for ease of installation; approximately 25% reduction in throw; 300 series stainless steel construction; unique grip design uses special nuts to stay affixed. The included grease and wipe remove the temptation to skip prep, and the special nuts are designed to stay put, so you are less likely to reuse worn hardware.
- Stage 1 Shift Kit for the 11th Gen Civic & 5th Gen Integra: Couples compliance-reducing Shifter Base Bushings (SKU 1914) with a spherical Shifter Linkage Bushing Upgrade (SKU 1881) and a Centering Shifter Spring Upgrade (SKU 1988). Because the kit replaces the compliant rubber parts with stiffer components, correct centering and torque sequence matter even more during installation.
- ESCO-Insulated 6-Speed Shift Knob in White (M10X1.5): Stainless steel core for added weight and strong, durable threads; hand-filled 6-speed Honda gear pattern is 2+ millimeters deep. The strong threads reduce the risk of cross-threading, and the deep hand-filled pattern will not wear off like printed lettering, so it stays legible after repeated use.
Most shifter install mistakes are preventable with patience and the supplied hardware. Work by hand where you can, center before you torque, and treat any binding as a signal to stop and diagnose. If you do hit a wall, reassembling the stock parts is a valid choice that protects your car while you get the right guidance.
