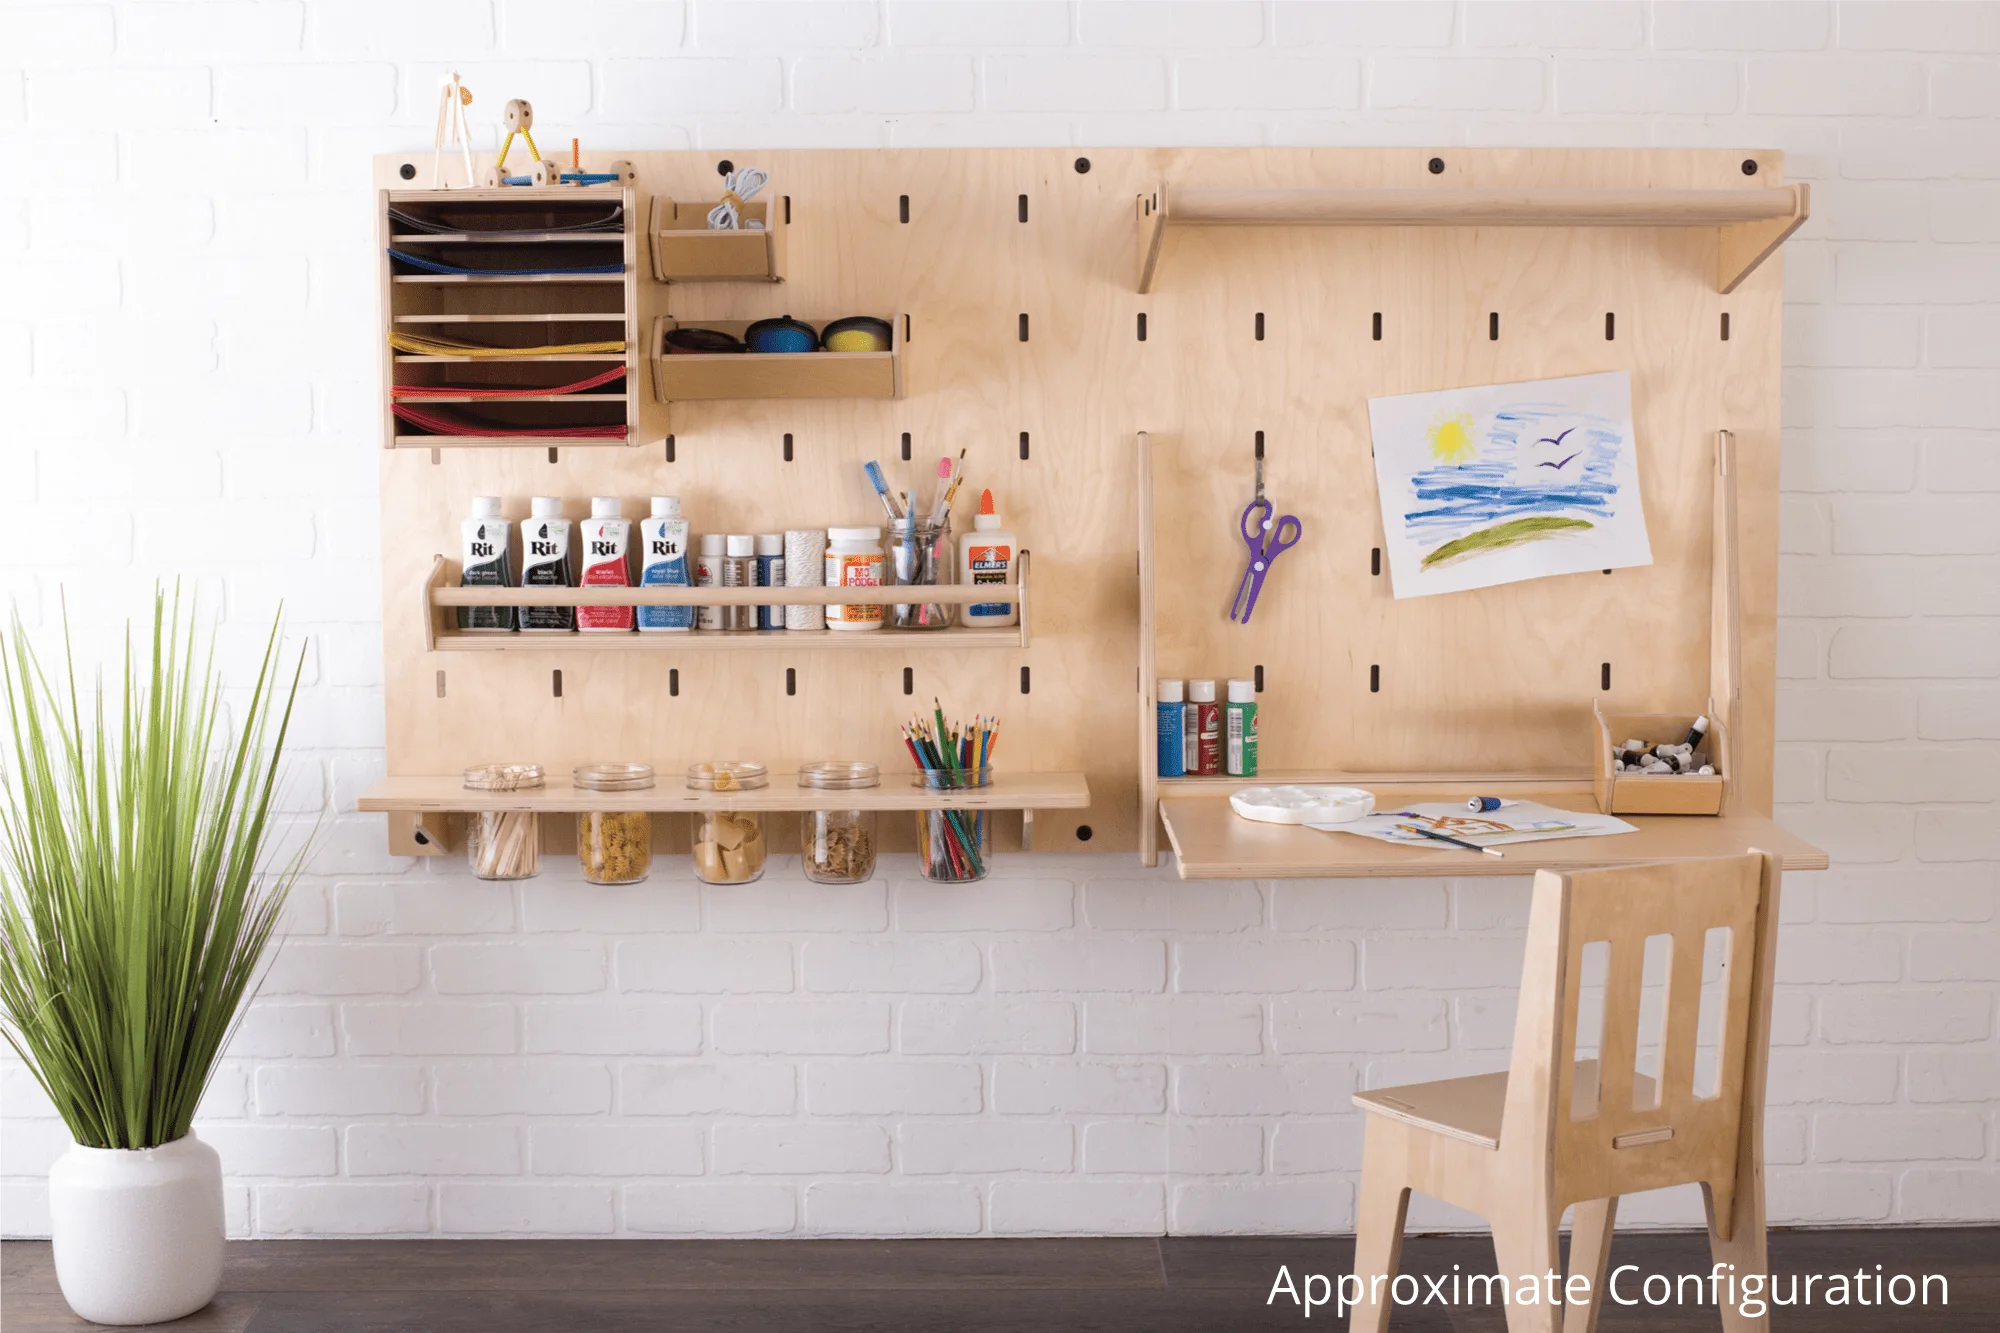
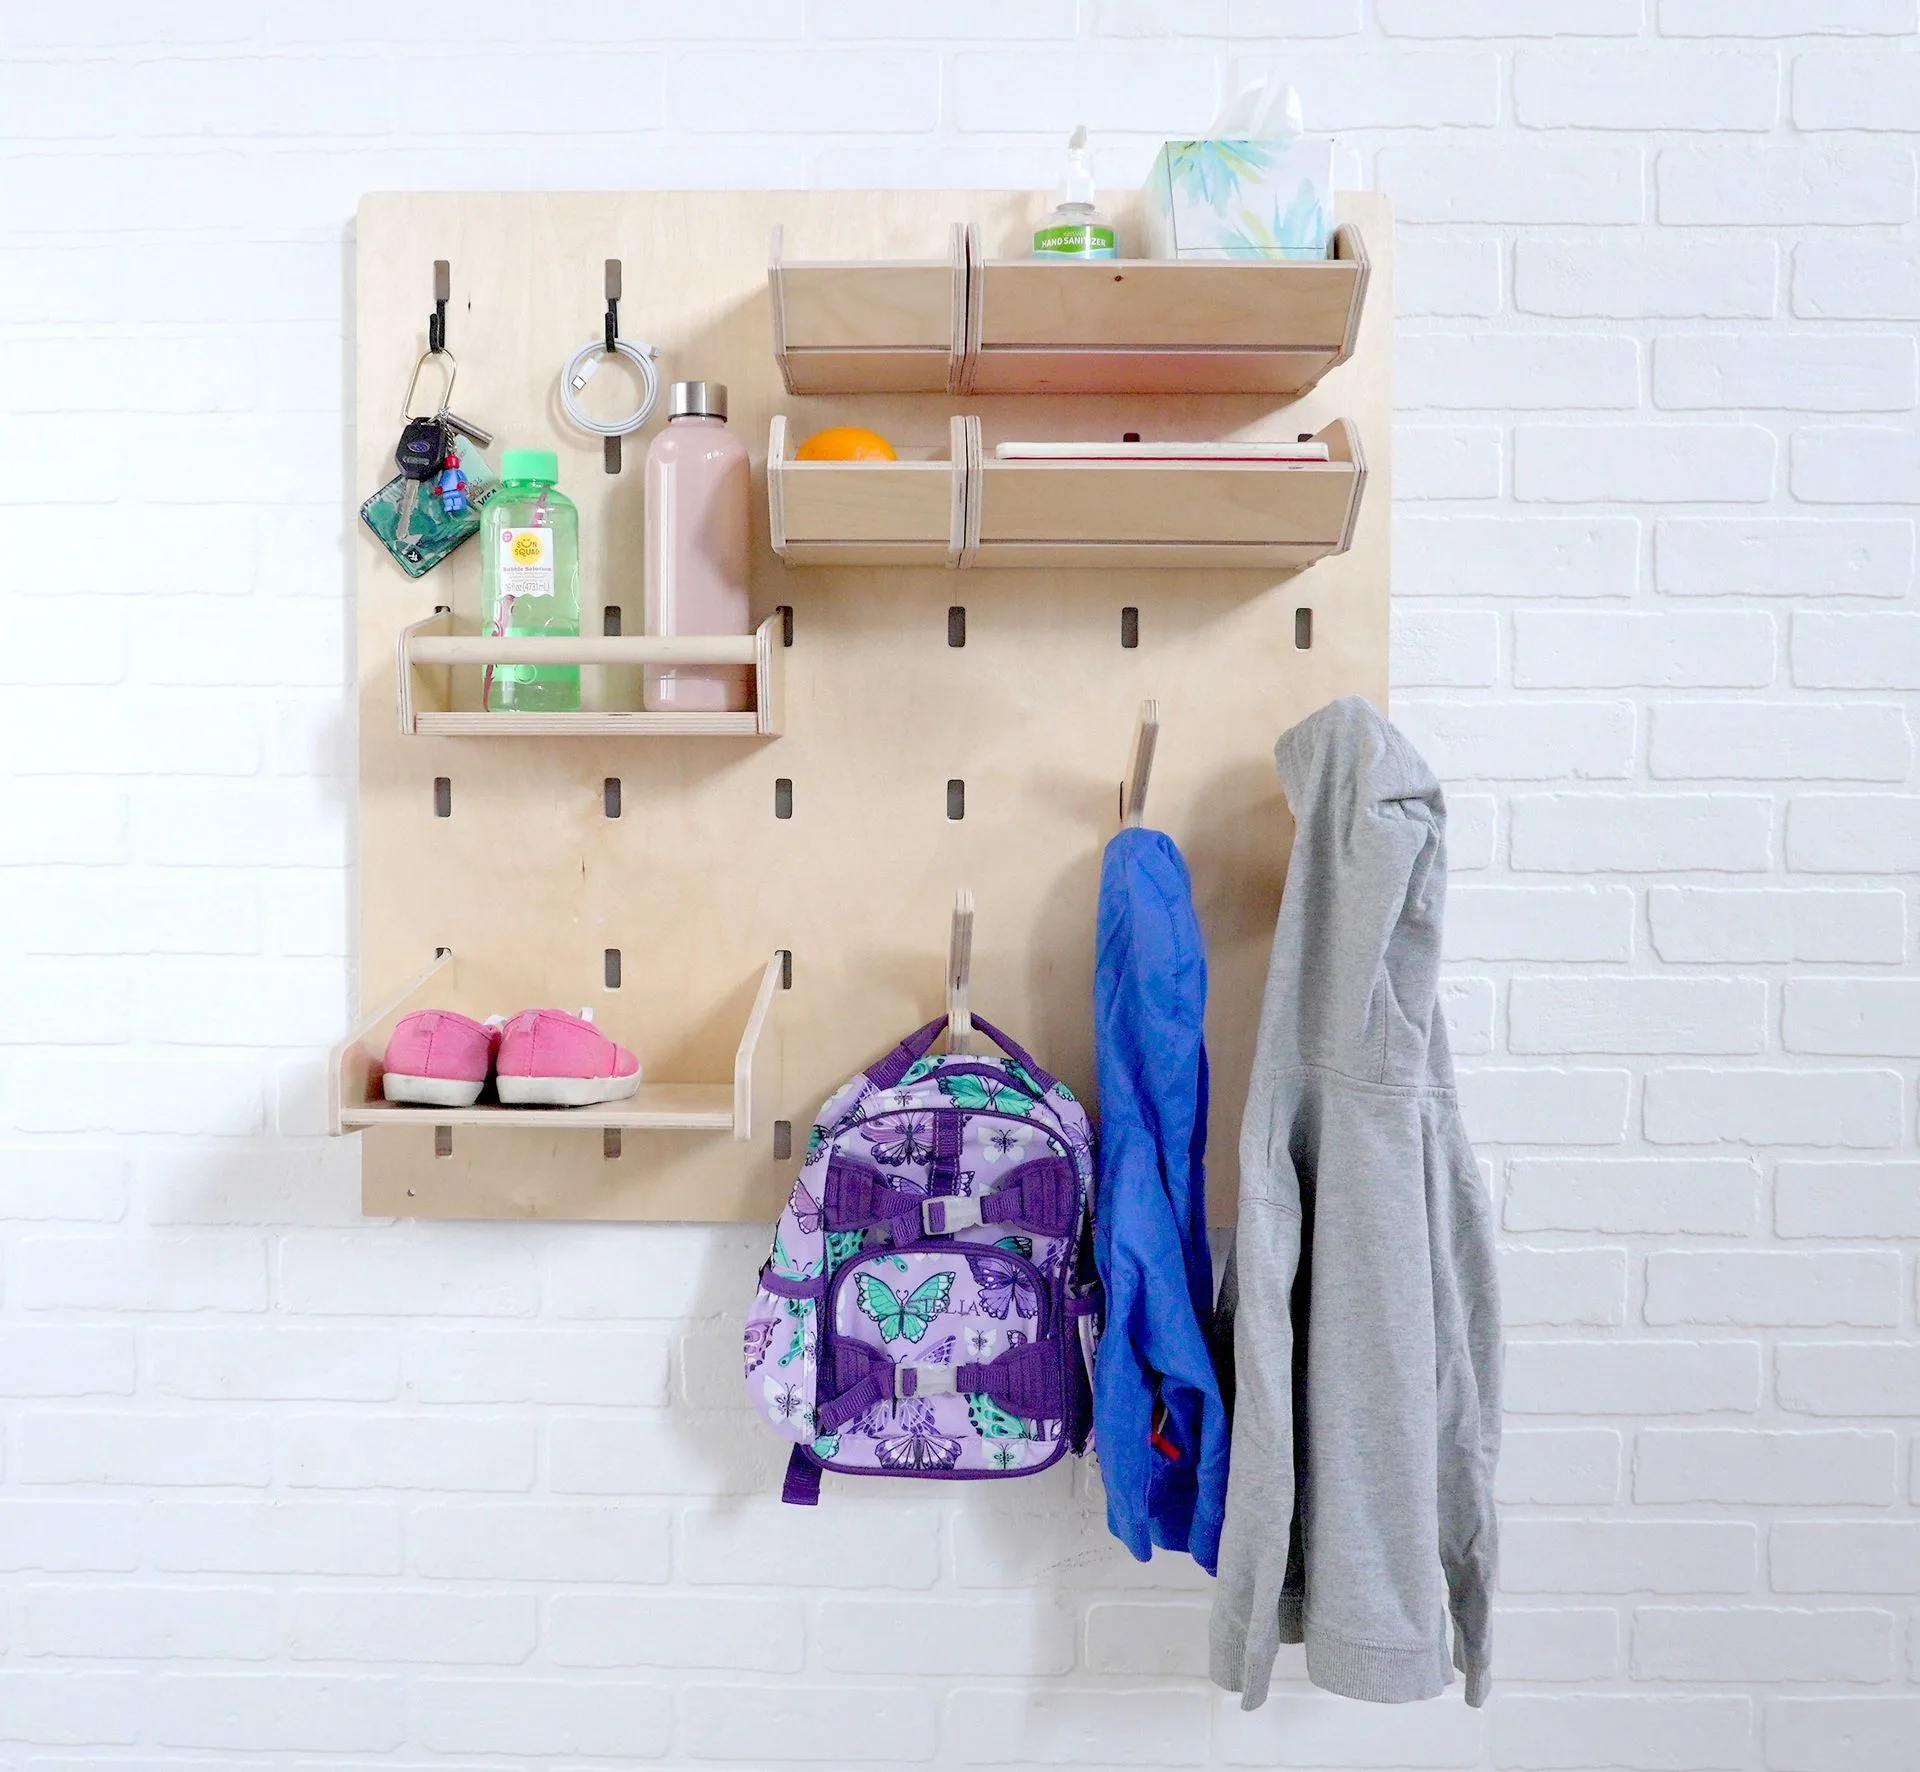
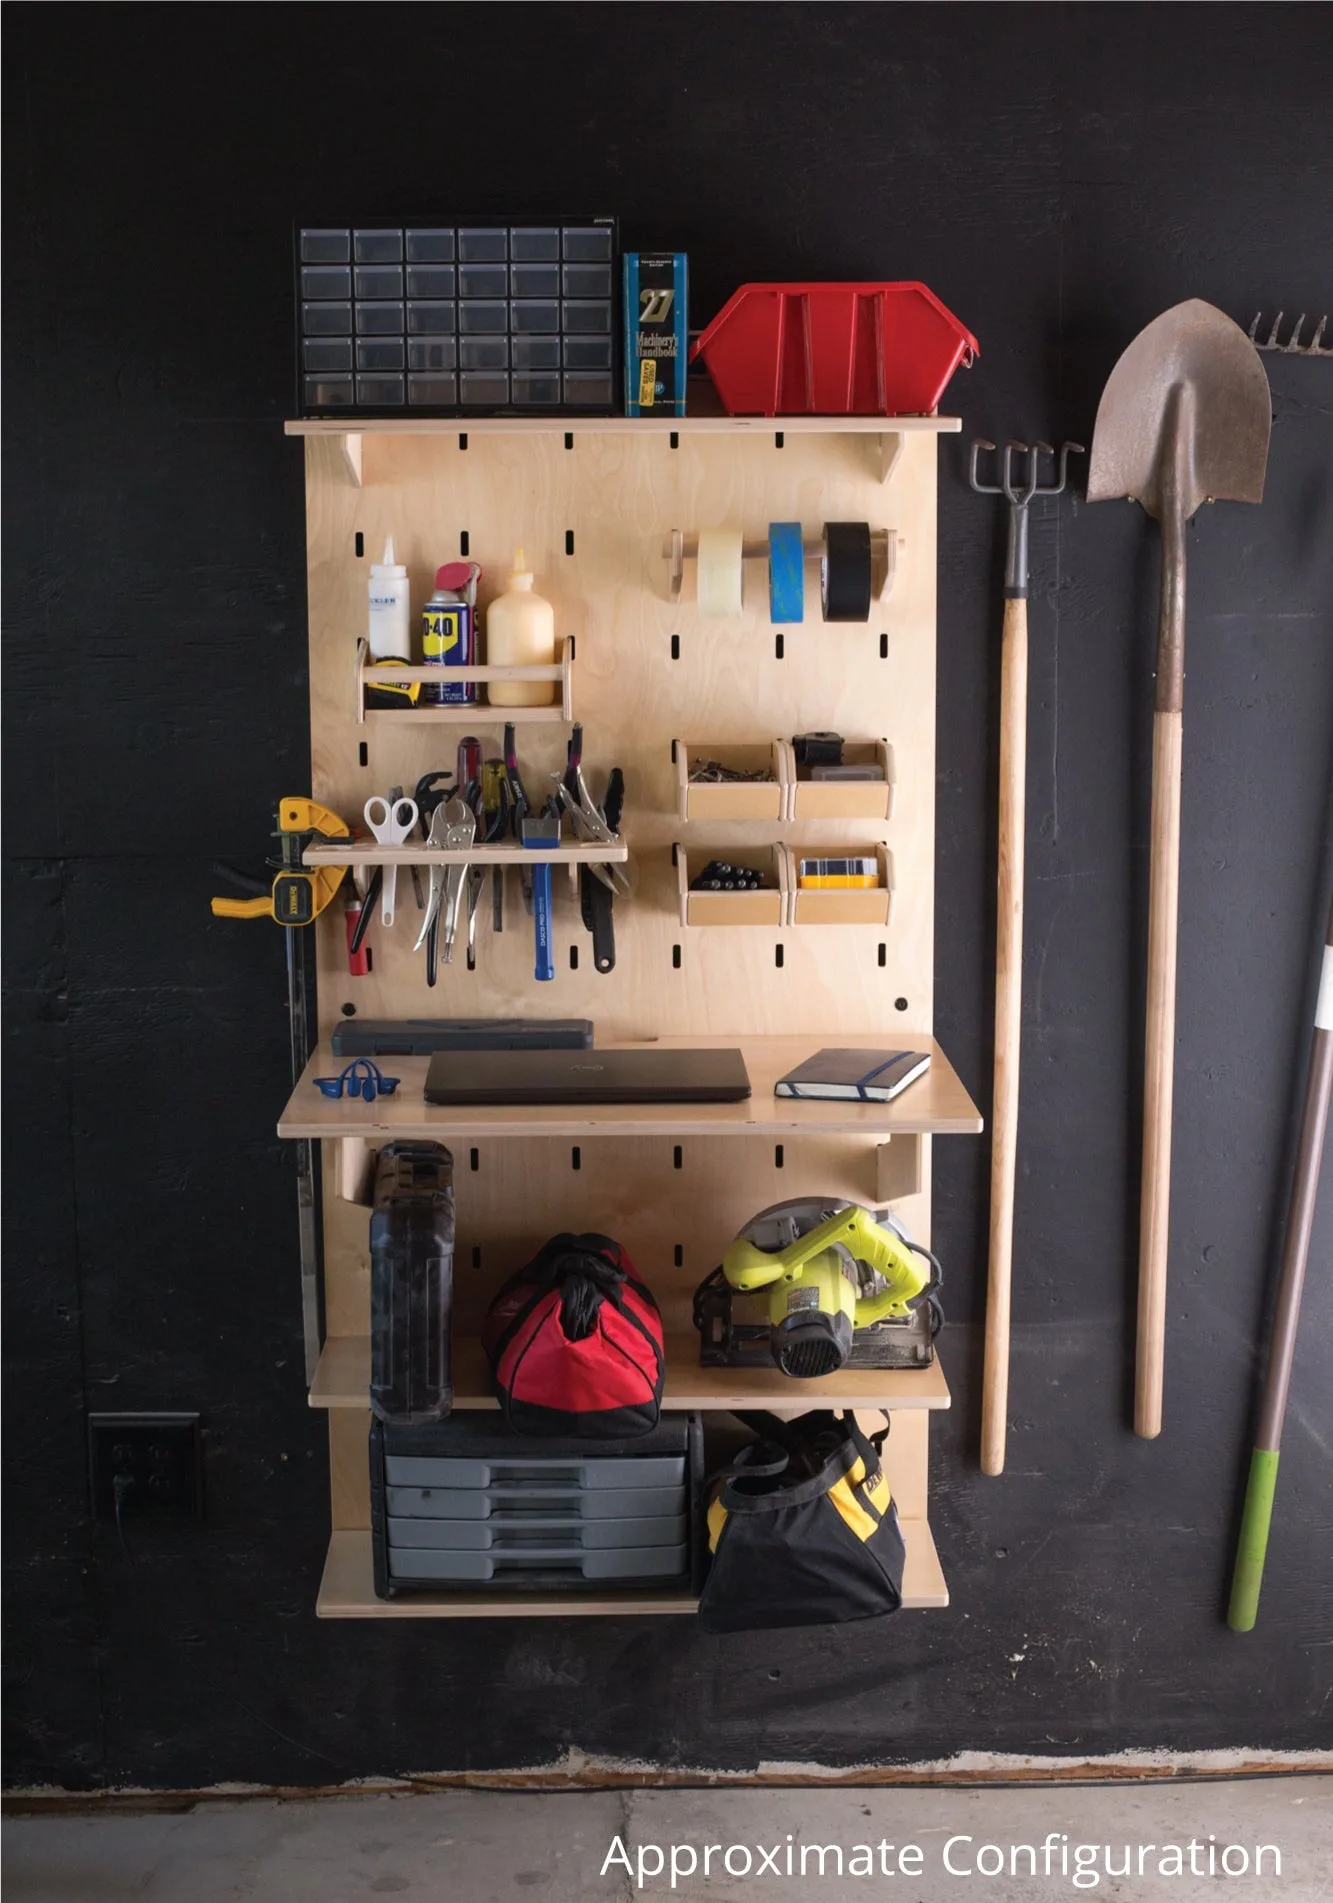
A MakerWall work surface is more than just a kids workbench—it's a launchpad for creativity, problem-solving, and hands-on learning. Whether your child loves building with blocks, sketching, or tinkering with simple tools, the right setup can make all the difference in how they engage with their projects.
In this guide, we'll walk you through everything you need to know about setting up a MakerWall work surface that's safe, functional, and inspiring. From choosing the right height to organizing supplies with a MakerWall drawer, these practical tips will help you create a space your child will love to use every day.
Why a Dedicated Kids Workbench Matters
A dedicated work surface gives children a sense of ownership and purpose. Unlike a dining table that has to be cleared for meals, a MakerWall work surface is always ready for action. This consistency encourages kids to start projects independently and develop focus over time.
Montessori-inspired spaces emphasize accessibility and order. A workbench at the right height lets children reach materials and tools without help, building confidence. Plus, having a designated area for messy or noisy activities keeps the rest of your home more organized.
- Choose a location with good lighting and minimal distractions.
- Keep the work surface clear of unrelated items so it stays inviting.
Choosing the Right MakerWall Setup for Your Space
The beauty of a MakerWall system is its flexibility. You can mount it on a wall in a playroom, garage, or even a corner of the kitchen. The key is to select a height that allows your child to stand or sit comfortably while working. A good rule of thumb is to have the work surface at about waist height for your child.
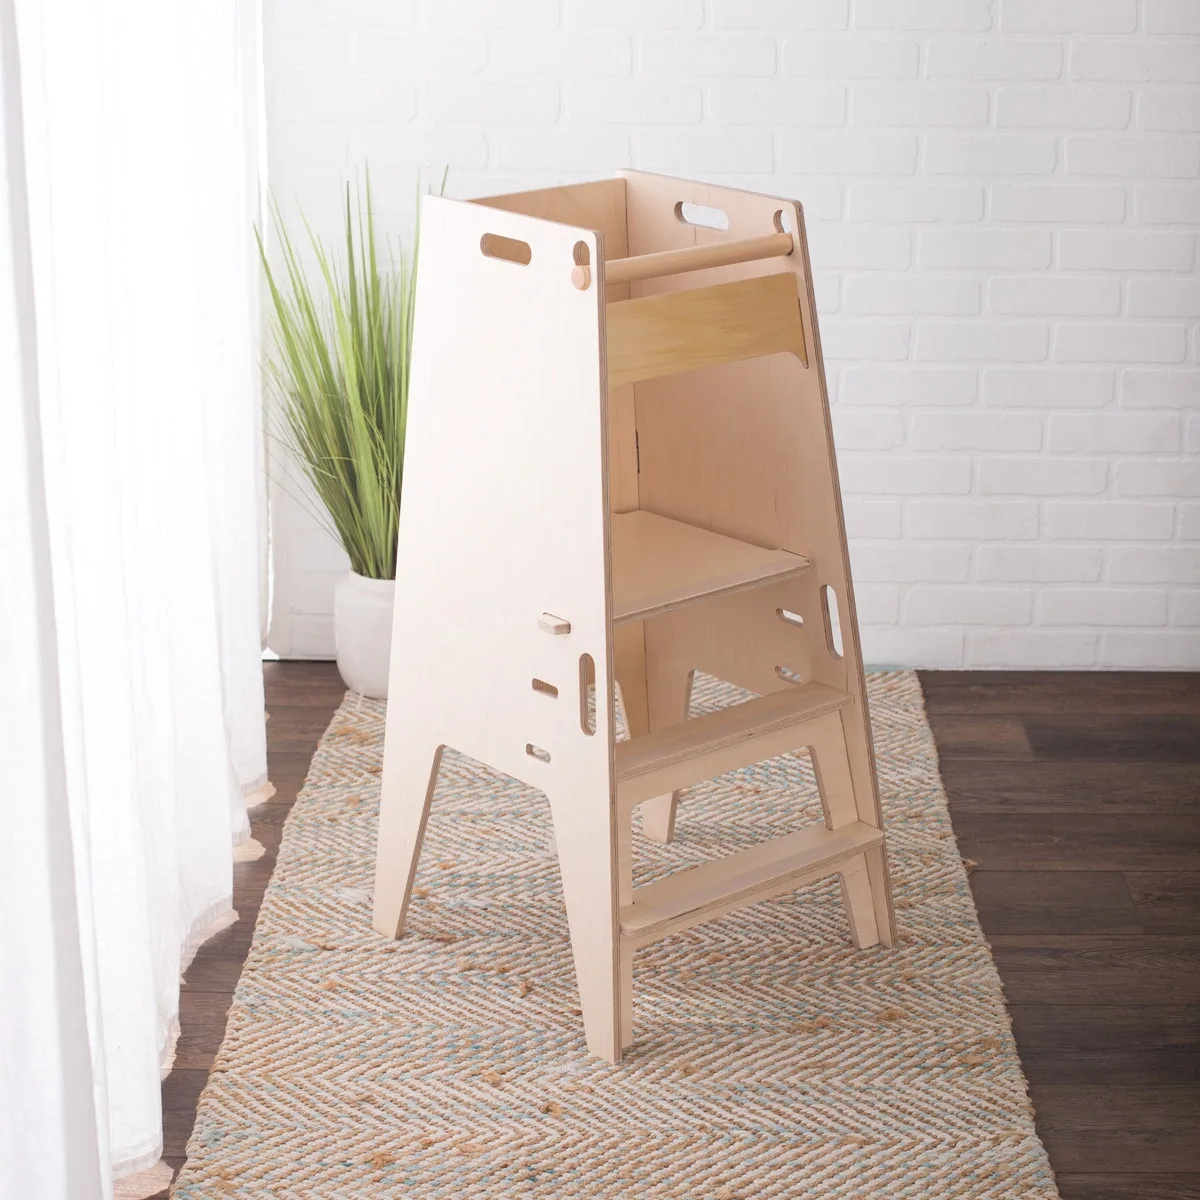
If you're tight on floor space, consider a wall-mounted fold-down design. For larger rooms, a freestanding kids workbench with built-in storage works well. Pair it with a sturdy stool like the Stubby Stool to give your child a stable seat when needed.
- Measure your child's standing elbow height to find the ideal work surface height.
- Leave room for a MakerWall drawer or shelf below the work surface for easy tool access.
Must-Have Accessories for a Functional MakerWall Work Surface
A MakerWall drawer is a game-changer for keeping small parts organized. Screws, nails, markers, and erasers can all live in labeled compartments so your child can find what they need without digging through a pile. This teaches responsibility and makes clean-up faster.
Add a pegboard or magnetic strip above the work surface to hang frequently used tools like scissors, tape, and a small hammer. For art-heavy projects, clip a roll of paper to the wall so your child can pull down fresh sheets as needed. The Luce Shelf can also be mounted nearby to hold books or inspiration pieces.
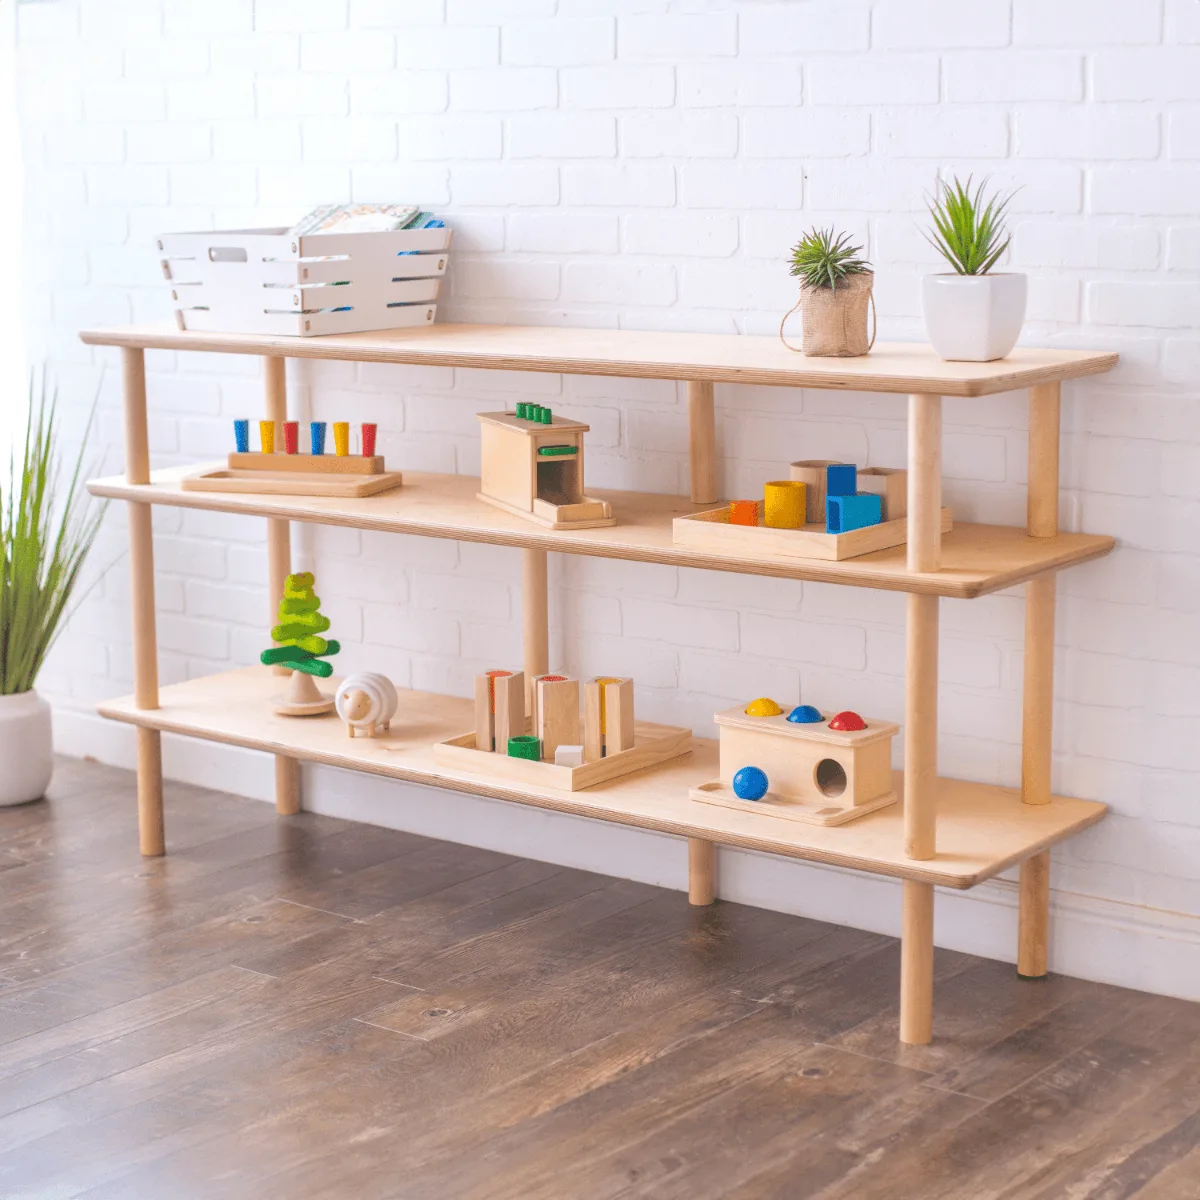
Luce Shelf
- Use clear containers or baskets for small items so kids can see what's inside.
- Rotate tools and materials seasonally to keep the space feeling fresh.
Safety and Supervision Tips
Even with the best kids workbench, supervision is essential—especially when tools are involved. Set clear rules about which tools your child can use independently and which require an adult. Store sharp or hazardous items out of reach but still visible so you can grab them when needed.
Anchor the MakerWall work surface securely to the wall if it's a wall-mounted unit. Check for sharp edges and ensure all screws are flush. Teach your child to clean up spills immediately and to put tools back in their designated spots after each session.
- Keep a first aid kit nearby for minor cuts or scrapes.
- Model safe behavior by wearing safety glasses or using tools correctly yourself.
Encouraging Creativity and Independence
Once the MakerWall setup is in place, let your child take the lead. Offer open-ended materials like cardboard, string, wood scraps, and fabric scraps instead of kits with predetermined outcomes. This sparks imagination and problem-solving skills.
Resist the urge to jump in and fix things. If a project doesn't work out, ask guiding questions like "What could you try next?" The goal is for your child to feel capable and proud of their own creations, even if they're not perfect.
- Display finished projects on a nearby shelf or wall to celebrate effort.
- Schedule a regular "maker time" so your child knows when they can use the space.
Setting up a MakerWall work surface for your child is an investment in their independence, creativity, and love of learning. By choosing the right height, adding smart storage like a MakerWall drawer, and prioritizing safety, you'll create a space where your child can explore, build, and grow. Start small, involve your child in the setup, and watch their confidence soar.