Discovering a tick attached to your skin can be alarming, but knowing exactly what to do next can prevent serious illnesses like Lyme disease. Every year, millions of people encounter ticks while hiking, gardening, or simply spending time in wooded or grassy areas. This guide walks you through the correct way to remove a tick, how to care for the bite site, and why testing the tick for pathogens is a crucial step that many overlook.
Whether you’re an avid camper, a parent checking your child after playtime, or a pet owner who found a tick on your dog, the actions you take in the first 24 hours can make all the difference. From choosing the right tool to understanding tick testing kits, we’ll cover everything you need to stay safe and informed.
Why Proper Tick Removal Matters
Improper tick removal—such as using heat, petroleum jelly, or twisting with fingers—can cause the tick’s mouthparts to break off and remain embedded in the skin. This increases the risk of infection and disease transmission, as pathogens may be released into the bloodstream. The safest method is to use a specialized tick remover that grips the tick close to the skin and pulls straight out without squeezing the body.
The Bug Bite Thing Tick Remover is designed specifically for this purpose. Its precision tip ensures a secure grip on even the smallest nymph ticks, allowing you to remove them cleanly without crushing the body. This reduces the chance of regurgitation, which is how many tick-borne diseases are transmitted. Always have a dedicated tick remover in your first aid kit or outdoor gear.
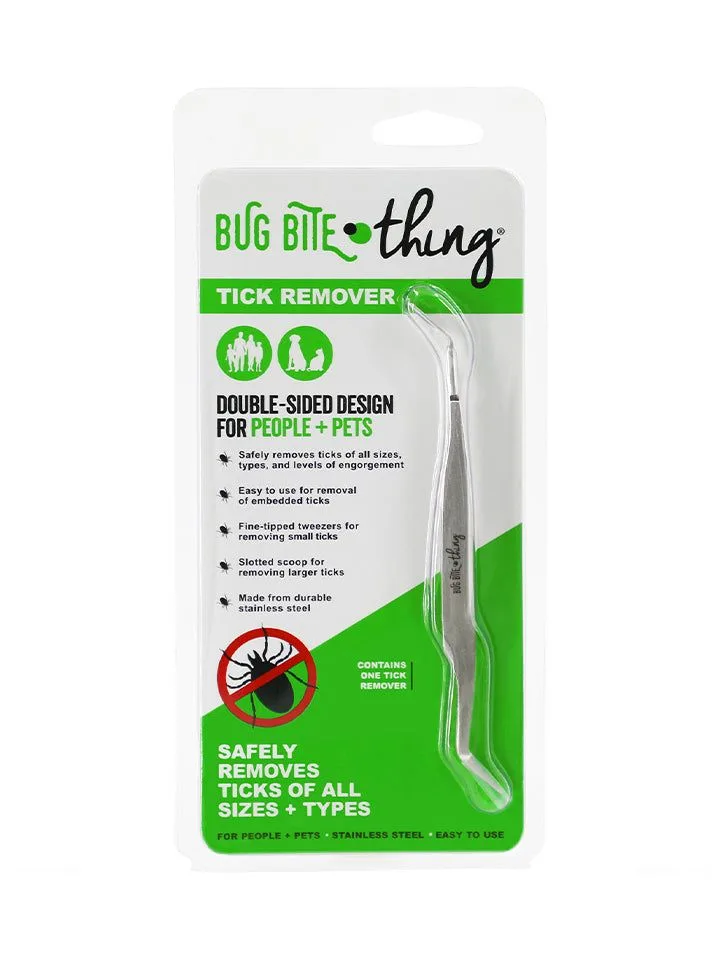
Bug Bite Thing Tick Remover
- Never use your fingers, tweezers that crush the body, or home remedies like nail polish or heat.
- Always remove a tick as soon as you spot it—the longer it’s attached, the higher the risk of disease.
- Clean the bite area with rubbing alcohol or soap and water after removal.
Step-by-Step Tick Removal: How to Do It Safely
Follow these steps for safe tick removal. First, put on disposable gloves if available. Using a tick remover, approach the tick from the side and slide the tool’s notch under the tick’s body as close to the skin as possible. Gently lift upward with steady, even pressure—do not jerk or twist. The tick should release within a few seconds.
After removal, place the tick in a sealed bag or container. Do not crush it with your fingers. Clean the bite site with rubbing alcohol or an antiseptic wipe. Wash your hands thoroughly. Monitor the area for any rash or redness over the next few weeks. If you develop a bullseye rash, fever, or flu-like symptoms, see a healthcare provider immediately.
- Use a tool like the Bug Bite Thing Tick Remover for best results.
- Save the tick in a dry container or ziplock bag for possible testing.
- Do not apply any substances to the tick before removal.
After the Bite: When and How to Test a Tick for Lyme Disease
Testing a tick for Lyme disease and other pathogens is a proactive step that can give you peace of mind and guide medical decisions. Not all ticks carry disease, and knowing whether the tick was infected can help you avoid unnecessary antibiotic treatment or catch an infection early. The best time to test is within 72 hours of removal, while the tick is still intact.
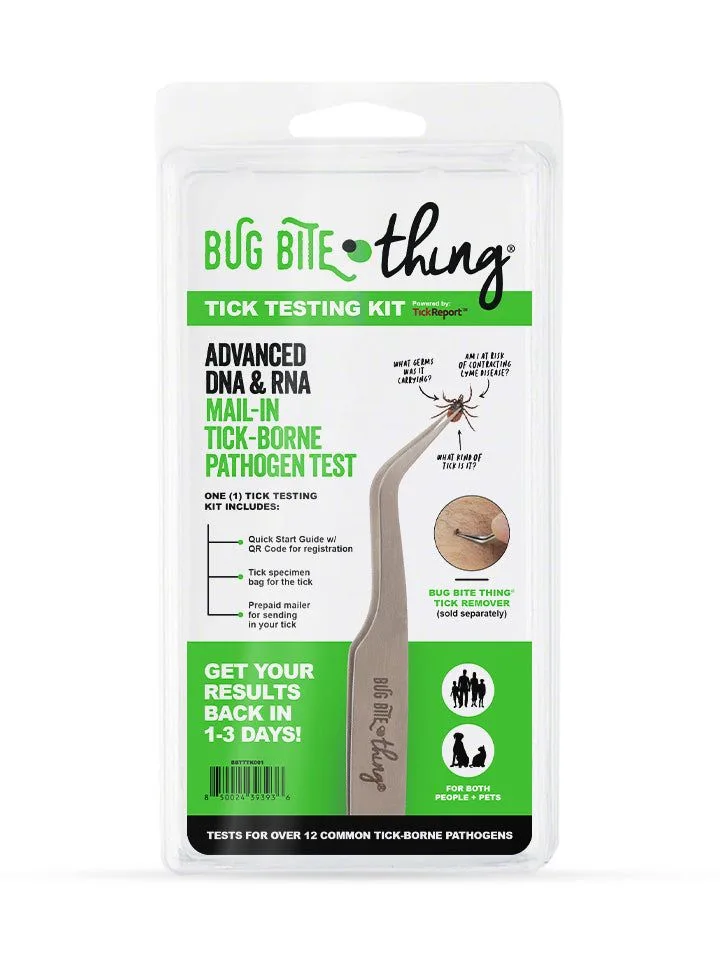
The Bug Bite Thing Tick Testing Kit, powered by TickReport, allows you to mail the tick to a certified lab for comprehensive analysis. The kit includes a prepaid shipping envelope and clear instructions. Results are typically available online within 24-48 hours of the lab receiving the sample. This is especially valuable if you live in a high-risk area for Lyme disease or if the tick was attached for more than 24 hours.
- Tick testing is recommended if the tick was attached for 24 hours or more.
- Keep the tick alive or refrigerated (not frozen) until you can send it for testing.
- Results can help your doctor decide if prophylactic antibiotics are needed.
Preventing Tick Bites in the Future
While knowing how to handle a tick bite is essential, prevention is always better than cure. Wear long sleeves and pants when in tick-prone areas, tuck pants into socks, and use EPA-approved insect repellents containing DEET or picaridin. After outdoor activities, perform a full body check including behind ears, under arms, and in hair. Showering within two hours of coming indoors can help wash off unattached ticks.
For your gear and clothing, treat items with permethrin or buy pre-treated clothing. Keep your yard tidy by mowing grass, clearing leaf litter, and creating a barrier of wood chips between wooded areas and your lawn. If you have pets, use veterinarian-recommended tick prevention products and check them daily.
- Perform daily tick checks on yourself, children, and pets after outdoor time.
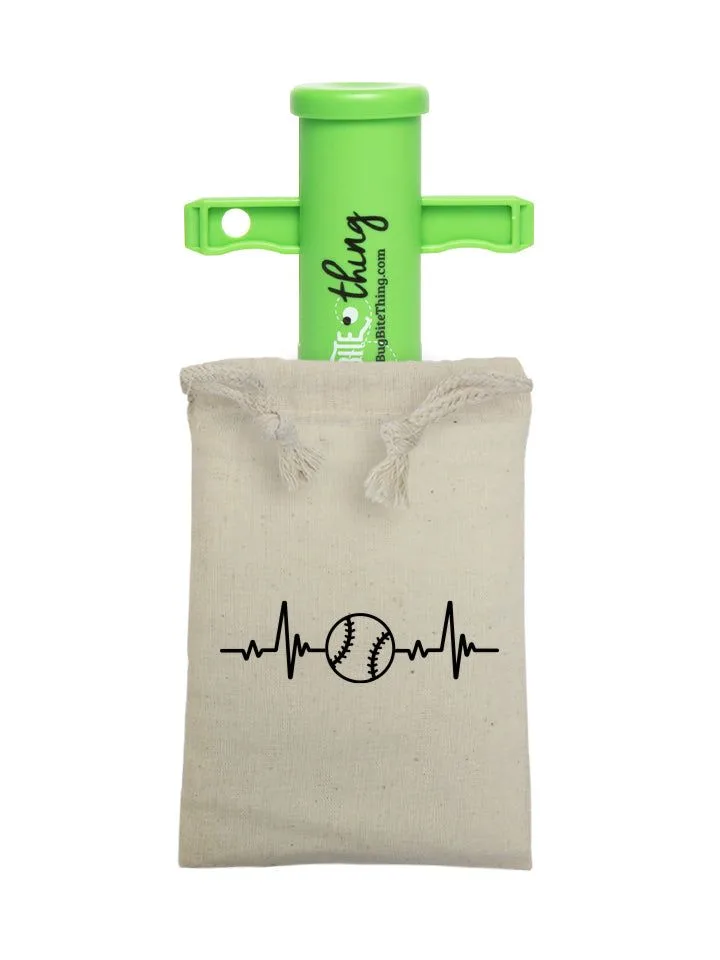
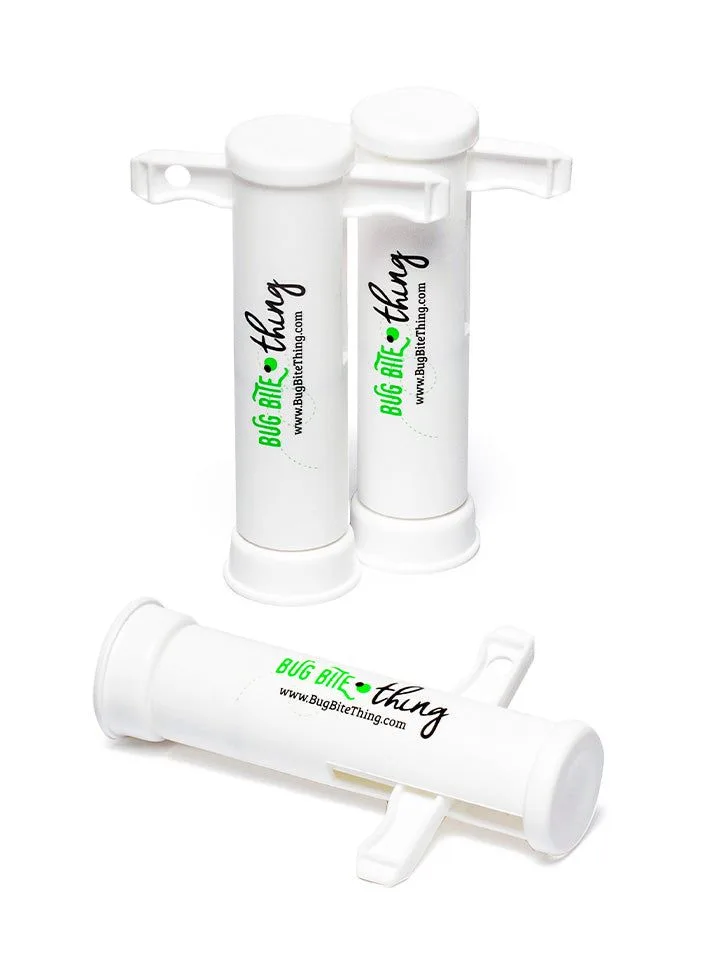
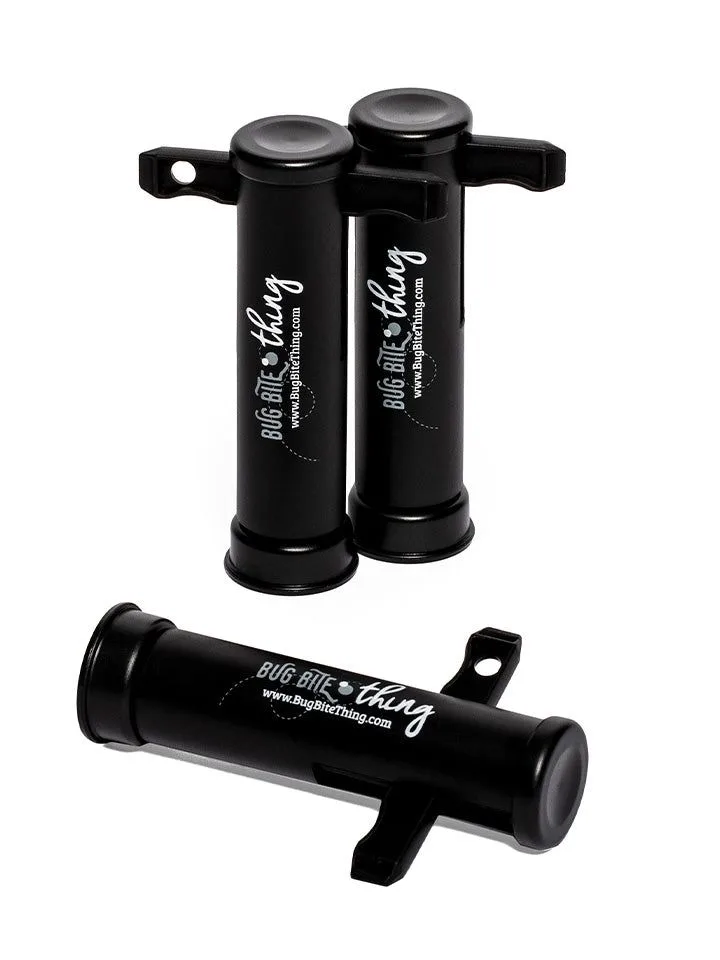
- Consider using the Bug Bite Thing Suction Tool for any bites you get from mosquitoes or other insects.
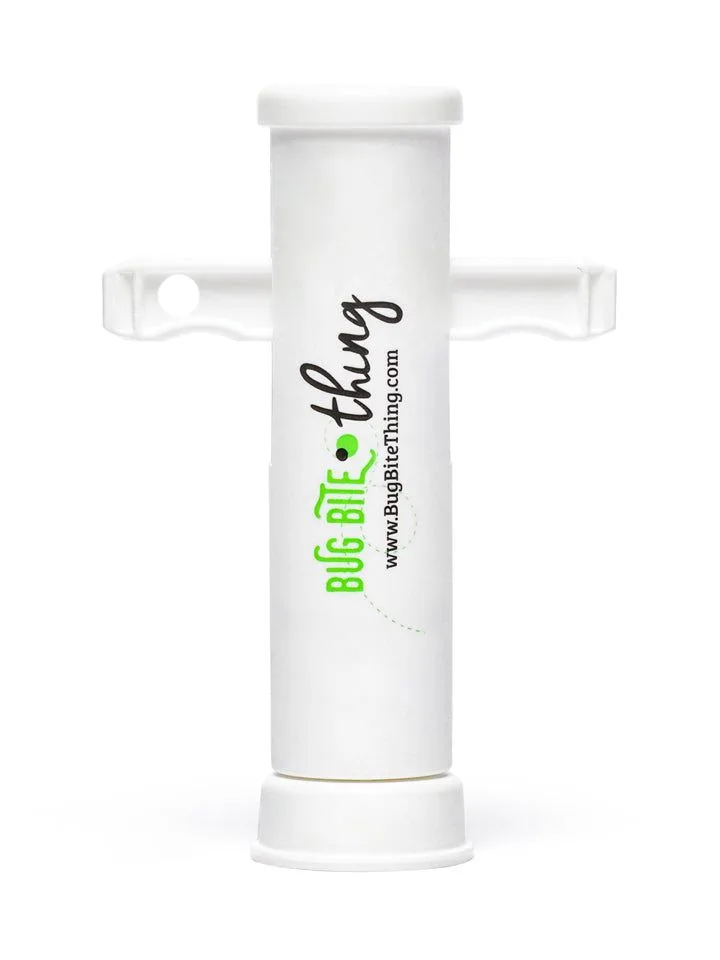
Bug Bite Thing Suction Tool
- Tick testing kits are a smart addition to your outdoor emergency kit.
Taking the right steps after a tick bite can dramatically reduce your risk of Lyme disease and other tick-borne illnesses. From safe removal using a dedicated tool like the Bug Bite Thing Tick Remover to sending the tick for lab analysis with the Bug Bite Thing Tick Testing Kit, you now have a complete action plan. Stay prepared, stay informed, and enjoy the outdoors with confidence.