Quick answer
Setting up the Connect Classic Stack Top-Up Bundle involves attaching the included stacking components to your existing Connect Classic Tree Tent to create a multi-level sleeping area. The process is straightforward and requires no special tools, just careful attention to strap tension and component alignment.
Before you begin: what the bundle includes
The Connect Classic Stack Top-Up Bundle is designed to add stacking layers to your existing Connect Classic Tree Tent. It comes with the necessary stacking components in a Standard style for a consistent fit. You will need your original tree tent and suspension system already installed.
The bundle does not include a separate rainfly or ground sheet—those are part of your original setup. Plan to use your existing weather protection.
Choosing the right stacking level
The bundle allows you to customize comfort by adding one or more stacking layers. A single extra layer gives a two-level setup; adding both layers creates a three-level arrangement. More layers increase overall height and require firmer strap tension to keep the structure stable.
If you are new to stacking, start with one additional layer. Adding both at once increases assembly time and demands more precise tensioning.
Step-by-step setup
- Step 1: Prepare your base tent: Ensure your Connect Classic Tree Tent is properly tensioned and level. The base layer must be stable before adding any stacking components. Check that all three suspension straps are evenly tensioned. Common mistake: Skipping the base tension check. An uneven base causes the stacked layers to sag or tilt.
- Step 2: Attach the first stacking component: Take the included stacking component (the fabric platform with attachment loops) and clip it onto the internal attachment points inside your base tent. Align the loops with the corresponding clips. Push down firmly until you hear a click. Checkpoint: Confirm each clip is fully engaged before moving to the next. A partially clipped component can detach under weight.
- Step 3: Adjust strap tension for the new layer: Tighten the suspension straps slightly to compensate for the added weight and height of the stacked layer. The goal is to keep the entire structure level and the fabric taut. Re-tension each strap by about one inch (2.5 cm) initially. Common mistake: Over-tightening one strap. Adjust all three evenly to avoid twisting the tent.
- Step 4: Add the second stacking component (optional): If you are adding a second layer, repeat Step 2 and Step 3. Attach the next component to the first stacked layer, then re-tension the straps again. The more layers you add, the more critical even tension becomes. Checkpoint: After adding the second layer, test the stability by gently pressing down on each corner. If any corner dips more than 2 inches (5 cm), re-tension that strap.
- Step 5: Final safety check: Once all stacking components are attached and tensioned, inspect every clip and strap connection. Ensure no straps are twisted and that all clips are fully closed. Load the tent gradually, starting with light weight, to confirm stability before sleeping in it. Common mistake: Forgetting to check the tree straps for slippage. After adding weight, re-check the straps on the trees—they may need re-tightening.
Product details
-
Connect Classic Stack Top-Up Bundle: Compatible with the Connect Classic Tree Tent and designed to increase comfort by adding stacking components. This means you can expand your existing tent without buying a whole new system—just attach the stacking pieces to your current setup.
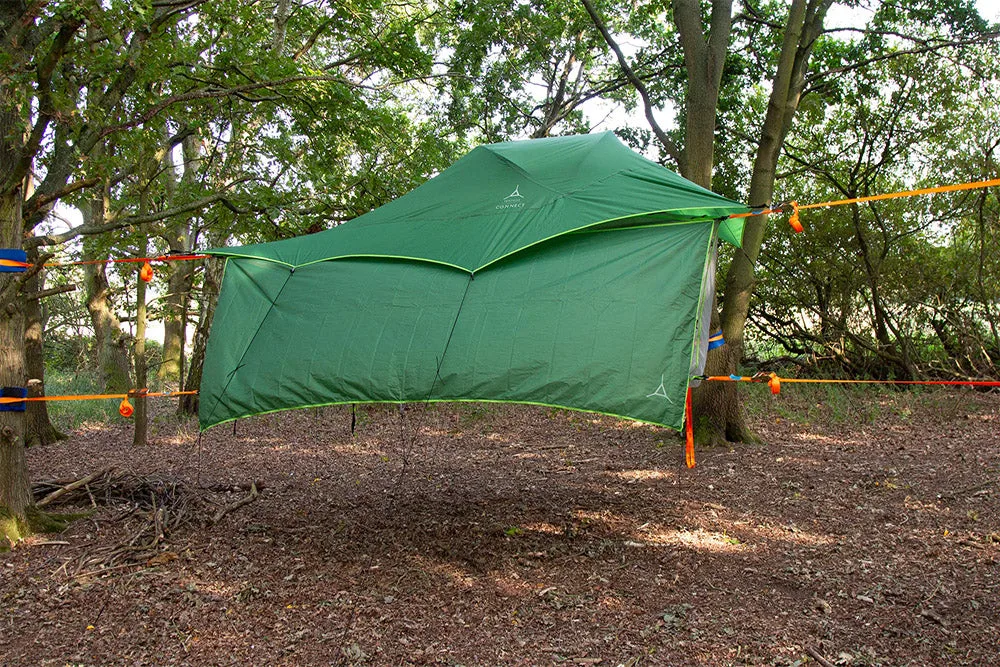
Connect Classic Stack Top-Up Bundle