Quick answer
Set the bracelet maker on a flat surface, load beads into the pop-on system, and press each bead into place along the band. There is no knotting, cutting, or clasps, so kids can build and rebuild bracelets independently.
Why the no-knot system changes the craft experience
Traditional friendship bracelets ask kids to tie knots and trim thread, which often leads to loose ends and adult help. The Popstyle Bracelet Maker uses a pop-on bead system, so the main skill is placing beads rather than tying them. That makes it easier for younger crafters to finish a bracelet on their own and to undo a design they do not like.
The tradeoff is that the bracelet maker is designed around its bead system. If beads are lost or mixed with other craft supplies, the set becomes harder to use. Keeping the kit together and checking the bead supply before a play session avoids most frustration.
What to check before the first bracelet
Open the kit with your child and separate the bracelet maker from the beads. Confirm the work area is flat and clear, because beads roll easily. The Popstyle Bracelet Maker is designed for kids aged 7 and up, so younger siblings may need supervision or a separate activity.
The kit is built to create and recreate 10 unique bracelets, which means the fun depends on keeping the reusable parts together. A small tray or zip bag for loose beads makes cleanup faster and reduces missing pieces.
Step-by-step: use and refill the Popstyle Bracelet Maker
- Set up a flat, clear work surface: Place the bracelet maker on a table and keep beads in a shallow tray. Common mistake: working on a soft surface such as a bed, where beads tip and scatter. A rimmed tray catches rolling beads and makes cleanup quicker.
- Load the bead supply: Sort the beads by color or shape into small piles before your child starts. Common mistake: pouring all beads into one pile, which slows down pattern making and makes refilling harder. Sorting first turns refilling into a quick swap rather than a search.
- Pop beads onto the bracelet band: Press each bead firmly onto the band following your child's chosen pattern. Checkpoint: gently tug the finished section; if a bead feels loose, press it again before continuing. A quick tug test after every few beads catches loose placements early.
- Finish and wear the bracelet: Once the pattern is complete, the bracelet is ready to wear without tying or clasping. Common mistake: forcing a bead that does not fit; instead, swap it for another bead from the kit. If a bead resists, the wrong size or shape is the likely cause, not a need for more force.
- Rebuild or restring for a new design: To change the design, pop the beads off the band and reload them in a new order. Keep the band and unused beads in the kit so the next bracelet starts quickly. Rebuilding is part of the play, so expect to repeat this step often.
- Store and refill the kit: Return the bracelet maker, bands, and beads to the original box or a labeled bag after play. When the bead supply runs low, check for Popstyle bracelet refills that match the pop-on system rather than mixing in loose craft beads. Label the storage container so refill beads are not confused with other craft supplies.
Product facts
-
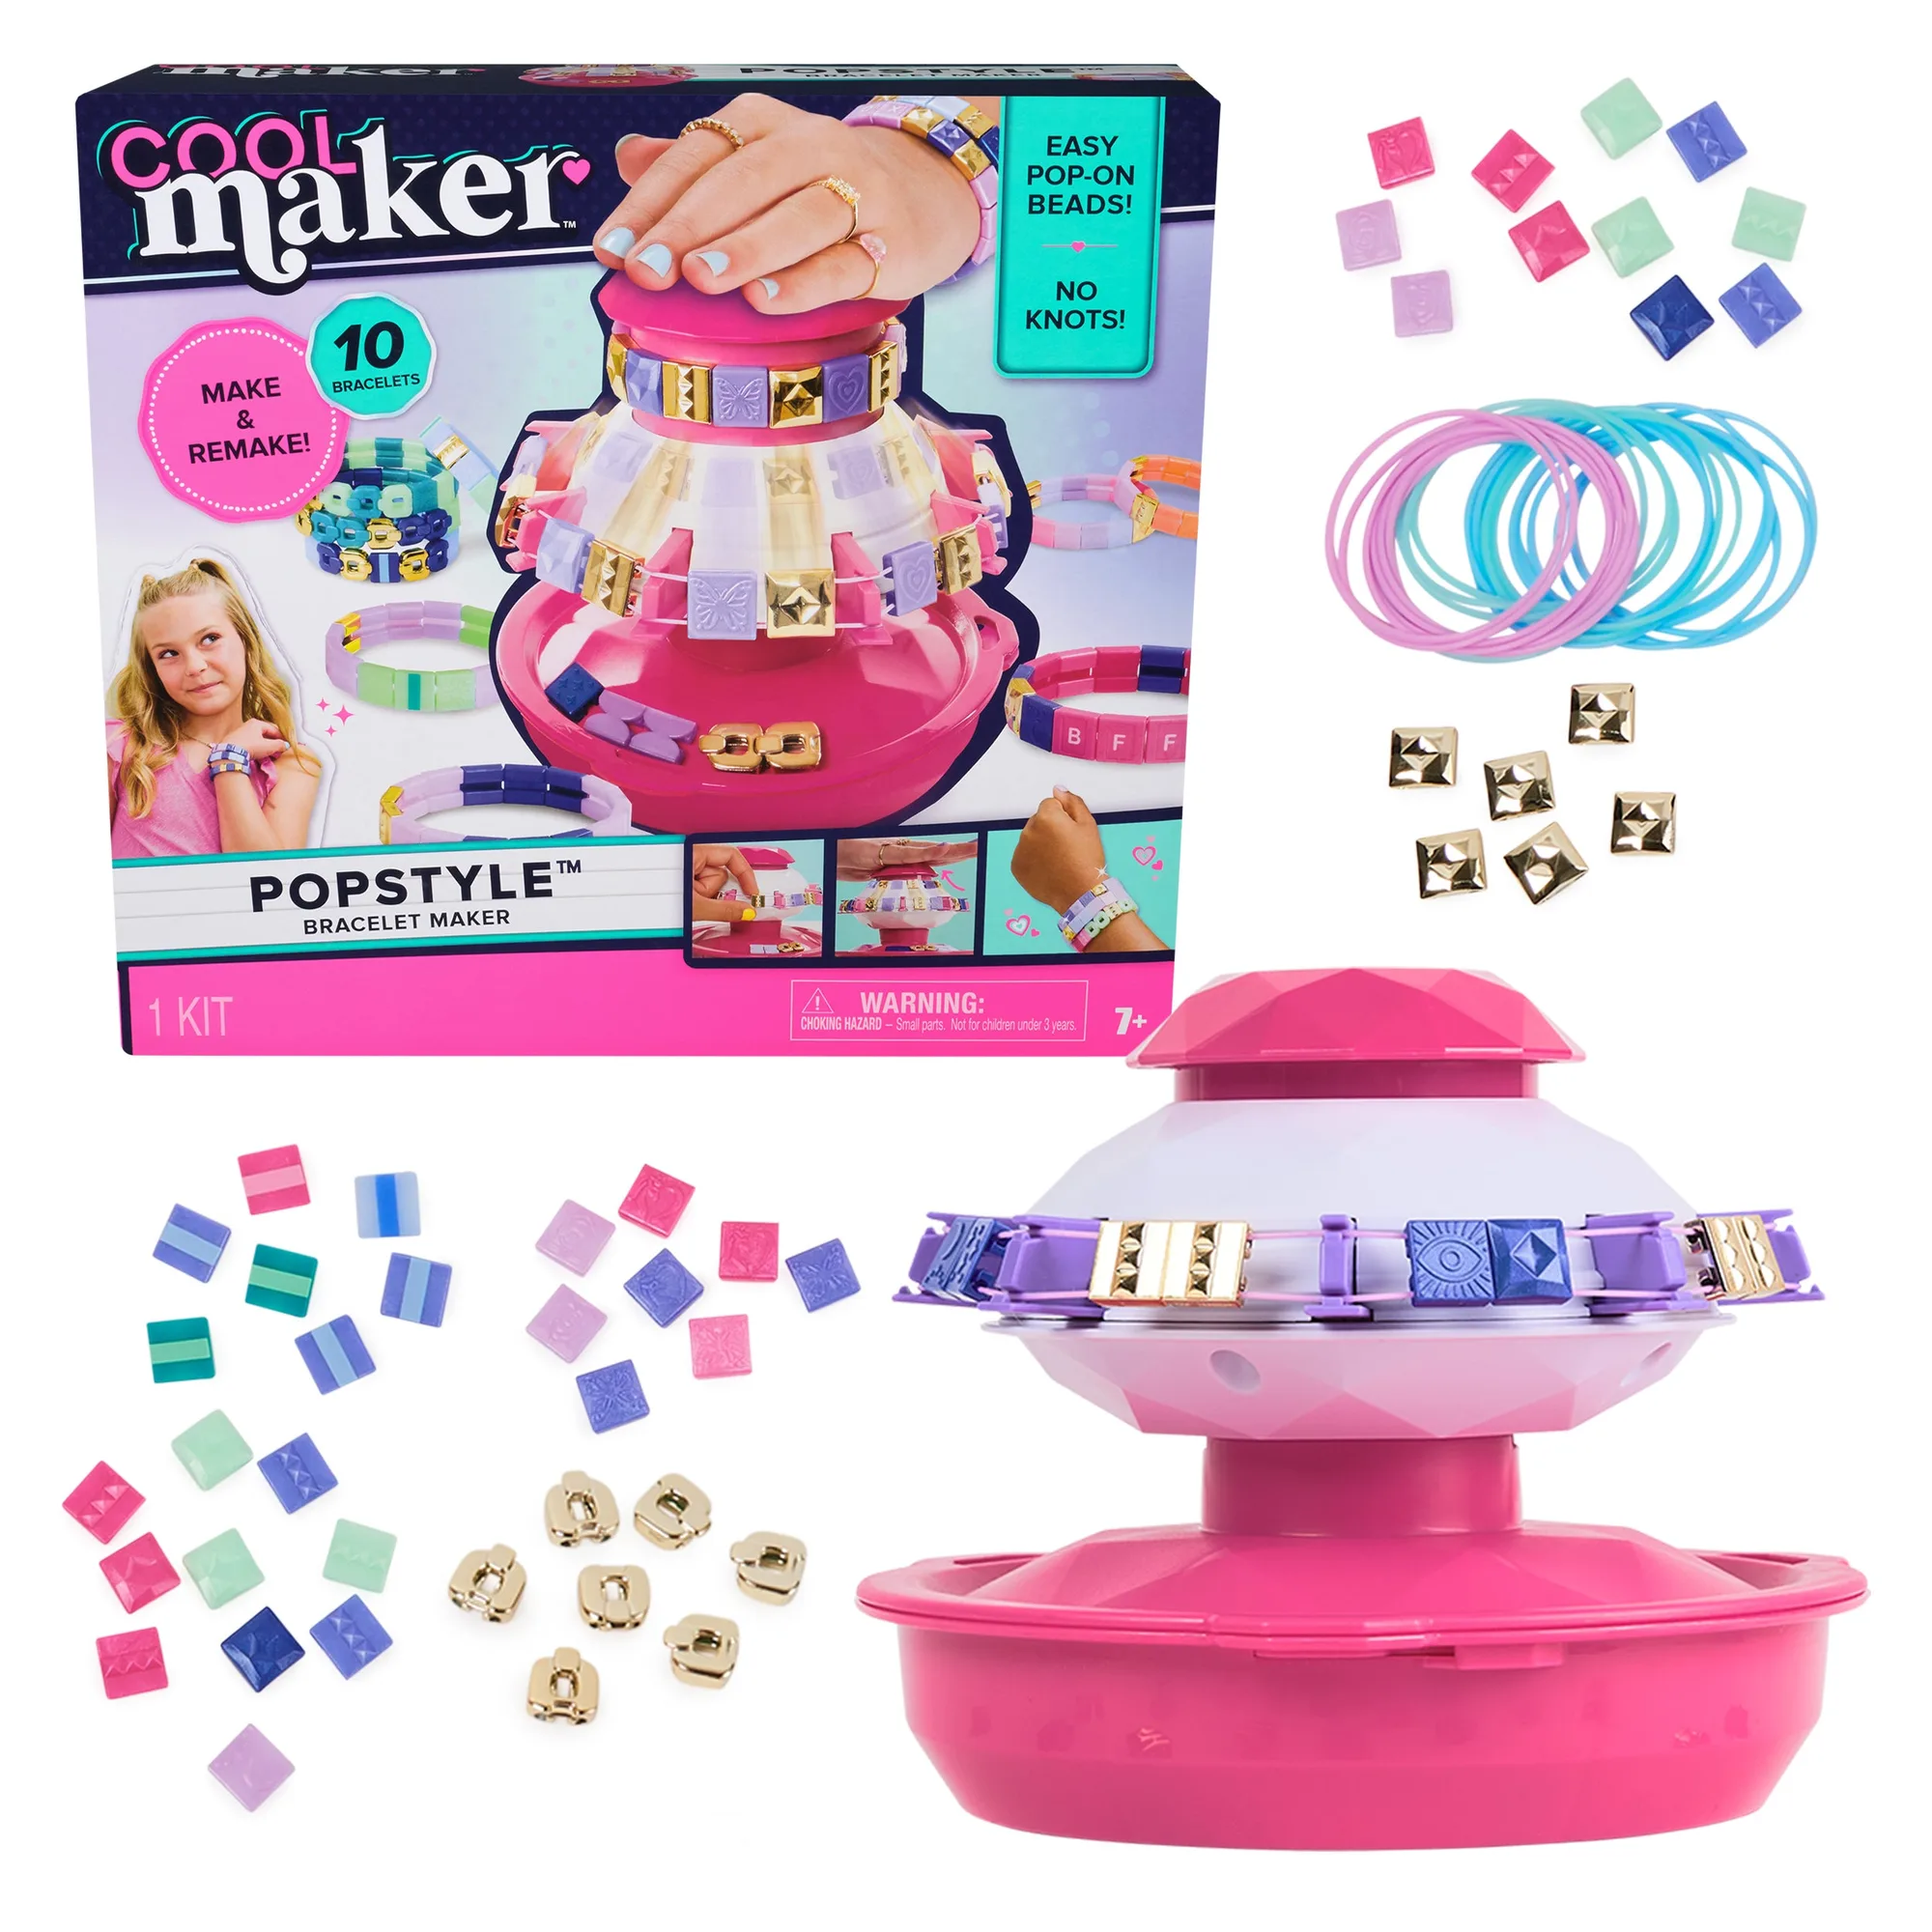
Cool Maker, Popstyle Bracelet Maker: The Popstyle Bracelet Maker is a DIY friendship bracelet kit for kids aged 7+ with a pop-on bead system. The age guidance and no-knot design let you decide whether your child can craft independently or needs a helper nearby.
Cool Maker, Popstyle Bracelet Maker
-
Cool Maker, Popstyle Bracelet Maker: The kit lets kids create and recreate 10 unique bracelets without knots, cutting, or clasps. Because the bracelets can be rebuilt, a mistake is not permanent, which encourages kids to experiment with color patterns.