Quick Recommendation
Start by selecting a washi tape color family that pairs with a matching sticker sheet set, then lay out your monthly spread before you glue anything. This approach ensures a coordinated look and prevents mismatched colors or wasted stickers.
A well‑designed monthly kit can turn a plain planner into a visual highlight of your year. By mixing washi tapes and sticker sheets you gain texture, color, and flexibility without buying a full‑size kit. This tutorial walks you through the planning, selection, and application stages, so you can finish each month with confidence.
Whether you’re a seasoned bullet‑journaler or just starting, the same principles apply: pick a theme, gather compatible supplies, and test the layout before committing. The steps below also flag common pitfalls, like over‑loading a page or mismatching tones, so your kit stays both beautiful and functional.
Plan Your Color Palette and Theme
Begin with a clear idea of the mood you want for the month—maybe pastel spring, bold autumn, or a minimalist monochrome. Sketch a quick mood board on a scrap of paper, noting the primary hue and any accent colors. This visual reference guides your choices of washi tape rolls and sticker sheets, preventing the “too many colors” trap that can make a spread feel chaotic.
When you’ve settled on a palette, write down the specific product names you’ll need. Having a concrete list helps you shop efficiently and keeps the theme consistent across all pages of the month.
- Tip: Limit the palette to three main colors to maintain visual harmony.
Select Compatible Washi Tapes and Sticker Sheets
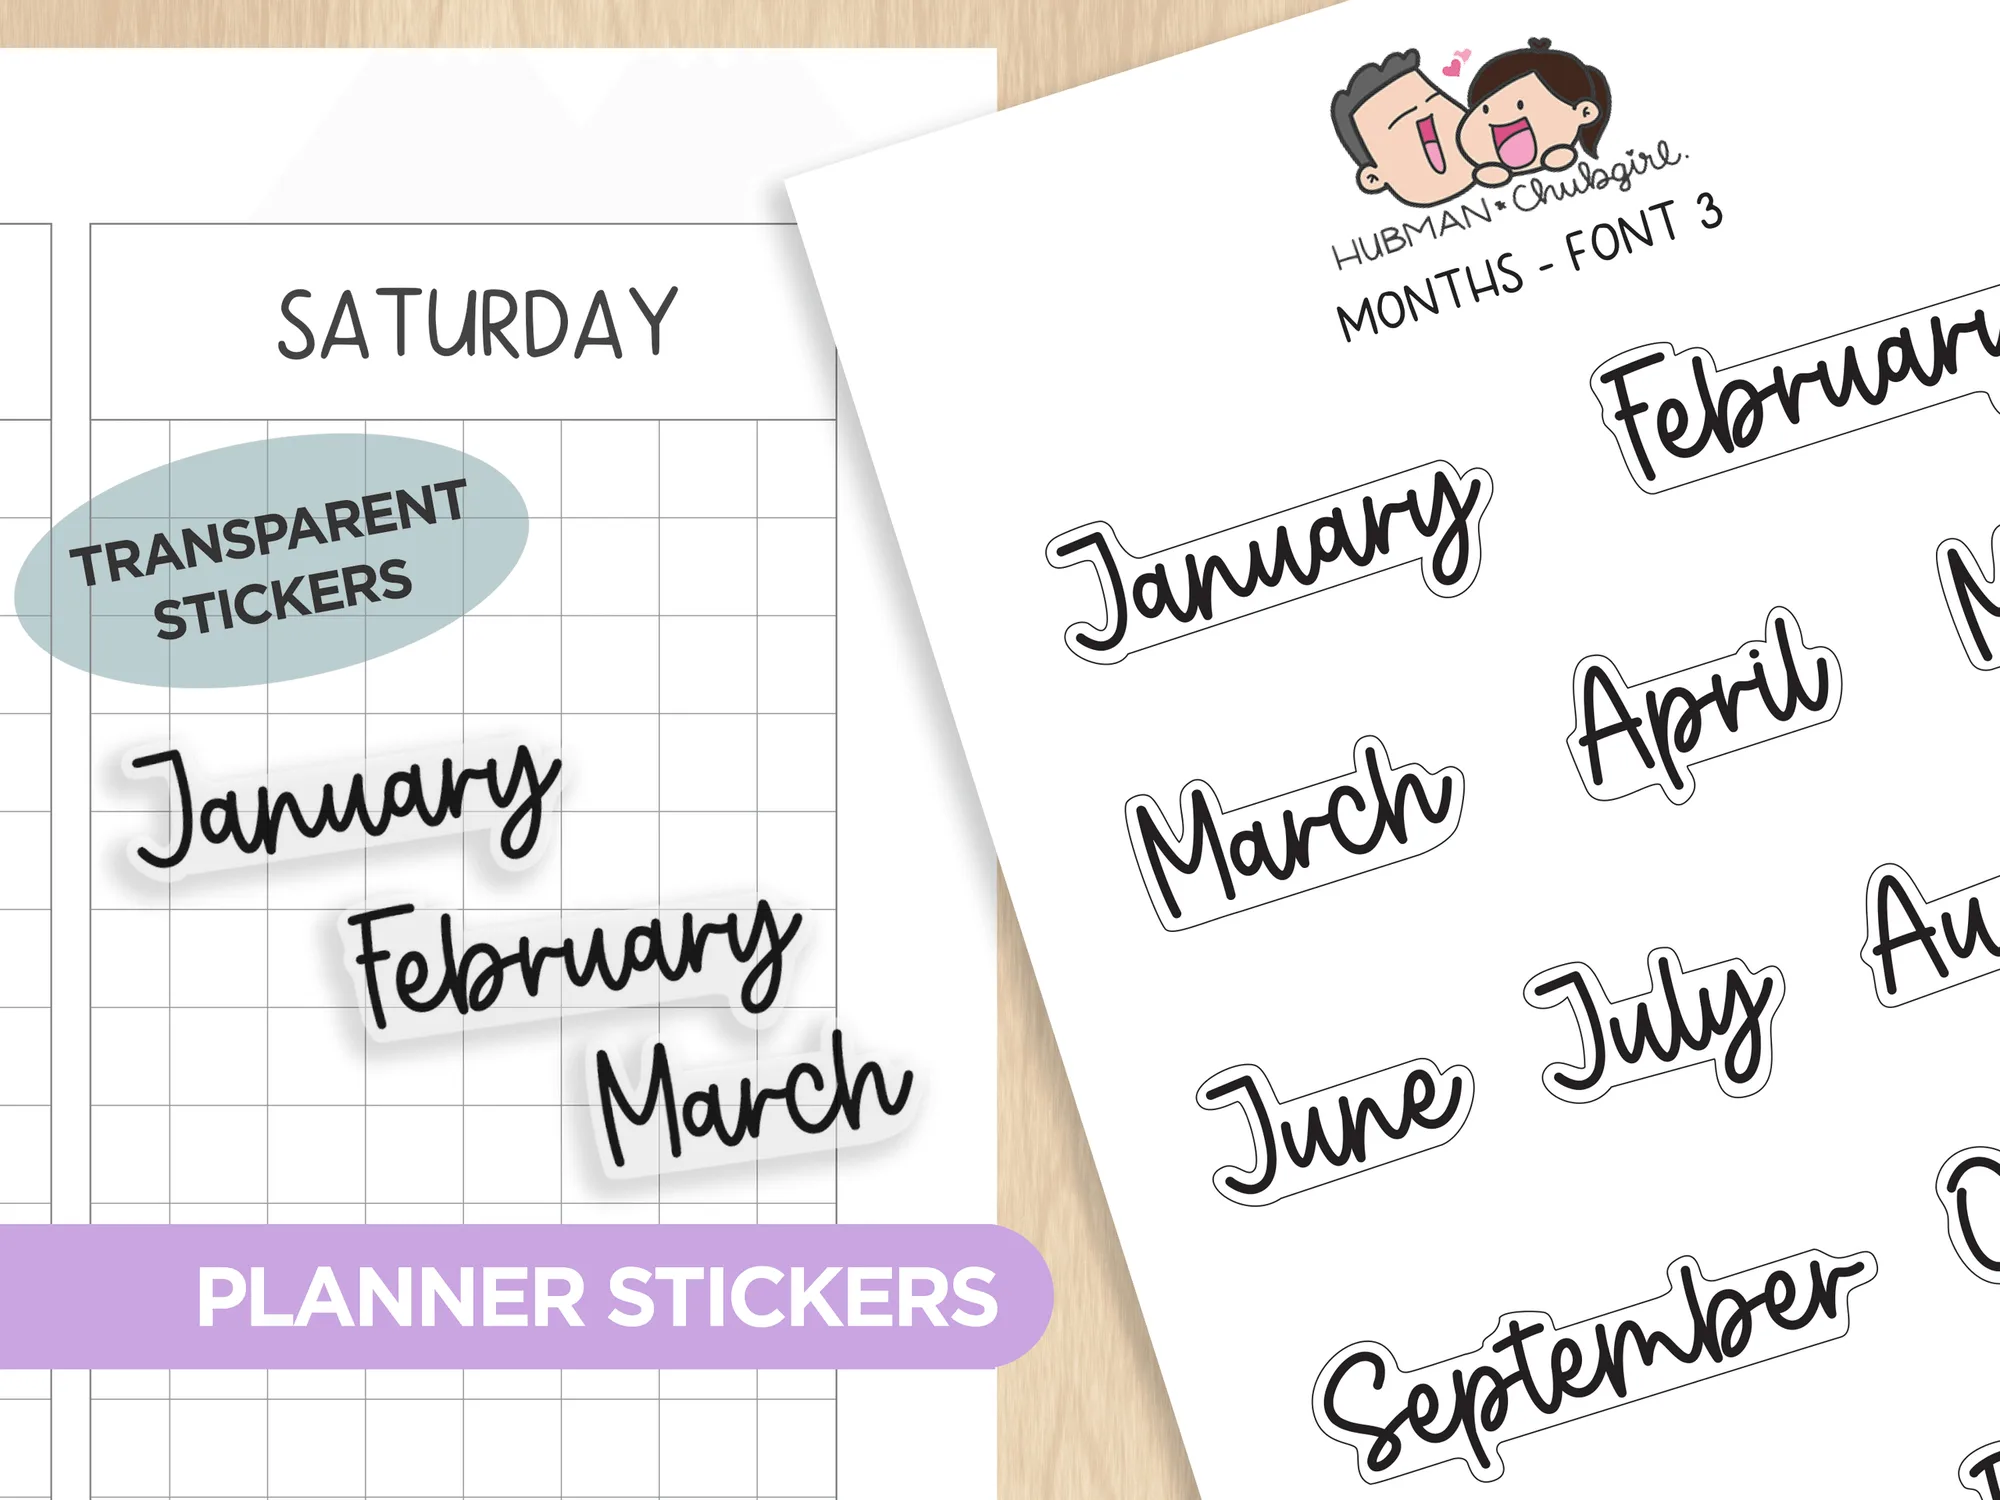
Search your collection for washi tapes that match the primary and accent colors identified in your plan. Look for tapes with similar width (typically 12‑15 mm) so they sit neatly beside dates and headings. Pair them with sticker sheets that share the same color family; the “Months – Text Planner Stickers (Font 3)” are a great option because their transparent font works with any background hue.
A common mistake is pairing a glossy tape with matte stickers, which can cause uneven adhesion. Test a small corner of the tape on a sticker sheet before committing to the full layout.
- Check the tape’s adhesive strength on your planner paper to avoid peeling later.
Assemble and Apply Your Kit
Lay out the month’s calendar on a flat surface and position the chosen stickers first. Use the “Monthly Habit Tracker – Magic Castles Theme Palette” for a whimsical touch; its writable vinyl lets you add notes directly. Once the stickers are placed, align the washi tape strips along the top, side margins, or as decorative dividers. Press firmly to ensure a smooth finish.
Before sealing the spread, review the page for any gaps or overlapping elements. If a tape edge lifts, re‑press it with a bone folder or your fingernail to secure it fully.
- Mistake to avoid: stacking too many layers on thin paper, which can cause tearing.
Step‑by‑Step Checklist
- 1. Define Theme & Palette: Choose a mood, pick three main colors, and list the specific washi tapes and sticker sheets you’ll use. Checkpoint: Verify that each selected item shares at least one color with the others.
- 2. Test Adhesion: Apply a small piece of tape to a corner of a sticker sheet and press onto a sample planner page. Mistake to watch: If the tape lifts, select a different tape or reinforce with a light press.
- 3. Layout & Apply: Arrange stickers first, then add tape strips, smoothing out bubbles and ensuring even spacing. Final check: Review the page for gaps, overlapping layers, or lifted edges before moving on.
Product Recommendations
- Months - Text Planner Stickers (Font 3): Transparent Font 3 sheet size: 3.5” x 5”. Perfect for adding titles and headers without clutter. The clear background lets your washi tape colors shine through, maintaining a clean, coordinated look.
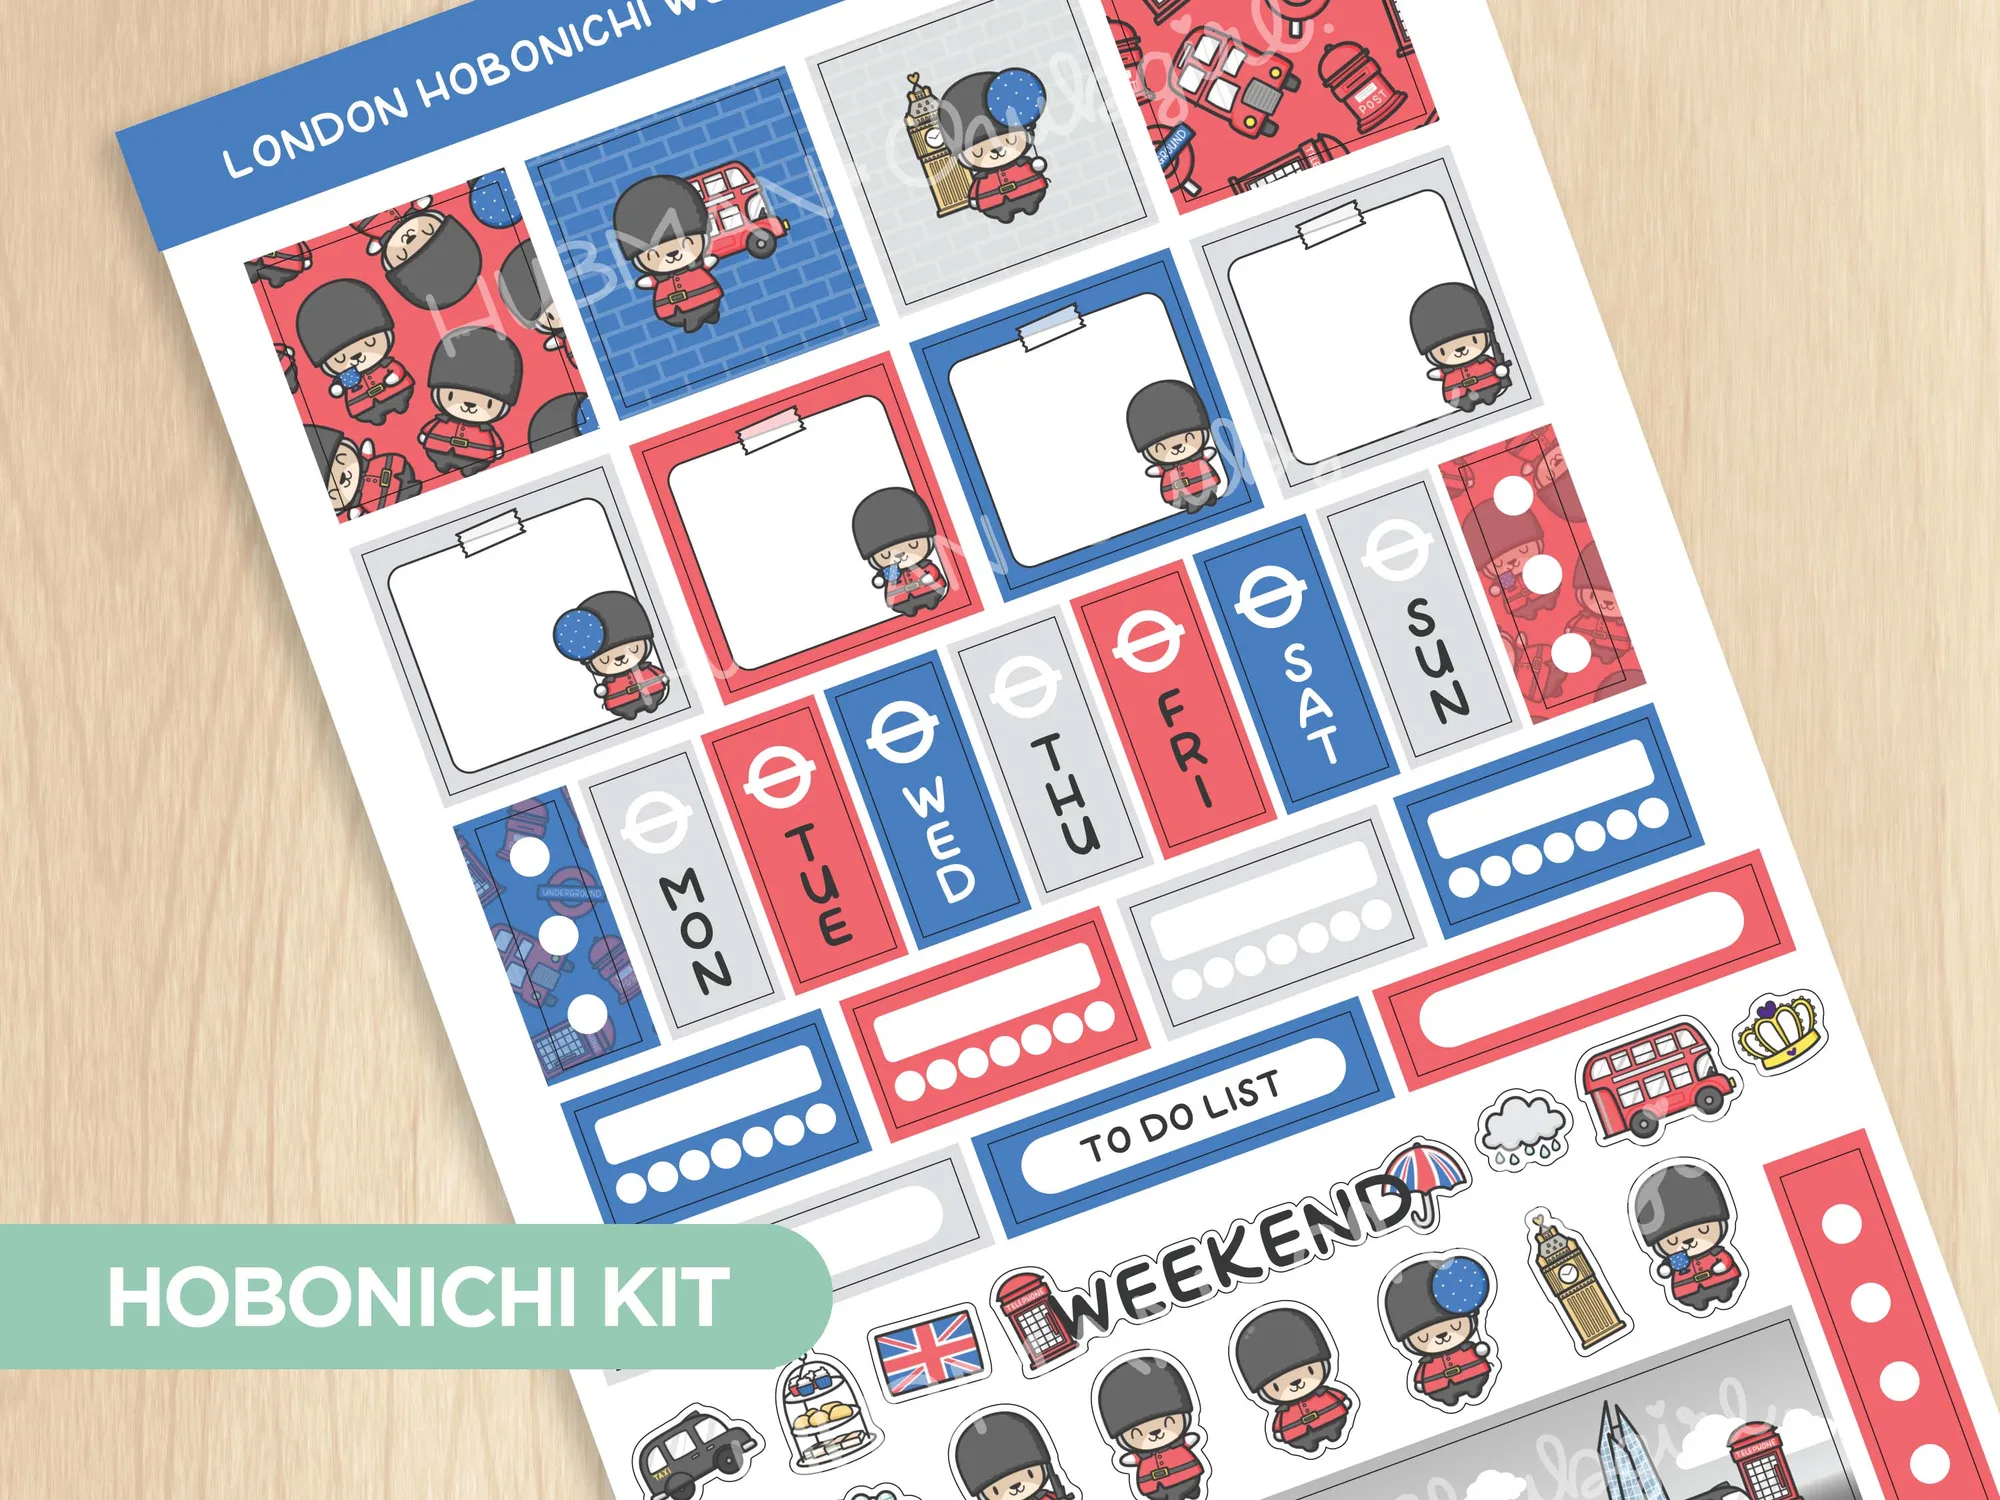
- London Theme Hobonichi Weeks kit: Sheet size: 4.33" X 7". Printed on writable vinyl resistant to smudging from gel or ballpoint pens. Writable vinyl allows you to label each week after applying tape, ensuring the design stays sharp and legible.
With a thoughtful palette, compatible supplies, and a quick test run, you can create a coordinated monthly kit that feels both personalized and polished. Enjoy the satisfaction of a beautifully themed planner that motivates you all month long.