Two decorations, two very different jobs
For a coronation street party, bunting and a balloon arch compete for the same red, white and blue palette but solve different problems. Bunting fills long horizontal runs — across a gazebo, between two walls, or along a fence — with almost no depth. A balloon arch creates a focal point for photos and entrances, but it needs more assembly time and a place to stand.
The useful question is not which one is better. It is which one your venue can actually support. Start by measuring the space you want to decorate, then match the decoration to that space rather than buying both and hoping they fit.
What the balloon arch kit actually contains
-
Red, White & Blue Confetti Balloon Arch With Crowns- 5 Inner Pack: 65 balloons with card crowns, including navy, red and white balloons in sizes from 5 in to 24 in, plus clear balloons with crown confetti. The size mix is what gives the arch its shape; a pack of only 5 in balloons would read as a garland rather than an arch.
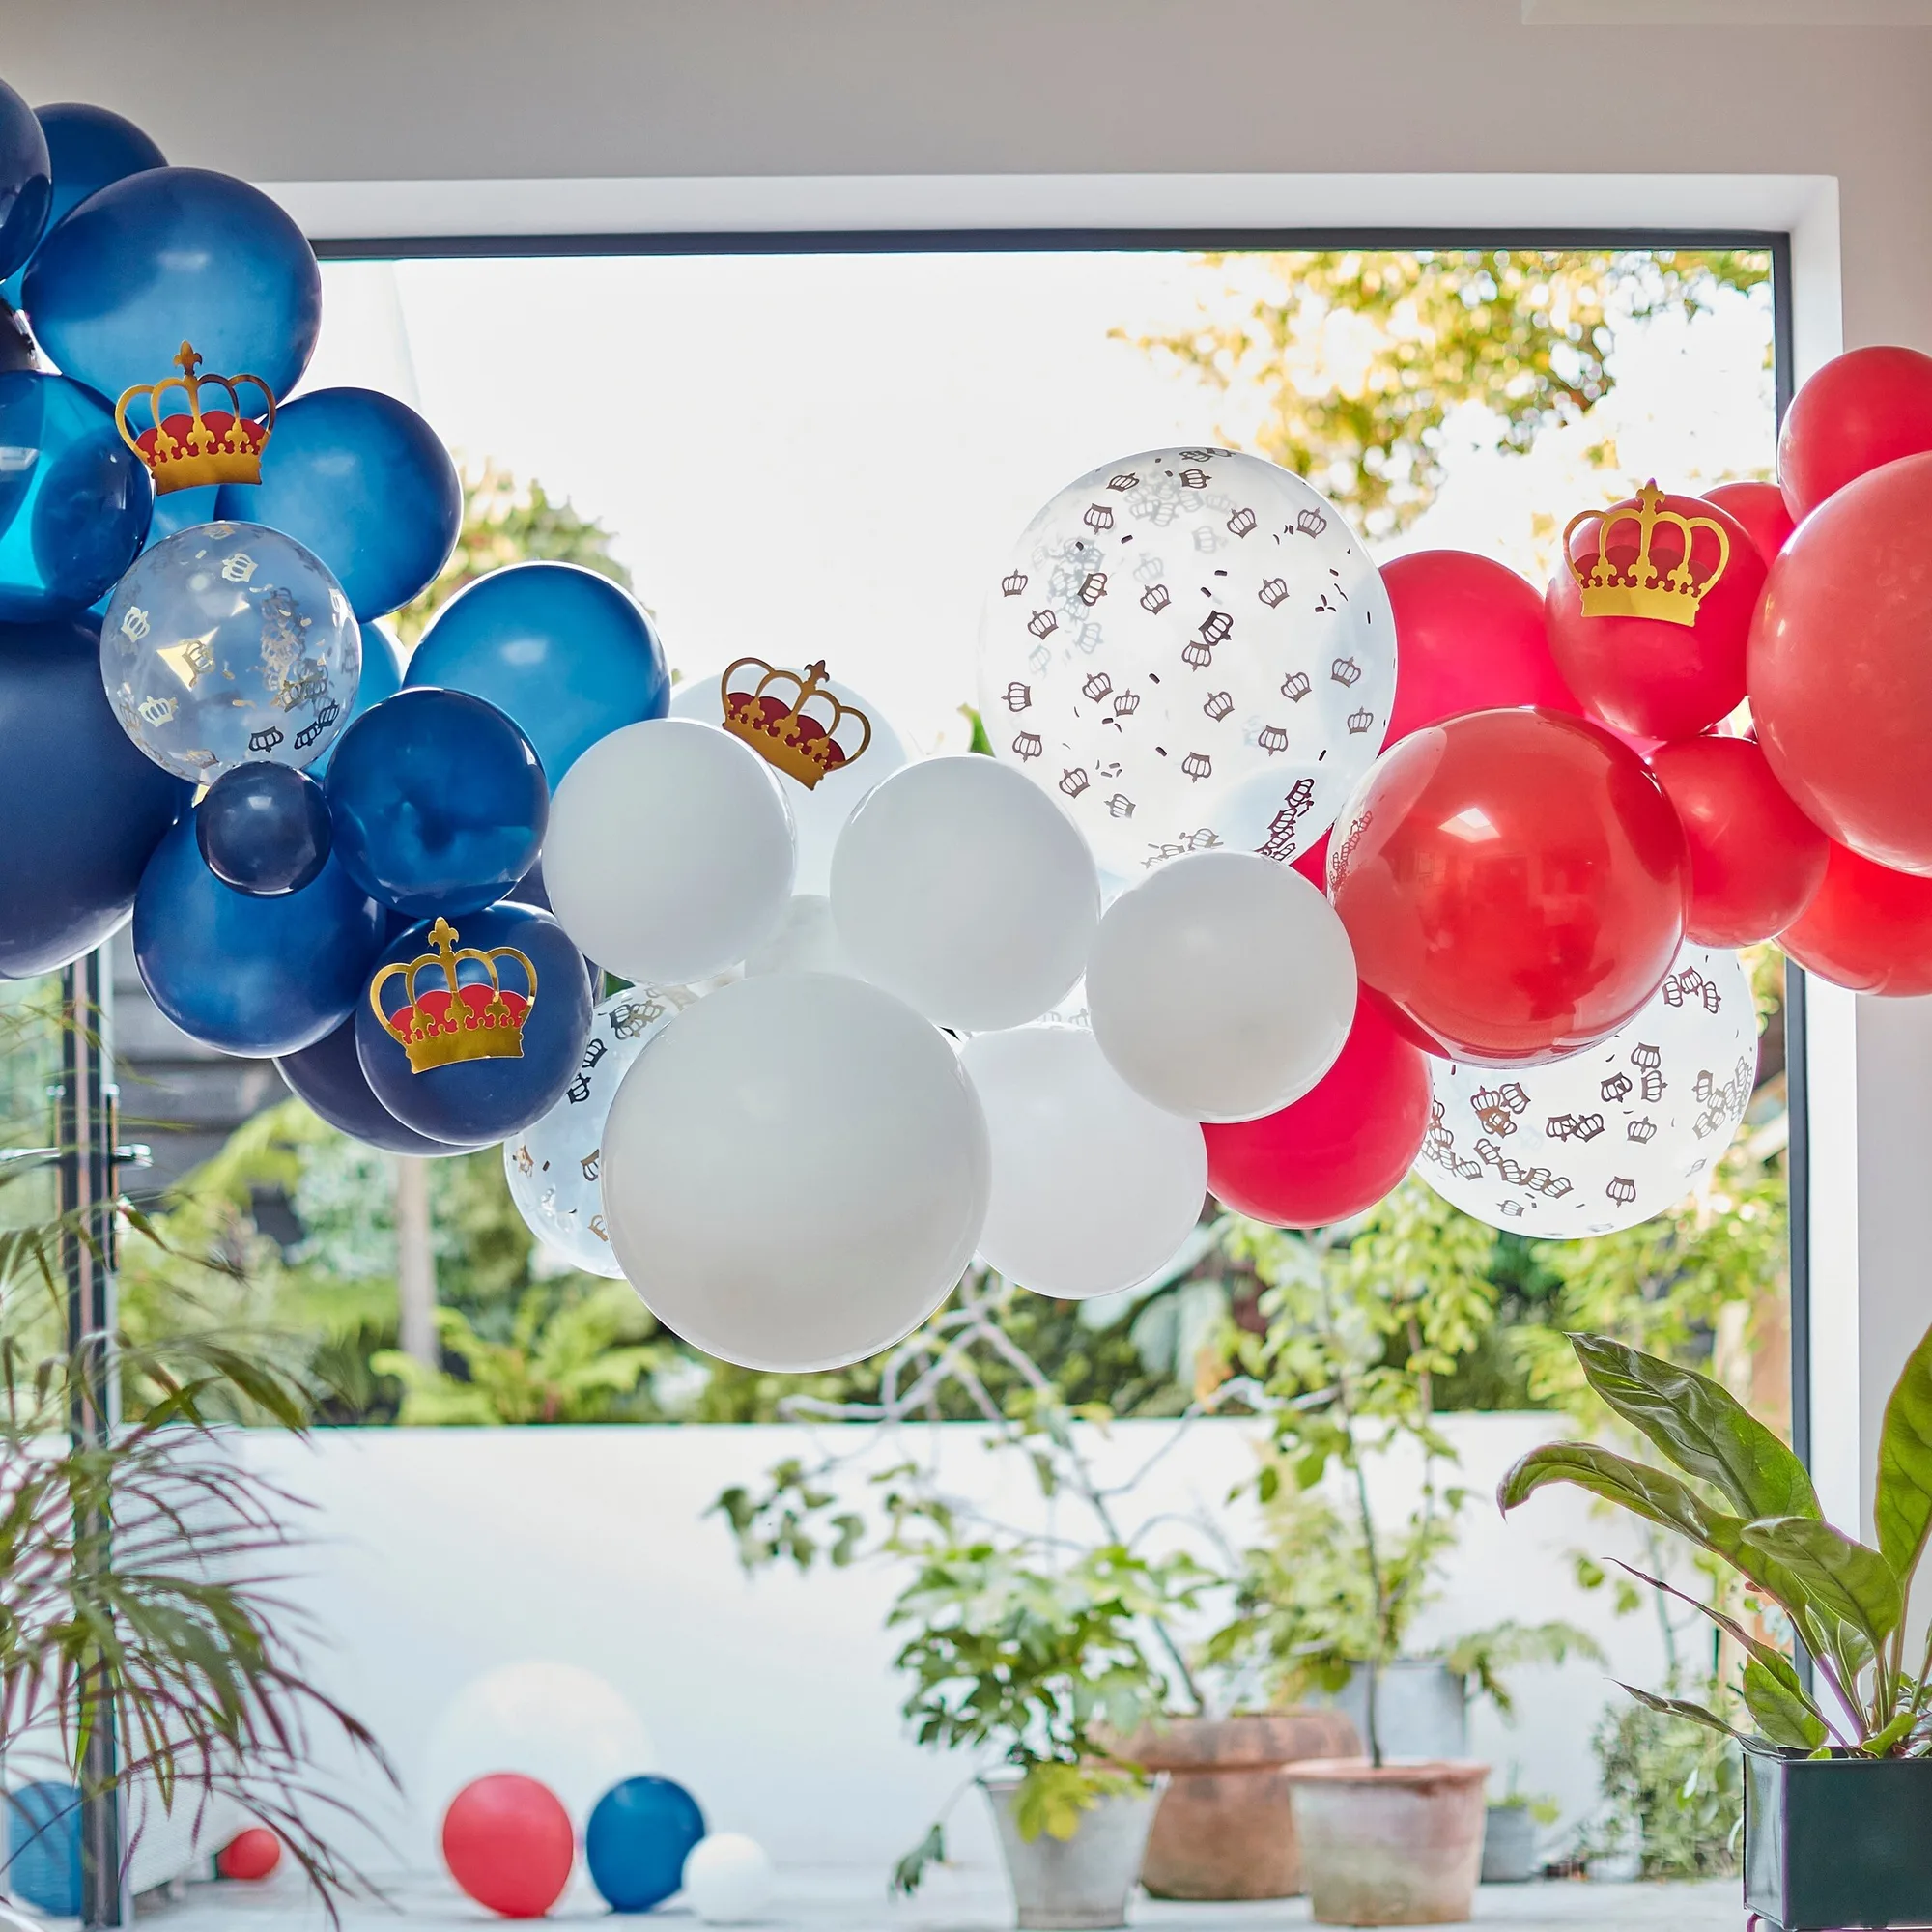
Red, White & Blue Confetti Balloon Arch With Crowns- 5 Inner Pack
-
Red, White & Blue Confetti Balloon Arch With Crowns- 5 Inner Pack: 5 m of balloon tape, 40 glue dots and 3 m of jute twine are included for assembly. You do not need to source separate tape or twine, but you should still plan for inflation time and a frame or anchor point.
-
Red, White & Blue Confetti Balloon Arch With Crowns- 5 Inner Pack: Five card crowns measuring 140 mm (H) x 158 mm (W) are included. These are the detail that ties the arch to the coronation theme, so decide early where they sit on the finished arch.
What the paper bunting gives you
-
Party Like Royalty Paper Bunting: Two strands measuring 1.8 m (L) each. That is 3.6 m of total run, enough for a doorway, a window or a short garden fence, but not a whole street frontage.
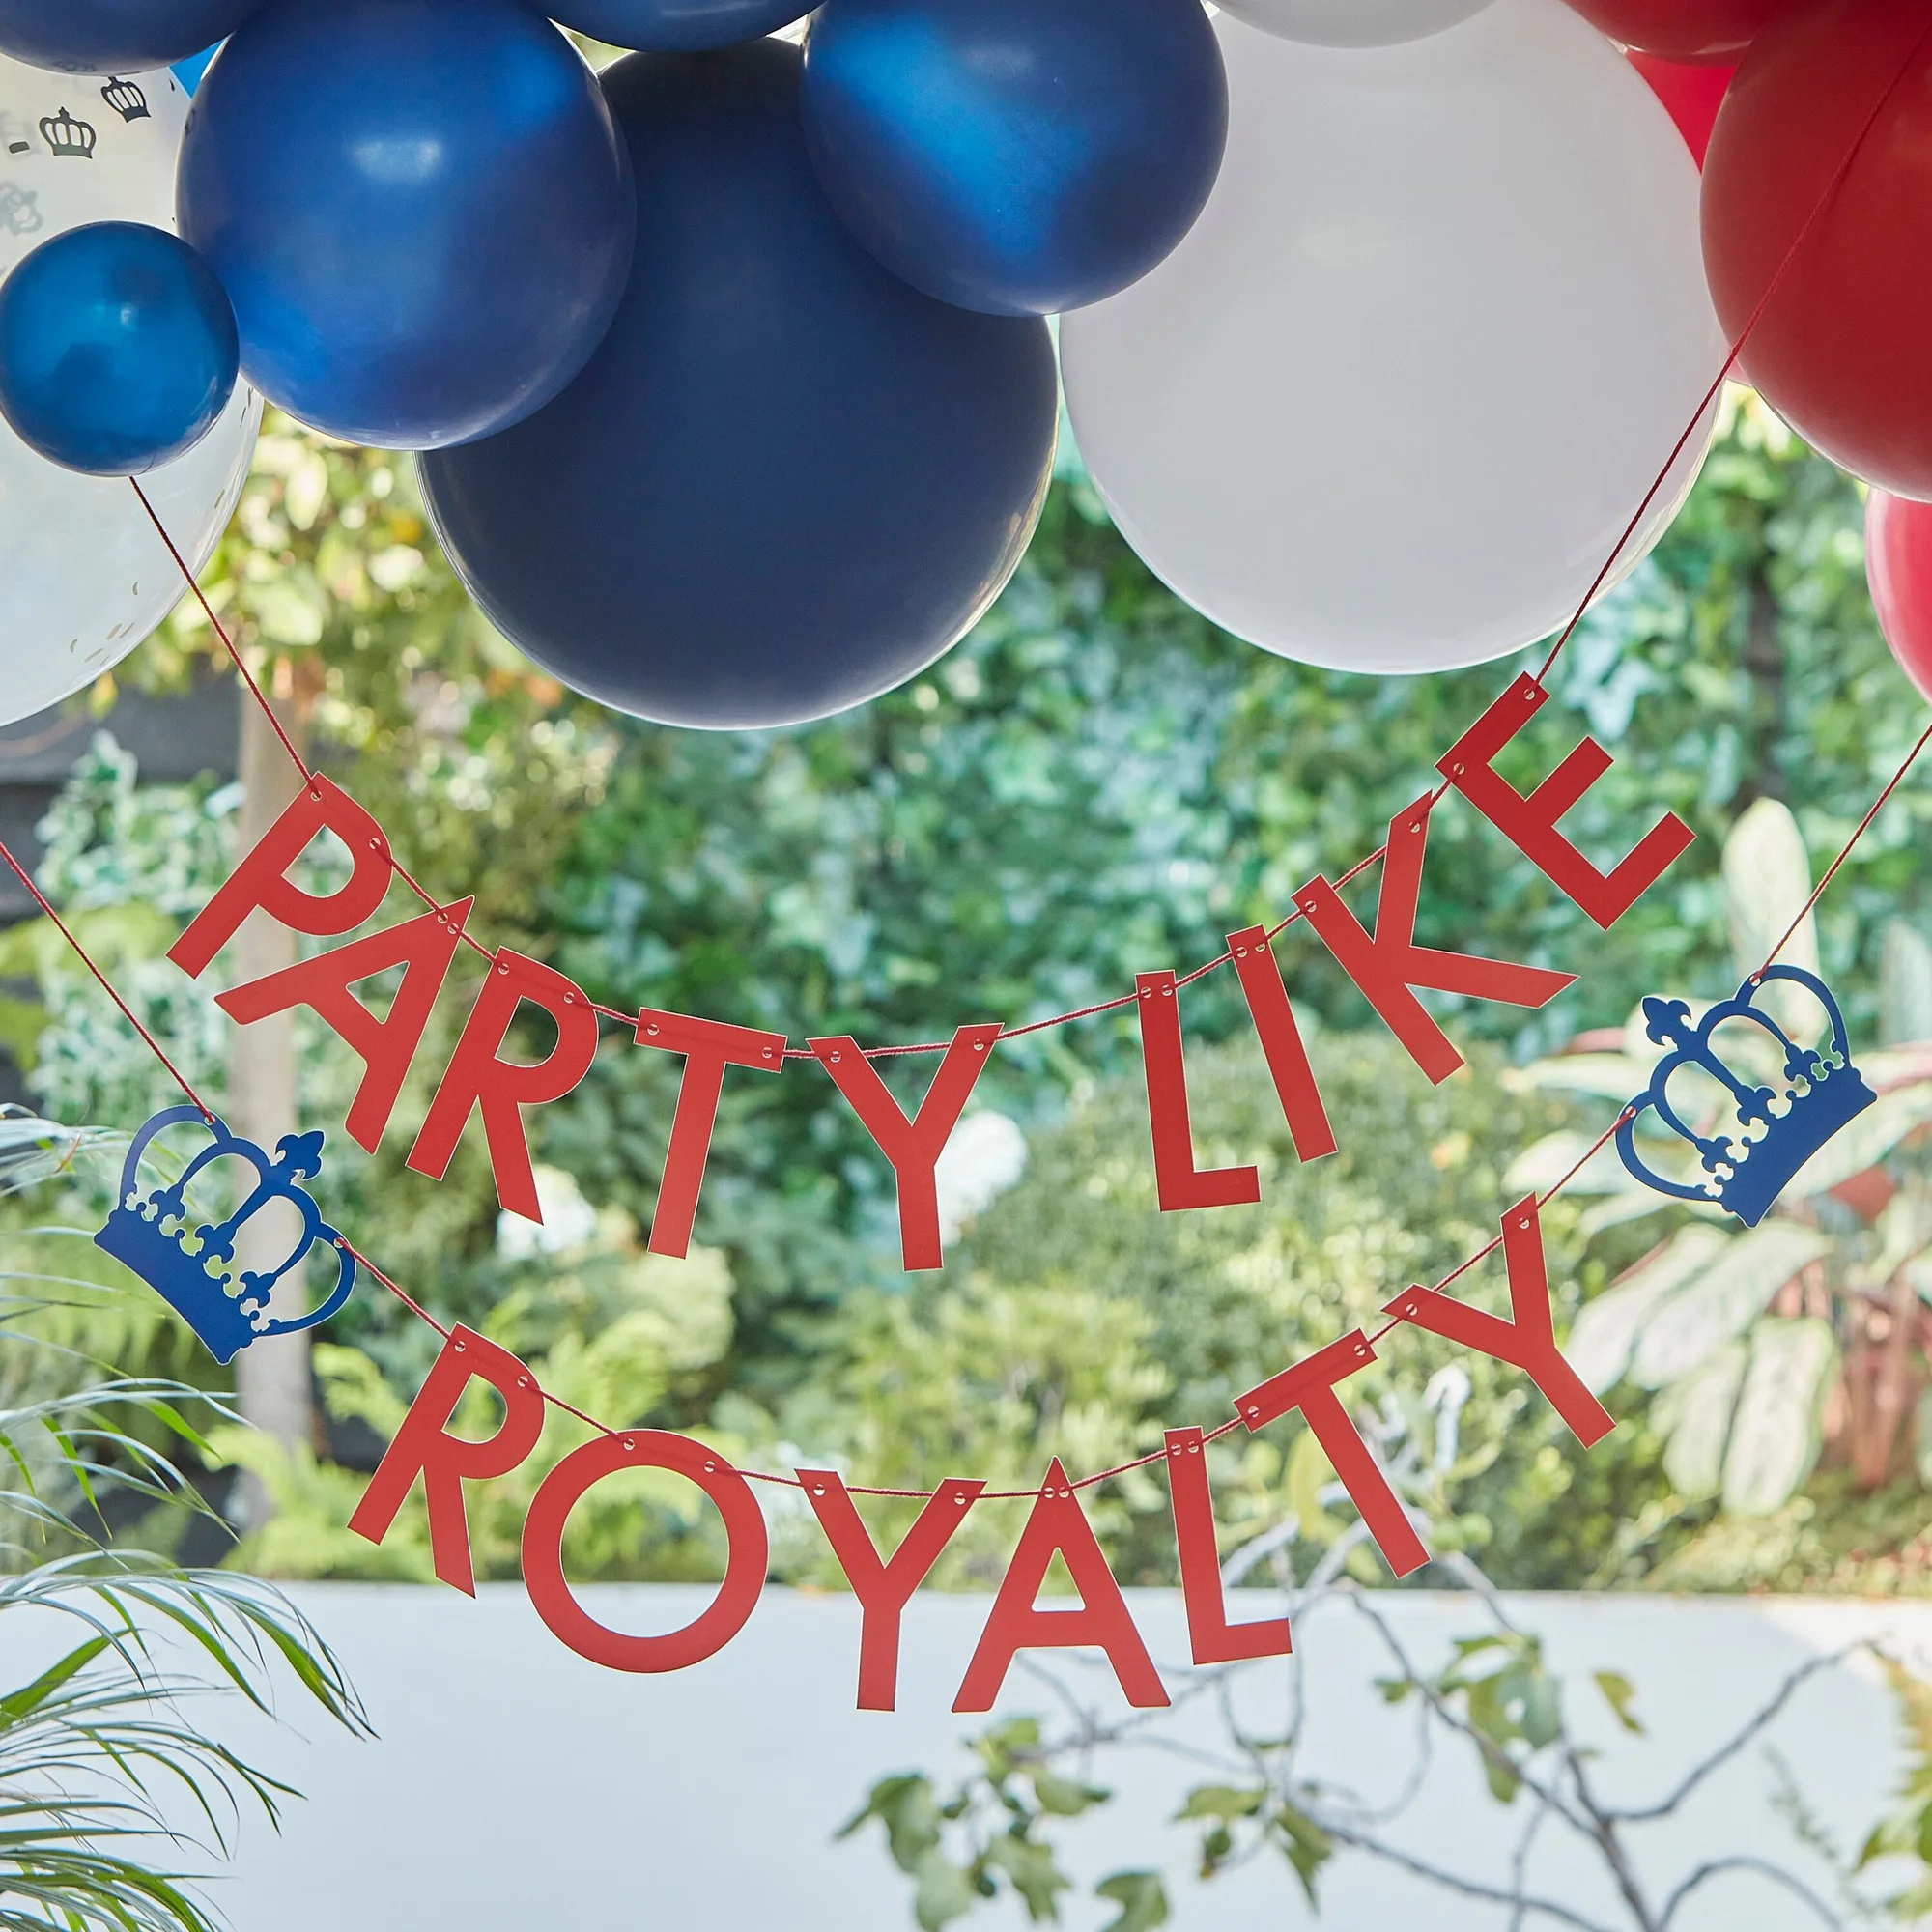
Party Like Royalty Paper Bunting
-
Party Like Royalty Paper Bunting: Product and packaging are FSC certified. A useful detail if you are choosing paper decorations partly for their lower material footprint.
Side by side: space, setup and visual impact
The comparison below uses only the supplied product information. Where a detail is not confirmed, treat it as a planning gap rather than a flaw.
- Best placement: Bunting: long, flat runs at head height or above. Balloon arch: an entrance, photo backdrop or table focal point where its depth will not block movement.
- Assembly effort: Bunting needs hanging points and a little spacing. The arch kit supplies tape, glue dots and twine, but inflation and shaping are still hands-on work.
- Space needed: Bunting needs almost no depth. The arch needs room for a 24 in balloon plus the arch curve, so measure height and width before committing.
- Weather and venue: Paper bunting is best kept dry and out of strong wind. The supplied information does not confirm outdoor performance for either product, so plan shelter for both.
- Reuse potential: Bunting can be taken down and stored flat. A balloon arch is a one-event decoration once inflated.
A practical order for using both together
If you want both, build the arch first and hang the bunting second so you can see how the colours balance.
- Choose the backdrop wall or entrance: Pick a spot with enough height for the arch and enough width for the bunting to run away from it.
- Inflate and assemble the arch: Use the supplied 5 m balloon tape, 40 glue dots and 3 m jute twine. Sort balloons by size before inflating so the arch stays balanced.
- Add the card crowns: Place the five 140 mm x 158 mm crowns where they will be seen in photos, not hidden behind the largest balloons.
- Hang the bunting in two runs: Use both 1.8 m strands to frame the arch or to continue the colour across a second wall.
- Check sightlines and walkways: Stand back and confirm the arch does not block a door or force guests to duck.
What the product information does not settle
Neither product record supplies a full setup procedure, inflation guidance or outdoor weather rating. That means you should not treat this article as a manufacturer instruction for helium, anchoring or wind resistance. The arch kit tells you what is in the pack, not how long inflation will take or whether it is suitable for an exposed street.
Use the supplied contents as your checklist and make your own call on the venue. If the party is indoors or in a sheltered gazebo, both decorations are straightforward. If it is fully outdoors, plan for shelter and have a fallback arrangement for the bunting.