Quick answer
Set up the IRIS USA Craft Organizer and Storage Rolling Storage Cart by first checking the drawer fit for 12 x 12 paper, then loading heavier items low, and finally testing the roll path before you fill every drawer.
Why a rolling cart beats a fixed craft shelf
A fixed craft shelf keeps supplies in one place, but a mobile craft storage cart lets you work at the kitchen table, in a spare room, or beside a sewing machine without carrying stacks of paper. The trade-off is that wheels and drawers need a clear path and a flat surface to work smoothly.
The IRIS USA cart is built around 12 x 12 scrapbook paper and IRIS Craft Organizer Trays, so it suits paper-based crafts and small-tool storage. If you store mostly bulky fabric bolts or large cutting mats, a wider shelving unit may fit better.
Check the drawer contents before you load
Each drawer holds 12 x 12 scrapbook paper, which sets a useful size limit for what belongs in the cart. Measure any oversized tools or paper pads before filling drawers, because a drawer that does not close fully can catch on the frame when the cart rolls.
The unit is made in the USA and is BPA free, acid free, PVC free, lignin free, and recycle #5. Those material notes matter most for paper and photos, but they do not change the physical size limit of each drawer.
Step-by-step mobile craft station setup
- Clear and measure the roll path: Measure doorways, rug edges, and the space beside your work table against the cart's 14.3 x 15.9 x 26.8 inch footprint. Common mistake: filling the cart first and then discovering it will not fit through the craft room door. Mark the cart's parking spot before assembly so you do not have to unload it later.
- Assemble on a flat, protected surface: Build the cart on a hard floor or a sturdy table covered with a cloth, and keep the wheels off the edge until the frame is steady. Checkpoint: set the empty cart upright and confirm it does not rock before adding drawers.
- Load heavier supplies in lower drawers: Place heavier items such as full paper stacks or tool cases in the lower drawers, and keep light trays and small notions above. Common mistake: putting all the weight in the top drawer, which makes the cart top-heavy when it rolls. Push the cart a few feet after loading to check that it still feels stable.
- Fit paper and trays to the drawer size: Slide 12 x 12 scrapbook paper flat into a drawer, and add IRIS Craft Organizer Trays where you need divided storage for small tools. Checkpoint: close each drawer fully and confirm the paper does not catch on the drawer edge.
- Test the wheels on your actual floor: Roll the loaded cart from its storage spot to your work area on the floor you will use most. Common mistake: testing only on bare tile and then finding the cart drags on carpet or a rug edge. If the cart catches on a threshold, move the parking spot rather than forcing it over.
- Set a simple return routine: After each craft session, roll the cart back to its marked spot and close every drawer before moving it. Checkpoint: leave the roll path clear so the next setup takes seconds, not minutes.
Product facts
-
Craft Organizer and Storage, Rolling Storage Cart: Each drawer holds 12 x 12 scrapbook paper and also fits IRIS Craft Organizer Trays. You can plan drawer contents around standard paper sizes and tray inserts instead of guessing what fits.
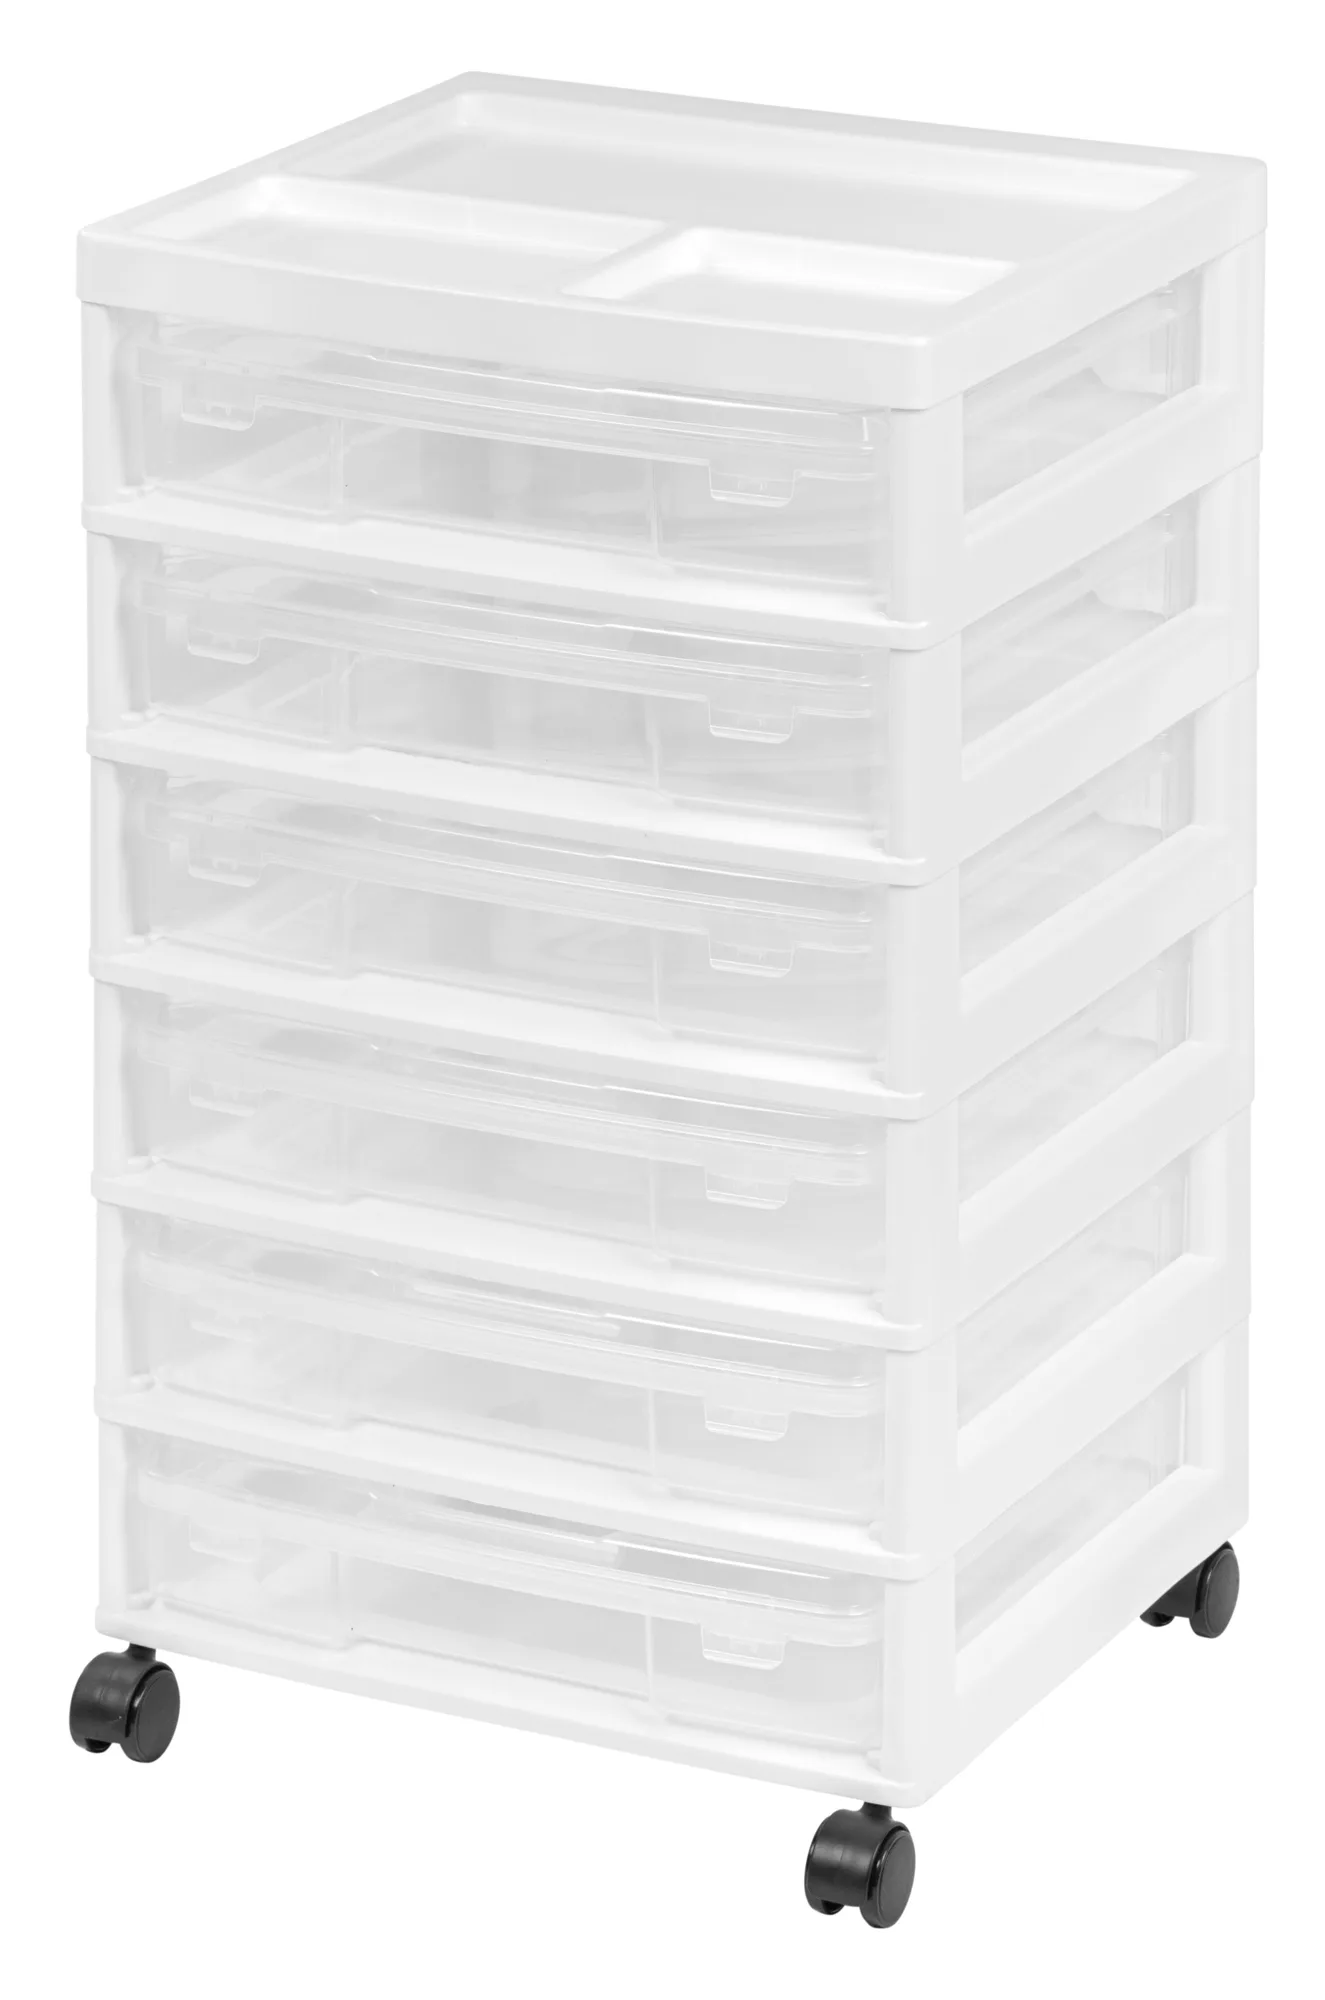
Craft Organizer and Storage, Rolling Storage Cart
-
Craft Organizer and Storage, Rolling Storage Cart: Entire unit dimensions are 14.3 x 15.9 x 26.8 inches. Measure your doorway, table edge, and storage corner against these dimensions before you build the station.
-
Craft Organizer and Storage, Rolling Storage Cart: The cart is BPA free, acid free, PVC free, lignin free, and recycle #5. These material notes are relevant when you store paper, photos, and other sensitive craft materials.