Quick answer
https://eitecheg.com/products/kurbellenkung-e19a61a0b9deea6095479fb3-1569068Crank steering in eitech vehicles turns a hand crank into a change of wheel direction through a bevel gear pair. Mount the crank so its shaft sits square to the frame, mesh the bevel gears without forcing them, then connect and align the steering linkage before you tighten anything. Test the full left-to-right sweep first; if it binds, loosen the mesh slightly rather than bending parts.
Crank steering is the part of an eitech vehicle that converts a simple turning motion at the crank handle into a left or right movement at the wheels. It is a small mechanism, but it decides whether a model steers smoothly or fights you every time you touch the crank.
This guide walks through the assembly in the order that avoids rework: crank first, then gear mesh, then linkage, then a full test sweep. It also flags the mistakes that most often cause stiff, loose, or one-sided steering, and which eitech Manufaktur parts sit at each stage.
What the crank steering mechanism actually does
A crank steering mechanism is a direction changer. The crank gives you a rotating input along one axis; the steering bevel gear pair redirects that rotation so the output can move the steering linkage. In an eitech vehicle, the crank sits where your hand can reach it, and the bevel gear set sits close to the steering axis so the motion transfers with as little play as possible.
Because the input and output run at an angle to each other, the gear mesh is the critical point. If the two gears sit too far apart, the crank spins but the wheels barely respond. If they sit too close, the teeth bind and the crank feels gritty. The correct setting is the middle ground: full tooth contact with a small amount of free play.
- Turn the crank by hand, not with pliers, so you can feel binding before it damages a tooth.
- Keep the crank on the side where your hand naturally rests when the model is on the floor.
Prepare the frame and steering axis before adding gears
Build the frame section that carries the steering first, and check it is square before you add any gearing. A frame that is slightly twisted will push the bevel gears out of alignment no matter how carefully you set them. Tighten the frame screws evenly, working around the section rather than locking one corner fully first.
Identify the steering axis and confirm it turns freely in its bearings with no gears attached. This is your baseline. If the bare axis already drags, the problem is the frame or the bearing fit, not the gearing, and adding the crank will only make it worse.
- Check squareness by eye along both diagonals of the frame section before tightening fully.
- Leave the steering-axis screws slightly snug until the gears are meshed, then lock them.
Mount the crank and set the bevel gear mesh
Fit the crank so its shaft runs square to the frame and the handle clears the bodywork through a full turn. Then bring the steering bevel gear into contact with its partner gear. Mesh them by moving the gear along its slot or hole pattern in small increments, turning the crank after each adjustment to feel the contact.
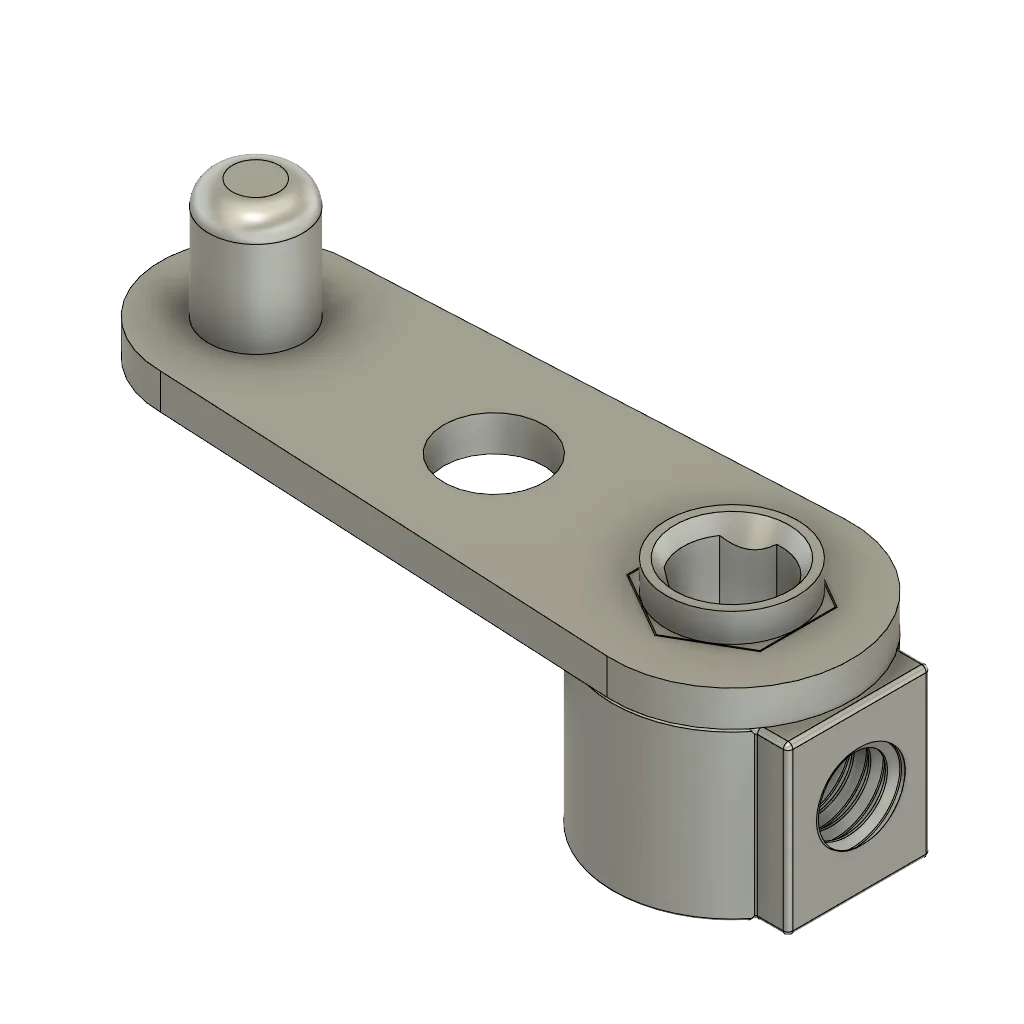
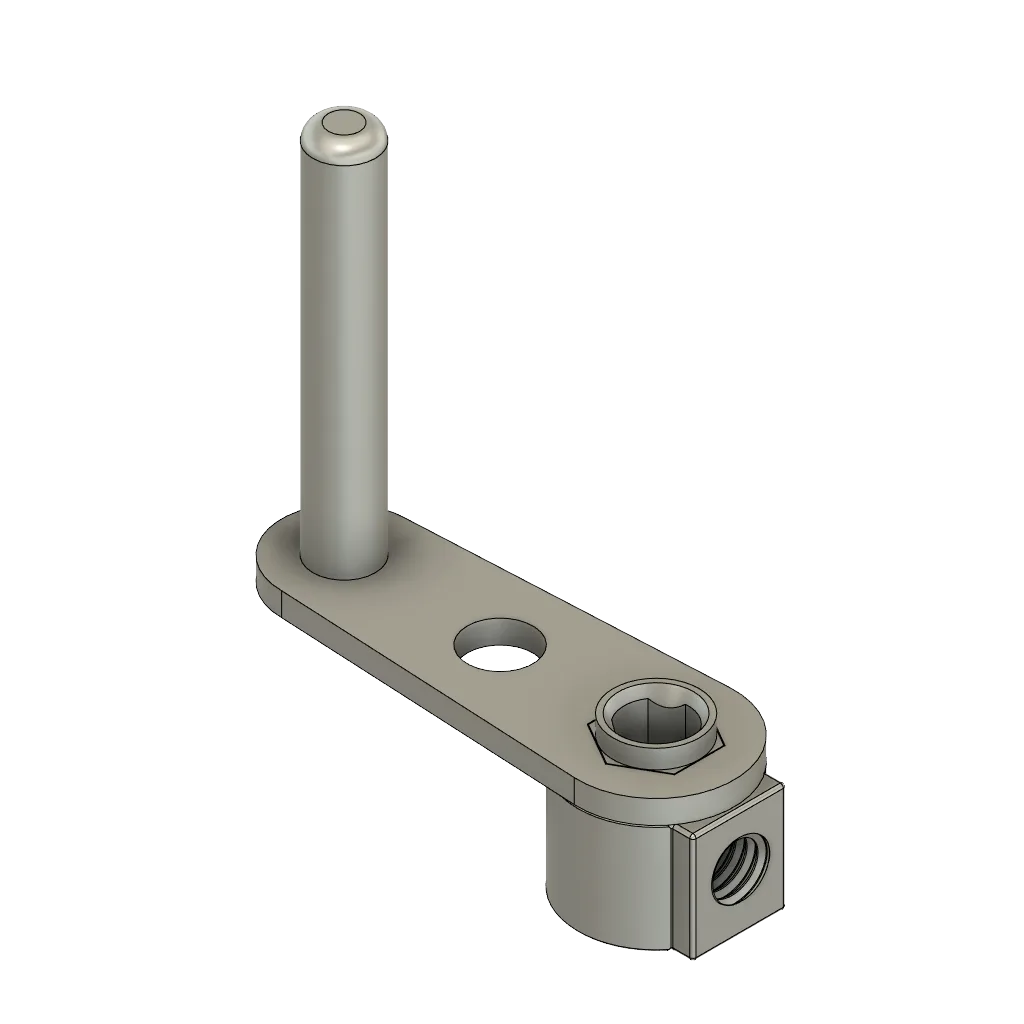
The eitech T-socket steering bevel gear (SKU 01608) is a Manufaktur component built for this kind of steering junction, and the eitech Crank steering (SKU 01861) is the matching Manufaktur crank unit. Use them together when you want the input and the direction change to come from the same matched pair rather than mixing parts from different setups.
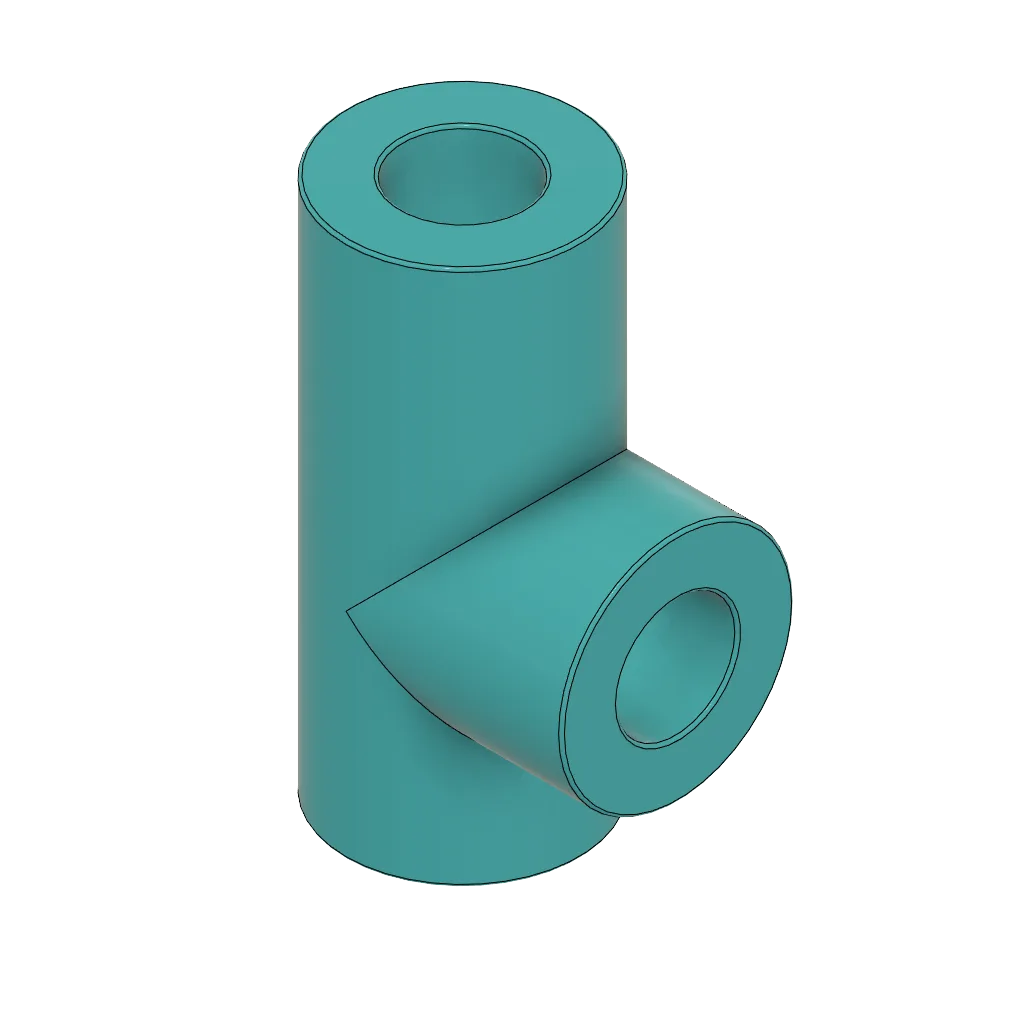
T-socket steering bevel gear
- Aim for full tooth contact with a barely perceptible rock in the gears.
- If the mesh howls or feels notchy, move the gears apart by one adjustment step.
Connect the linkage and align the wheels
With the gear mesh set, connect the steering linkage to the output side and set the wheels straight ahead. Center the crank in its mid-travel position at the same time, so you have equal steering movement to both sides. If the crank reaches its limit on one side before the other, the linkage is off-center, not the gears.
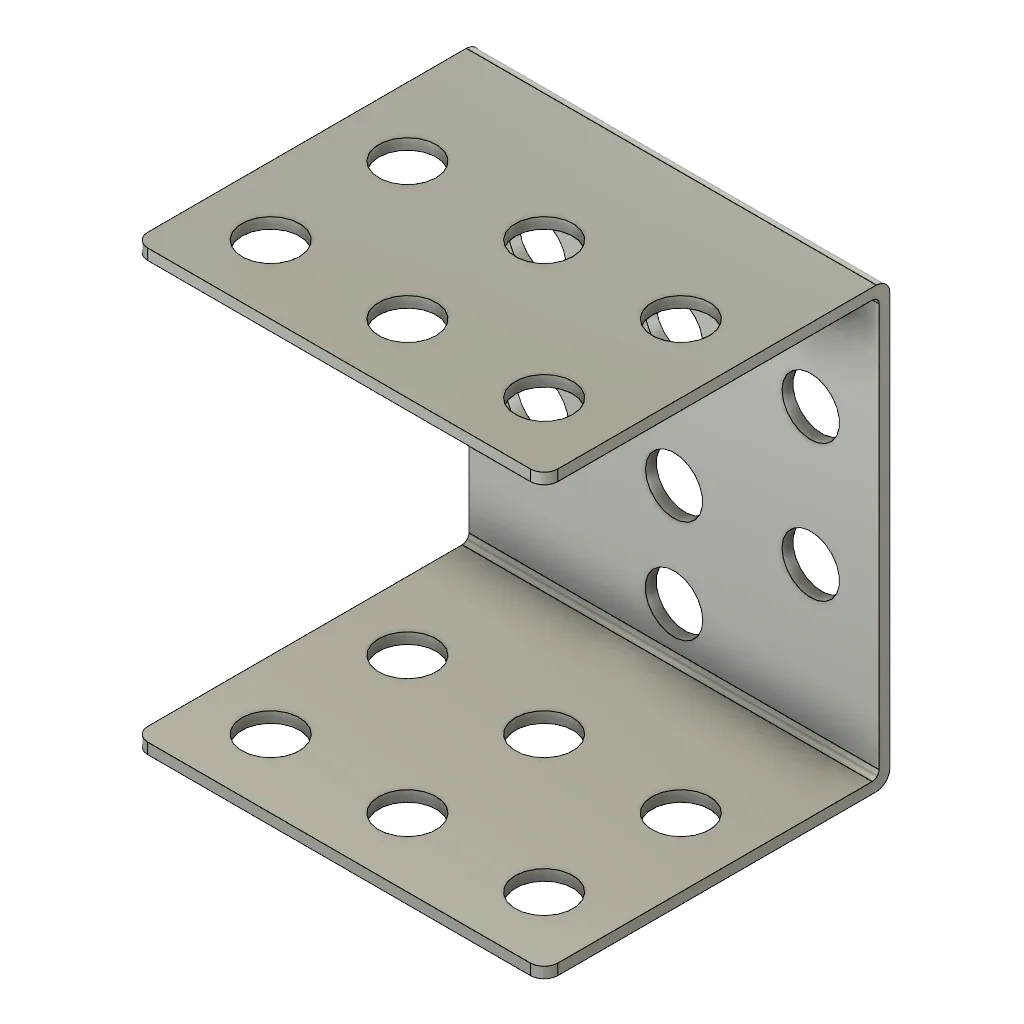
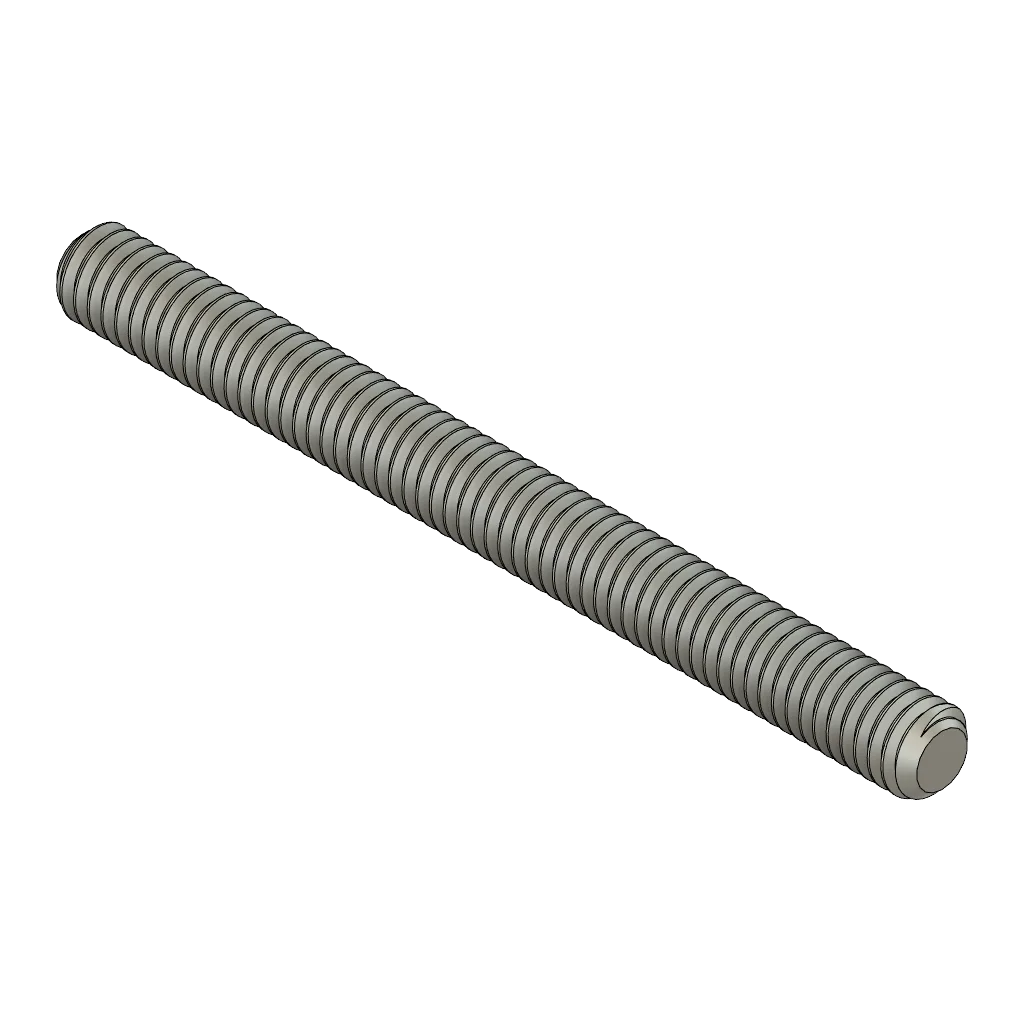
The eitech Plate 3x3-hole, steering bevel gear (SKU 01115) is a 3x3-hole plate that incorporates a steering bevel gear, which makes it a useful building element when you need the gear and its mounting plate to sit as one unit in a compatible eitech project. The eitech Threaded rod 4x44 mm (SKU 01372) is a Manufaktur component you can use where the linkage needs a threaded connection point.
- Set wheels straight and crank centered before tightening the linkage screws.
- Check that no linkage part rubs the frame through the full steering sweep.
Test the full sweep and tune the feel
Turn the crank slowly from full left to full right and back, watching the wheels and listening for scraping. A well-set eitech steering mechanism moves with light, even resistance and no sudden tight spots. Any tight spot means a gear mesh or linkage alignment issue, and it will get worse with use if you leave it.
If the steering feels loose rather than stiff, the play is usually in the linkage rather than the gears. Check the connection points for parts that can shift under load. The eitech Rope pulley with profile hole (SKU 01499) mounts on compatible shafts or axles and is intended for model construction and mechanical projects, so it can serve as a guide or redirect point where your linkage changes direction.
- Test on a flat surface with the model's weight on its wheels, not held in the air.
- Re-check the gear mesh after the first few full sweeps, since parts settle into place.
Crank steering assembly in five steps
- Build and square the steering frame: Assemble the frame section that carries the steering axis and tighten screws evenly around the section instead of locking one corner first. Checkpoint: the bare steering axis should turn freely before any gears go on.
- Mount the crank square to the frame: Fit the crank so its shaft sits square and the handle clears the bodywork through a full rotation. Common mistake: mounting the crank at an angle, which loads the gear mesh unevenly.
- Mesh the bevel gears in small steps: Bring the steering bevel gear into contact with its partner and adjust in small increments, turning the crank after each change to feel the contact. Checkpoint: full tooth contact with only a slight rock, no notchy or gritty feel.
- Center the crank and align the wheels: Connect the linkage, set the wheels straight ahead, and put the crank in its mid-travel position before tightening the linkage screws. Common mistake: tightening the linkage with the crank already at one end of its travel.
- Run a full sweep and retune: Turn the crank slowly from full left to full right with the model resting on its wheels, then re-check the gear mesh after the parts settle. Next step: if one side reaches its limit early, re-center the linkage rather than adjusting the gears.
eitech parts used in this steering setup
- Crank steering: Part of the eitech Manufaktur line, offered under SKU 01861 in a Standard variant. This is the crank unit at the input end of the mechanism, so it sets the reach and feel of the steering before any gearing is involved.
- T-socket steering bevel gear: A component from the eitech Manufaktur range, offered under SKU 01608 and designed as a T-socket steering bevel gear for construction or model-building projects. It is the direction-changing element, so its mesh with the mating gear is the single biggest factor in whether the crank turns smoothly.
- Plate 3x3-hole, steering bevel gear: A 3x3-hole plate from the eitech Manufaktur line, SKU 01115, that incorporates a steering bevel gear. Combining the gear and its mounting plate in one building element reduces the number of separate joints you have to align.
- Threaded rod 4x44 mm: A Manufaktur component identified by SKU code 01372, offered in a Standard variant. Useful where the linkage needs a threaded connection point rather than a plain rod.
Crank steering rewards patience more than force. Square the frame, set the gear mesh by feel, center the linkage, and test the full sweep before you call it done. The eitech Manufaktur parts above cover the crank, the bevel gear junction, the mounting plate, and the linkage details, so you can build the mechanism once and have it steer cleanly from the first turn.