Quick answer
To create a wax seal monogram, melt 3-4 wax seal beads, pour onto a non-stick surface, press with a brass template, and let it cool. Choose a template that matches your initials for a personal touch.
Why a monogram adds a personal touch
A wax seal monogram turns an ordinary envelope or gift tag into a keepsake. The raised impression of your initials signals care and attention, making it ideal for wedding invitations, thank-you notes, or holiday gifts.
The key is to match the template design to your stationery style. A small scallop template, for example, gives a classic, ornate edge that pairs well with traditional paper, while a plain round template suits modern minimalism.
Choosing the right wax color
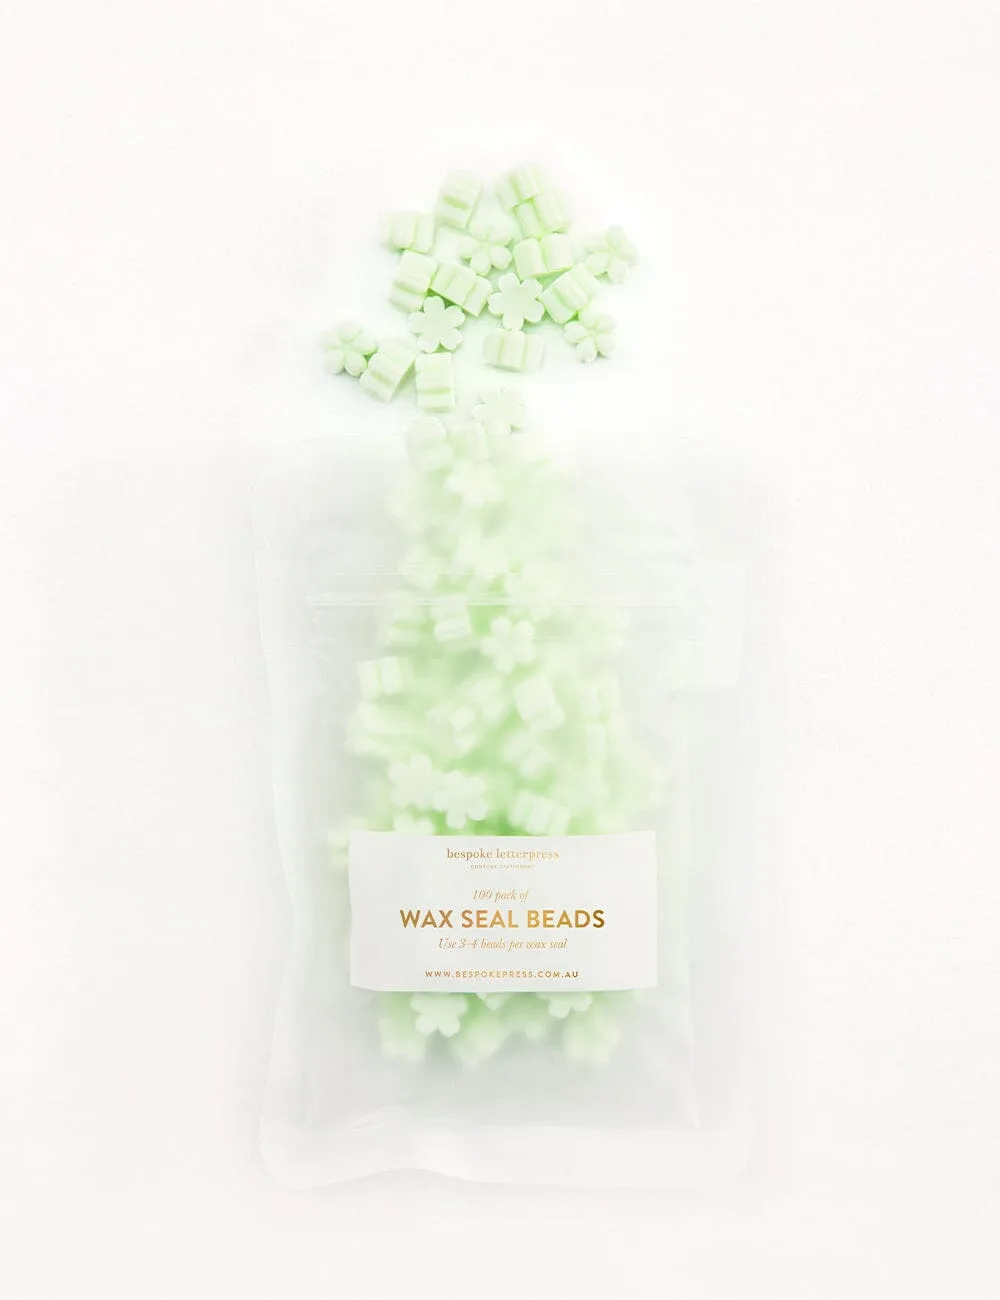
Wax color affects the overall look. Rust tones evoke a vintage, earthy feel, while tea green offers a softer, more botanical vibe. Consider the paper color and the occasion—darker waxes stand out on light envelopes, while lighter waxes work on dark paper.
If you're new to wax sealing, start with a single color to master the technique before experimenting with layering or glitter.
Step-by-step: making your wax seal monogram
- Gather your supplies: You'll need wax seal beads, a brass template with your monogram or initial, a wax burner or heat source, a spoon, and a non-stick surface like a silicone mat. Check that your template is brass, as it conducts heat evenly and releases cleanly.
- Melt the wax beads: Place 3-4 wax seal beads in the spoon and hold over the heat source until fully melted. Stir gently to ensure an even consistency. Avoid overheating—bubbles in the melted wax can cause pits in the seal.
- Pour the wax: Pour the melted wax onto the non-stick surface in a circular motion, creating a puddle slightly larger than your template. Pour slowly and steadily to avoid air pockets and uneven edges.
- Press the template: Wait 2-3 seconds for the wax to set slightly, then press the brass template firmly into the wax. Hold for about 10 seconds without wiggling. If the wax sticks, you pressed too early; if the impression is faint, you pressed too late.
- Lift and cool: Carefully lift the template straight up. Let the seal cool completely for a minute before handling. A clean lift prevents smudging; let the seal harden fully to avoid fingerprints.
- Attach to your stationery: For envelopes, apply a small amount of adhesive or double-sided tape to the back of the seal before pressing it onto the paper. For gift wrapping, tie a ribbon and press the seal over the knot. Seals are rigid—use adhesive rather than wax alone to ensure they stay in place.
Products that help
-
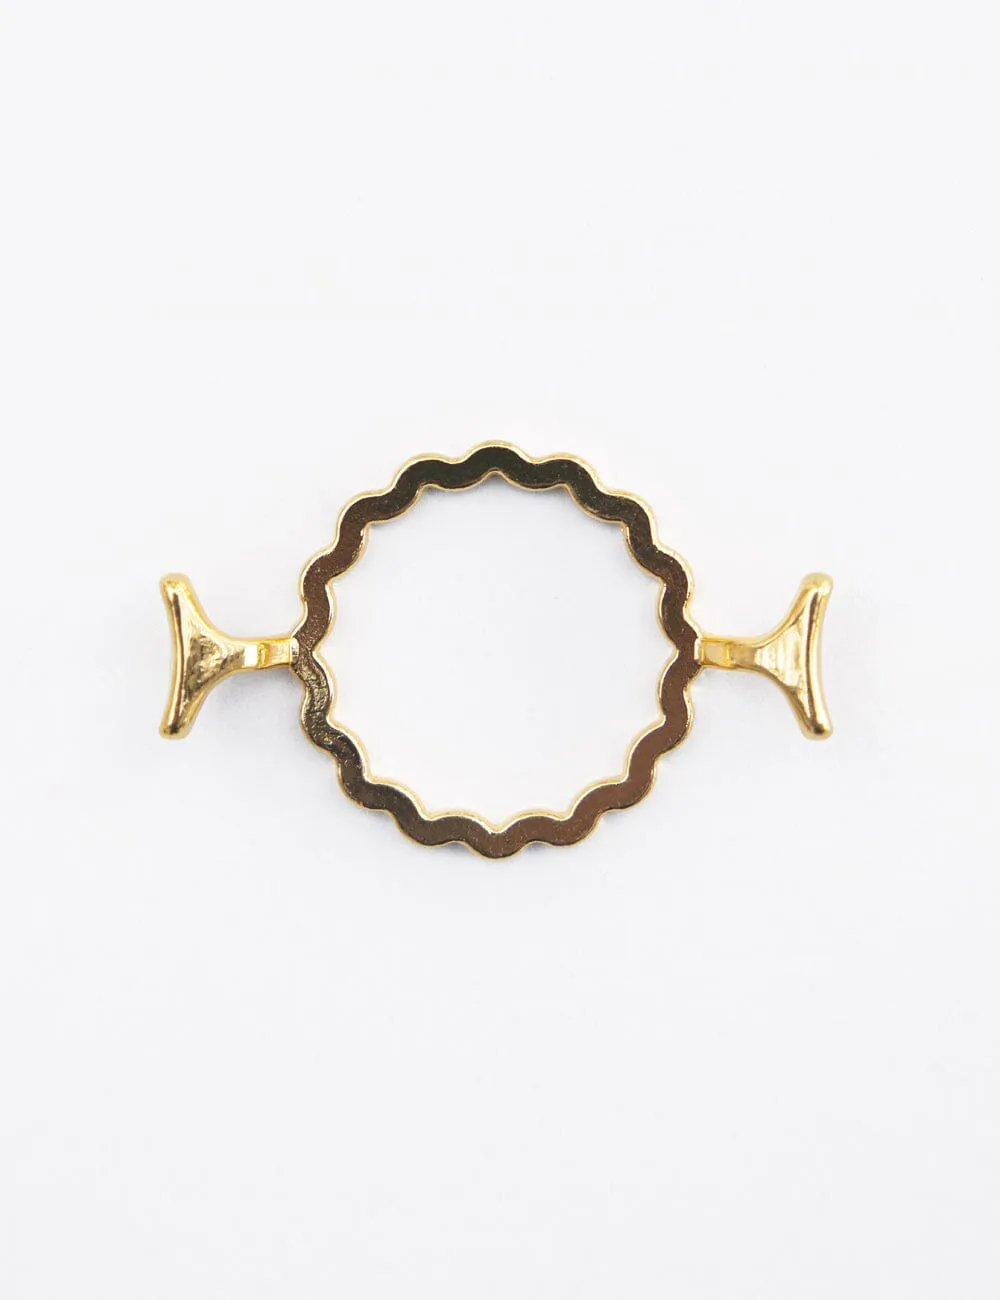
Wax Seal Template - Small Scallop: This brass template creates a standard-size wax seal with a small scallop design. The scallop edge adds an elegant, decorative border that makes your monogram look refined and professional.
Wax Seal Template - Small Scallop
-
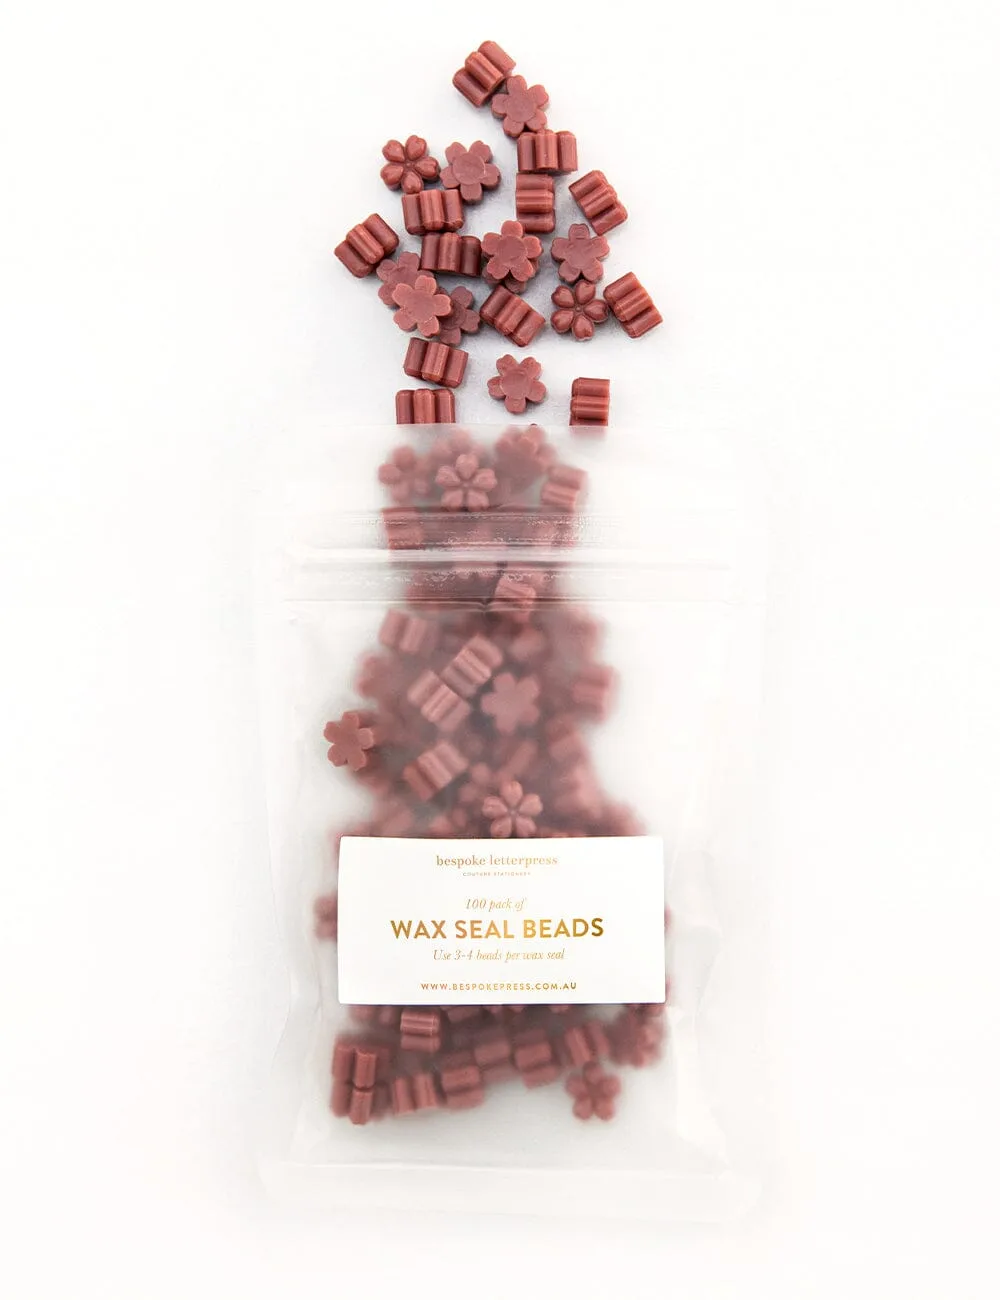
Wax Seal Beads - Rust: A 100-pack of daisy-shaped wax beads in Rust; use 3-4 beads per seal. The rust color gives a warm, antique finish that complements classic stationery and adds depth to your monogram.
Wax Seal Beads - Rust
-
Wax Seal Beads- Tea Green: A 100-pack of daisy-shaped wax beads in Tea Green; use 3-4 beads per seal. Tea green offers a subtle, natural tone that works well for botanical-themed invitations or everyday correspondence.