Quick answer
Pick one anchor unit, then let head swaps and a tight palette carry the theme across the rest of the force. Desert Scorpions give you the silhouette; boonie hat heads and gas mask heads give you the story. Decide your anchor first so every later purchase has a job.
A desert-themed army usually fails for one of two reasons: the palette is right but the silhouettes are generic, or the models are interesting but nothing ties them together. Fixing that is mostly a planning problem, not a painting problem.
This guide walks through the order I use when building a desert force around Desert Scorpions and boonie hat heads, from choosing the anchor unit to checking the finished squad at arm's length.
Choose your anchor unit before you buy anything else
Every themed army needs one unit that defines it. Desert Scorpions do that job well because their silhouette is distinctive enough to read from across a table, which means the rest of your force can stay visually quieter without the army losing its identity.
Write down what the anchor unit is and what role it plays. If you cannot describe the theme in one sentence after picking the anchor, you are still collecting rather than building, and you will end up with spare models that do not fit.
- Checkpoint: if a new purchase does not support the anchor unit's story, it can wait.
Plan head swaps as a theme tool, not an afterthought
Heads carry more theme per gram than any other part of a 28mm model. Boonie hat heads and gas mask heads immediately read as hot-climate, campaign-worn troops, and because they are separate parts you can distribute them across several squads without changing torsos or weapons.
Decide the ratio before you start cutting. A squad where every model wears the same head looks like a kit; a squad with a mix of boonie hats, bare heads, and one or two gas masks looks like a unit that has been in the field.
- Common mistake: swapping heads on every model in the force, which flattens the visual hierarchy and makes the anchor unit stop standing out.
Match your palette to the basing, not the other way round
Desert miniatures live or die on how the base and the figure relate. Pick your sand or dust tone first, then choose uniform colours that sit slightly cooler or darker than the ground so the models do not disappear into their own bases.
Keep the palette short. Three main tones plus one accent is enough for a whole force, and it makes later additions blend in automatically.
- Checkpoint: photograph one finished model against your intended base colour before committing to the whole squad.
Build in batches so the theme stays consistent
Assemble and paint in batches of five to ten models rather than one at a time. Batching forces you to repeat the same choices, which is exactly what makes a themed army look deliberate rather than improvised.
It also surfaces problems early. If the head swap looks wrong on the third model, you have only built three, not thirty.
- Common mistake: painting a single showcase model to a high standard first, then discovering the scheme is too slow to repeat across a squad.
Check readability at tabletop distance
Stand back roughly an arm's length and look at the finished squad. If you cannot tell the anchor unit from the supporting squads at that distance, the theme is not doing its job yet.
The fix is usually contrast, not more detail: darken the supporting squads slightly, or push the accent colour on the anchor unit.
- Checkpoint: if two squads look identical from three feet away, change one variable only.
Desert army build order
- 1. Lock the anchor unit: Choose Desert Scorpions as the unit that defines the force and write down its role in one sentence. Checkpoint: everything you buy afterwards should visibly support this unit.
- 2. Decide the head mix: Set a ratio for boonie hat heads, bare heads, and gas mask heads across the squads before you start cutting. Common mistake: uniform head swaps on every model, which removes the anchor unit's contrast.
- 3. Fix the palette against the base: Choose the sand or dust base tone first, then pick three uniform tones plus one accent that sit apart from it. Checkpoint: test one model against the base colour before committing.
- 4. Assemble in batches of five to ten: Repeat identical build choices across each batch so the force looks deliberate rather than improvised. Common mistake: finishing one showcase model before confirming the scheme is repeatable.
- 5. Test readability at arm's length: Step back and confirm the anchor unit is still distinguishable from supporting squads. If two squads look the same, adjust one variable only, usually contrast.
Parts that support this build
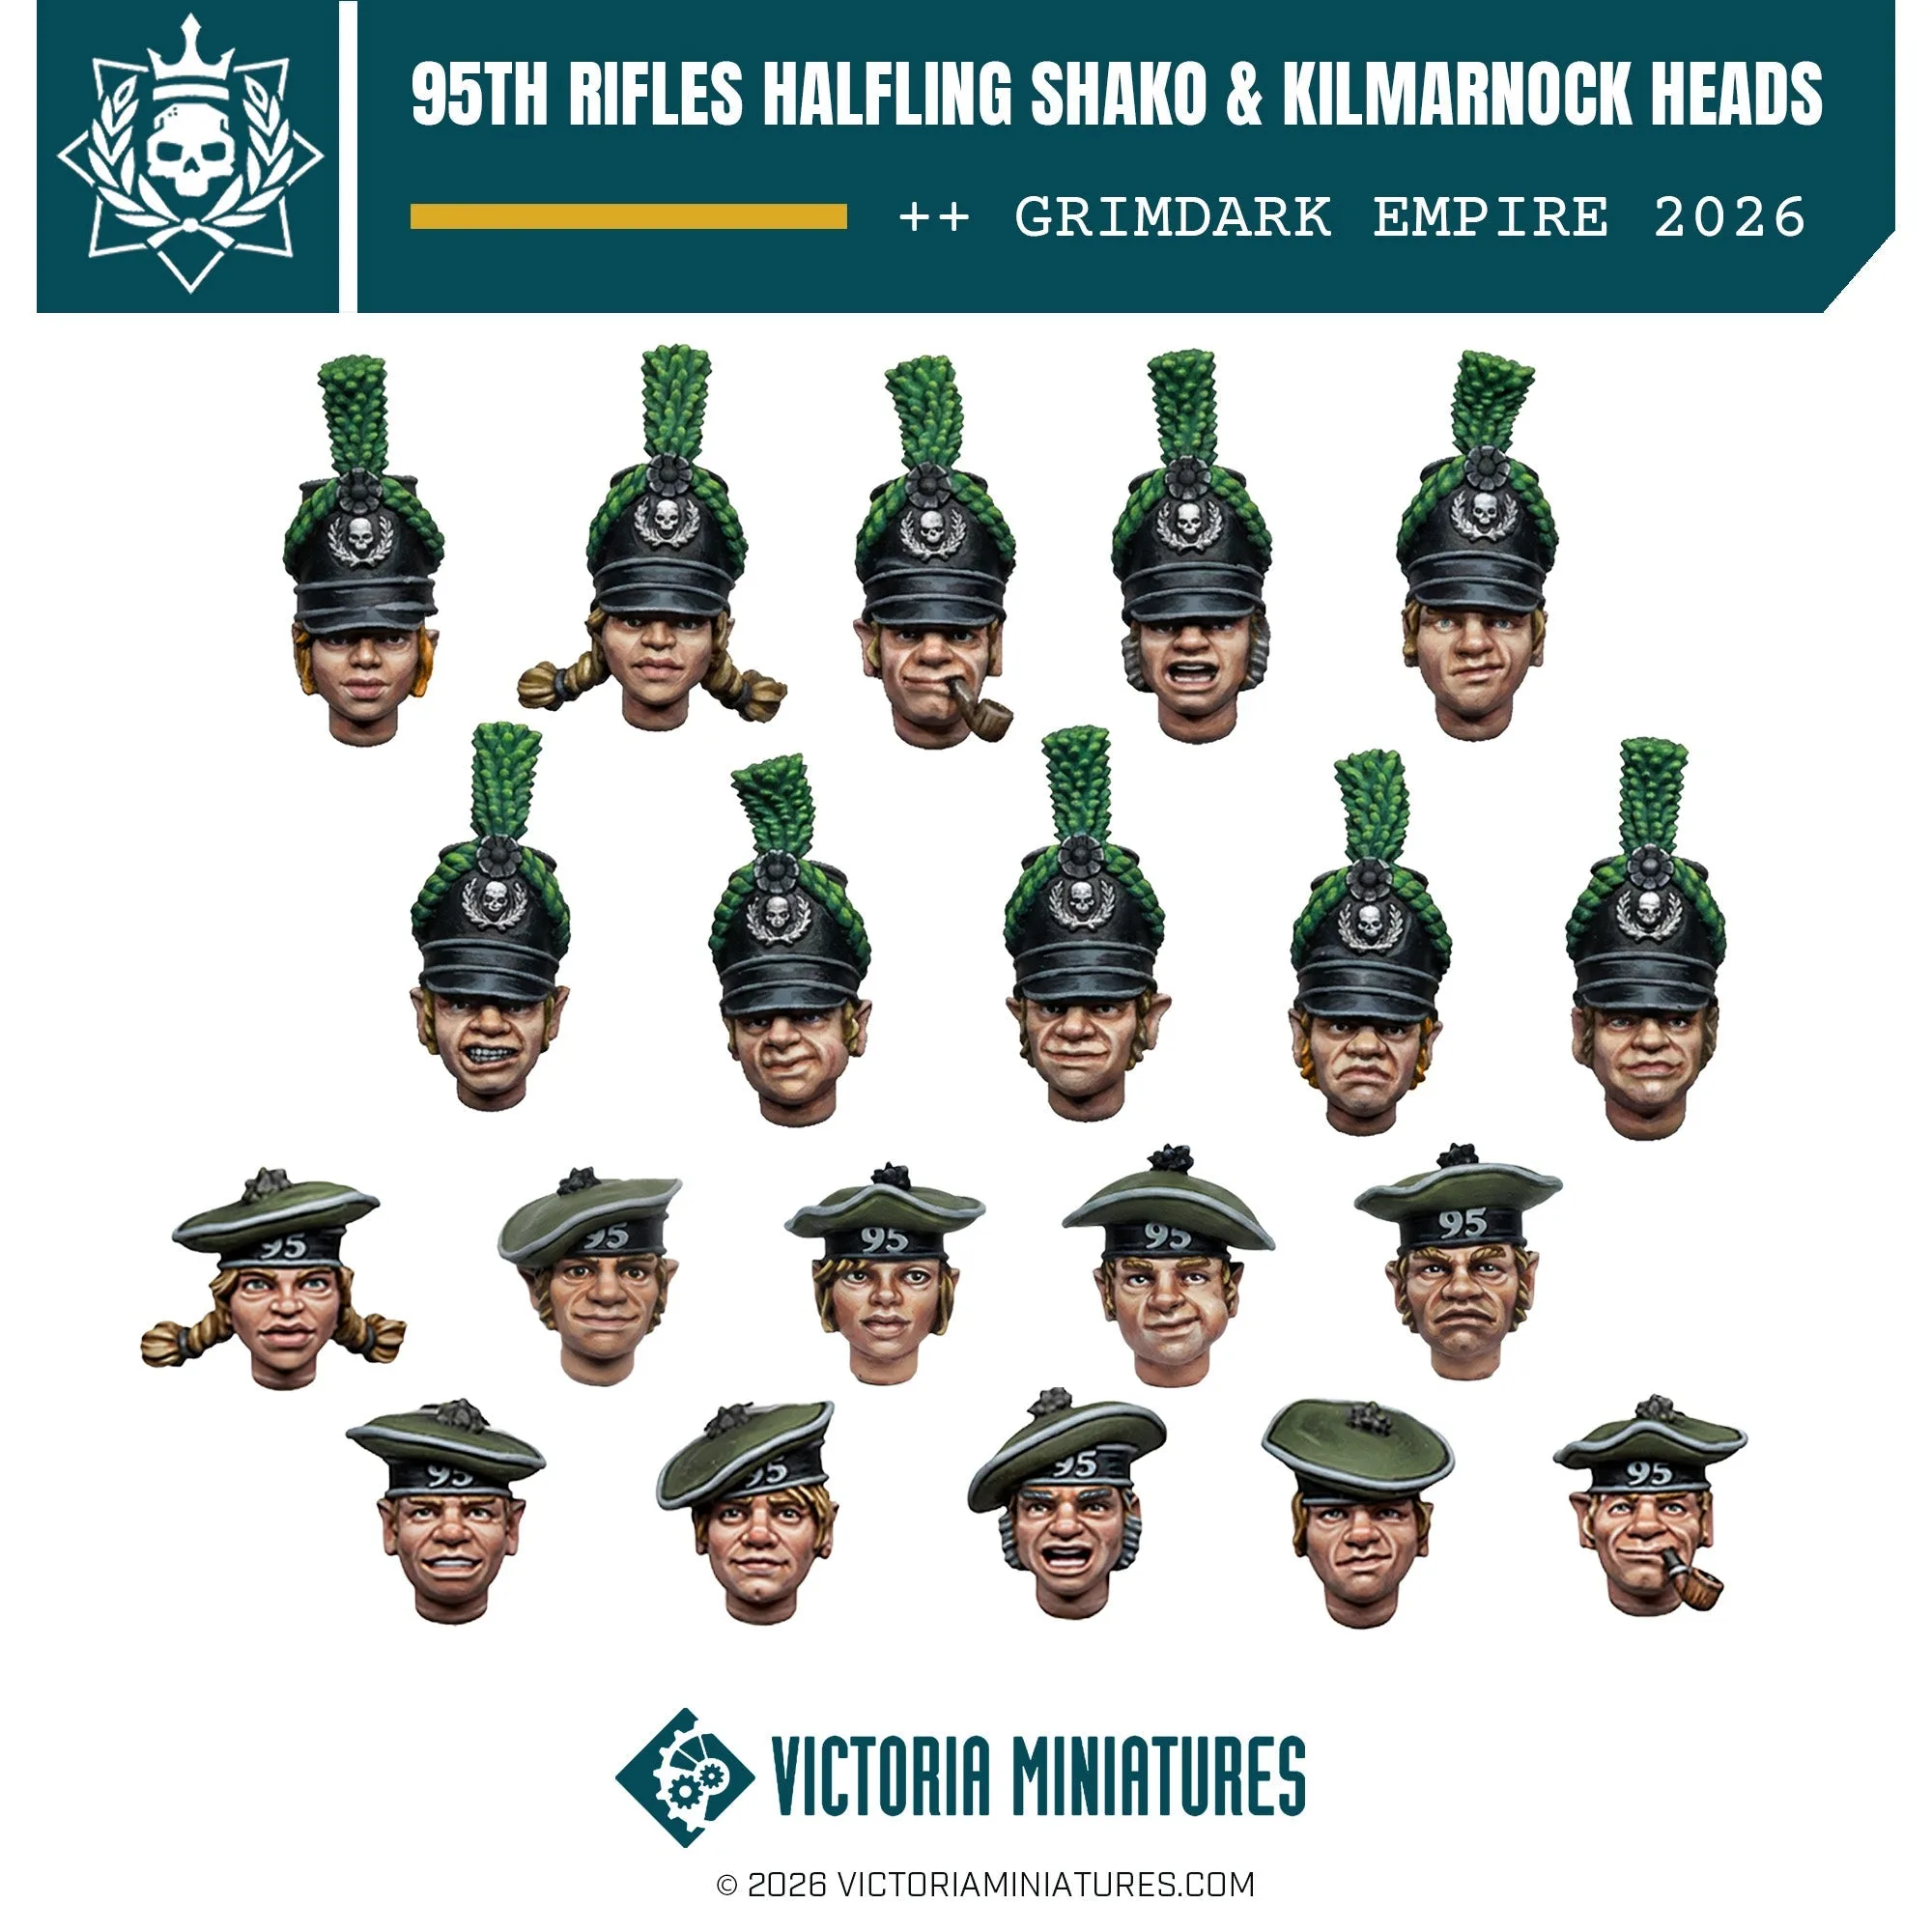
- Halfling Shako and Kilmarnock Heads x20: 10x Halfling Shako Heads and 10x Halfling Kilmarnock cap heads for Victoria Miniatures halfling squads, high quality 3D print. Two distinct head styles in one pack give you a natural way to differentiate two squads inside the same desert force.
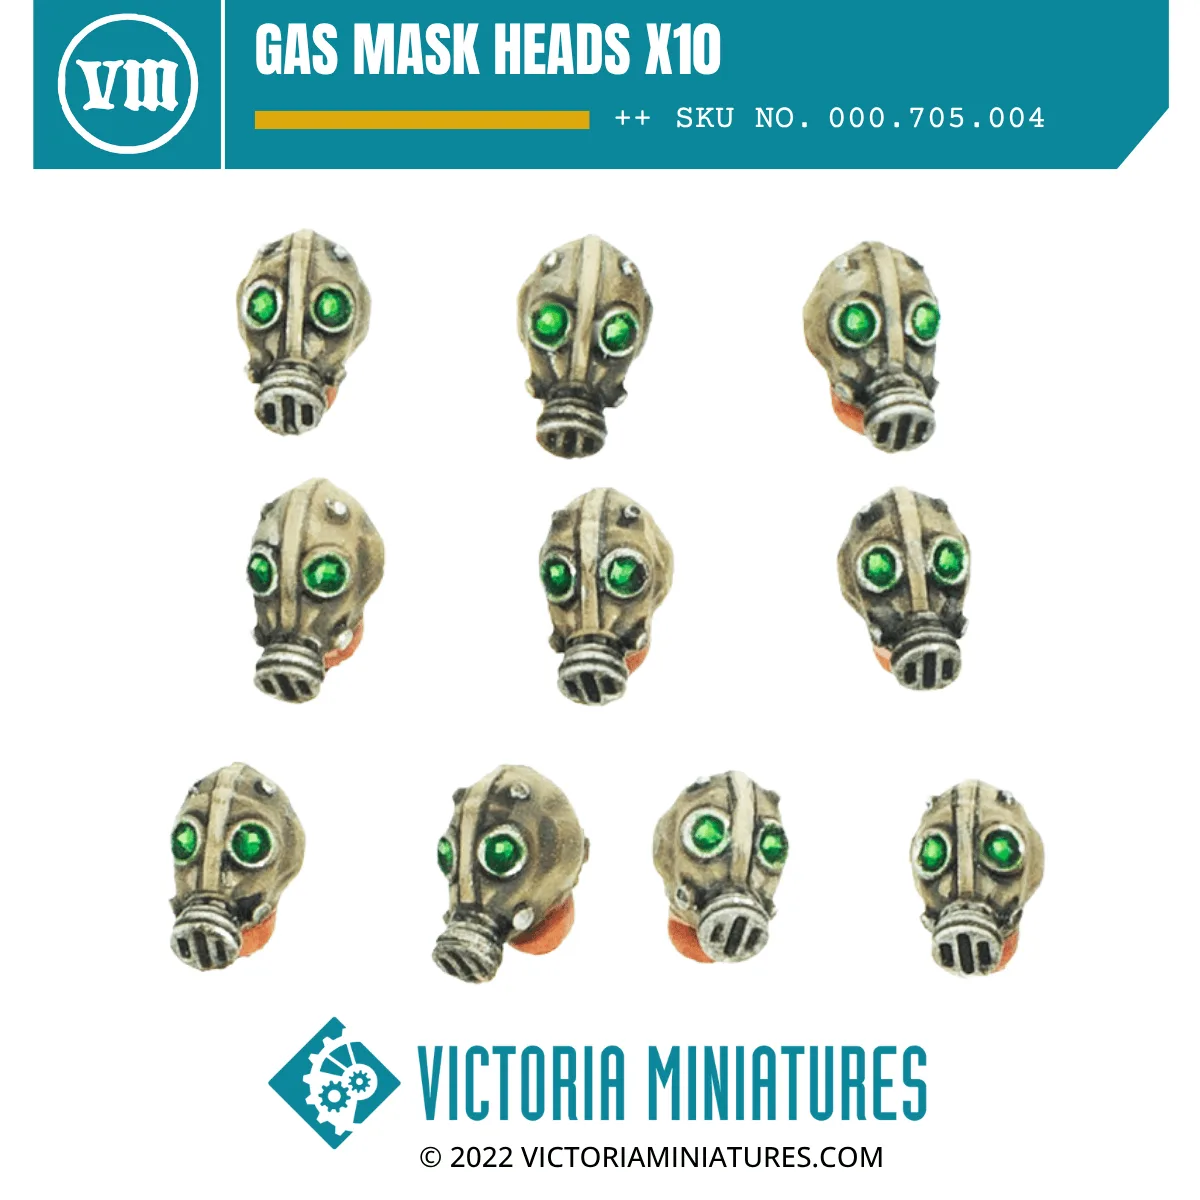
- Gas Mask Heads x10: 10x Gas Mask Heads for 28mm Miniatures and Victoria Miniatures Halflings, sculpted by Victoria Lamb, Sio-cast plastic kit. Gas masks read as harsh-environment troops, which sells the desert campaign story on models that would otherwise look like standard infantry.
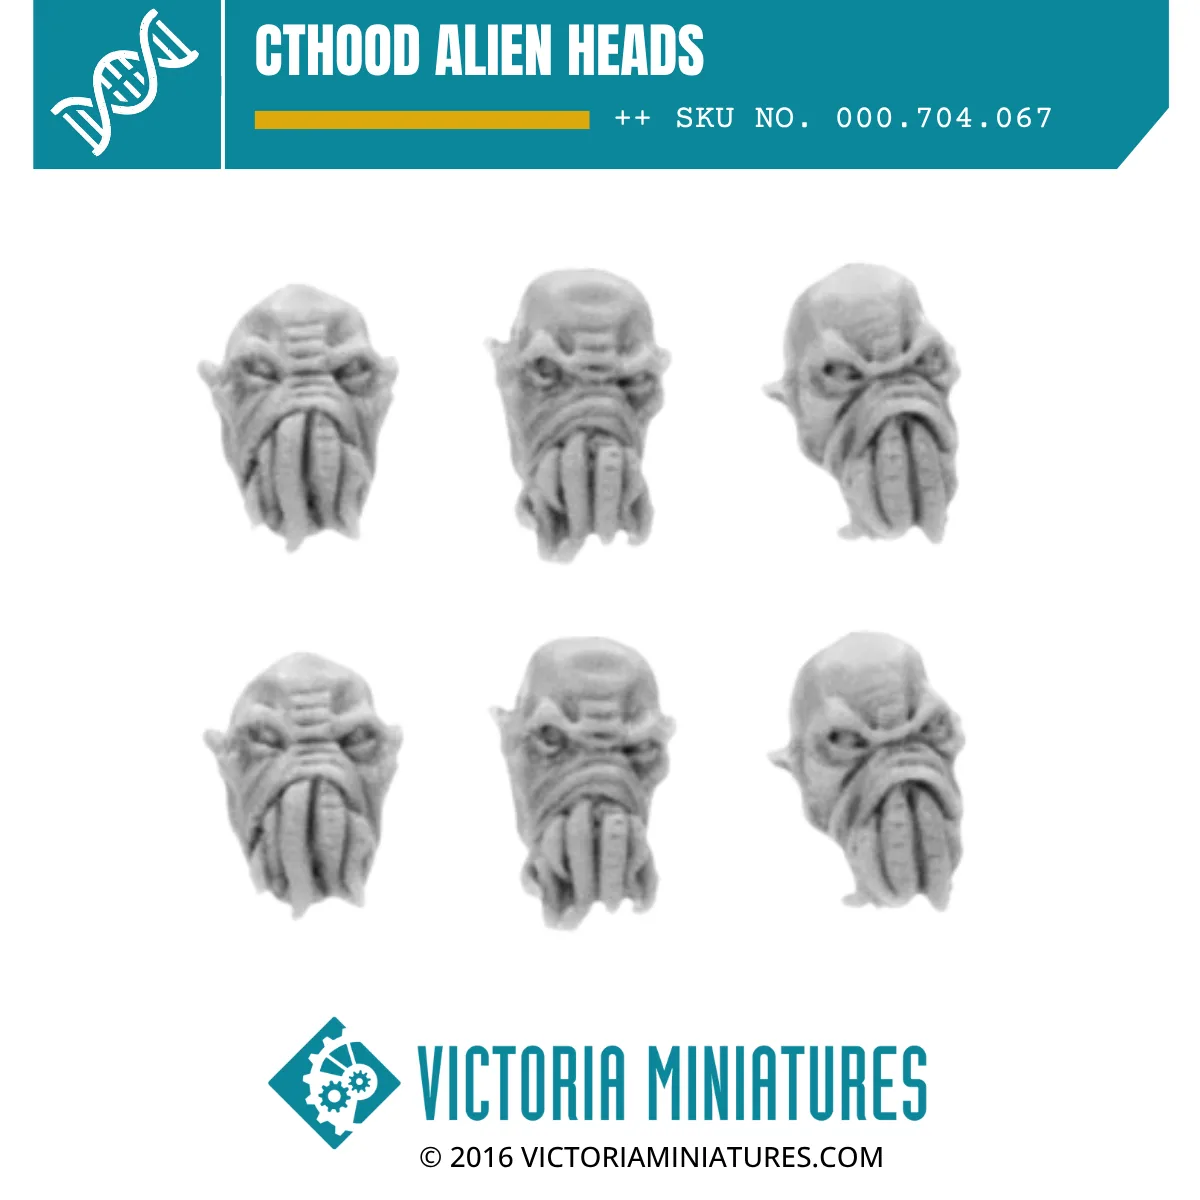
- Cthood Alien Heads: 6 Cthood Alien Heads, resin conversion parts for creating your own Guard Squads, compatible with Victoria Miniatures Guard and popular plastic kits. Useful if your desert force includes an allied or auxiliary element that should look visibly non-standard next to the human squads.
Build the anchor unit first, let head swaps carry the theme, and check the squad at tabletop distance before you commit to the rest of the force. That order keeps a desert-themed army coherent without turning it into a single uniform block.