Quick answer
Start by sorting one sticker sheet into three jobs: dates and headers, functional markers, and decorative fills. Use the functional stickers first so your planner or journal still works if you run out of time, then add decoration. Keep sheets flat in a single sleeve or folder so you can actually see what you own before buying more.
Most sticker sheets fail for one boring reason: they get bought, admired, and then buried in a drawer. The fix is not more discipline, it is a setup that makes the sheet easy to reach and easy to use in the ten minutes you actually have.
This guide walks through a repeatable process, from sorting a sheet to building a small kit you can carry. It also covers where a few real products fit naturally, including a planner and a pen pack, without turning your journal into a craft project you never finish.
Sort one sheet before you stick anything
Lay the sheet flat and mentally divide it into three groups: structural stickers such as dates, headers and boxes; functional markers such as checkboxes, arrows and flags; and purely decorative pieces. This takes two minutes and prevents the common mistake of burning your best decorative stickers on a week you have not planned yet.
If a sheet has no structural stickers, that is fine. Many sheets are decorative by design, and that simply means you pair them with a dated layout you write by hand. Knowing which type you are holding stops you from expecting a decorative sheet to do a planning job it was never made for.
- Checkpoint: if you cannot name what a sticker is for, leave it on the sheet for now.
Build a weekly spread with functional stickers first
Write your dates, appointments and deadlines in pen before any sticker goes down. Then add functional markers on top: a checkbox beside each task, a small flag on the day with the heaviest load, a strip of washi-style tape or a sticker edge to separate work from personal. This order matters because written dates are easy to correct and stickers are not.
The 2027 A5 Vertical Planner - French Bows - PRE-ORDER (25 SEPTEMBER) uses the vertical layout Fox & Fallow has kept in its A5 planners, which suits this approach well: a vertical column per day gives you a clear lane for written tasks and a narrow margin for stickers. If you prefer a horizontal layout, the same sorting method still applies, you just place markers along the row instead of down the column.
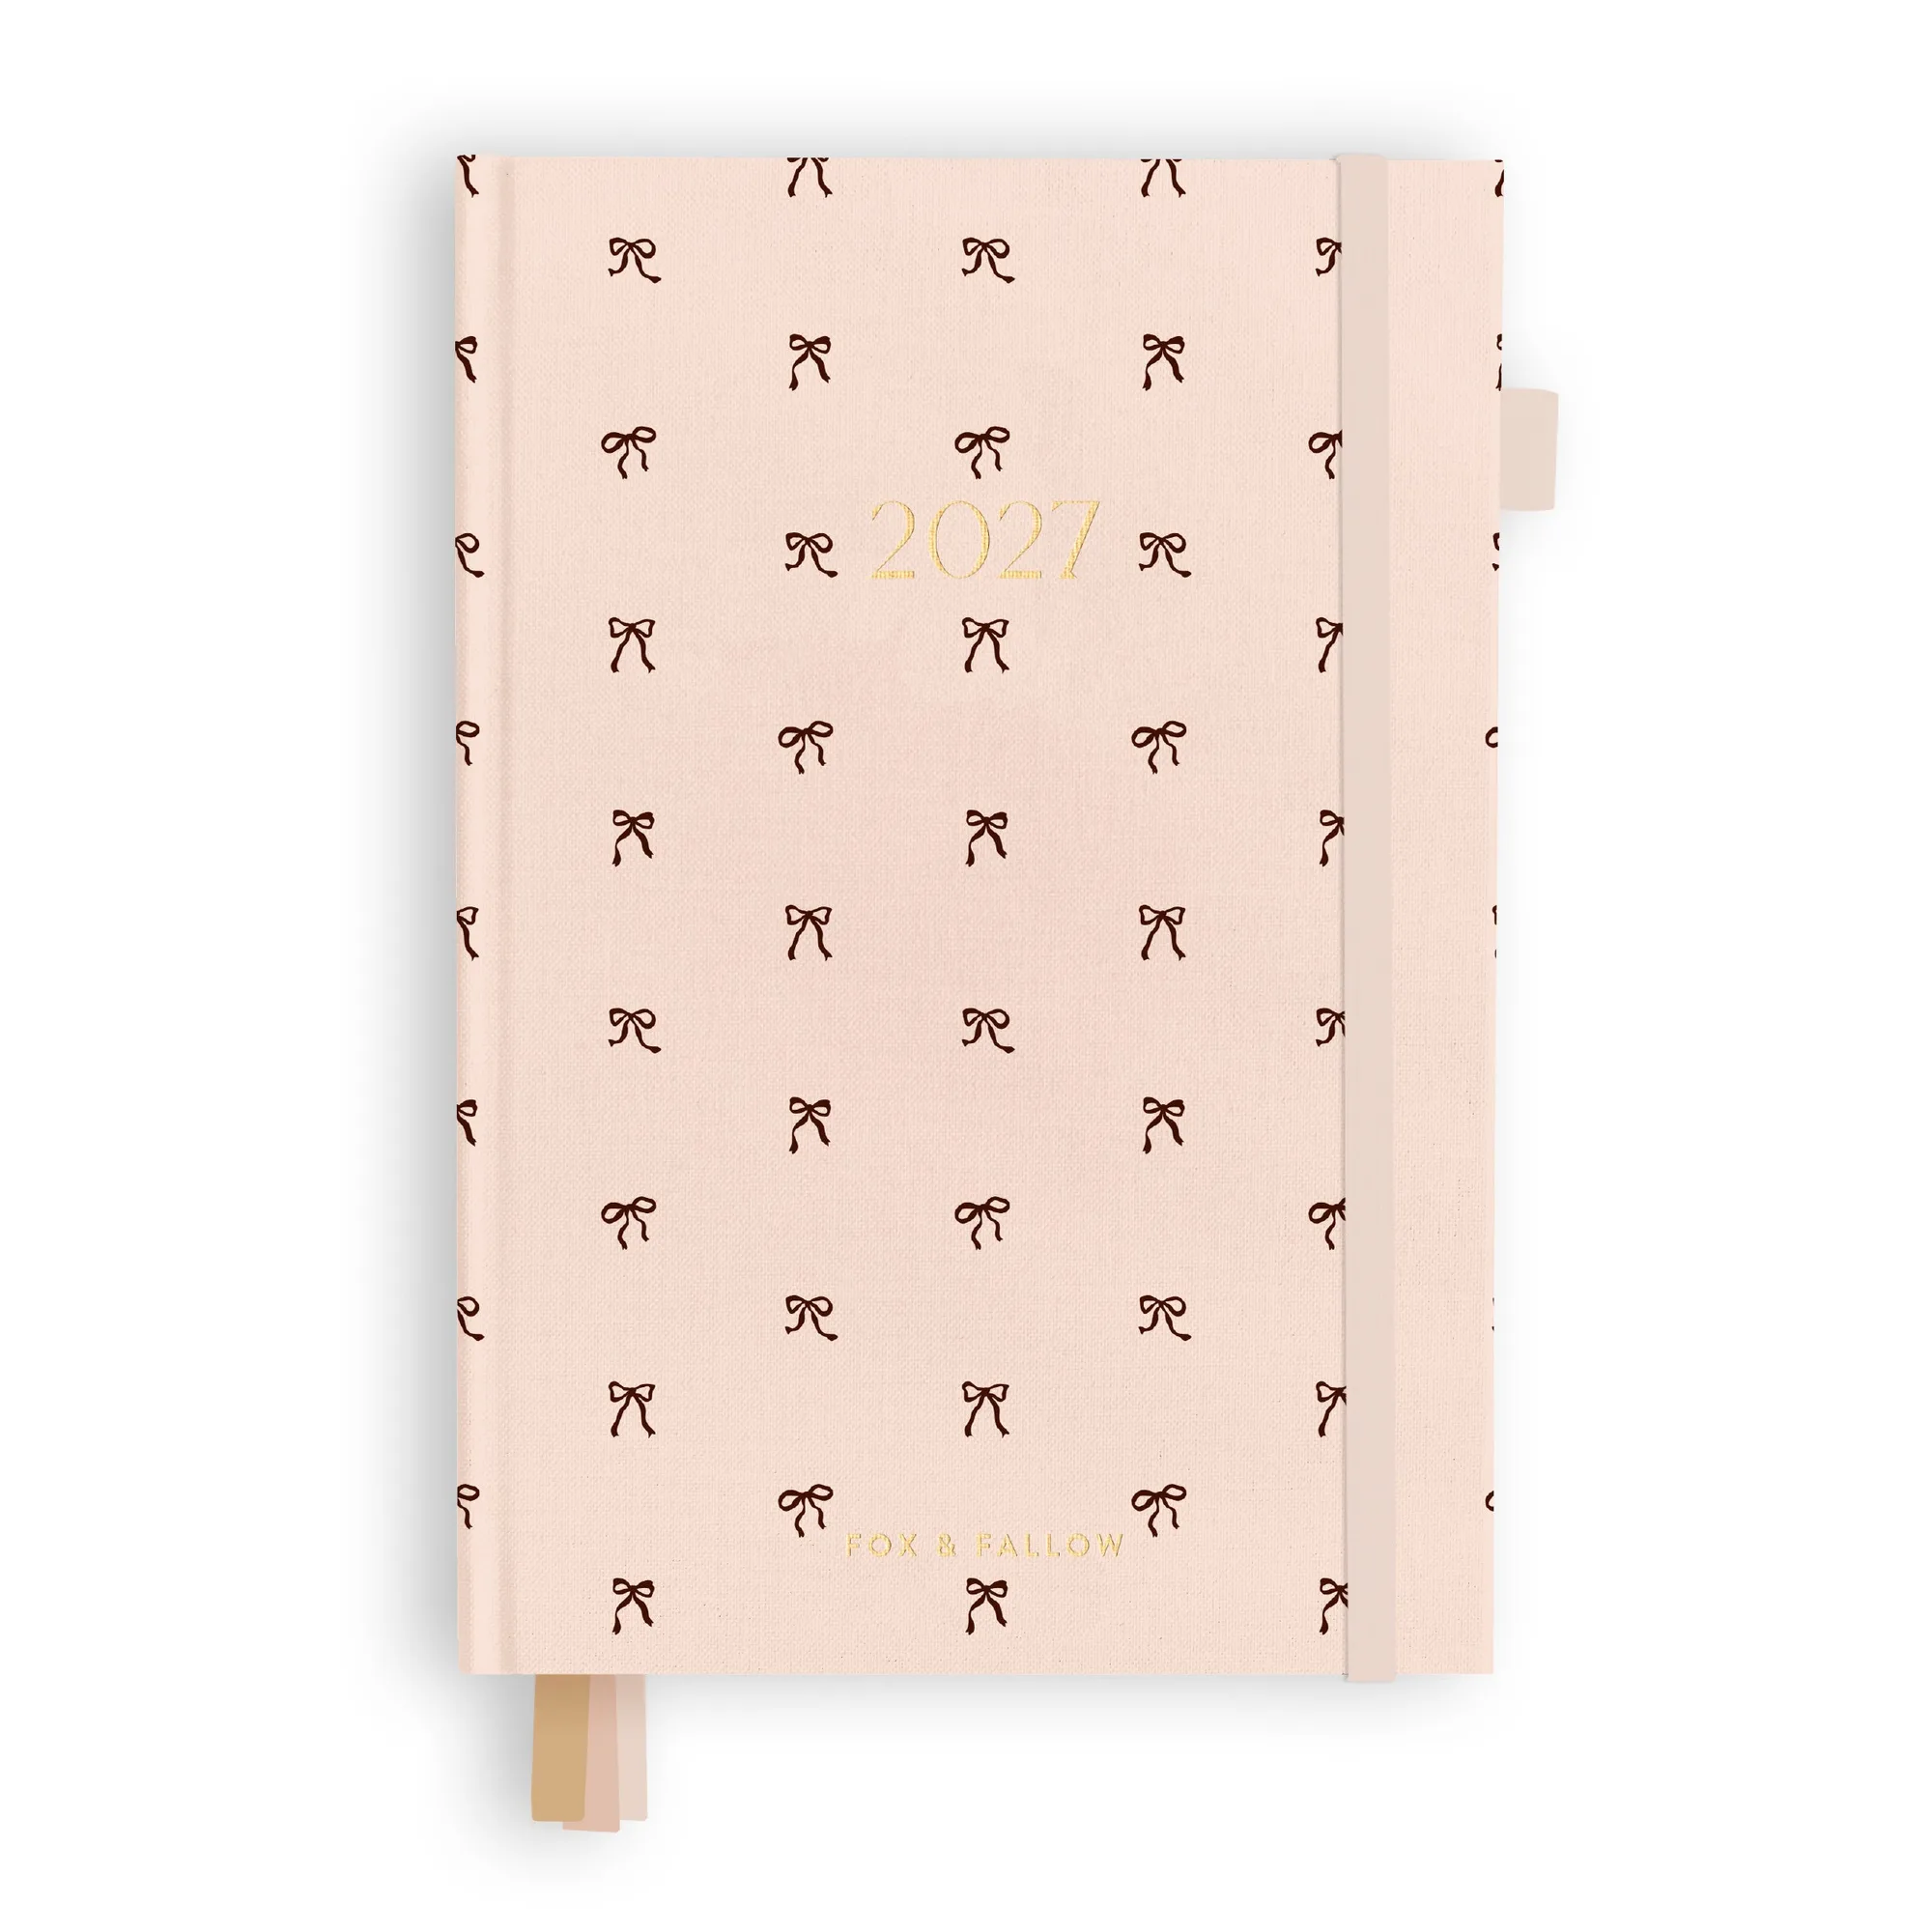
2027 A5 Vertical Planner - French Bows - PRE-ORDER (25 SEPTEMBER)
- Common mistake: covering the date line with a sticker, then having to write the date on top of it.
Use journaling with stickers to break a blank page
A blank page is the main reason journaling stalls. Place one large sticker or a cluster of three small ones in a corner, then write around it. You are not decorating a finished page, you are giving your eye a starting point so the first sentence is easier to write.
Keep a short pen nearby so the writing actually happens. The Constellation Earth Pen Pack gives you three pens per pack in red, black and blue ink, which is enough to colour-code entries, mark a mood, or switch ink when one runs dry mid-entry. The pens are packaged in a clear plastic box with a gold foil inner label, so the pack doubles as a small desk tidy.
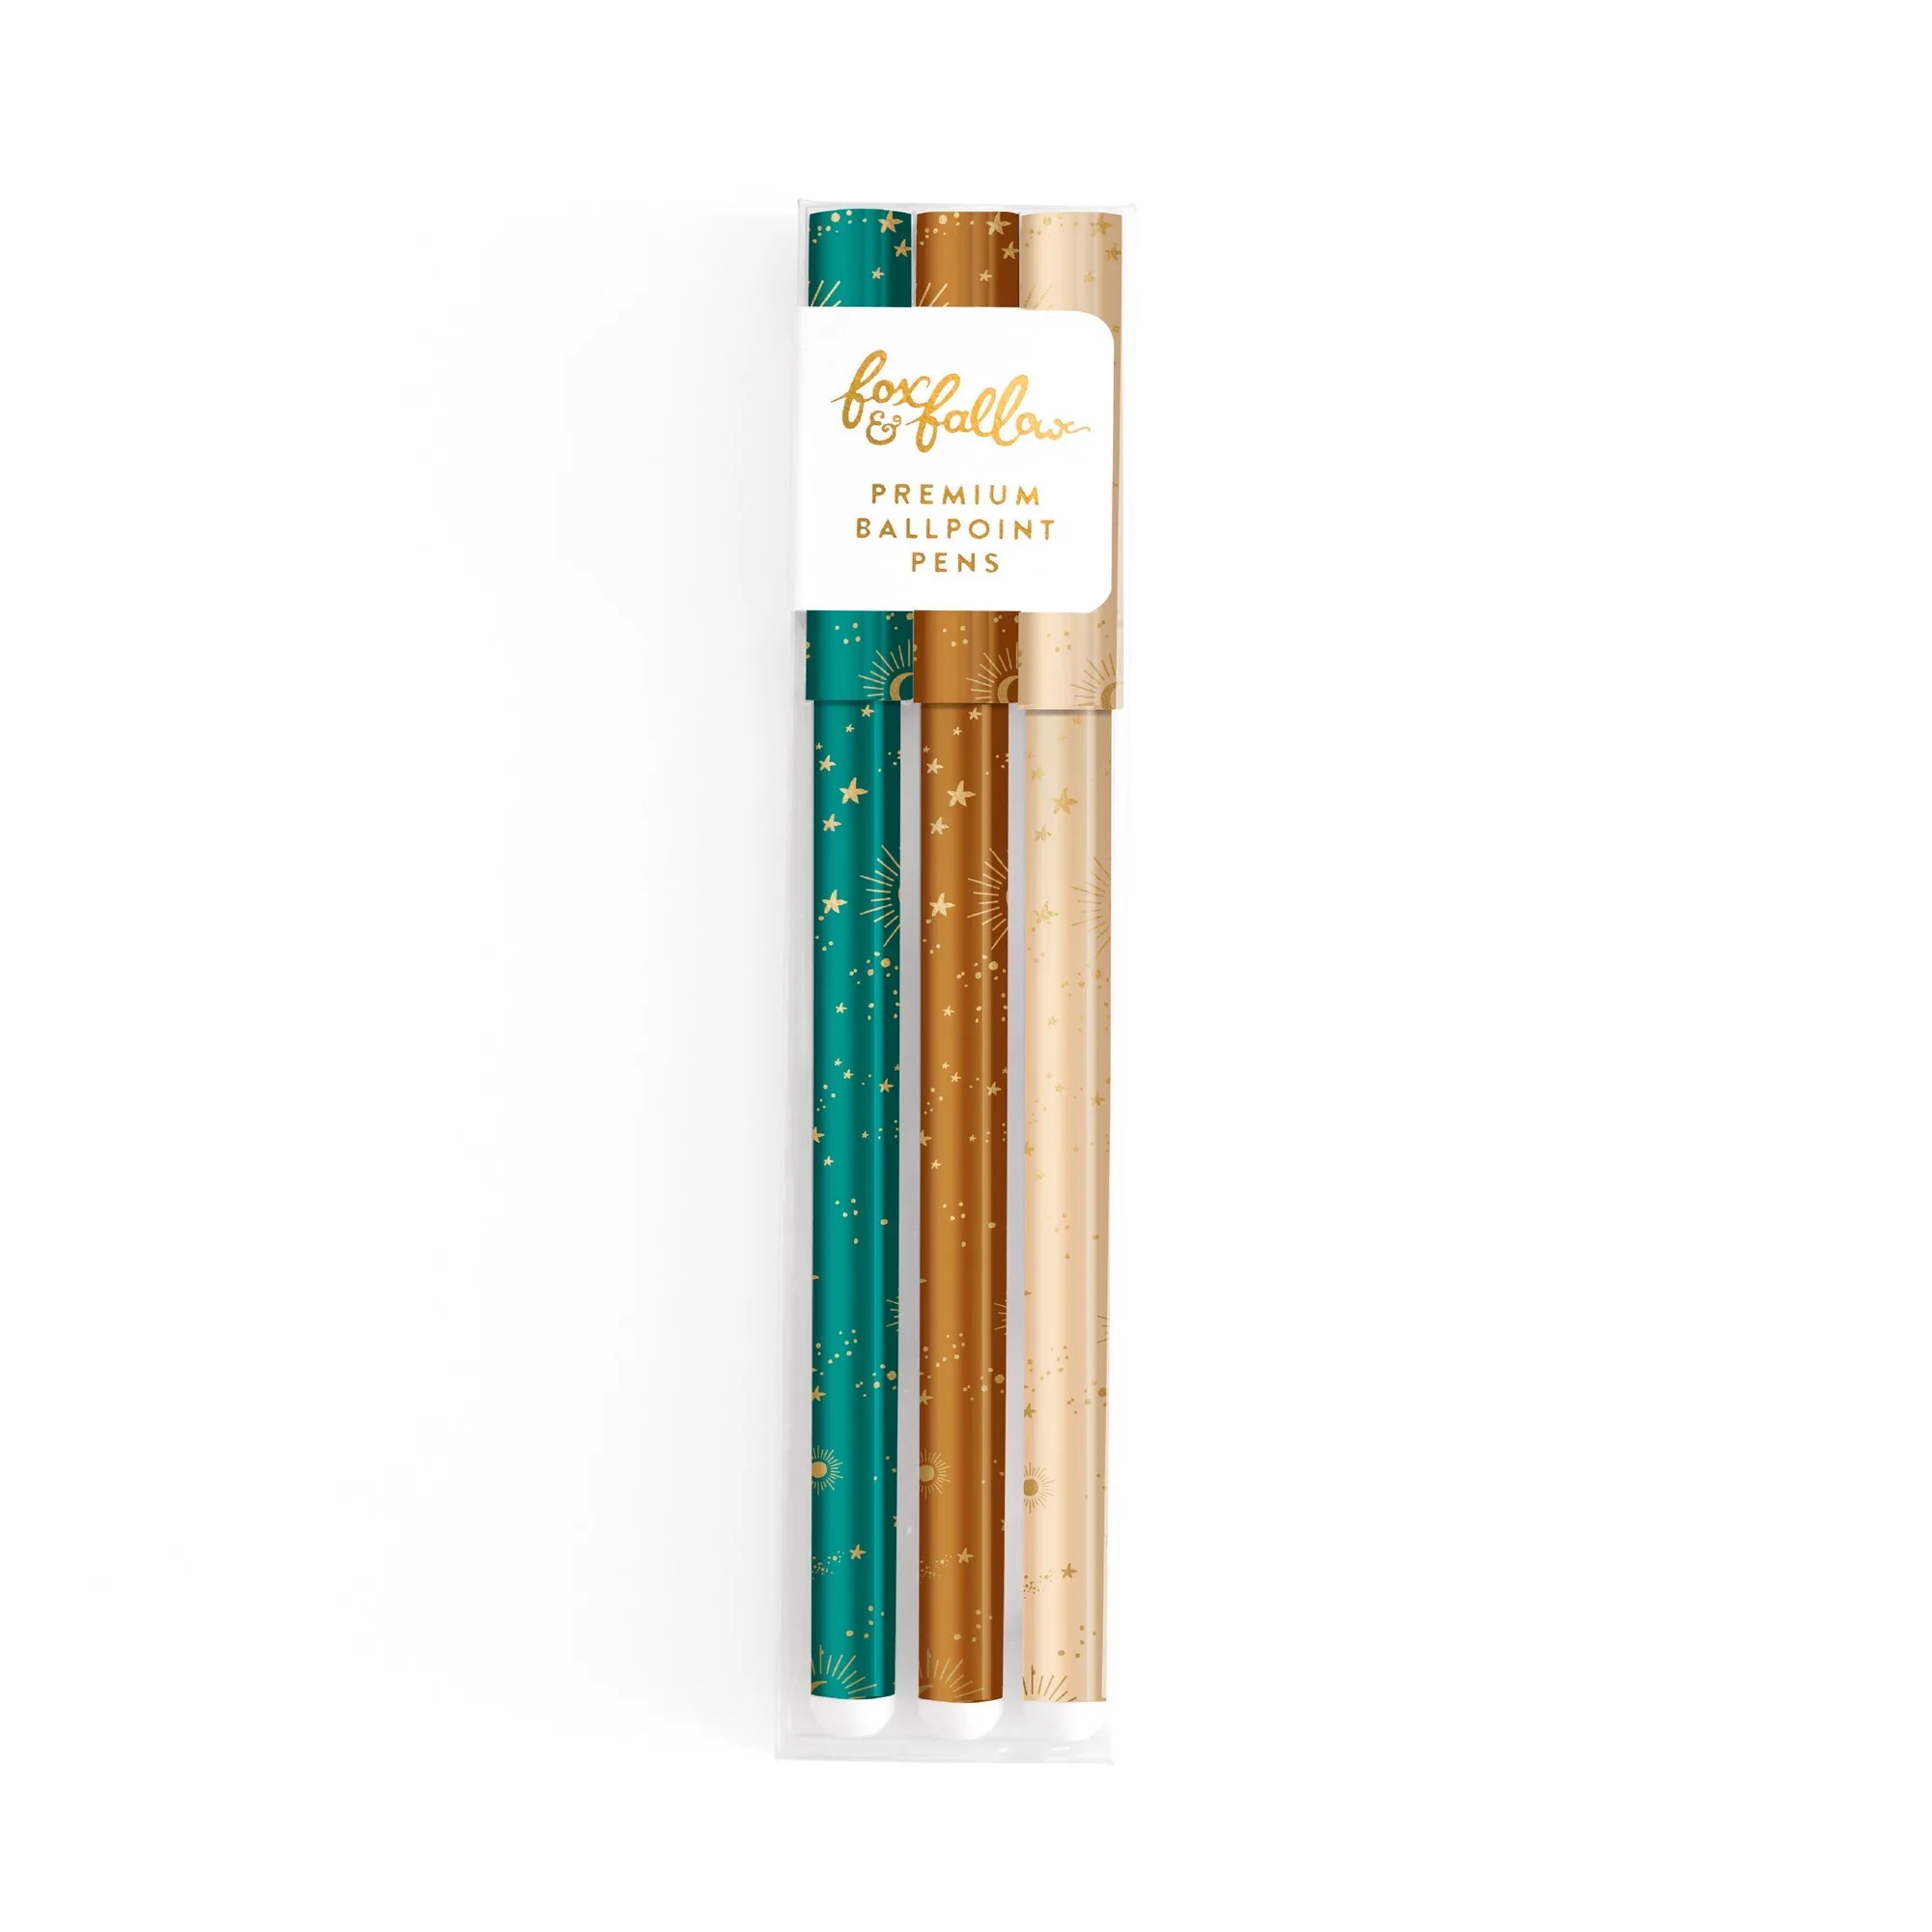
Constellation Earth Pen Pack
- Try a two-colour rule: one ink for facts, one for feelings, so old entries stay readable.
Make a small sticker kit you will actually carry
Cut a sheet into strips rather than pulling individual stickers. Strips are faster to use, less likely to curl, and easier to slide into a pouch. A trimmed strip also lets you peel one sticker without disturbing the rest of the sheet, which is the small annoyance that stops people using stickers at all.
For a kit that travels, choose a pouch or case with a flat interior so strips do not bend. If you carry a lunch bag or backpack daily, a slim case slides in beside a notebook without crushing anything. The point is not a perfect system, it is a kit small enough that you do not think twice about taking it.
- Checkpoint: if your kit takes more than ten seconds to open, it is too complicated.
Sticker organization that survives a busy month
Sort by job, not by colour. A sleeve labelled dates, one labelled functional, and one labelled decorative will get used far more than a rainbow of themed folders. When a new sheet arrives, cut it into strips and file the strips straight away, otherwise the backlog becomes its own project.
Review the sleeves every few months and pull out anything you have not touched. Stickers you dislike are still useful for gift wrap, card making or sealing an envelope, so nothing needs to be wasted. If you keep greeting cards on hand, a spare sticker makes a plain envelope look considered without extra shopping.
- Keep one small offcuts sleeve for partial strips and single leftover stickers.
Simple sticker sheet ideas that use what you already own
Use a leftover strip as a page tab so you can find a section fast. Cut a sticker in half to make two smaller markers for a narrow margin. Layer a small decorative sticker over a plain functional one to make a custom flag. Write a single word on a blank label sticker to create your own header.
These are the sticker sheet ideas that keep working because they do not depend on a specific theme or season. They also stretch a sheet further, which matters if you are buying less and using more. None of them require special tools beyond a pen and something to cut with.
- Try one new idea per week instead of redesigning your whole system at once.
Your seven-step sticker routine
- Sort the sheet: Split one sheet into structural, functional and decorative stickers before anything is peeled. Checkpoint: two minutes here saves a ruined spread later.
- Write dates first: Fill in dates, appointments and deadlines in pen, then place stickers around the writing. Mistake to avoid: sticking down a date sticker, then realising the week shifted.
- Add functional markers: Use checkboxes, flags and edge strips to show what is a task, what is fixed, and what is optional. Checkpoint: every marker should mean something you can explain.
- Break the blank page: Place one large sticker or a three-sticker cluster in a corner, then start writing around it. Mistake to avoid: decorating a whole page before writing a word.
- Cut sheets into strips: Trim sheets into usable strips so stickers stay flat and peel one at a time. Checkpoint: strips should fit your pouch without folding.
- File by job: Store strips in sleeves labelled dates, functional and decorative, and refile new sheets on arrival. Mistake to avoid: a themed folder system you stop maintaining by week three.
- Review every few months: Pull unused stickers and move them to gift wrap, cards or envelope sealing instead of discarding them. Next step: restock only the categories you actually emptied.
Product facts worth knowing
- 2027 A5 Vertical Planner - French Bows - PRE-ORDER (25 SEPTEMBER): Fox & Fallow's best-selling A5 planners return in 2027 with the vertical layout and a planning system designed to simplify your life. A vertical column per day gives written tasks and stickers separate space, so your layout stays readable after decorating.
- Constellation Earth Pen Pack: Premium ball point pens, three per pack, containing one red, one black and one blue ink pen, packaged in a clear plastic box with a gold foil inner label. Three ink colours let you colour-code journal entries or planner tasks without buying separate pens.
Pick one sheet this week, sort it into three jobs, and use the functional stickers on your next spread. A small, flat, visible kit beats a large collection every time, and the routine above keeps working even in a busy month.