Quick answer
Build a sweet planner spread by choosing one cupcake or donut sheet, one die-cut accent sticker, and a two-color pen palette. Lay out the date and task blocks first, then place dessert stickers only in the empty corners and margins so the page stays usable. If you are starting out, a single 4 x 6 inch cupcake sheet plus one glossy die-cut treat is enough for a full week.
Pick a sheet size that matches your planner width
Most dessert sticker sheets are built for standard journal and bujo dimensions, so check the sheet size before you commit to a layout. A 4 x 6 inch sheet fits neatly inside a standard planner pocket and gives you enough small treats to fill a weekly spread without cutting into your writing space. If your planner is a compact A6 or pocket size, plan on trimming the sheet or using fewer pieces per page. There is no universal sheet size across brands, so measure your page before you peel anything.
Choose a layout before you peel
A dessert sticker layout works best when you decide the structure first: header, task column, notes area, and one decorative zone. Sketch the blocks lightly in pencil or place washi tape as a boundary, then add stickers last. This order keeps the sweet theme journal pages readable instead of crowded. If you peel first and rearrange later, glossy sticker paper can leave a slightly dull mark on the page, so commit to placement once the layout is locked.
Use one sheet as a palette, not a pile
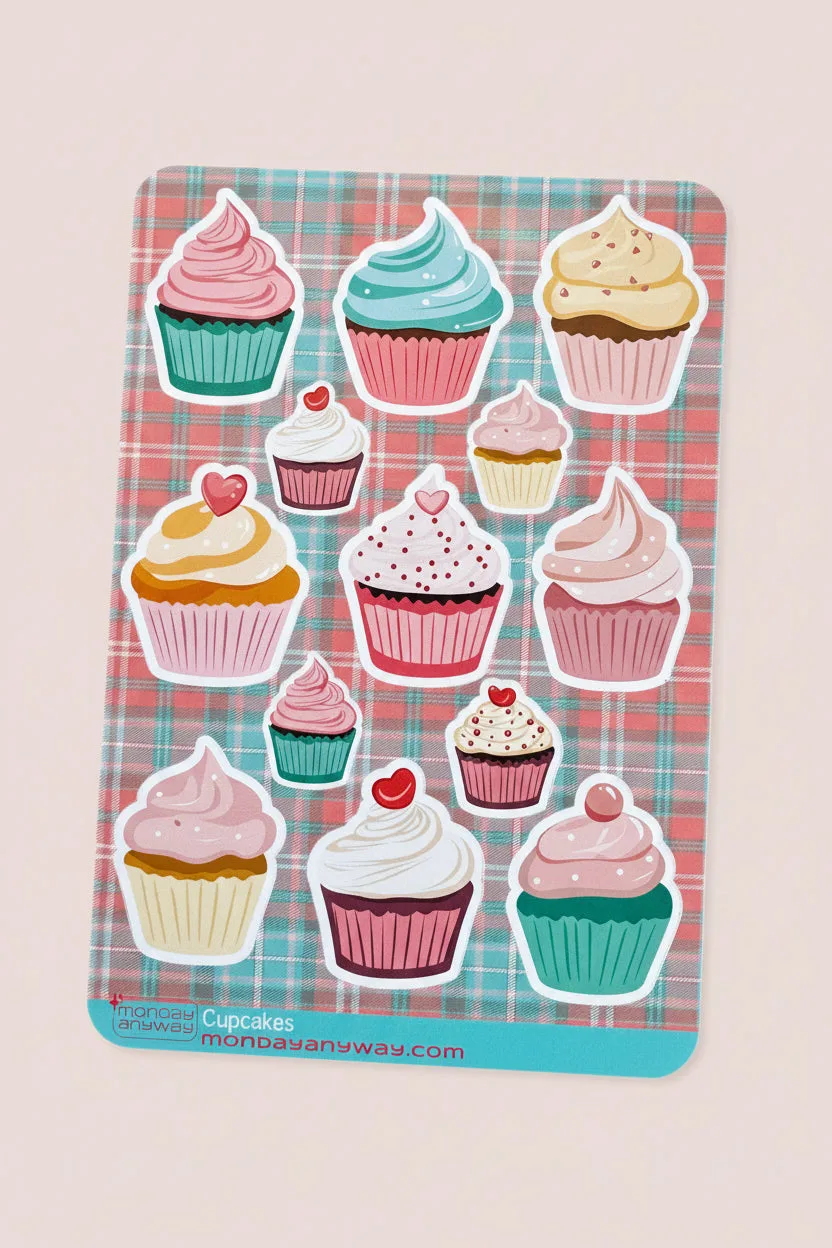
Cupcake and donut sheets usually contain several variations on the same motif, which makes them easy to overuse. Treat one sheet as your color palette for the week: pull three to five pieces that share icing colors, then set the rest aside for next time. This keeps the spread cohesive and stretches a single sheet across multiple pages. A die-cut accent sticker can act as the focal point, with smaller sheet pieces echoing its colors in the margins.
Where dessert stickers actually help
Dessert stickers for planners earn their space in three places: habit trackers, reward markers, and mood or meal notes. A tiny cupcake next to a completed habit row reads as a small reward without adding text. A donut in the margin can flag a treat day or a grocery reminder. Avoid placing stickers over task lines or grid intersections you still need to write on, because glossy surfaces resist most pens and can smear.
Step-by-step: build the spread
- 1. Measure your page and set the writing zones: Mark the header, task column, and notes area with light pencil or washi tape before opening any sticker sheet. Mistake to avoid: skipping this and placing stickers over grid lines you still need for handwriting. Checkpoint: every writing zone should be clear of glossy paper before you continue.
- 2. Choose one sheet and pull three to five pieces: Pick a cupcake or donut sheet and select pieces that share icing colors so the page reads as one theme. Mistake to avoid: using the whole sheet on one spread, which leaves no pieces for the rest of the month. Checkpoint: if the pieces look like two different themes, put one back.
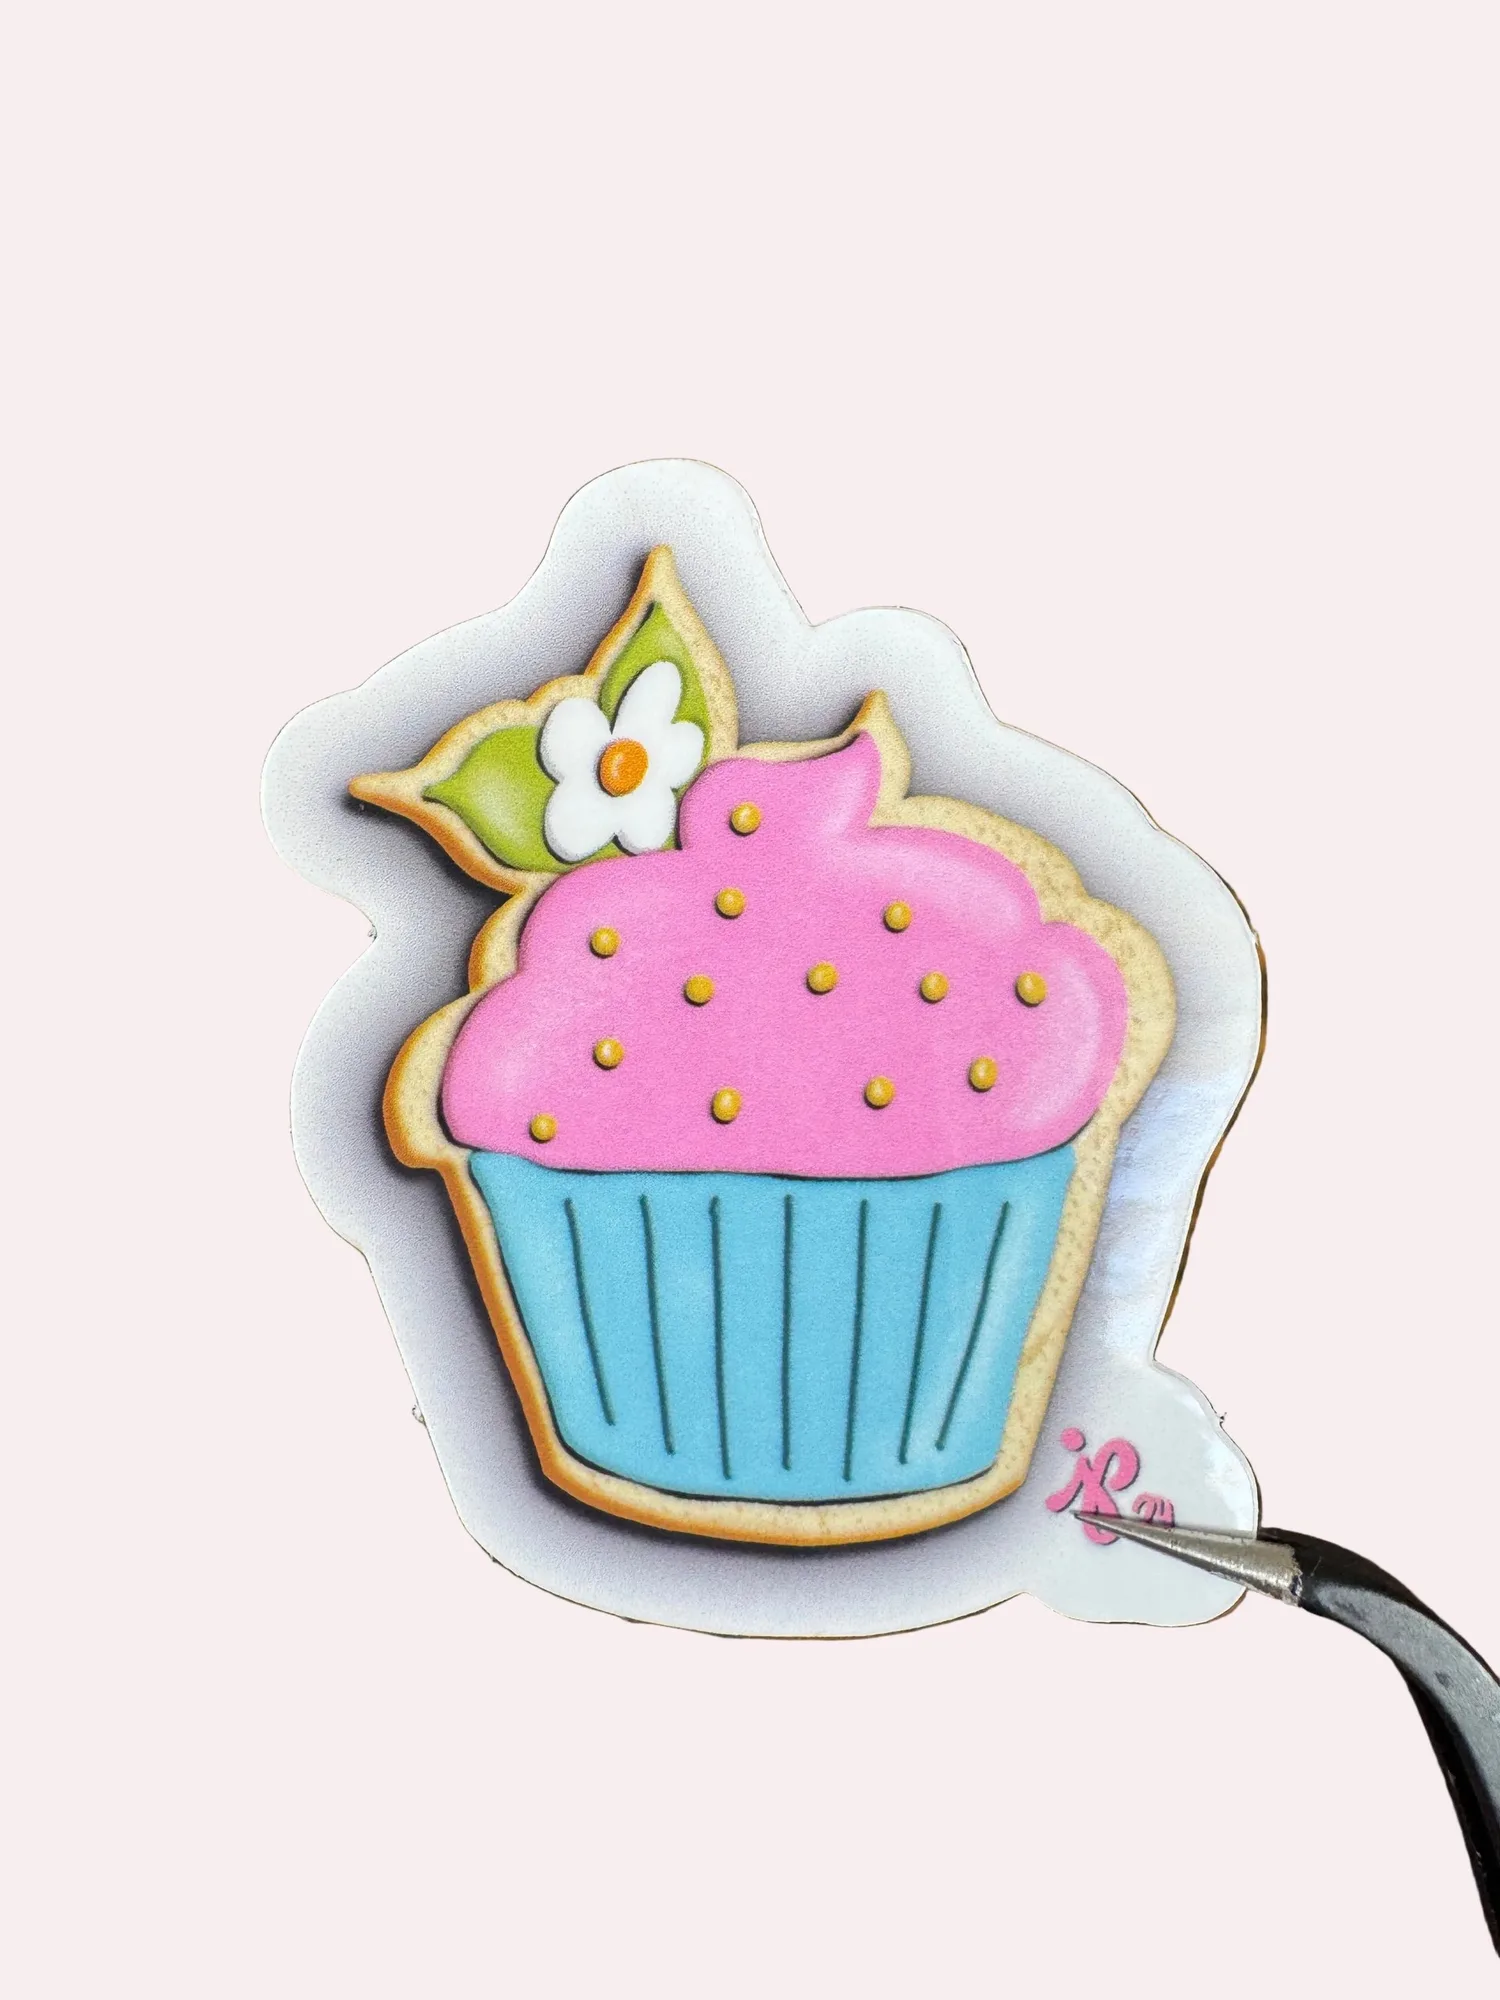
- 3. Place the focal sticker first: Set a die-cut accent such as the Cupcake Cookie Glossy Sticker in the header or a corner, then arrange smaller sheet pieces around it. Mistake to avoid: centering the focal sticker on a task line, which blocks writing space. Checkpoint: the focal point should sit in a margin or header, not mid-page.
- 4. Fill margins with small repeats: Use the remaining small pieces along the outer edges and between blocks to echo the focal colors. Mistake to avoid: spacing them evenly like a border, which looks mechanical rather than playful. Checkpoint: leave at least one blank margin so the page can breathe.
- 5. Test your pen on a scrap piece before writing: Glossy sticker paper resists some inks, so write a test line on a trimmed corner or an unused sticker before committing to the page. Mistake to avoid: writing directly over a sticker with a pen that smears. Checkpoint: if the ink beads up, switch to a permanent or oil-based pen.
Product facts
- Cupcake Sticker Sheet: Cupcake Sticker Sheet: cupcake variations on glossy sticker paper, total sheet size 4 x 6 inches, personal use only. The 4 x 6 inch size fits standard planner pages, and the single-theme sheet keeps a weekly spread visually consistent.
- Cupcake Cookie Glossy Sticker: Cupcake Cookie Glossy Sticker: glossy die-cut sticker with original artwork of a frosted treat with a cookie base, cupcake wrapper, pink icing, sprinkles, and a tiny flower. A die-cut accent gives the layout one clear focal point instead of a page of equal-sized pieces.
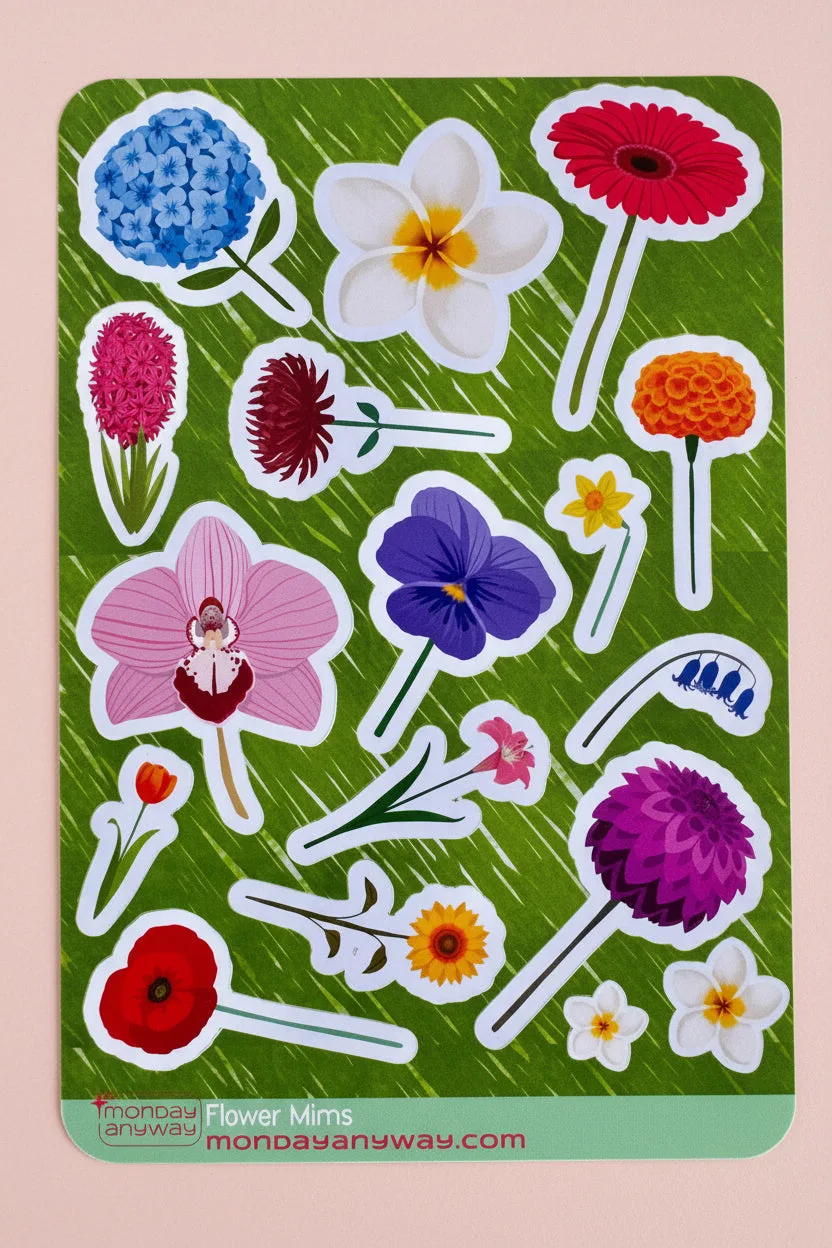
- Flower Mims Sticker Sheet: Flower Mims Sticker Sheet: bright flower variations on glossy sticker paper, total sheet size 4 x 6 inches, personal use only. If you want a bakery theme without repeating cupcakes, flower pieces add a second motif that still reads as sweet and decorative.