Quick Answer
Use durable vinyl sticker sheets to quickly decorate blank cards with layered designs, themed scenes, or personalized messages. This method gives you a handmade look without drawing skills.
Why Sticker Sheets Work Well for Cards
Sticker sheets offer a variety of designs on one sheet, so you can mix and match elements without buying multiple packs. Vinyl stickers are waterproof and UV resistant, which means your card stays intact even if it's handled or displayed in sunlight.
The Campfire Fun Sticker Sheet, for example, includes 23 individual stickers drawn by Chubgirl. You can use the campfire, trees, and marshmallow stickers to build a cozy outdoor scene on a blank card.
Choosing the Right Card Base
A standard 4.125" × 5.5" card, like the ones in the Bright & Positive Greeting Card Collection, gives you enough space for a small sticker scene. The included envelopes make it easy to mail your creation.
If you prefer a completely blank canvas, use a plain folded card. Just make sure the paper is smooth enough for stickers to adhere firmly.
How to Make a Custom Greeting Card with Sticker Sheets
- Plan Your Layout: Arrange stickers on the card without peeling them first. Move pieces around until the composition looks balanced. Common mistake: placing stickers too close to the edge, leaving no room for a message. Leave at least a 0.5-inch margin around the card edges.
- Layer Stickers for Depth: Peel and stick background elements first (e.g., sky, grass, or a tent), then add foreground stickers (e.g., campfire, characters). Press firmly from the center outward. Common mistake: stacking too many stickers in one spot, which makes the card bulge and hard to fold. Limit layers to two or three stickers in any one area.
- Add a Handwritten Message: Write your greeting in the remaining blank space using a fine-tip pen. Let the ink dry completely before closing the card. Common mistake: using a thick marker that smudges or bleeds through thin paper. Test your pen on a scrap sticker first to check for smudging.
- Seal and Mail: Place the finished card in its envelope. If you used dimensional stickers, check that the envelope closes flat. Common mistake: forgetting to weigh the card—a heavily layered sticker card may need extra postage. Weigh your finished card if you added more than three stickers with thick backing.
Products That Help
-
Campfire Fun Sticker Sheet: 5" x 7" sticker sheet with 23 individual stickers, made from high quality, durable, waterproof, UV resistant vinyl. The vinyl material lets you reposition stickers slightly before they set, and the waterproof finish means the card survives accidental spills or outdoor display.
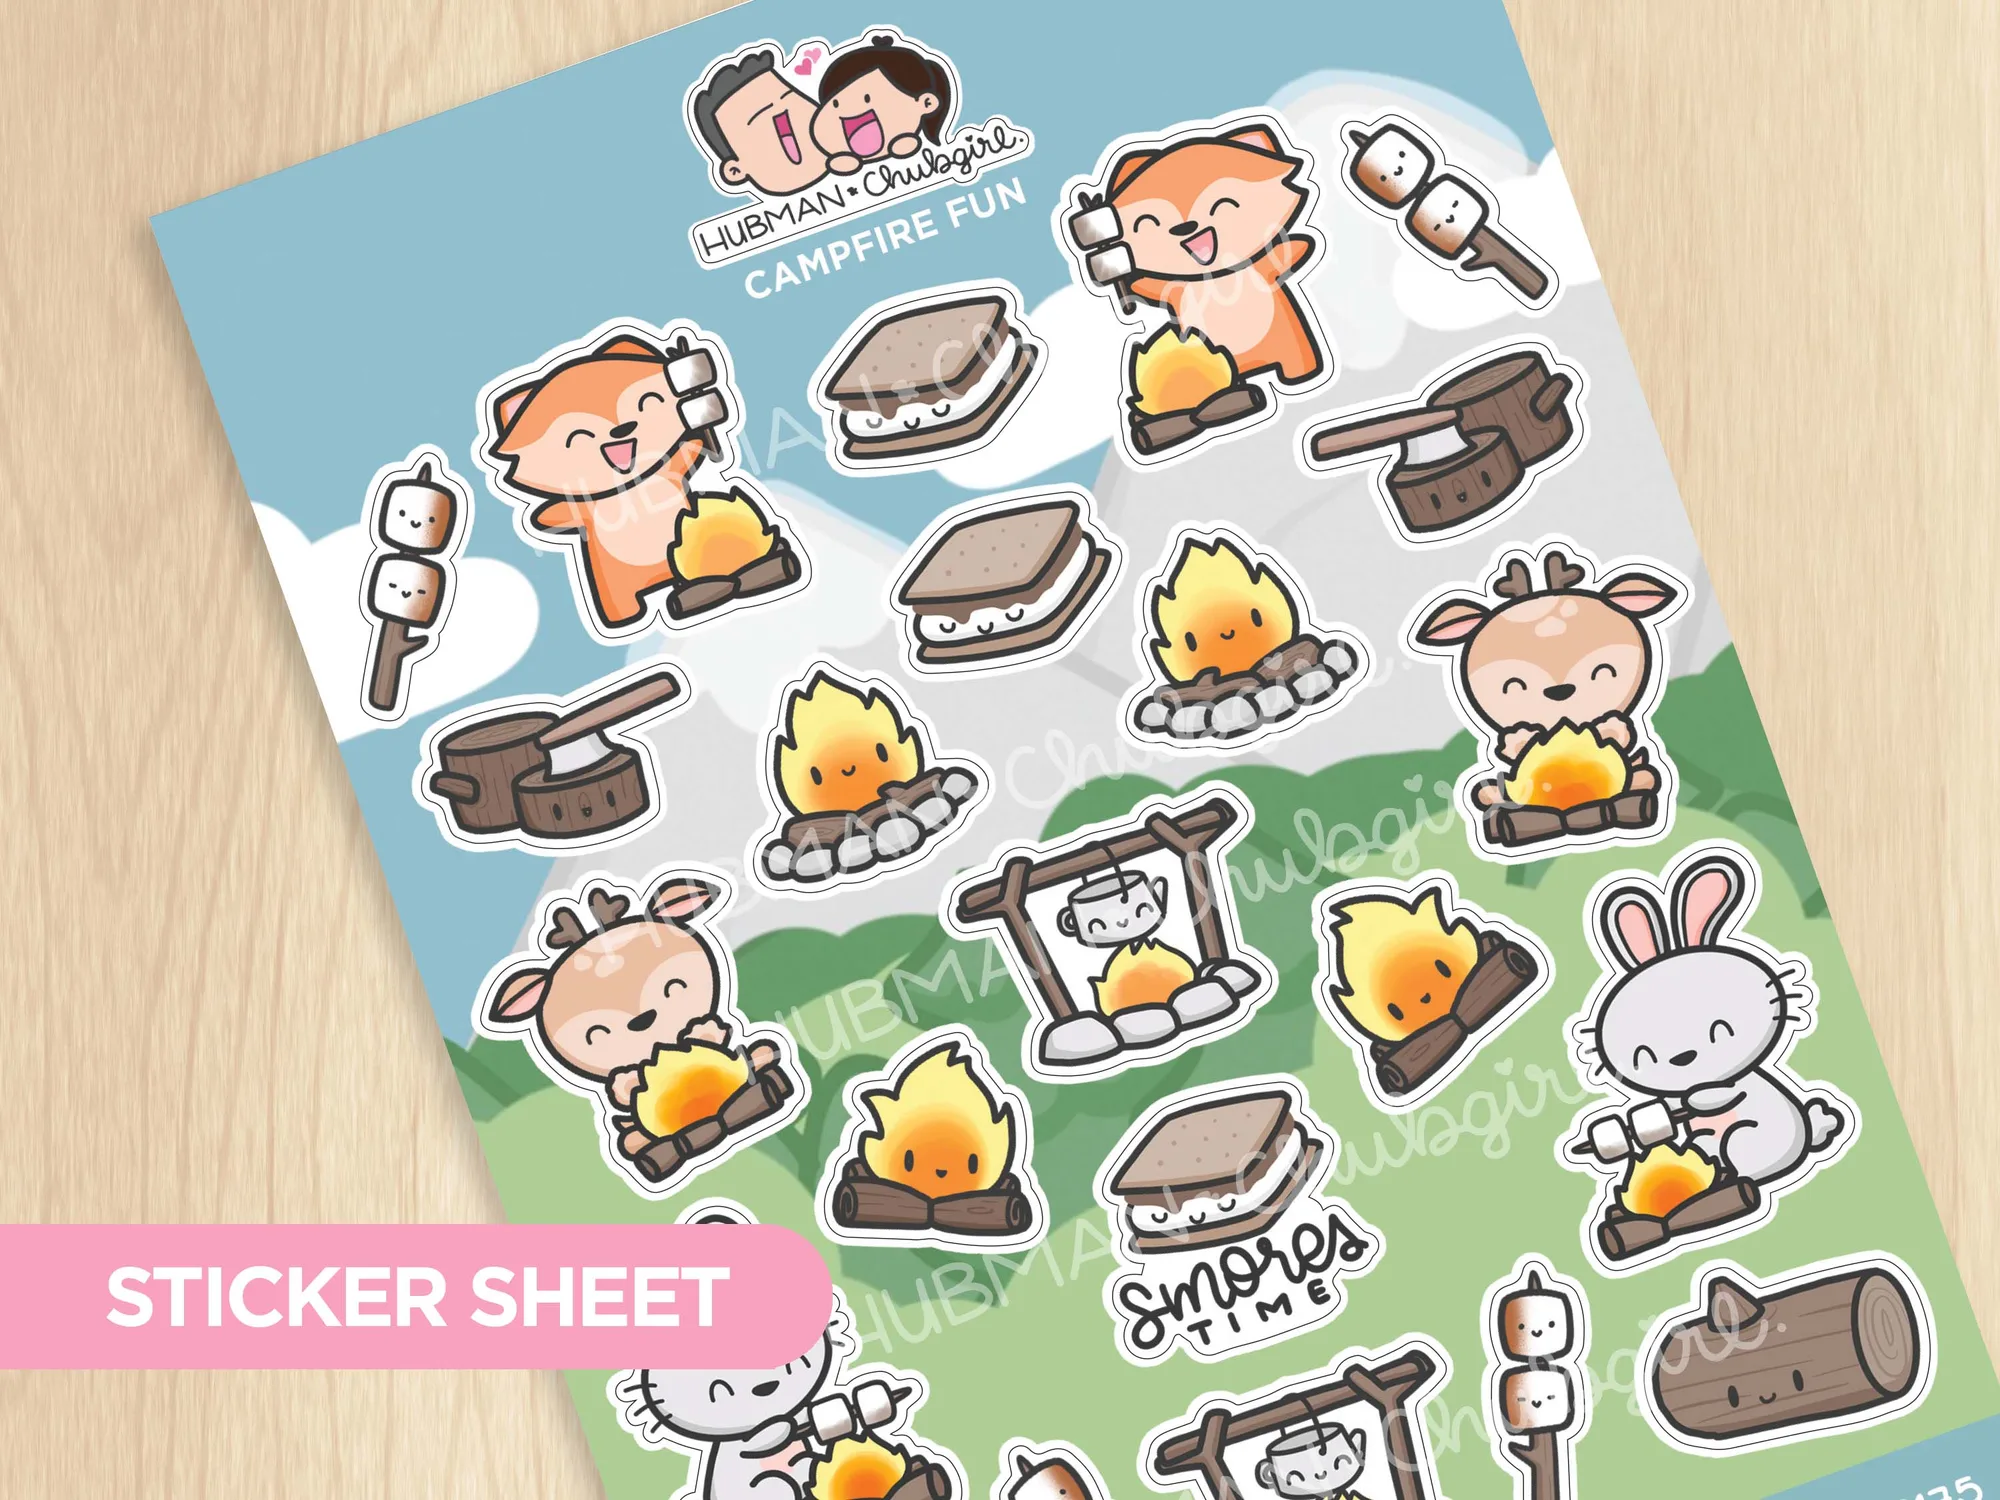
Campfire Fun Sticker Sheet
-
Bright & Positive Greeting Card Collection (Set of 5): Set of five ready‑to‑send cards, each 4.125" × 5.5", with envelopes and bright uplifting designs. Use the blank interior or the back of these cards as your canvas, and the envelopes make mailing your custom creation straightforward.
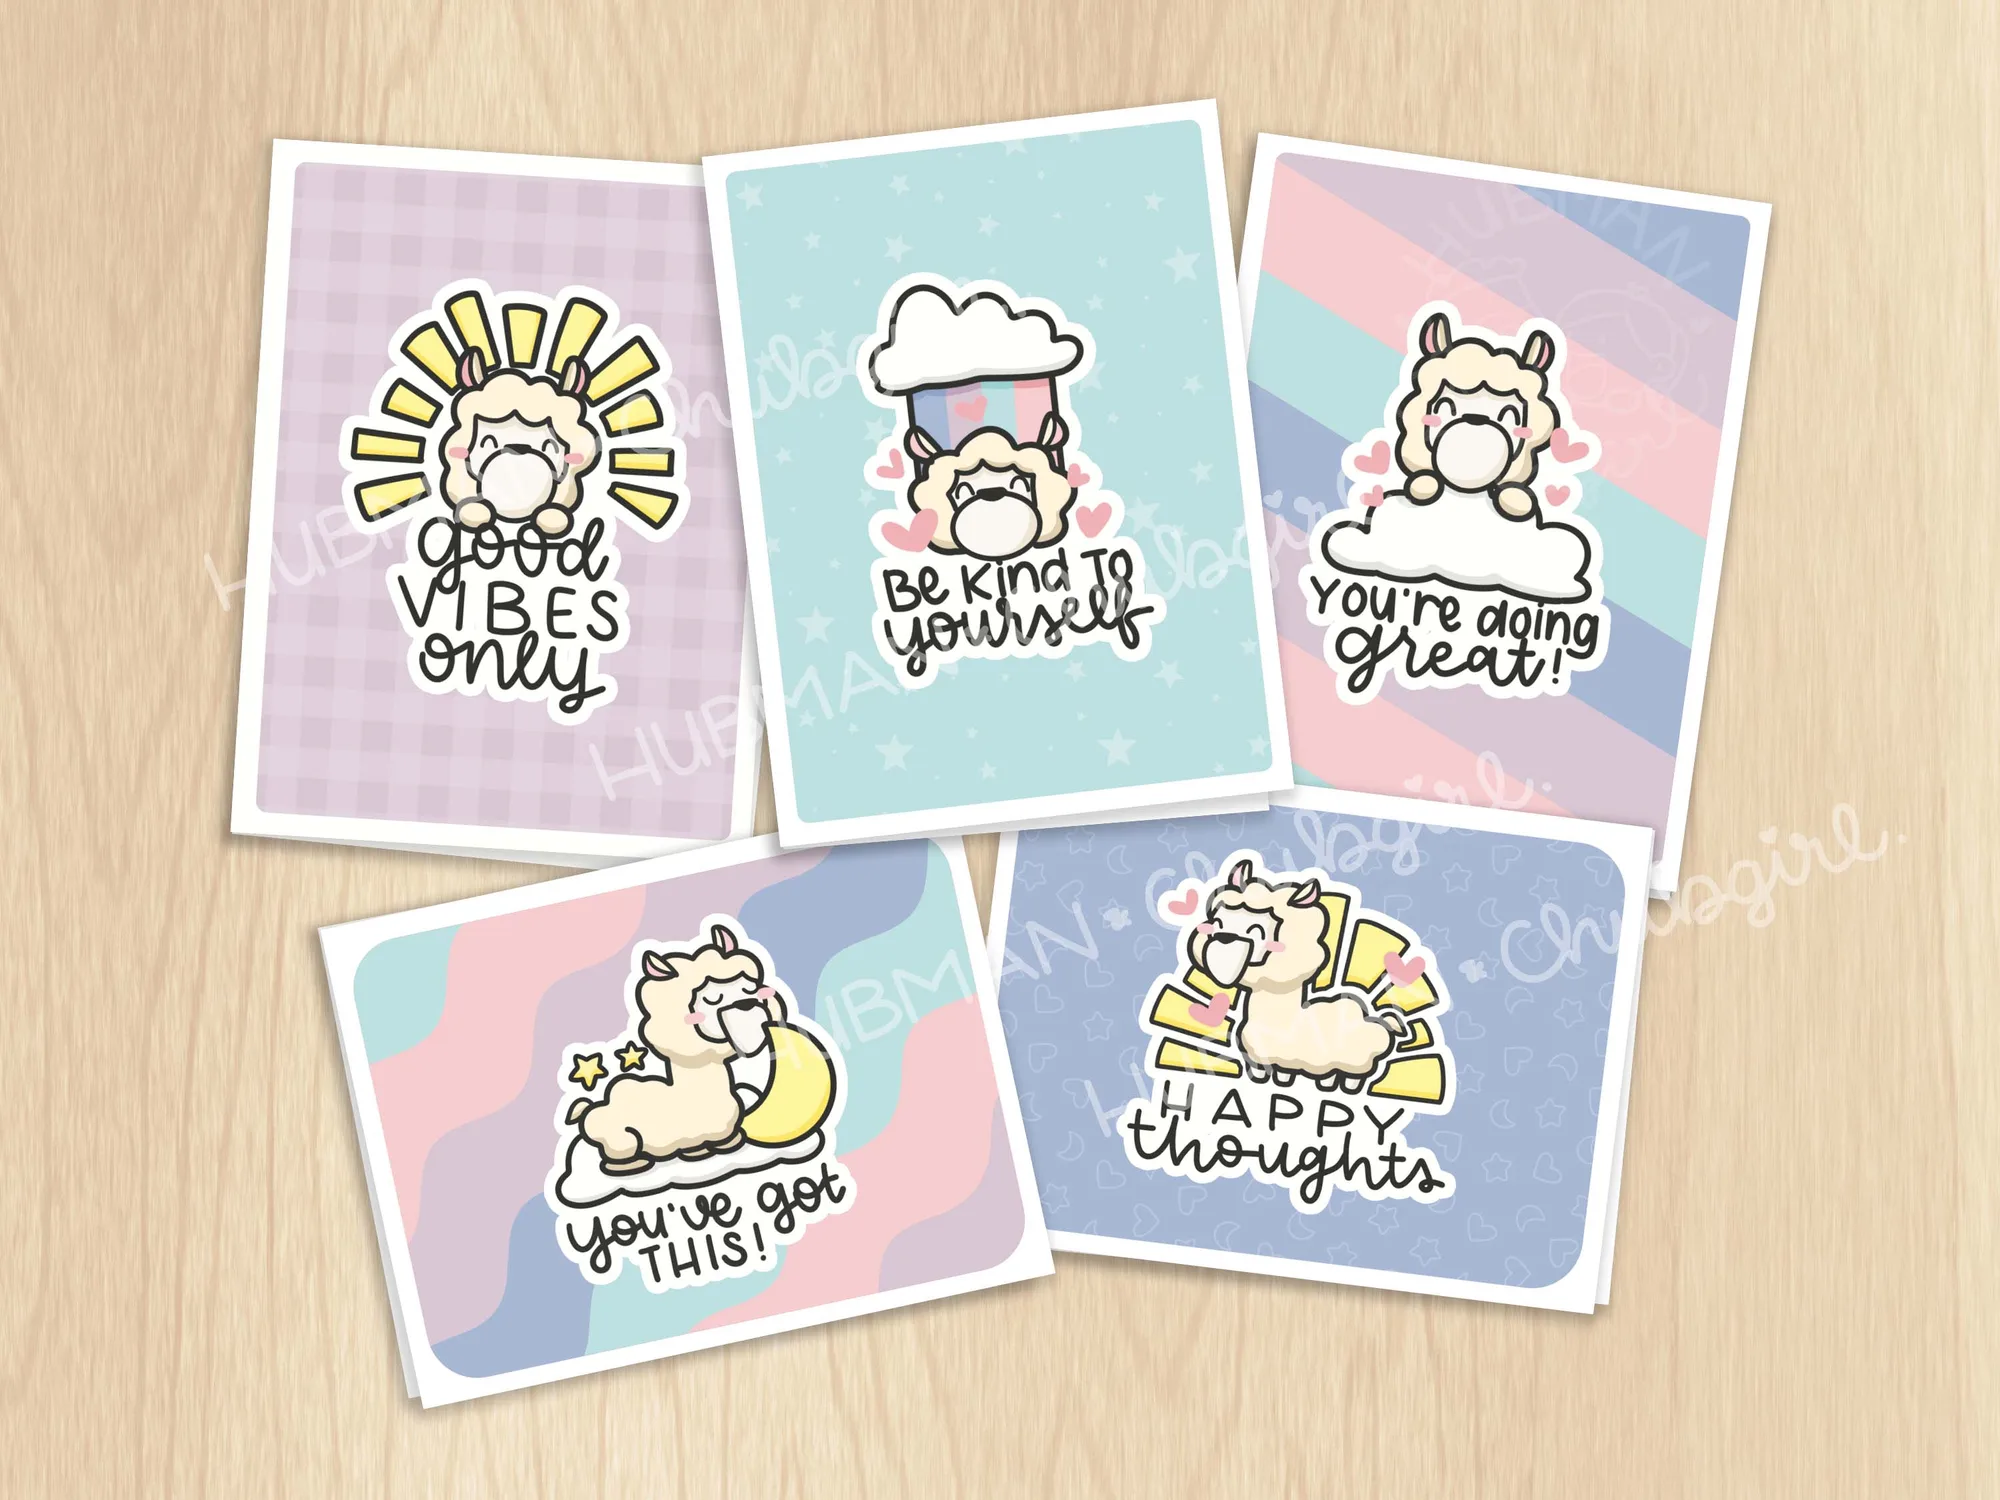
Bright & Positive Greeting Card Collection (Set of 5)