Before You Start: What’s New in the Dagger OSMO
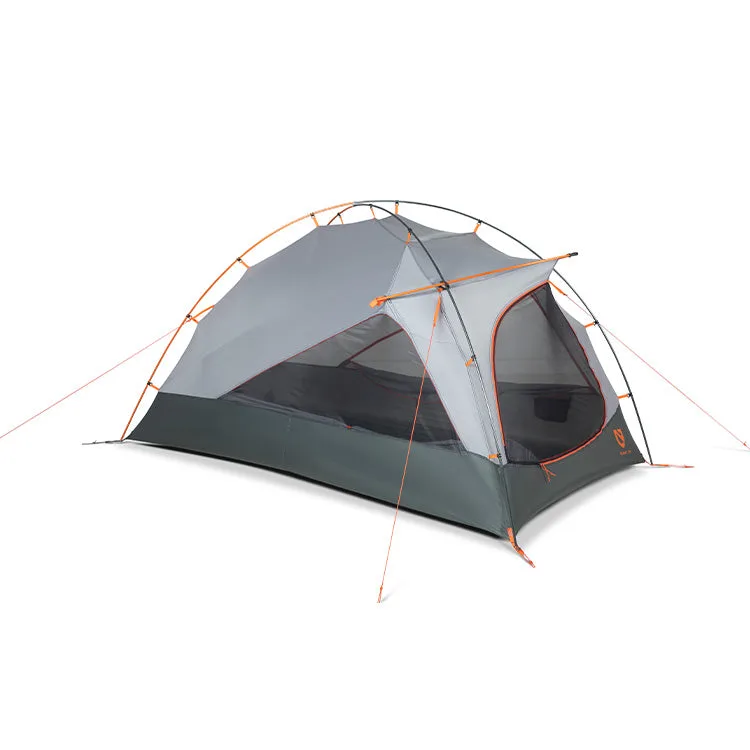
The Dagger OSMO backpacking tent features an updated pole structure that adds 4 inches to the door height, 2 inches to the peak height, and 22% more usable space to the vestibule compared to previous versions. Despite the larger interior, the tent maintains the same lightweight carry weight. The new hardware includes the Axial corner anchor for one-handed setup and tensioning, plus the one-handed Gatekeeper door clips. This guide walks you through pitching the Dagger OSMO efficiently, whether you’re at a campsite or in the backcountry.
How to Set Up the Dagger OSMO Tent
Follow these steps to pitch your Dagger OSMO quickly and securely. The tent is available in 2-Person and 3-Person capacities, but the setup process is the same for both sizes.
- 1. Choose a level, clear site: Find a flat area free of sharp rocks, sticks, and debris. A footprint or ground cloth can help protect the floor, but it is not required for setup.
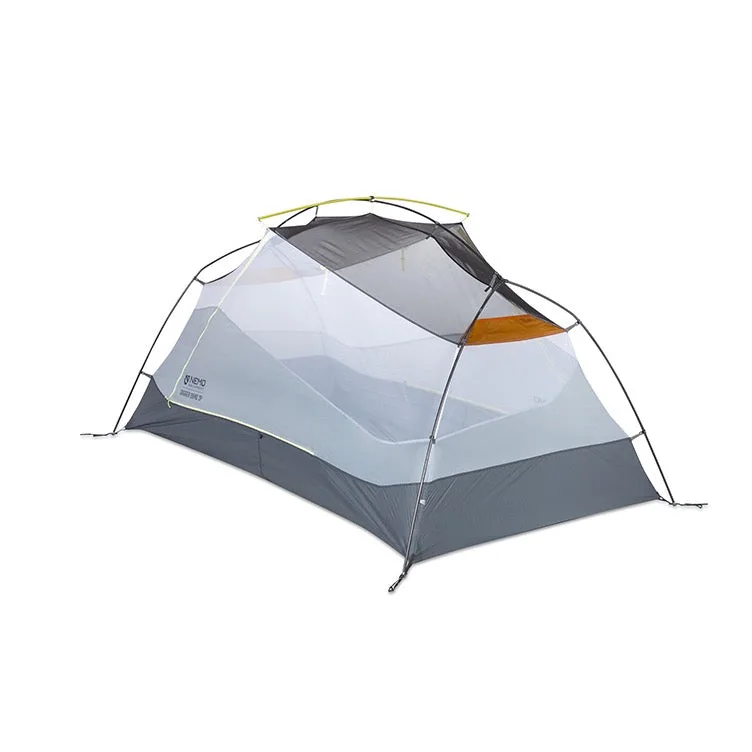
- 2. Lay out the tent body and fly: Unfold the tent body (the inner mesh and floor) on the ground. Orient it so the doors face your preferred direction. Place the rainfly nearby.
- 3. Assemble the pole set: The Dagger OSMO uses color-coded poles. Connect the sections to form two main poles and one shorter cross pole. The updated pole structure adds 4 inches to the door height and 2 inches to the peak height, so the poles are slightly longer than previous models.
- 4. Insert poles into the tent body: Feed each pole through the corresponding sleeve on the tent body. Start with the two main poles, then add the cross pole. The sleeves are labeled or color-matched to the poles.
- 5. Secure the Axial corner anchors: At each corner, attach the pole end to the Axial corner anchor. This custom hardware allows one-handed setup and tensioning—simply insert the pole tip and pull the webbing to tighten. The anchor holds the pole securely and lets you adjust tension without rethreading.
- 6. Stake out the corners: Using the included stakes, secure each corner of the tent to the ground. Pull the webbing on the Axial anchor to tension the tent body evenly. A taut pitch improves stability and rainfly performance.
- 7. Attach the Gatekeeper door clips: The one-handed Gatekeeper door clips make closing the mesh doors simple. Clip the door closed from inside or outside with one hand—no fumbling with zippers when you need quick access.
- 8. Drape and secure the rainfly: Place the rainfly over the tent, aligning the pole clips and corner webbing. Attach the fly to the poles and stake out the vestibule corners. The updated pole structure creates 22% more usable space in the vestibule, so you have extra room for gear storage.
- 9. Adjust tension and guylines: Tighten the rainfly’s corner webbing and any guylines to reduce flapping and improve water runoff. The solution-dyed OSMO fabric has 3x less stretch when wet, so your pitch stays taut even in damp conditions.
Key Features That Simplify Setup
-
Dagger OSMO™ Lightweight Backpacking Tent: The Axial corner anchor allows one-handed setup and tensioning. You can adjust the tent’s tension without needing a second person or extra tools, making setup faster and more consistent.
Dagger OSMO™ Lightweight Backpacking Tent
-
Dagger OSMO™ Lightweight Backpacking Tent: The updated pole structure adds 4 inches to the door height, 2 inches to the peak height, and 22% more usable space to the vestibule. The taller door and peak make entry and moving inside easier, while the larger vestibule gives you more room for gear without adding weight.
-
Dagger OSMO™ Lightweight Backpacking Tent: The Dagger OSMO features one-handed Gatekeeper door clips. You can secure the mesh door quickly with one hand, which is helpful in windy conditions or when you’re carrying gear.
Tips for a Fast, Stable Pitch
Practice setting up the Dagger OSMO at home before your first trip. The color-coded poles and Axial anchors make it intuitive, but familiarity speeds things up in the field. Stake the tent corners at a consistent angle for even tension. If the ground is soft, consider using wider stakes or rocks to secure the guylines. The OSMO fabric’s reduced stretch when wet means you won’t need to re-tension the fly after a rain shower.