A small kit with a clear order of operations
The Decorate-Your-Own Wooden Plane is an easy-to-assemble model that comes with everything needed to go from plain wood to a finished, personalized toy. Because the kit includes glue and paint, the smoothest path is to assemble first, let the glue set, and then decorate. That order keeps paint out of the joints and gives young pilots a stable surface to work on.
The kit is designed for creativity, not complicated construction. The plane measures approximately 4" long, so it is a manageable size for small hands to hold while painting and for displaying on a shelf afterward.
What comes in the box
-
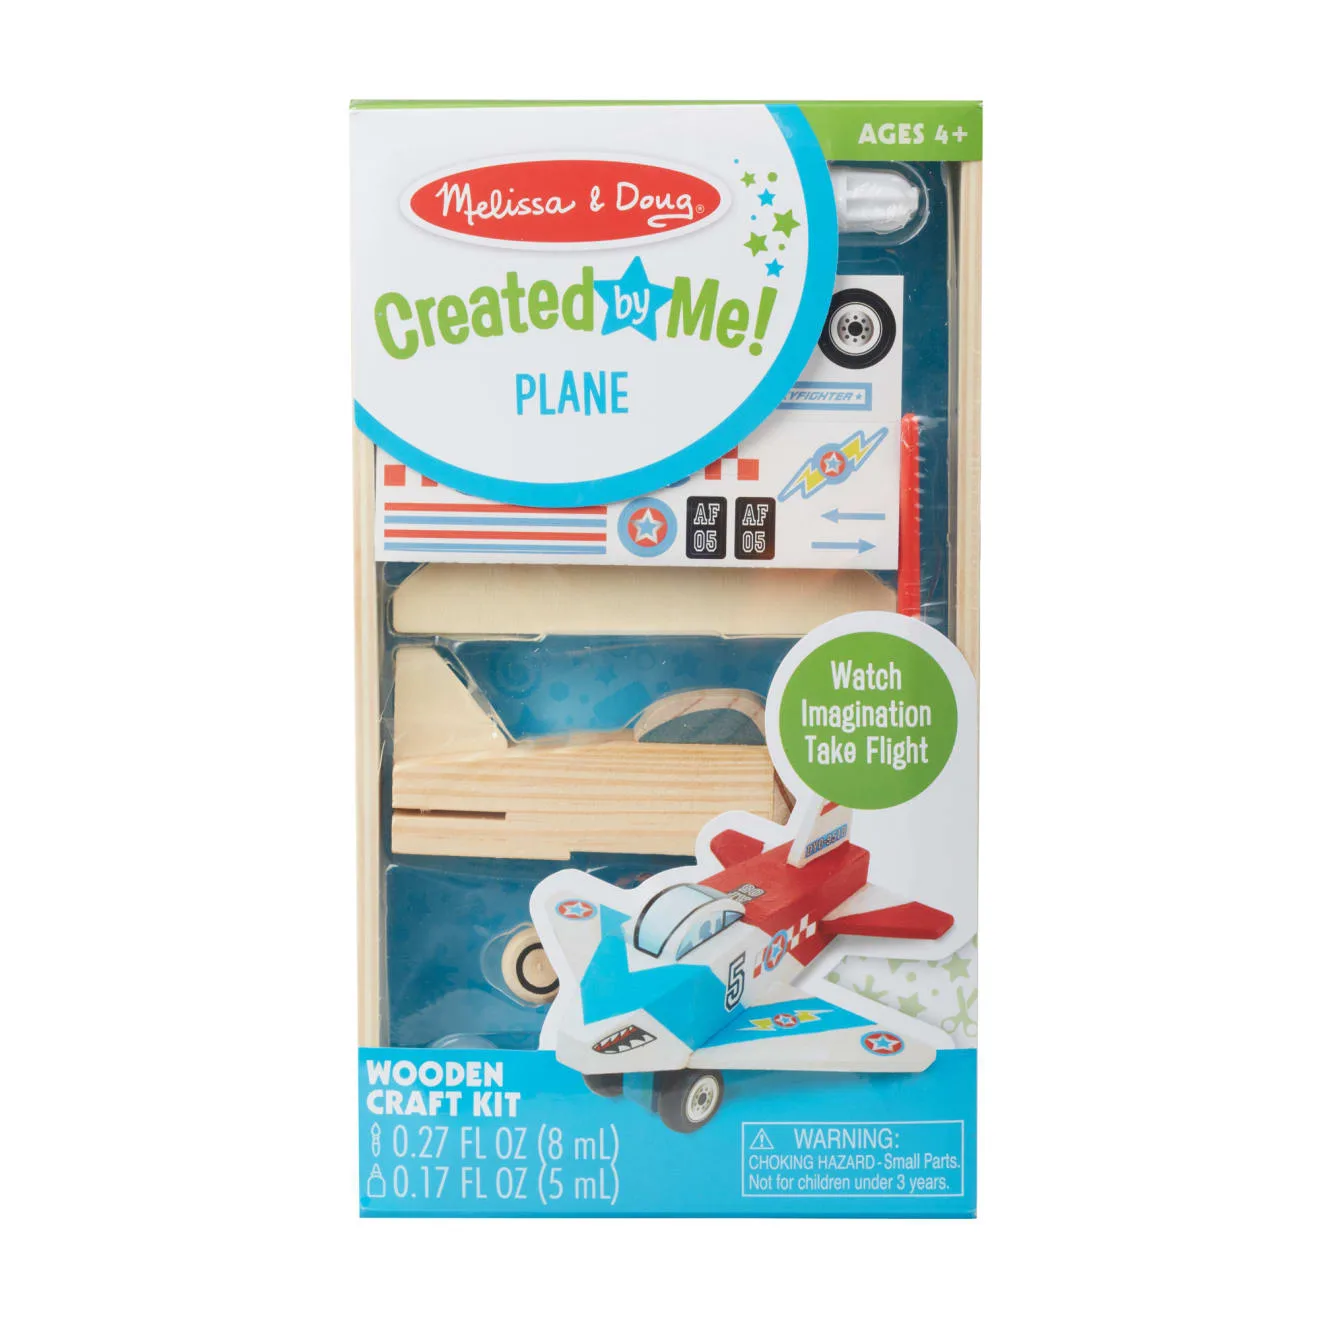
Decorate-Your-Own Wooden Plane: Includes wooden plane, wheels, axle, paint, paintbrush, glue, and aviation-themed stickers. Knowing the full contents up front helps you set up a workspace and avoids mid-project searches for missing supplies.
Decorate-Your-Own Wooden Plane
-
Decorate-Your-Own Wooden Plane: Plane measures approximately 4" long. This size gives a realistic expectation for the painting area and makes the finished model easy to display.
How to assemble the wooden plane
Work on a covered surface, and keep the glue and paint within reach but away from clothing and carpet. The steps below follow the natural order of construction.
- Lay out all parts: Unpack the wooden plane body, wheels, axle, paint, paintbrush, glue, and stickers. Check that each piece is present before you begin.
- Attach the wheels and axle: The kit includes wheels and an axle. Fit them to the plane body as intended, using the glue where a secure hold is needed. The supplied instructions describe the model as easy to assemble, so a dry fit before gluing helps confirm placement.
- Let the glue set: Allow the glued joints to dry completely before painting. This prevents the plane from shifting while your child decorates it and keeps paint from seeping into the wheel area.
- Paint the plane: Use the included paint and paintbrush to cover the wooden surfaces. Thin coats dry more evenly than thick ones, and letting each coat dry before adding another gives a cleaner result.
- Add the stickers: Once the paint is dry, apply the aviation-themed stickers to wings, fuselage, or tail. Stickers adhere best to a dry surface, so wait until the paint is fully set.
Wooden toy painting tips for a clean finish
The included paint and brush are sufficient for the project, but a few simple habits make the process easier for young children.
- Paint in thin layers: A thin first coat dries faster and shows fewer brush marks. Add a second thin coat only after the first is dry to the touch.
- Paint the large areas first: Start with the wings and body, then move to smaller details. This sequence gives the biggest surfaces time to dry while your child works on the smaller parts.
- Keep stickers for last: Stickers are best applied after the paint is completely dry. Press them down firmly, especially on curved areas like the nose or tail.
- Protect the workspace: Use newspaper or a washable mat under the plane. The kit includes paint, so spills are possible with enthusiastic painters.
What to know before you start
The Decorate-Your-Own Wooden Plane is a craft kit, not a pre-built toy. It requires assembly and drying time, so plan for a project that spans more than one sitting if your child is very young. The kit does not list a specific age range in the supplied information, so use your judgment about small parts and glue handling. The small wheels and axle are not suitable for children who still put things in their mouths.
Because the kit includes glue and paint, adult supervision is sensible, especially during assembly and cleanup. The finished plane is approximately 4" long, which makes it a nice desk or shelf display, but it is not designed as a high-impact toy. Treat it as a decorative model that your child built and painted themselves.
A kit that fits a simple afternoon project
- Decorate-Your-Own Wooden Plane: Easy-to-assemble wooden plane model with aviation-themed stickers. This confirms the kit is approachable for beginners and gives a clear theme for decoration.