If you own a Nespresso machine, you already know the joy of brewing café-quality espresso at home. But over time, mineral deposits from water—especially in hard water areas—can build up inside your machine. This limescale not only affects the taste of your coffee but can also clog internal components, reduce water flow, and shorten the lifespan of your brewer. That's why regular descaling is essential for maintaining performance and flavor.
In this guide, we'll walk you through everything you need to know about descaling your Nespresso machine. From recognizing the signs of buildup to choosing the right descaler and following a foolproof step-by-step process, you'll learn how to keep your espresso maker running like new. We'll also recommend the best coffee maker descaler for the job—so you can enjoy every cup with confidence.
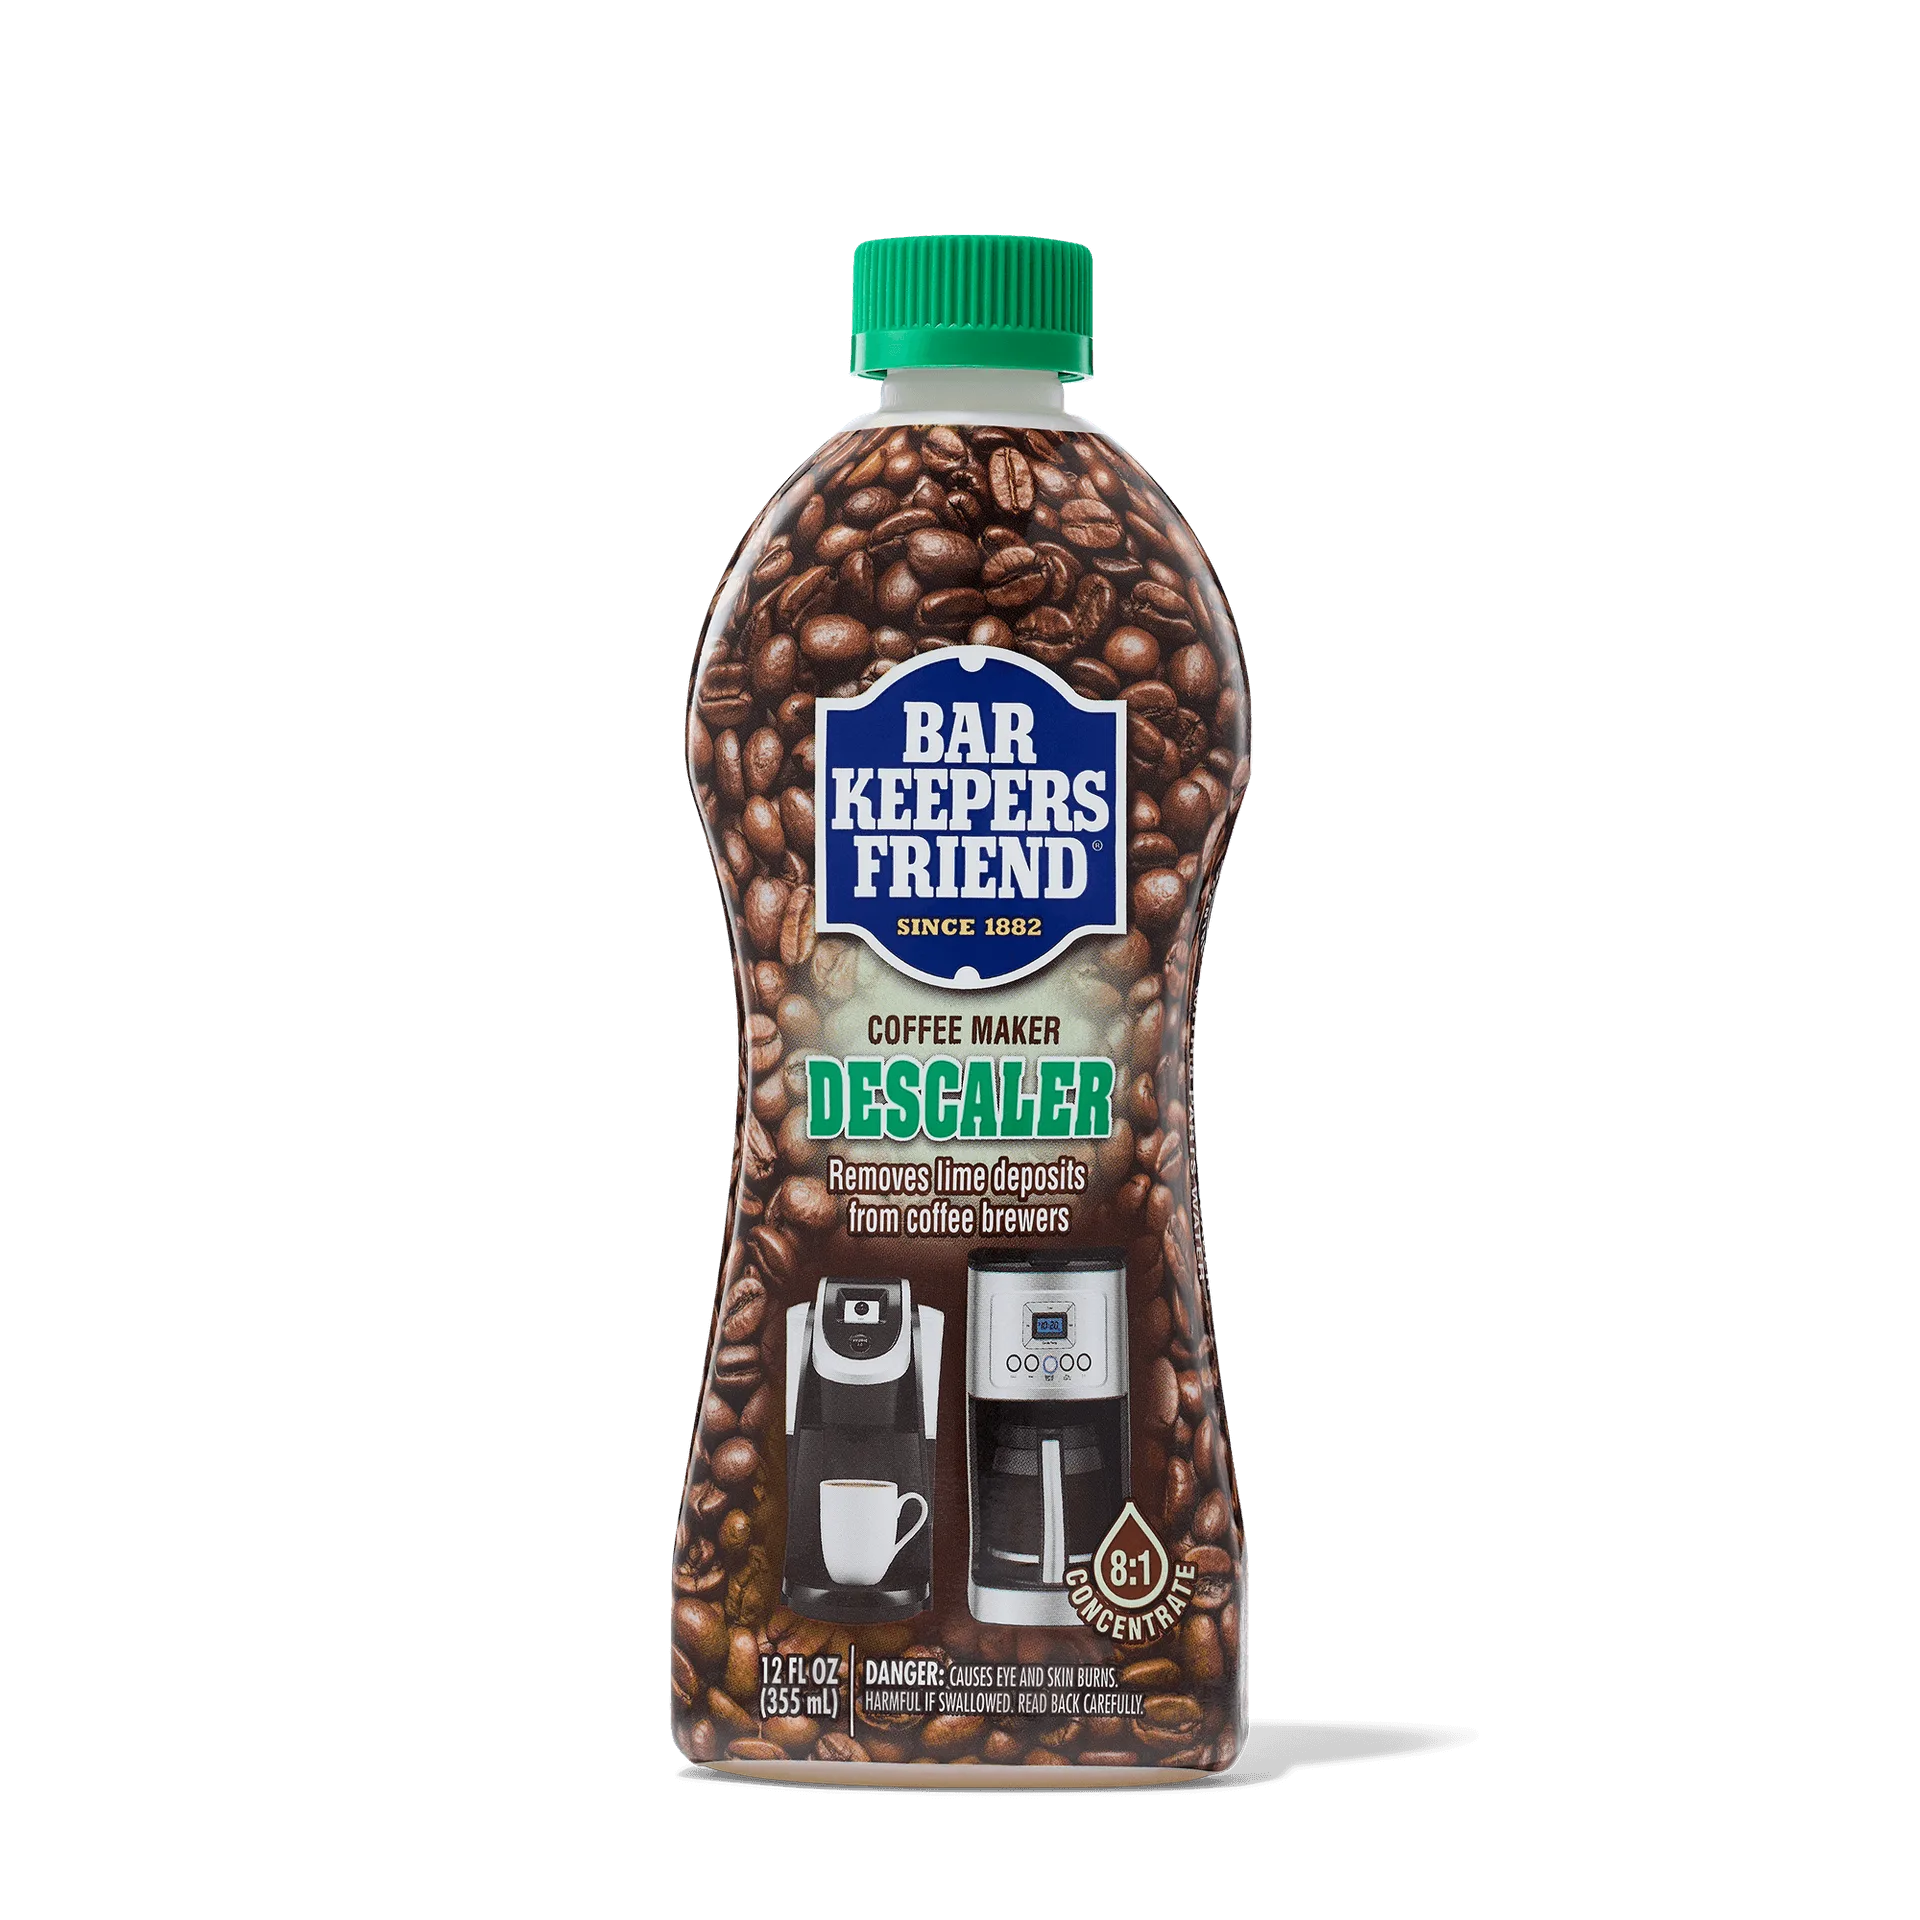
coffee maker descaler
Why Descaling Your Nespresso Machine Matters
Limescale is the enemy of any coffee machine. When water heats up, calcium and magnesium minerals precipitate and form a hard, chalky layer inside the boiler, pipes, and valves. Over time, this buildup restricts water flow, forces the machine to work harder, and can cause overheating or even permanent damage. For Nespresso owners, the result is slower brewing, weaker espresso, and a metallic or bitter aftertaste.
Regular descaling removes these deposits and restores your machine's efficiency. Most manufacturers recommend descaling every three to six months, depending on water hardness. Ignoring this maintenance can void your warranty and lead to costly repairs. By using a dedicated descaling solution like the Coffee Maker Descaler, you ensure that the process is safe, effective, and gentle on your machine's internal parts.
- Prevents limescale from clogging the brew head and water lines
- Restores optimal water temperature and flow for consistent extraction
- Eliminates off-flavors caused by mineral buildup
- Extends the lifespan of your Nespresso machine
- Helps maintain warranty coverage
Signs Your Nespresso Machine Needs Descaling
Not sure if it's time to descale? Your Nespresso machine will often give you clear signals. Many models have a built-in descaling alert—a flashing orange or red light that reminds you when to run the cycle. If you don't have that feature, look for these common symptoms: longer brewing times, louder pump noises, reduced water output, or coffee that tastes flat or burnt. You might also notice steam escaping from the top or sides of the machine, which indicates internal blockages.
Another telltale sign is visible white or chalky residue around the water tank or drip tray. If you live in an area with hard water, you may need to descale more frequently—every two to three months. Don't wait until your machine stops working. A proactive descaling routine keeps your espresso tasting fresh and your machine running smoothly.
- Flashing orange or red descaling light on the machine
- Brewing takes longer than usual
- Coffee tastes bitter, metallic, or flat
- Pump sounds louder or more strained
- Reduced water flow from the brew head
- Visible white residue in the water tank or drip tray
What You Need for Descaling: The Right Solution Matters
Using the correct descaling solution is critical. Avoid vinegar, lemon juice, or generic household cleaners—they can damage the internal seals and leave behind residues that affect taste. Nespresso recommends using a specially formulated descaler that is safe for coffee machines. The Coffee Maker Descaler is an excellent choice: it's designed to remove limescale efficiently without harming your machine's components. It's also easy to use and leaves no aftertaste.
For a complete cleaning routine, consider pairing the descaler with the Coffee Maker Cleaner. While the descaler targets mineral deposits, the cleaner removes coffee oil residues and stale grounds that can accumulate in the brew group. Together, they keep your Nespresso machine in peak condition. Always follow the manufacturer's instructions for the correct dilution and cycle settings.

Coffee Maker Cleaner
- Use a dedicated coffee machine descaler—never vinegar or bleach
- Coffee Maker Descaler is safe for all Nespresso models
- Coffee Maker Cleaner helps remove coffee oil buildup
- Always check your machine's user manual for specific recommendations
Step-by-Step Guide to Descaling Your Nespresso Machine
Step 1: Prepare your machine. Empty the water tank and remove any used capsules. Fill the tank with the recommended mixture of descaling solution and water—usually one part descaler to two parts water, or as directed on the bottle. Place a large container (at least one liter) under the coffee spout to catch the liquid.
Step 2: Start the descaling cycle. On most Nespresso machines, you'll need to press and hold the brew button for a few seconds to enter descaling mode. The machine will then dispense the solution in intervals, pausing to let it sit and break down the limescale. This cycle can take 15 to 20 minutes. Do not interrupt it.
Step 3: Rinse thoroughly. After the descaling solution has been fully dispensed, empty the container and refill the water tank with fresh water. Run the rinse cycle (usually the same descaling process but with plain water) to remove any residual solution. You may need to repeat the rinse cycle two or three times to ensure no aftertaste remains.
Step 4: Clean the drip tray and capsule container. While the machine is rinsing, wash the drip tray and used capsule bin with warm, soapy water. Dry them thoroughly before reinserting. This prevents any leftover solution or debris from contaminating your next brew.
Step 5: Reset the descaling alert. Once the rinse cycles are complete, your machine may automatically exit descaling mode. If not, consult your manual to reset the alert light. Your Nespresso is now ready to brew—enjoy a fresh espresso to celebrate!
- Always use the recommended descaling solution and water ratio
- Never skip the rinse cycle—residual solution can affect taste
- Run multiple rinse cycles if you notice any lingering smell
- Check your machine's manual for model-specific steps
Tips to Prevent Limescale Buildup Between Descaling
While regular descaling is essential, you can reduce the frequency of deep cleans by using filtered or bottled water instead of tap water. Many Nespresso owners also find that emptying the water tank when not in use helps prevent mineral deposits from settling. If you use your machine daily, consider a quick weekly rinse cycle with plain water to flush out any loose particles.
Another pro tip: keep the machine dry. After each use, wipe the drip tray and the area around the brew head to prevent water spots and mineral residue. If you notice any white buildup on the exterior, a gentle wipe with a damp cloth is usually sufficient. For stubborn stains on the stainless steel parts, the Stainless Steel Cleaner & Polish can restore shine without scratching.
- Use filtered or bottled water to reduce mineral content
- Empty the water tank when the machine is not in use
- Run a plain water rinse cycle once a week
- Wipe down the machine exterior regularly to prevent residue
Descaling your Nespresso machine doesn't have to be a chore. With the right tools and a simple routine, you can keep your espresso tasting great and your machine running smoothly for years. Make the Coffee Maker Descaler part of your regular maintenance kit—it's the safest and most effective way to remove limescale and protect your investment. For a complete clean, pair it with the Coffee Maker Cleaner to tackle coffee oil buildup. Your taste buds—and your Nespresso—will thank you.