Quick Answer
A quilt block design workbook helps you sketch, plan, and refine your block layouts before cutting fabric. For beginners, the key is to start with simple shapes and use the workbook's blank pages to explore multiple variations.
Why a Workbook Helps Beginners
A dedicated workbook gives you a structured space to try out quilt block designs without wasting fabric. It encourages experimentation with different motifs and arrangements, which builds confidence before you commit to sewing.
The blank pages in a workbook are especially valuable for beginners. They let you practice drawing quilting motifs and test how different shapes interact within a block.
Common Beginner Mistakes to Avoid
One common mistake is trying to design complex blocks right away. Start with simple geometric shapes like squares, triangles, or half-square triangles. Build complexity gradually as you get comfortable.
Another pitfall is skipping the planning step. Use the workbook to map out the entire block layout, including seam allowances and fabric placement. This prevents surprises when you start sewing.
Steps to Design Quilt Blocks with a Workbook
- Step 1: Gather Your Tools: Get your quilt block design workbook, a pencil, an eraser, and a ruler. A fine-tip pen is optional for finalizing designs. Checkpoint: Make sure your workbook has blank pages or blank block sections for sketching.
- Step 2: Choose a Simple Block Shape: Start with a basic shape like a square, triangle, or half-square triangle. Draw it in one of the workbook's block grids. Keep the design small and repeatable. Common mistake: Trying to design an intricate block first. Stick to simple geometry until you feel comfortable.
- Step 3: Experiment with Motifs: Use the blank blocks in your workbook to sketch different quilting motifs inside your chosen shape. Try straight lines, curves, or simple loops. Compare variations side by side. Checkpoint: Don't erase early sketches—they can inspire later designs.
- Step 4: Plan Fabric Placement: On your workbook block, lightly shade or label areas to indicate fabric colors or values. This helps visualize contrast before cutting. Common mistake: Forgetting to consider fabric value (light vs. dark) can make a block look flat.
- Step 5: Finalize and Transfer: Once you're happy with a design, trace it onto a fresh page or directly onto template plastic. Use this to cut fabric pieces accurately. Checkpoint: Always test your final design by making a single block before cutting all fabric.
Product Highlights
-
Let's Stitch Quilt Blocks Block Design Workbook: Let's Stitch Quilt Blocks Block Design Workbook includes 18 blocks with 2 designs per block, plus 2 intentionally blank blocks for your own sketches. The blank blocks give you a dedicated space to practice designing your own motifs, making it a practical tool for building your quilting skills.
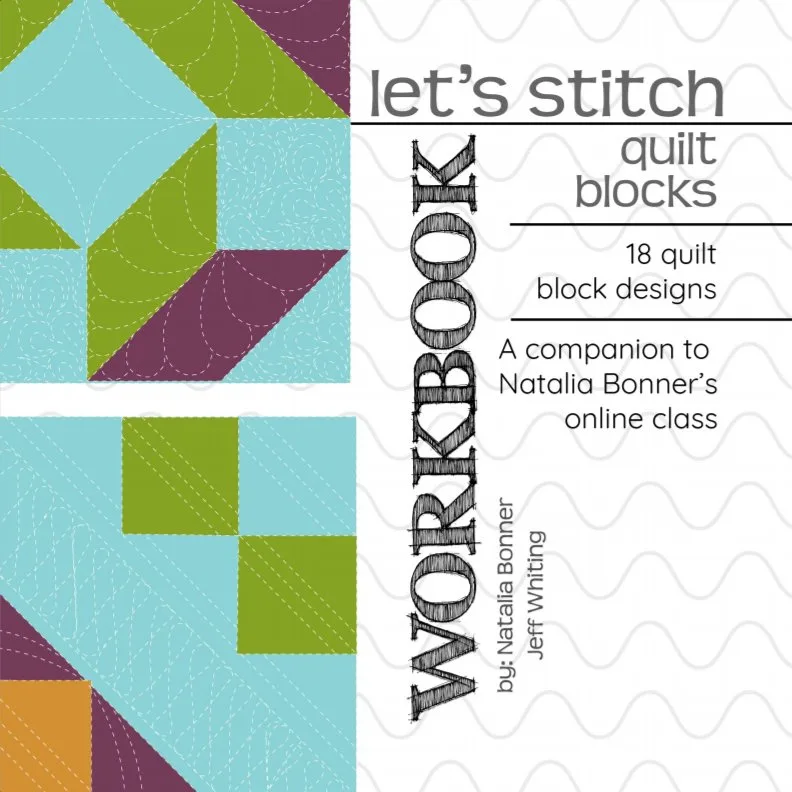
Let's Stitch Quilt Blocks Block Design Workbook