Quick Answer
Attach the Desk and Chair Attachment to your Hazel & Olive Pikler climber to create a dedicated space for drawing, homework, or snack time. Follow the simple steps below to ensure a secure and lasting setup.
Why Add a Desk and Chair to Your Hazel & Olive?
The Desk and Chair Attachment transforms your Pikler climber into a versatile learning station, encouraging focused activities like drawing, homework, or snack time. It's a practical way to extend the life of your climbing frame as your child grows.
Because it connects directly to your existing Hazel & Olive climber, it saves floor space and keeps everything in one play area. This attachment is designed to integrate seamlessly with your Avenlur products, ensuring a cohesive and safe play environment.
Important Considerations Before You Start
Before beginning assembly, ensure your Hazel & Olive climber is on a flat, stable surface. Check that all existing bolts and connections are tight, as the attachment will add weight and stress to the structure.
The Desk and Chair Attachment is designed for use with the Hazel & Olive model specifically. If you have a different Pikler climber, verify compatibility before purchasing to avoid frustration.
Step-by-Step Setup Guide
- Gather Tools and Parts: Lay out all parts of the Desk and Chair Attachment and check them against the instruction manual. You will typically need a Phillips screwdriver and possibly an Allen key. Ensure you have a clean, open workspace. Missing parts? Contact Avenlur support before starting.
- Position the Desk on the Climber: Hold the desk piece against the side of your Hazel & Olive climber at the desired height. Align the pre-drilled holes with the corresponding holes on the climber's frame. Use a level to ensure the desk is perfectly horizontal. A common mistake is attaching the desk at an angle—always double-check with a level.
- Secure the Desk with Bolts: Insert the bolts through the aligned holes and tighten them with the appropriate tool. Do not over-tighten, as this can strip the wood. Finger-tighten first, then give each bolt a final firm turn. Check that all bolts are snug but not forced.
- Attach the Chair: Position the chair piece beneath the desk, aligning its mounting brackets with the climber's frame. Secure it with the provided bolts. Ensure the chair is level and stable before allowing your child to use it. Test the chair by gently pushing it from side to side—it should not wobble.
- Final Safety Check: Once both pieces are attached, give the entire assembly a firm shake to ensure everything is secure. Check that no sharp edges or protruding bolts are present. Place the setup on a non-slip mat if your floor is slippery. Perform this safety check every few weeks to maintain a safe play environment.
Product Spotlight
-
Desk and Chair Attachment to the Hazel & Olive: This versatile Pikler desk and chair attachment easily connects to any Pikler climber, creating a dedicated space for drawing, homework, or snack time. It transforms your existing climber into a multi-functional learning area, saving space and adding value to your play equipment.
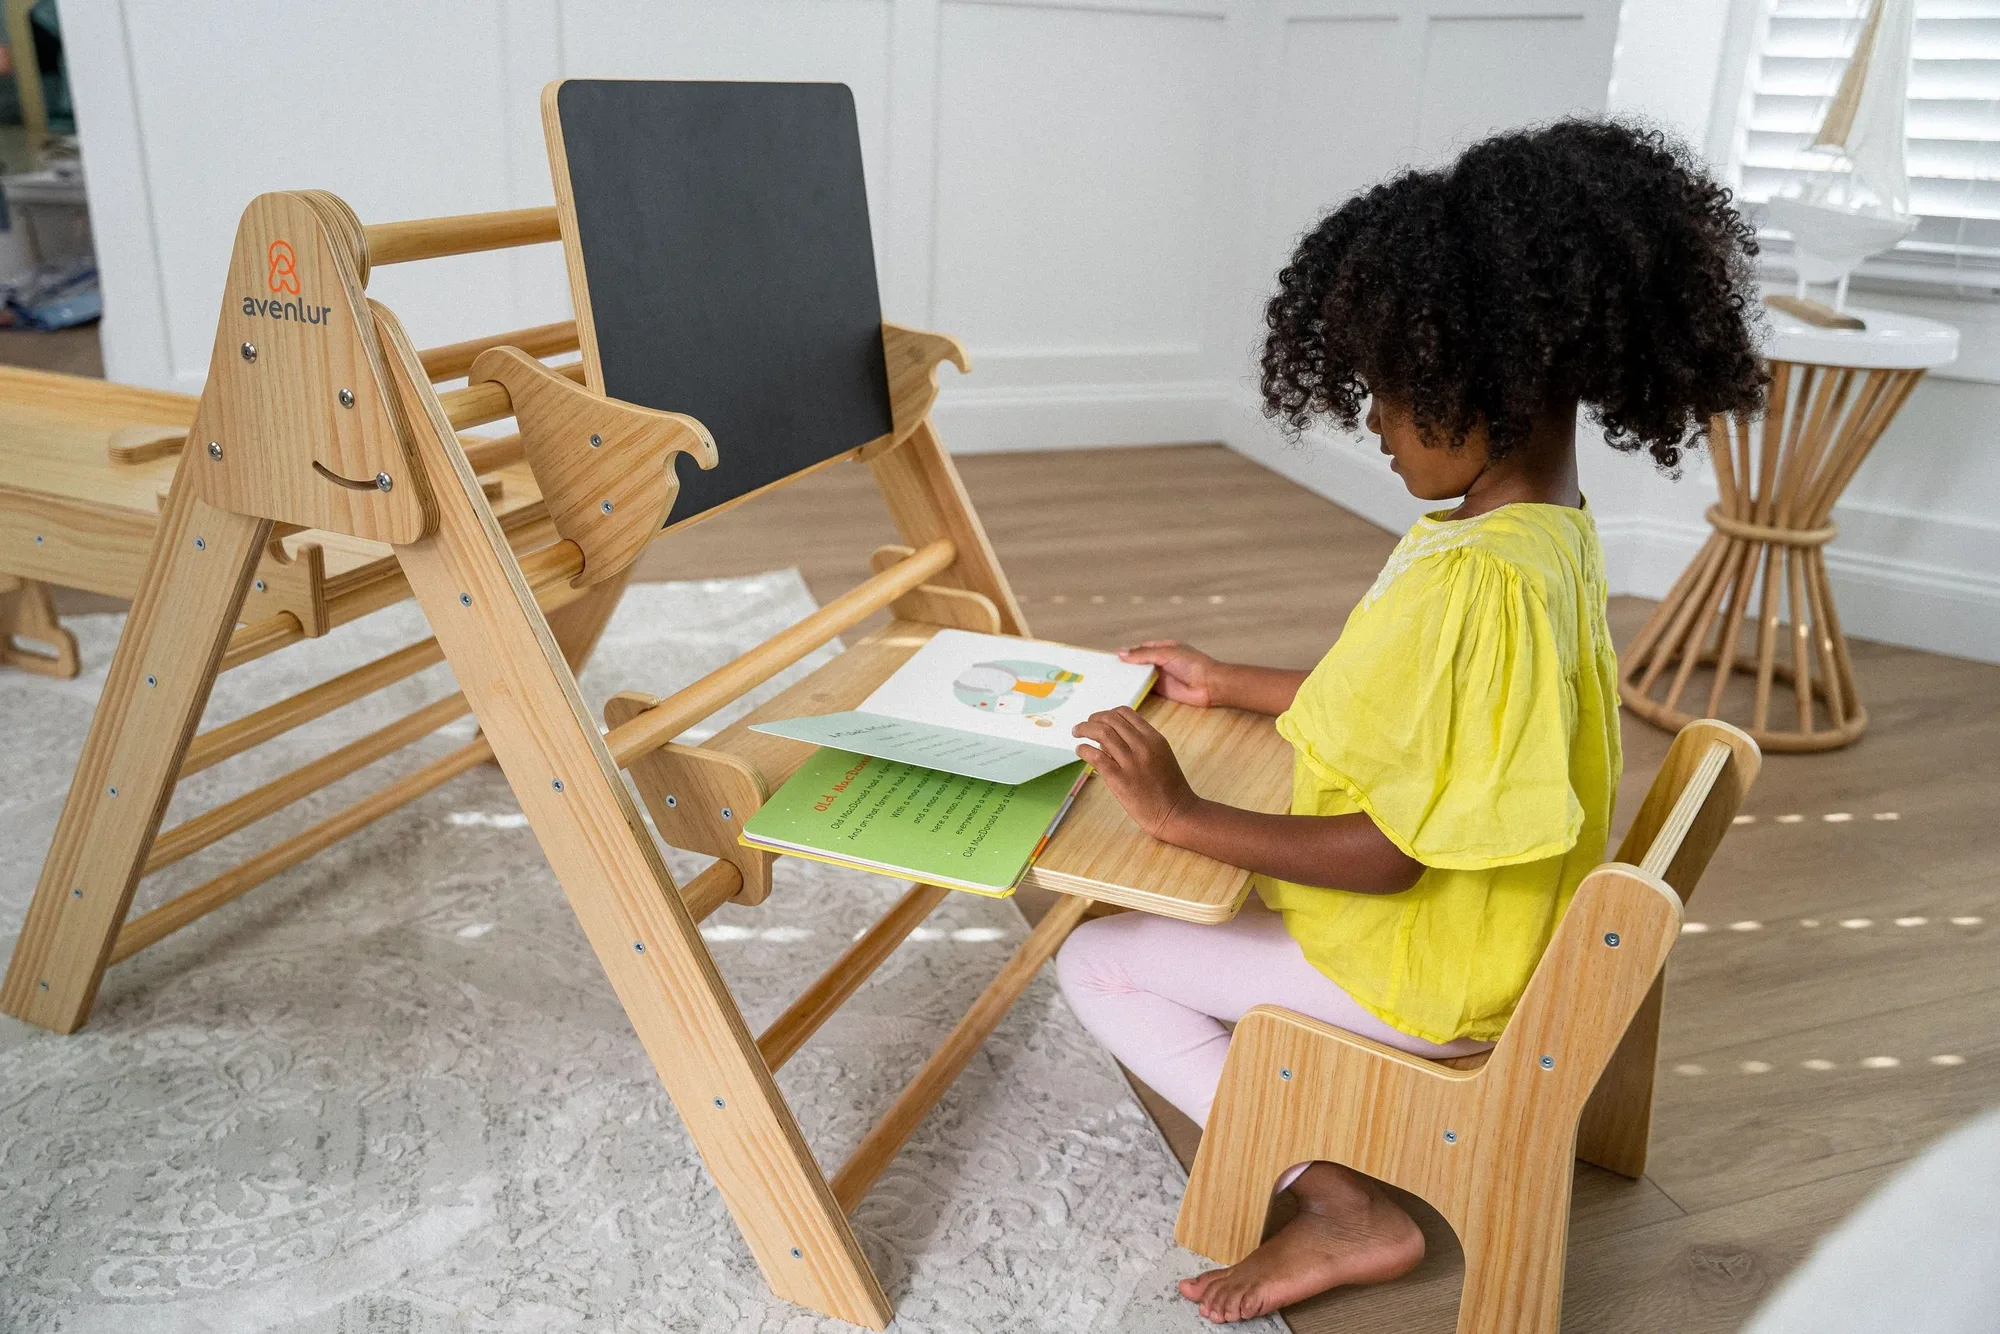
Desk and Chair Attachment to the Hazel & Olive