Quick answer
Load a roll of 120 film, set the Diana F+ to the 'N' (normal) aperture and a shutter speed that matches your light, attach the Diana+ Flash, and fire a test frame. For pinhole shooting, swap the lens for the pinhole cap and use a tripod or stable surface.
Why the Diana F+ rewards a slower workflow
The Diana F+ is a fully manual, zone-focus camera with a plastic lens. That means no metering, no autofocus, and no automatic flash sync. You set the distance by estimating or measuring, choose one of the four aperture settings, and cock the shutter before every shot. The payoff is the dreamy, soft-focus look that made the original Diana a cult favorite.
Because the camera uses 120 film, you get 12 square frames per roll (or 16 with the included 35mm back, sold separately). That limited frame count forces you to slow down and think about each shot—which is exactly the point of a toy camera. The Diana+ Flash adds another layer: it has a fixed output, so you control exposure by choosing the right aperture and distance.
The trade-off: simplicity versus control
The Diana F+ is not a precision instrument. Its shutter speeds are approximate, the zone-focus scale is coarse, and the flash syncs at any speed but only fires when the shutter is cocked. If you need consistent, sharp results, a modern medium format camera will serve you better. But if you want to embrace chance and learn the fundamentals of exposure without menus, the Diana F+ is a forgiving teacher.
One limitation to note: the camera has no built-in light meter. You will need a handheld meter, a phone app, or the Sunny 16 rule to judge exposure. The flash also has no variable power, so you adjust flash exposure by changing aperture or distance rather than dialing down output.
Step-by-step: from loading film to your first pinhole shot
- Load a roll of 120 film: Open the back, insert the film spool on the left, thread the paper leader onto the take-up spool on the right, and wind until the 'start' arrow aligns with the red dot. Close the back and wind two full turns to advance to frame one. Check that the film is seated flat and the leader is not skewed—misloading causes uneven spacing or blank frames.
- Set aperture and shutter speed for available light: Use the 'N' (normal) aperture for bright sun, 'cloudy' for overcast, and the larger apertures for shade or flash. Set the shutter to 'N' (about 1/60) for handheld shots or 'B' for long exposures on a tripod. If you are unsure, err on the side of overexposure—negative film tolerates it better than underexposure.
- Attach the Diana+ Flash and check sync: Slide the flash into the hot shoe and tighten the lock ring. Set the shutter to any speed (the flash syncs at all speeds) and cock the shutter. Fire a test shot to confirm the flash fires when you press the shutter release. The flash only fires if the shutter is cocked—if it does not fire, re-cock and try again.
- Estimate distance and set focus: Use the zone-focus ring to set the distance to your subject: 1–2 m for close portraits, 2–4 m for groups, and infinity for landscapes. For flash shots, keep subjects within 1–3 m for proper exposure. Pace out the distance or use a tape measure for critical shots—the Diana's depth of field is shallow at close range.
- Switch to pinhole mode: Remove the lens by unscrewing it, then screw on the pinhole cap. Set the shutter to 'B' and use a tripod or rest the camera on a stable surface. Expose for several seconds in bright light—start with 2–4 seconds and adjust based on results. Pinhole exposures are long; use a cable release or the self-timer to avoid camera shake.
- Unload and develop: After the last frame, wind the film completely onto the take-up spool (you will feel resistance), open the back in subdued light, and remove the spool. Tape the leader down and send it to a lab or develop it yourself. Label the roll with the camera and exposure notes so you can learn from each batch.
Product facts
-
Diana F+ Medium Format Camera and Flash: The Diana F+ package includes the Diana+ Flash and a set of color gel filters. You get a complete flash setup out of the box, and the gels let you add color to flash-lit shots without buying extra accessories.
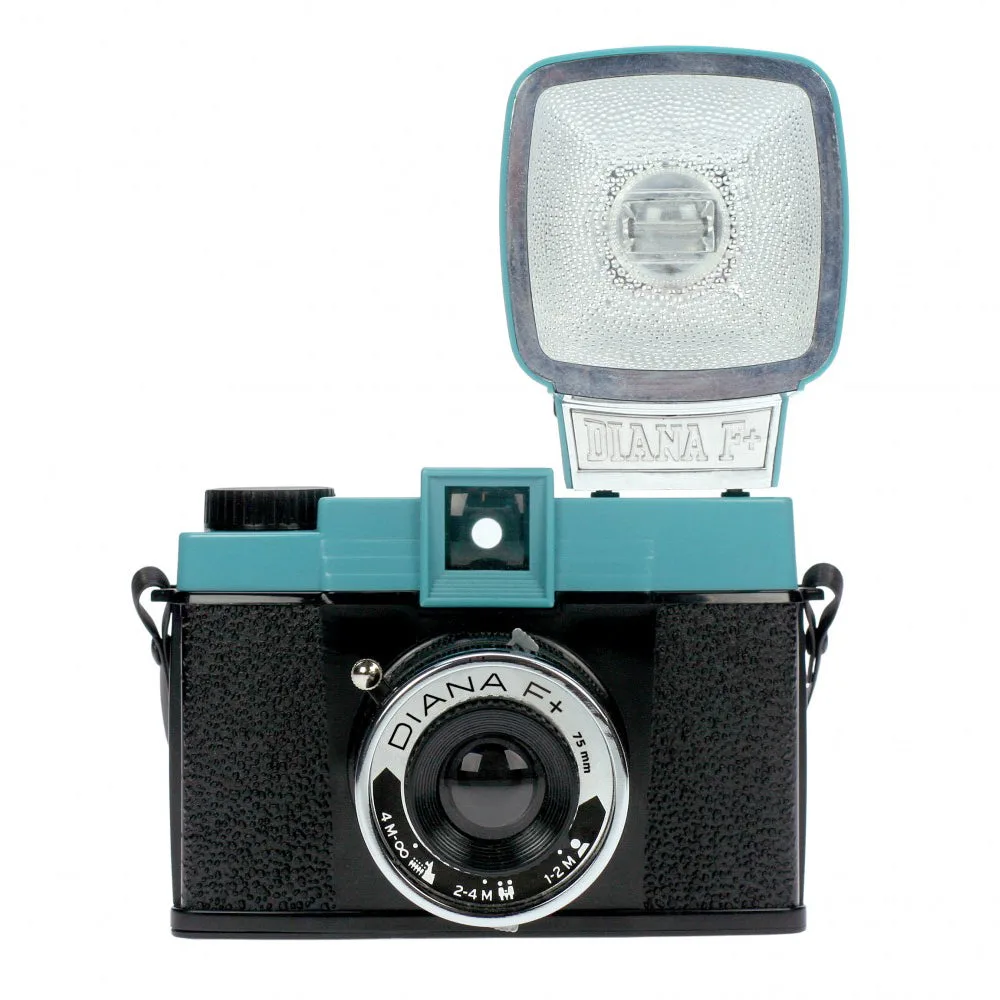
Diana F+ Medium Format Camera and Flash
-
Diana F+ Medium Format Camera and Flash: The camera is compatible with the entire line of Diana F+ accessories, including a pinhole cap and interchangeable lenses. You can expand your kit over time—pinhole shooting, close-up lenses, and different focal lengths—without replacing the body.