Quick answer
Give your reed diffuser a full clean every 4–6 weeks, or sooner if the scent fades or the oil looks cloudy. Between deep cleans, flip the reeds once a week and wipe the bottle rim. Always empty old oil before washing, and never scrub the inside of the bottle with abrasive tools.
Why timing depends on your room, not just the calendar
A reed diffuser in a steamy bathroom or a dusty hallway will need cleaning more often than one in a climate-controlled office. Heat and humidity can make fragrance oil evaporate faster and leave a sticky residue on the reeds, while dust settles into the bottle opening and slows capillary action. If you notice the scent dropping off before the oil level does, that is your signal to clean rather than wait for a set date.
The 4–6 week window is a practical average for a typical home. In a busy kitchen or a small powder room, check at the 3-week mark. In a guest room that is rarely used, you can stretch to 8 weeks as long as the oil still smells fresh and the reeds are not clogged.
What you need before you start
Gather a mild dish soap, warm water, a soft cloth, and paper towels. Avoid bleach, ammonia, or abrasive sponges because they can scratch the inside of glass or leave a residue that interferes with the next fill. If your diffuser came with a narrow-neck bottle, a bottle brush with soft bristles helps, but a simple rinse and shake is often enough.
Work over a sink or a lined tray. Fragrance oil can stain porous surfaces like untreated wood or stone, so protect your countertop before you pour anything out.
How to clean a reed diffuser without damage
Start by removing the reeds and setting them on a paper towel. If they are stiff, discolored, or coated in sticky residue, replace them instead of trying to wash them. Reeds are porous and once clogged they will not wick properly, no matter how well you clean the bottle.
Pour the old oil into a sealed bag or a disposable container, not down the drain. Add a few drops of mild dish soap and warm water to the bottle, swirl gently, and let it sit for a minute. Rinse with warm water until no suds remain. Turn the bottle upside down on a drying rack or a clean towel and let it air dry completely before adding new oil. Any water left inside will dilute the fragrance and can cause cloudiness.
Reed diffuser cleaning routine you can keep
A weekly two-minute habit prevents most buildup. Flip the reeds so the saturated ends face up, and wipe the bottle rim and the outside of the neck with a dry cloth. This keeps dust from falling into the oil and refreshes the scent throw without a full teardown.
Once a month, check the oil level and the clarity. If the oil has darkened or separated, clean the bottle early. When you refill, use fresh reeds if the old ones have been in place for more than two months. Rotating between two sets of reeds lets you clean one set while the other is in use, which is especially handy if you keep multiple diffusers going.
Step-by-step reed diffuser cleaning routine
- 1. Clear the area and remove the reeds: Set the reeds on a paper towel and move the diffuser to a sink or a lined tray. Work away from fabrics and electronics. Checkpoint: if reeds are stiff or dark, plan to replace them rather than reuse.
- 2. Empty the old oil safely: Pour the oil into a sealed bag or disposable container. Do not pour it down the drain, where it can clog pipes and harm plumbing. Common mistake: tipping the bottle too fast and spilling oil on an unprotected surface.
- 3. Wash the bottle with mild soap and warm water: Add a few drops of dish soap, fill halfway with warm water, swirl gently, and let it sit for a minute. Avoid harsh chemicals or abrasive scrubbers. Checkpoint: the water should run clear with no oily film after rinsing.
- 4. Rinse and dry completely: Rinse until no suds remain, then turn the bottle upside down on a drying rack or clean towel. Let it air dry fully before refilling. Common mistake: refilling while the bottle is still wet, which dilutes the new oil and weakens the scent.
- 5. Refill and add fresh or cleaned reeds: Pour in new fragrance oil and insert reeds. If you are reusing reeds, make sure they are completely dry and not clogged. Flip them after an hour to start the wicking process. Next step: mark your calendar for the next full clean in 4–6 weeks.
Product facts that support this routine
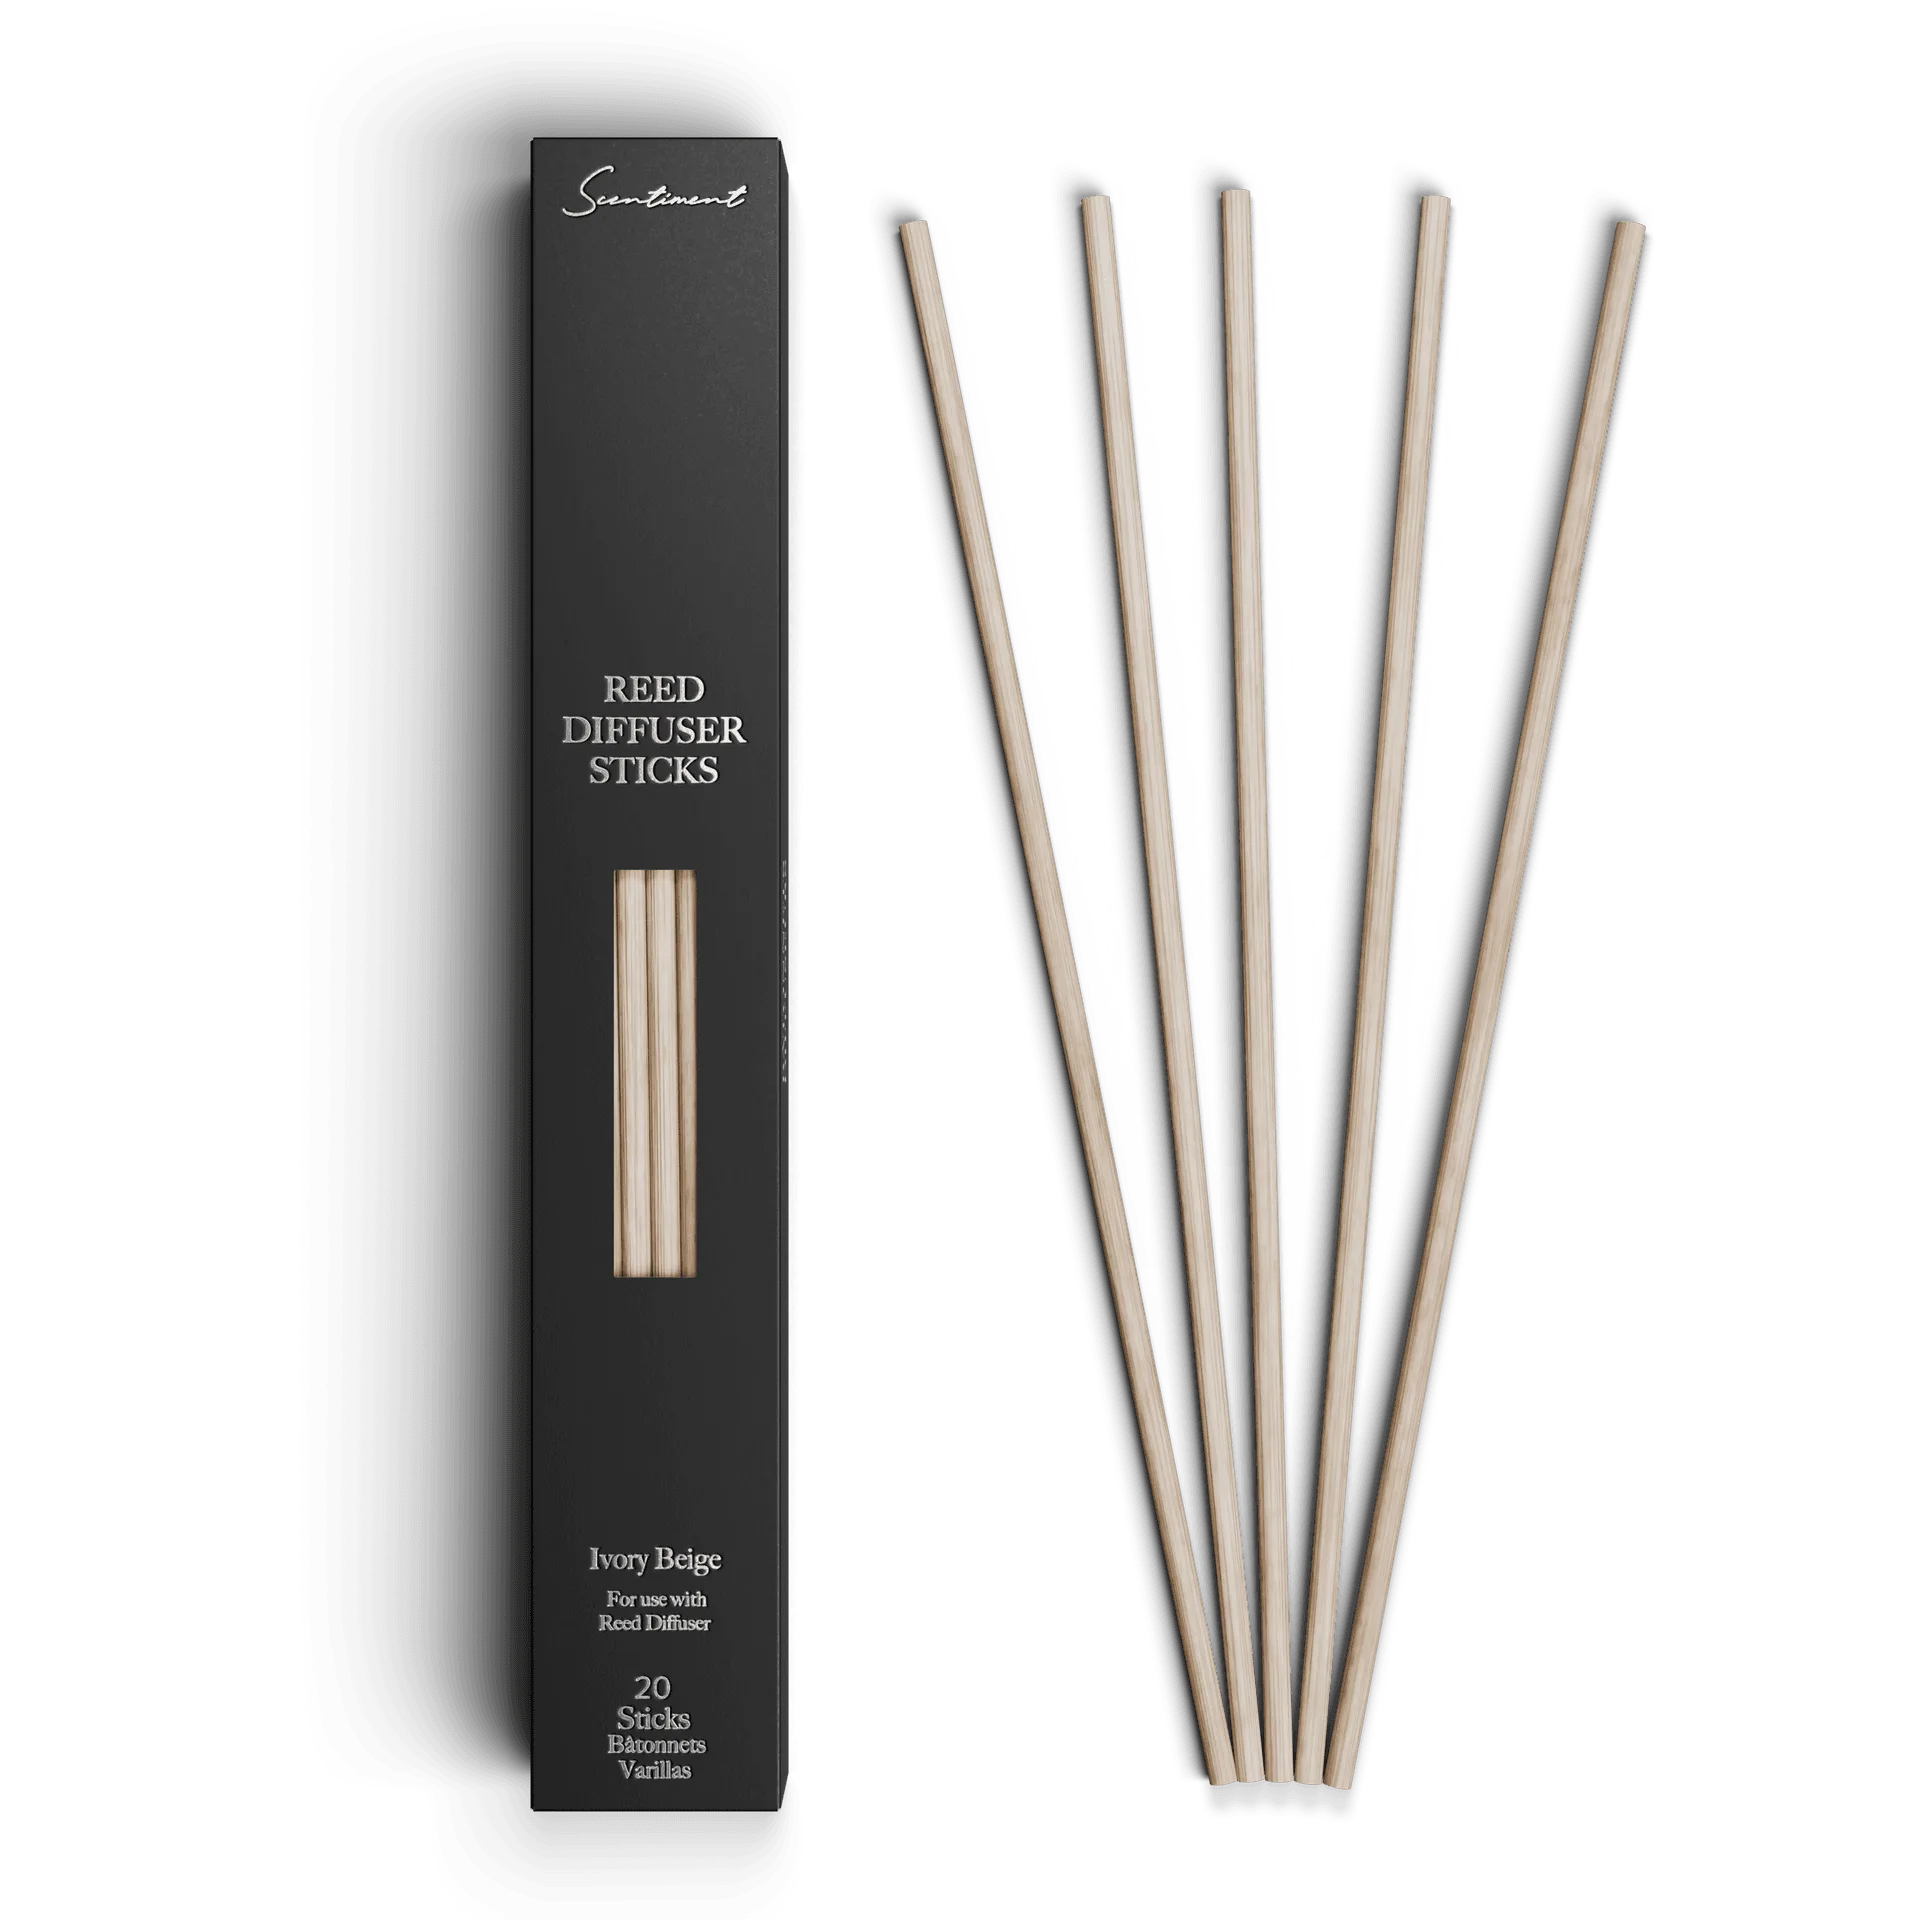
- Reed Diffuser Replacement Sticks: Reed Diffuser Replacement Sticks are made from high-quality, porous rattan and come in Black and Natural variations. Porous rattan wicks evenly, so replacing clogged reeds is often more effective than washing them. Having a spare set on hand makes the monthly clean-and-swap step easy.
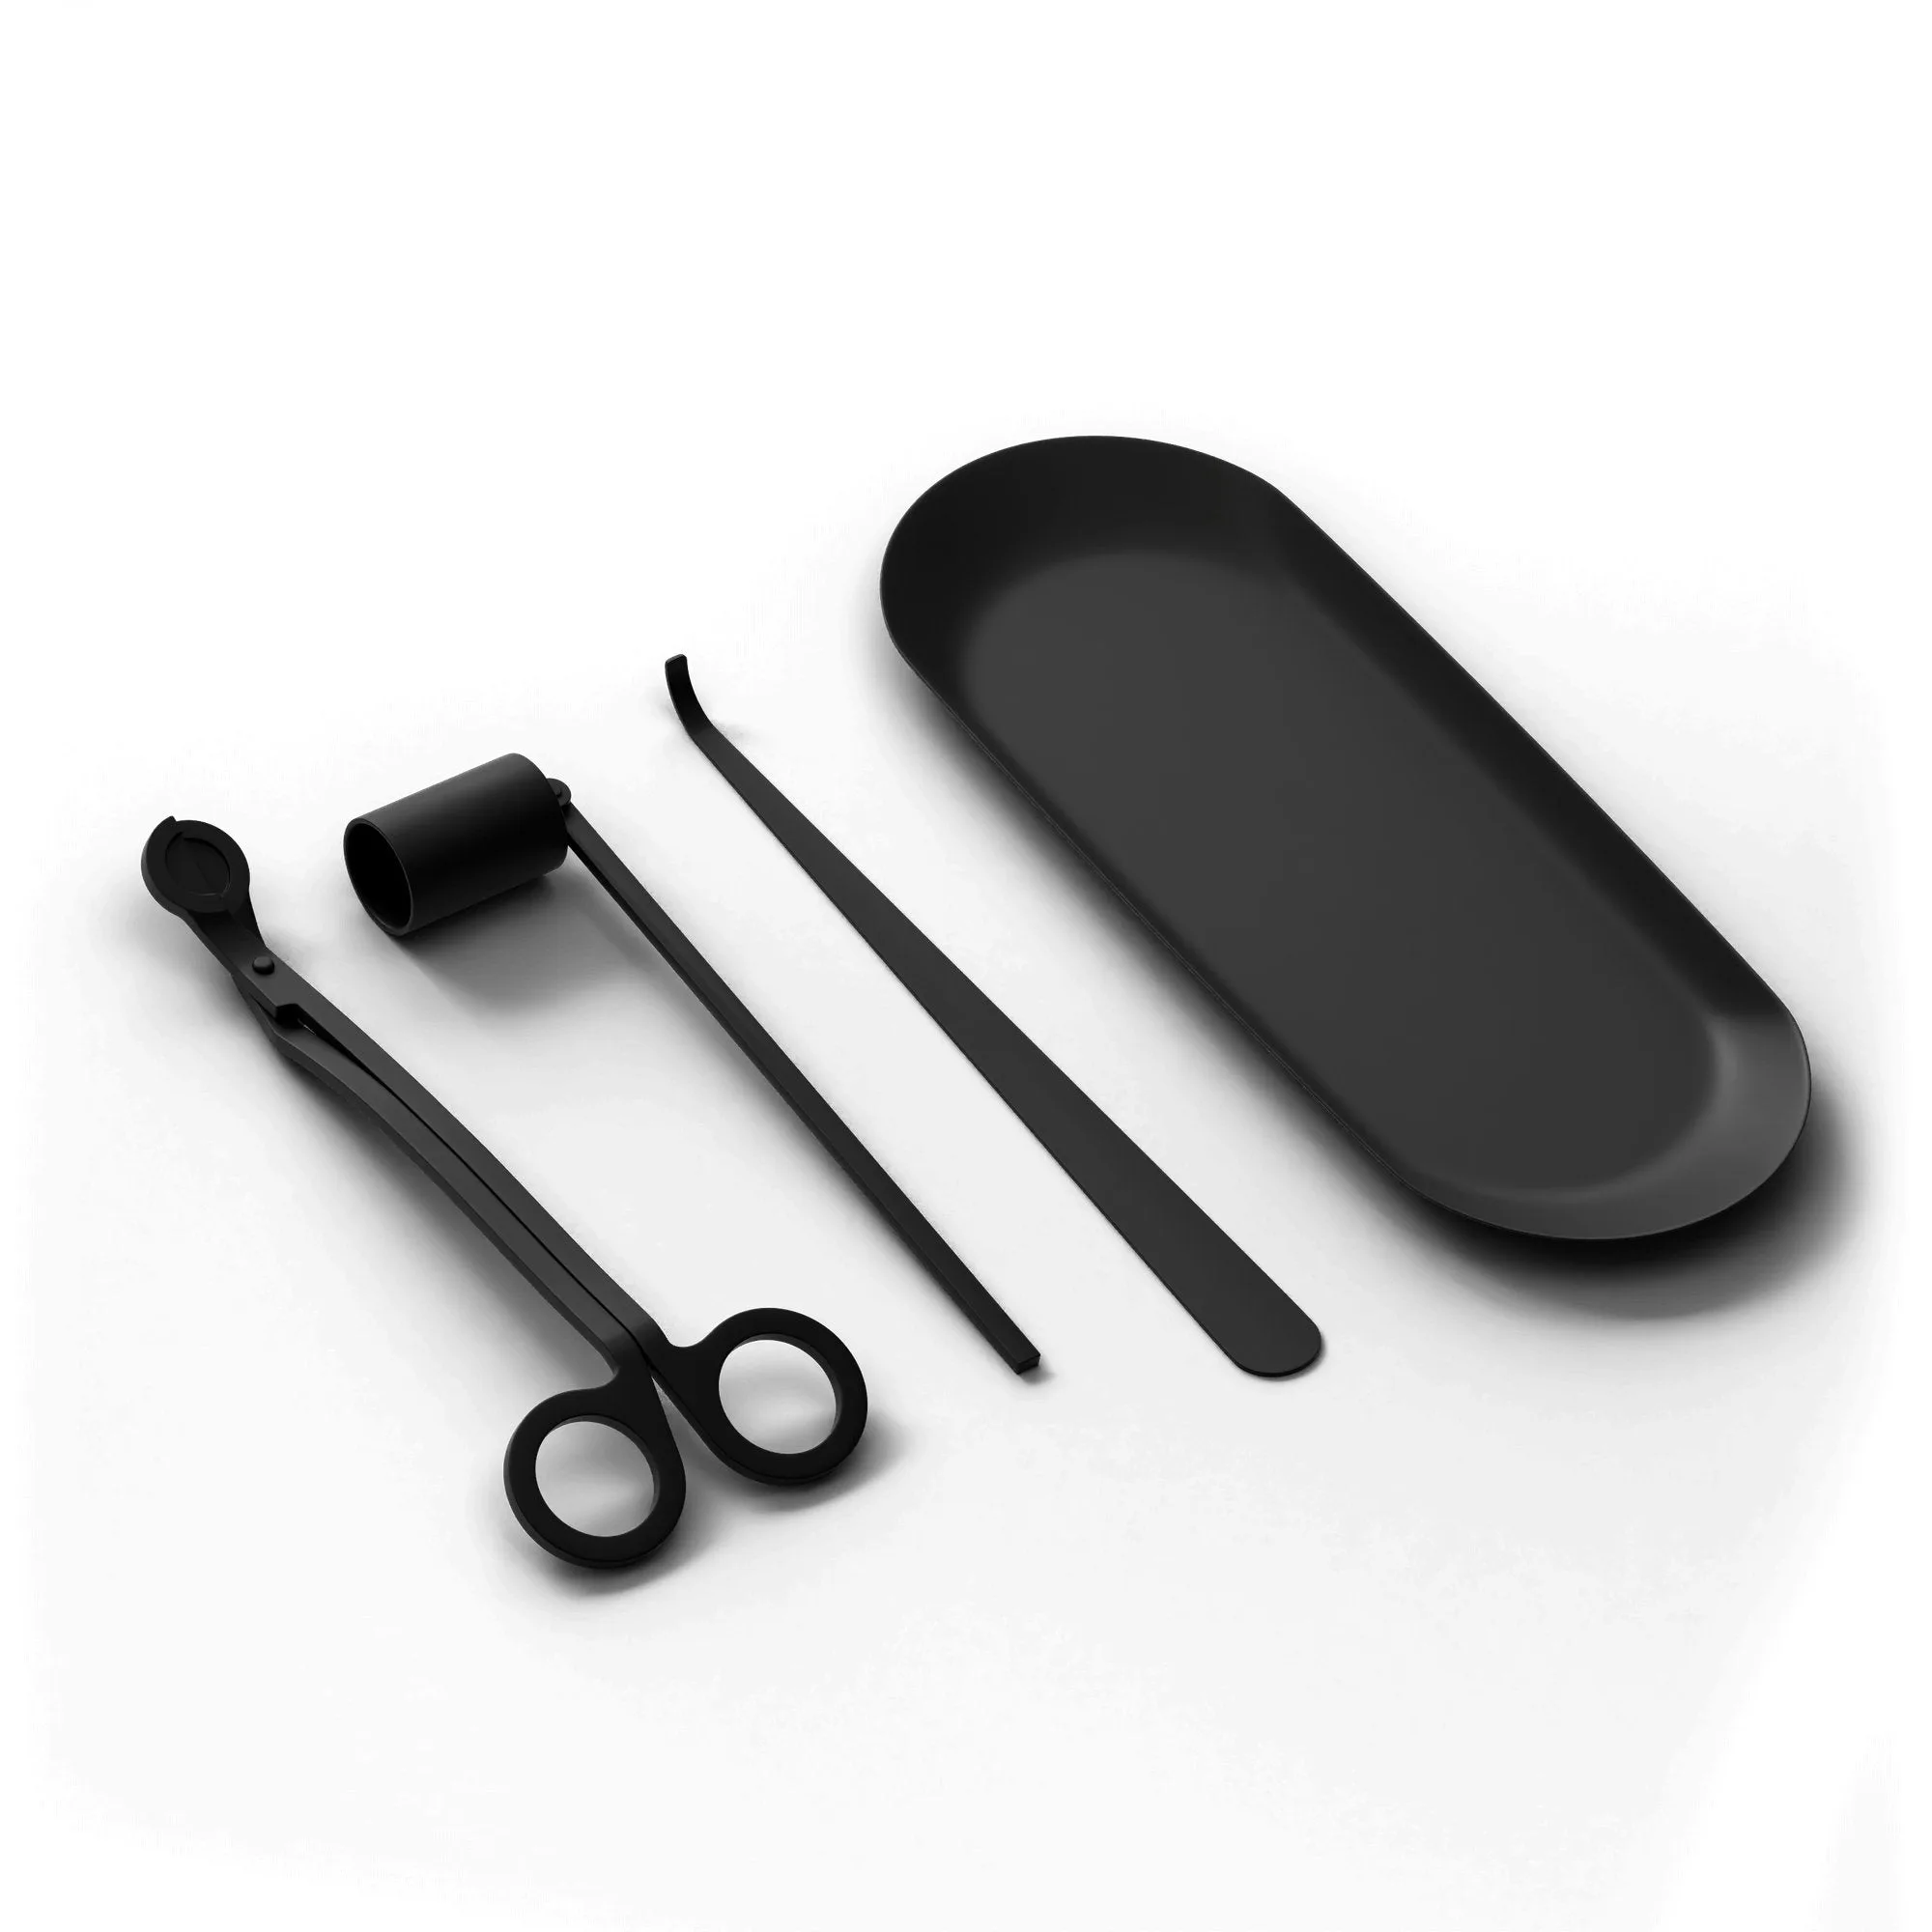
- Candle Care Kit: The Candle Care Kit includes stainless steel tools for trimming wicks, extinguishing flames, and repositioning wicks, all in a storage case with a tray. If you also burn candles near your diffuser, keeping wicks trimmed reduces soot that can settle into diffuser oil and make cleaning necessary more often.