Quick Answer
Use the DIY Arnold the Avocado sewing kit to guide your toddler through a simple, supervised craft that builds fine motor skills and creativity while making a soft, sustainable toy.
Why This Craft Works for Toddlers
The DIY Arnold the Avocado kit is designed for children aged 6+, but with your help, a younger toddler can enjoy the process too. The large felt pieces and blunt needle make it safe for little hands, and the repetitive stitching motion strengthens finger muscles needed for writing later. Because this is a hand-sewing project, it also teaches patience and following simple instructions without screens.
What You'll Need Beyond the Kit
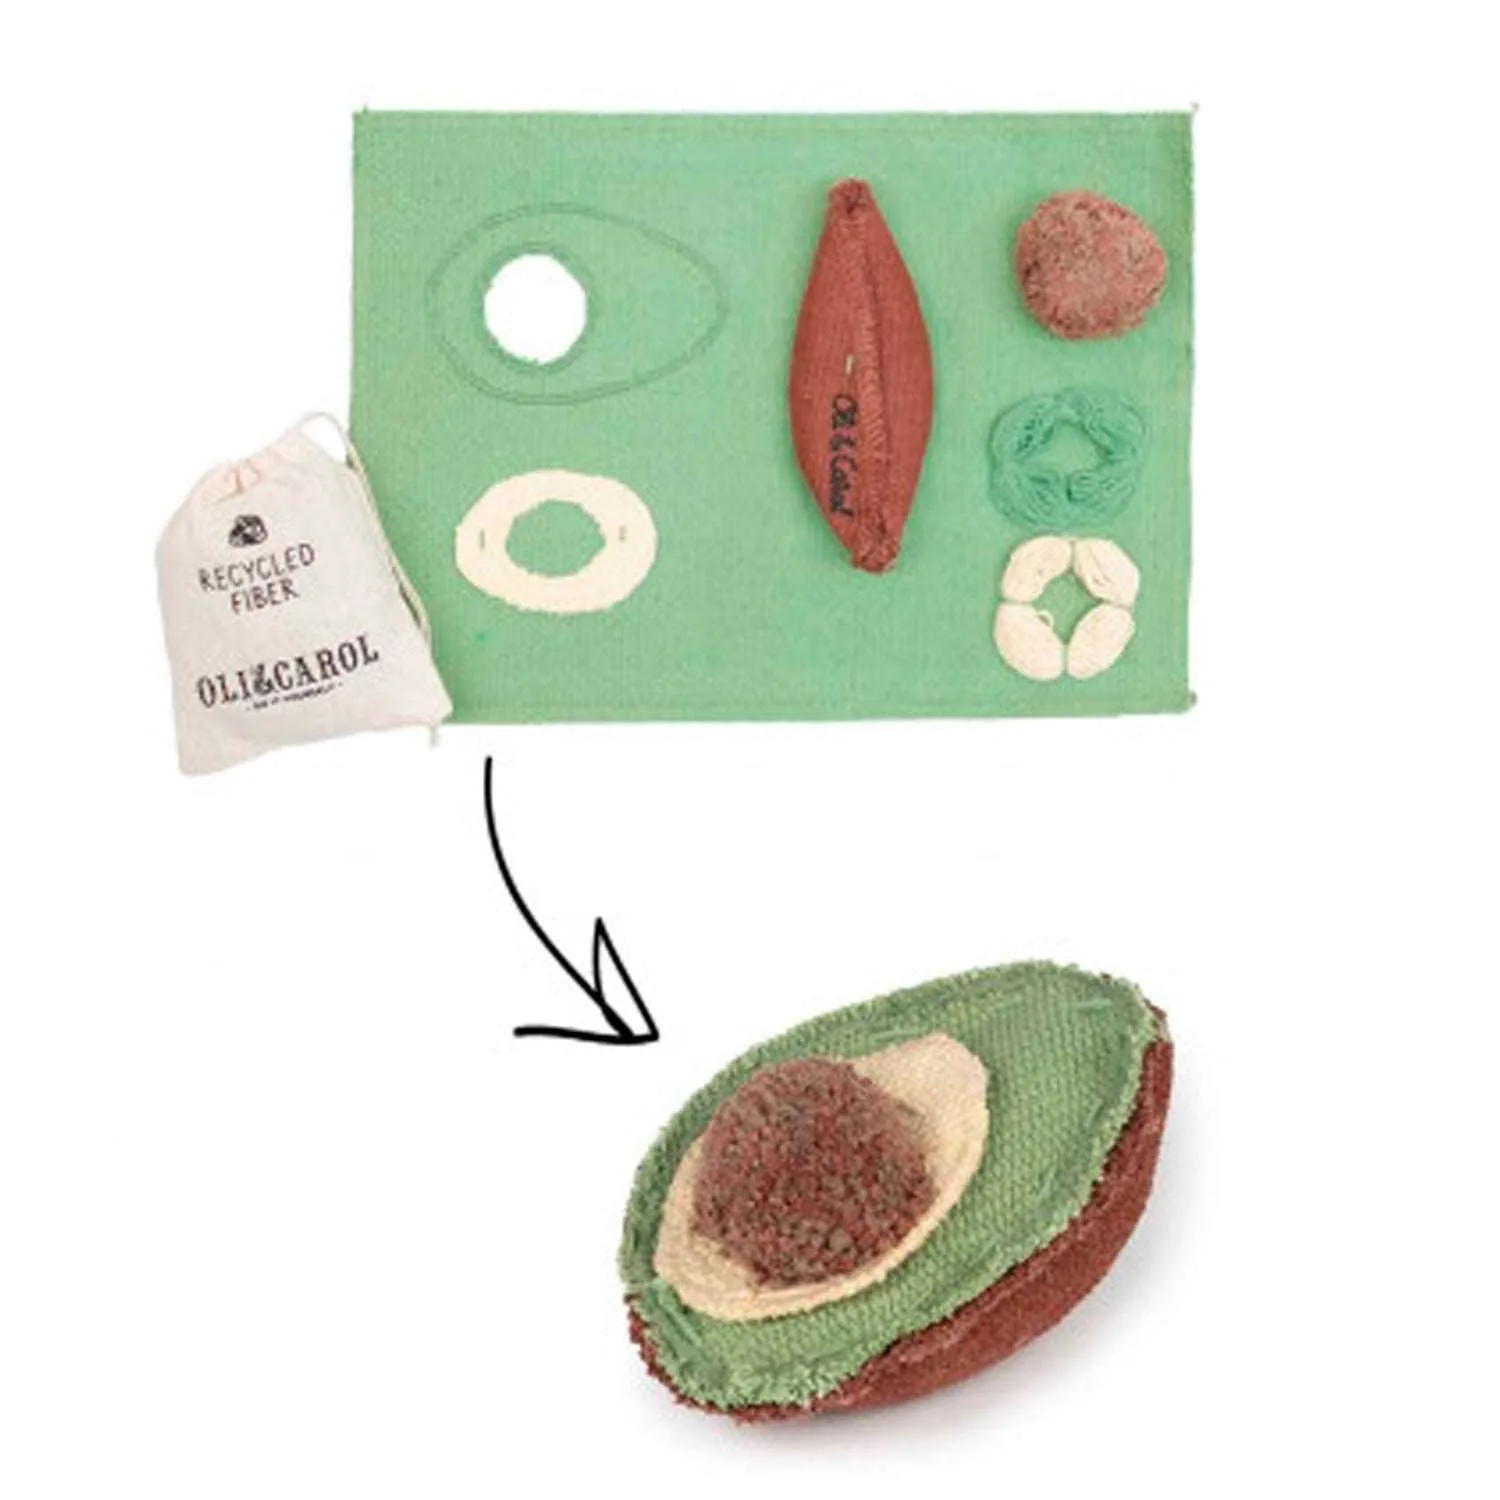
The kit includes pre-cut felt, stuffing, a plastic needle, and thread. You'll want to add a pair of child-safe scissors for trimming thread ends and a small tray to keep pieces organized. Having a parent or older sibling sit alongside the child helps prevent frustration and keeps the activity positive.
Step-by-Step Craft Guide
- Prepare Your Workspace: Lay out all kit pieces on a flat, well-lit surface. Sort the felt shapes (avocado body, pit, and any decorations) so your toddler can see each part. Keep the plastic needle and thread within easy reach but away from younger siblings. Common mistake: skipping the sorting step leads to confusion mid-craft. Let your child help sort to build familiarity.
- Thread the Needle Together: Show your toddler how to hold the plastic needle and push the thread through the eye. If they struggle, pre-thread the needle and let them pull the thread through the rest of the way. Tie a simple knot at the end, leaving a 6-inch tail. Checkpoint: ensure the knot is secure before starting to sew, or the stitches will pull out easily.
- Start Sewing the Avocado Body: Align the two avocado-shaped felt pieces. Guide your toddler to push the needle up through both layers from the back, then back down about ¼ inch away. Use a simple running stitch (in-and-out). Let them hold the pieces while you guide the needle for the first few stitches. Common mistake: stitching too close to the edge can cause the felt to tear. Keep stitches at least ¼ inch from the edge.
- Add the Pit and Decorate: Before closing the body completely, pause to insert the felt pit piece (if included) or let your toddler place it inside. If the kit has extra decorations like a face or leaf, sew those on now using the same running stitch. Keep decorations simple to avoid overwhelming a toddler. Checkpoint: double-check that decorations are on the correct side before sewing them permanently.
- Stuff and Close: Once most of the body is sewn (leave a 2-inch opening), help your toddler push small handfuls of stuffing into the avocado. Let them feel the softness and adjust the amount. Then sew the opening closed with a few final stitches and tie off the thread securely. Common mistake: overstuffing makes the toy lumpy and hard to sew closed. Use just enough stuffing to make it plump but still flexible.
- Trim and Celebrate: Use child-safe scissors to trim any loose thread ends close to the knot. Let your toddler give the avocado a name and a hug. Display it on a shelf or use it for pretend play—this sustainable toy is ready for years of love. Final checkpoint: ensure all knots are tight and no loose threads remain that could pose a choking hazard.
Product Facts
-
DIY Arnold The Avocado: The DIY Arnold The Avocado sewing kit allows children to handcraft their own unique avocado-shaped textile toy during a fun manual activity. This hands-on process gives toddlers a sense of accomplishment and a tangible, soft toy they can keep or gift, reinforcing pride in their work.
DIY Arnold The Avocado