Quick answer
Start with one no-sew project such as a fabric sensory square or a sealed rattle, then check every part against three rules: nothing smaller than a choke-test tube, no loose or detachable pieces, and no toxic finishes or paints. If you want a kit that already meets toy-safety expectations, choose a supervised sewing kit for ages 6+ rather than improvising for a baby under 3.
Making your own baby toys is mostly a materials decision, not a craft-skill decision. The safest homemade baby toys are built from a short list of predictable materials: tightly woven cotton or muslin, undyed natural rubber, untreated hardwood, and securely sealed fillings. Skip anything flaking, peeling, or shedding.
This guide walks through a practical order of work, from choosing a project to the final safety check. It also explains when a ready-made kit makes more sense than a homemade version, especially if the toy will be mouthed, chewed, or shared between siblings.
Choose a project that matches your baby's age
Match the project to what your baby can actually do. Under 6 months, babies mostly mouth, swipe, and track objects, so soft fabric squares, muslin knots, and light rattles work best. From 6 to 12 months, grasping and shaking take over, which makes small sewn balls and simple stacking pieces useful. After 12 months, pretend play and stacking open up more options.
Write the age range on the toy itself or on a tag before you start. This is the checkpoint most parents skip, and it is the one that prevents a toy made for a toddler from ending up in a newborn's mouth.
- Avoid small beads, buttons, and loose bells on anything a baby under 3 will mouth.
- Keep each finished toy light enough for your baby to lift with one hand.
Gather safe materials from what you already own
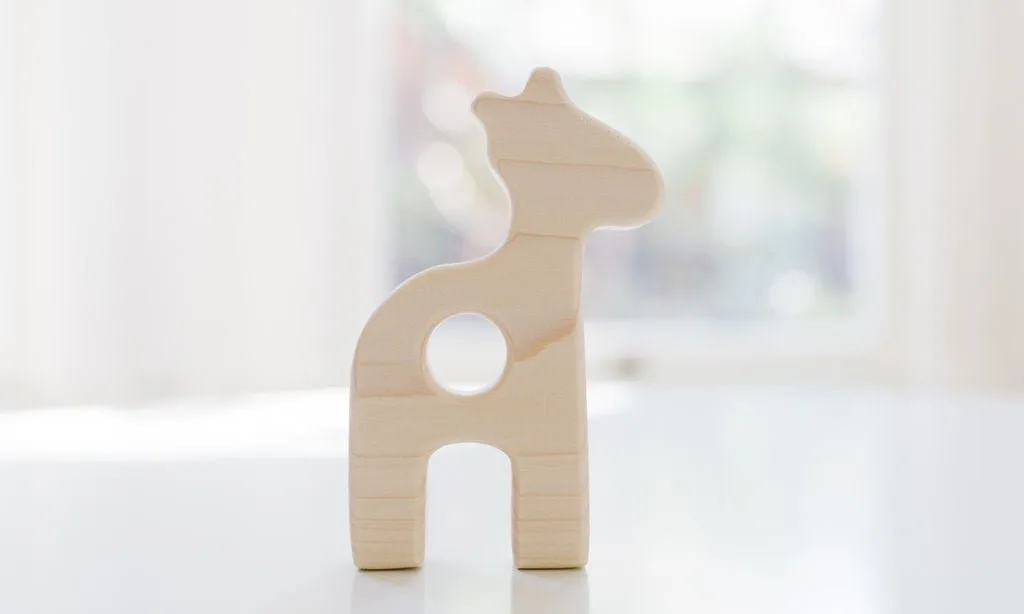
Good sources are already in your home: clean cotton T-shirts, muslin squares, wool felt, and tightly woven quilting cotton. For filling, use polyester fiberfill that is fully encased, or upcycled fabric scraps. For structure, untreated hardwood and food-grade silicone are reasonable choices, while natural rubber is common in commercial teethers.
Skip anything with a finish you cannot identify. Old painted wood, treated lumber, vintage buttons, and unknown plastics are not worth the risk, because you cannot confirm what is in them.
- Wash and dry all fabric before cutting so it does not shrink after assembly.
- If a material's origin or coating is unknown, treat it as unsuitable for mouthing.
Make a simple no-sew sensory toy first
Cut two 10 cm (4 in) squares of soft cotton, place a small amount of fiberfill or a crinkly fabric scrap in the center, and tie the bundle closed with a double knot. Trim the knot tails short so they cannot wrap around a finger or be pulled into the mouth. This gives you a lightweight DIY sensory toy in a few minutes.
The common mistake here is overstuffing. A firm, dense bundle is harder for small hands to grip and can trap moisture inside. Keep it soft and flat, and check the knot after every wash.
- Sew the knot closed with a few stitches if your baby is strong enough to pull at it.
- Make two so one can be washed while the other is in use.
Sew a fabric rattle or ball with a sealed core
For a rattle, place a small sealed container or a few large, securely enclosed beads inside a fabric pouch, then sew the pouch into the toy so the core cannot be reached. Stitch with a backstitch and reinforce the seam twice. The sound should be gentle rather than sharp, because loud, high-pitched rattles tend to overstimulate rather than calm a baby.
If you are not confident sewing a sealed core, buy a ready-made rattle instead. A commercial rattle designed with a calm sound pitch removes the risk of a homemade core working loose.
- Tug firmly on every seam and knot before handing the toy to a baby.
- Never use rice, dried beans, or small beads as loose filling in a sewn toy.
Try a supervised DIY kit for older children
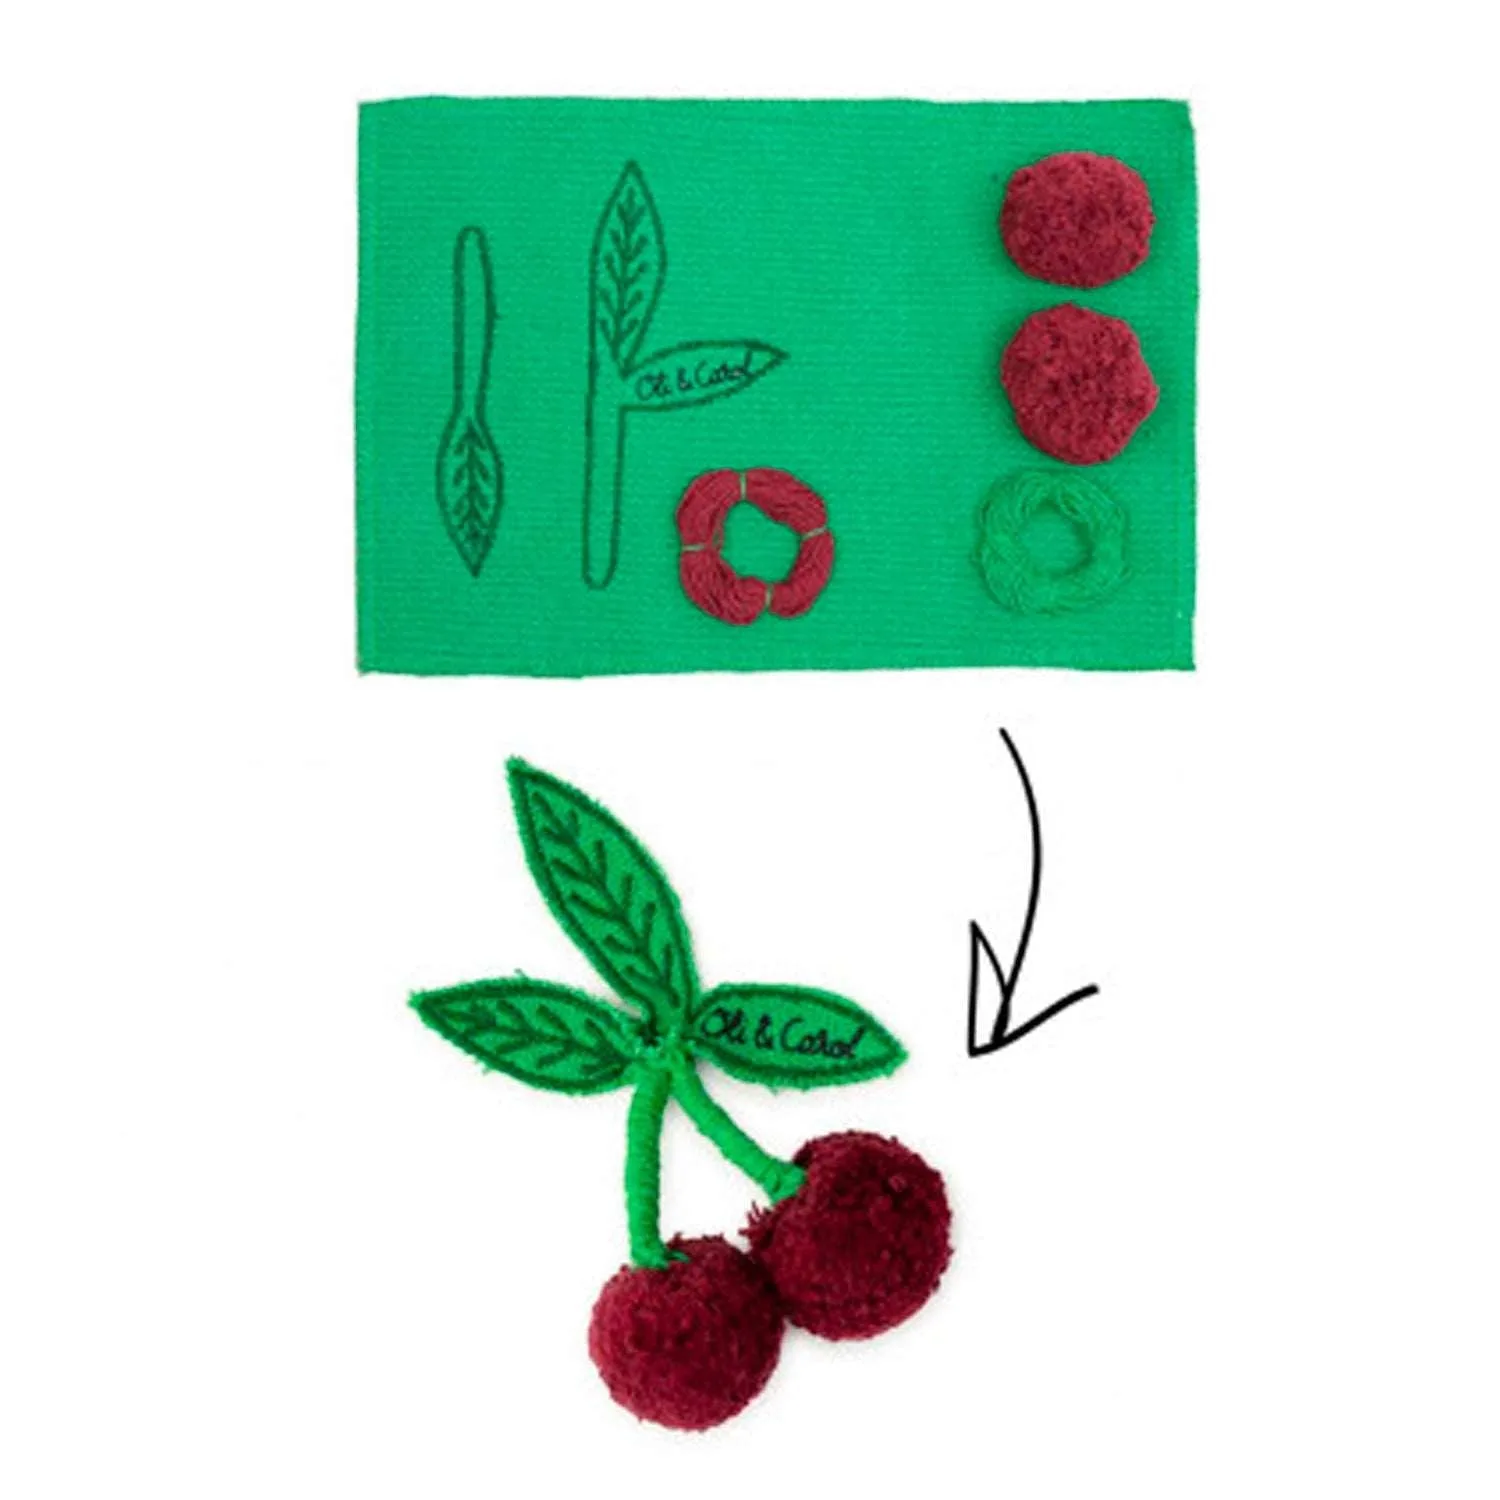
If the goal is a family activity rather than a toy for a baby, a sewing kit for children aged 6+ is a better fit than improvising. These kits come with pre-cut felt shapes and instructions, so the child does the stitching while an adult handles the needle, scissors, and final assembly. The finished piece becomes a keepsake rather than a mouthing toy.
Keep the age boundary firm. A handmade textile toy from a child's kit is not a substitute for a baby teether, because the stitching and filling were not designed for chewing.
- Set up the kit at a table with good light and an adult seated alongside.
- Store needles and scissors separately as soon as the session ends.
Run the final safety check before your baby plays
Do three checks on every finished toy. First, the choke test: if any part fits entirely inside a small-parts tube, it is too small for a baby under 3. Second, the pull test: tug every seam, knot, and attached piece firmly. Third, the finish check: confirm there is no peeling paint, exposed glue, or loose fiberfill.
Then set a cleaning routine. Most fabric toys can be hand-washed in warm water and air-dried, while natural rubber and wood should be wiped rather than soaked. Inspect the toy again after each wash, because seams loosen over time.
- Retire a toy as soon as a seam opens or a filling starts to escape.
- Rotate toys weekly so wear is spread across the collection.
Your DIY baby toy safety process, step by step
- 1. Set the age range before you cut anything: Decide whether the toy is for a baby under 3, an older child, or a shared family craft. Write the age on the finished toy. Checkpoint: if a baby under 3 will mouth it, no small parts are allowed at all.
- 2. Choose only materials you can identify: Use clean cotton, muslin, wool felt, untreated hardwood, food-grade silicone, or natural rubber. Reject unknown paints, finishes, and vintage hardware. Checkpoint: if you cannot name the material or coating, leave it out.
- 3. Build the simplest version first: Start with a tied fabric sensory square or a sealed-core fabric rattle before attempting anything with multiple attached parts. Checkpoint: a finished toy should be light enough to lift one-handed.
- 4. Seal every core and reinforce every seam: Enclose any rattle element completely inside the toy and backstitch seams twice. Never leave loose rice, beans, or beads inside a sewn toy. Checkpoint: tug each seam firmly before the first use.
- 5. Run the choke, pull, and finish checks: Confirm no part fits in a small-parts tube, nothing detaches under a firm pull, and no paint, glue, or filling is exposed. Checkpoint: one failed check means the toy is not ready yet.
- 6. Wash, inspect, and rotate: Hand-wash fabric toys in warm water and air-dry them, wipe rubber and wood rather than soaking, and re-inspect after every wash. Next step: retire any toy with an opening seam or escaping filling.
Ready-made options that cover what homemade toys cannot
- DIY Mery The Cherry: A sewing kit for kids aged 6+ that lets them handcraft a cherry-shaped textile toy, developed to support sensory stimulation, free thinking, self-expression, imagination, and creativity. It gives you the family-craft experience without improvising a pattern, and the finished piece is a keepsake for an older child rather than a toy for a baby to mouth.
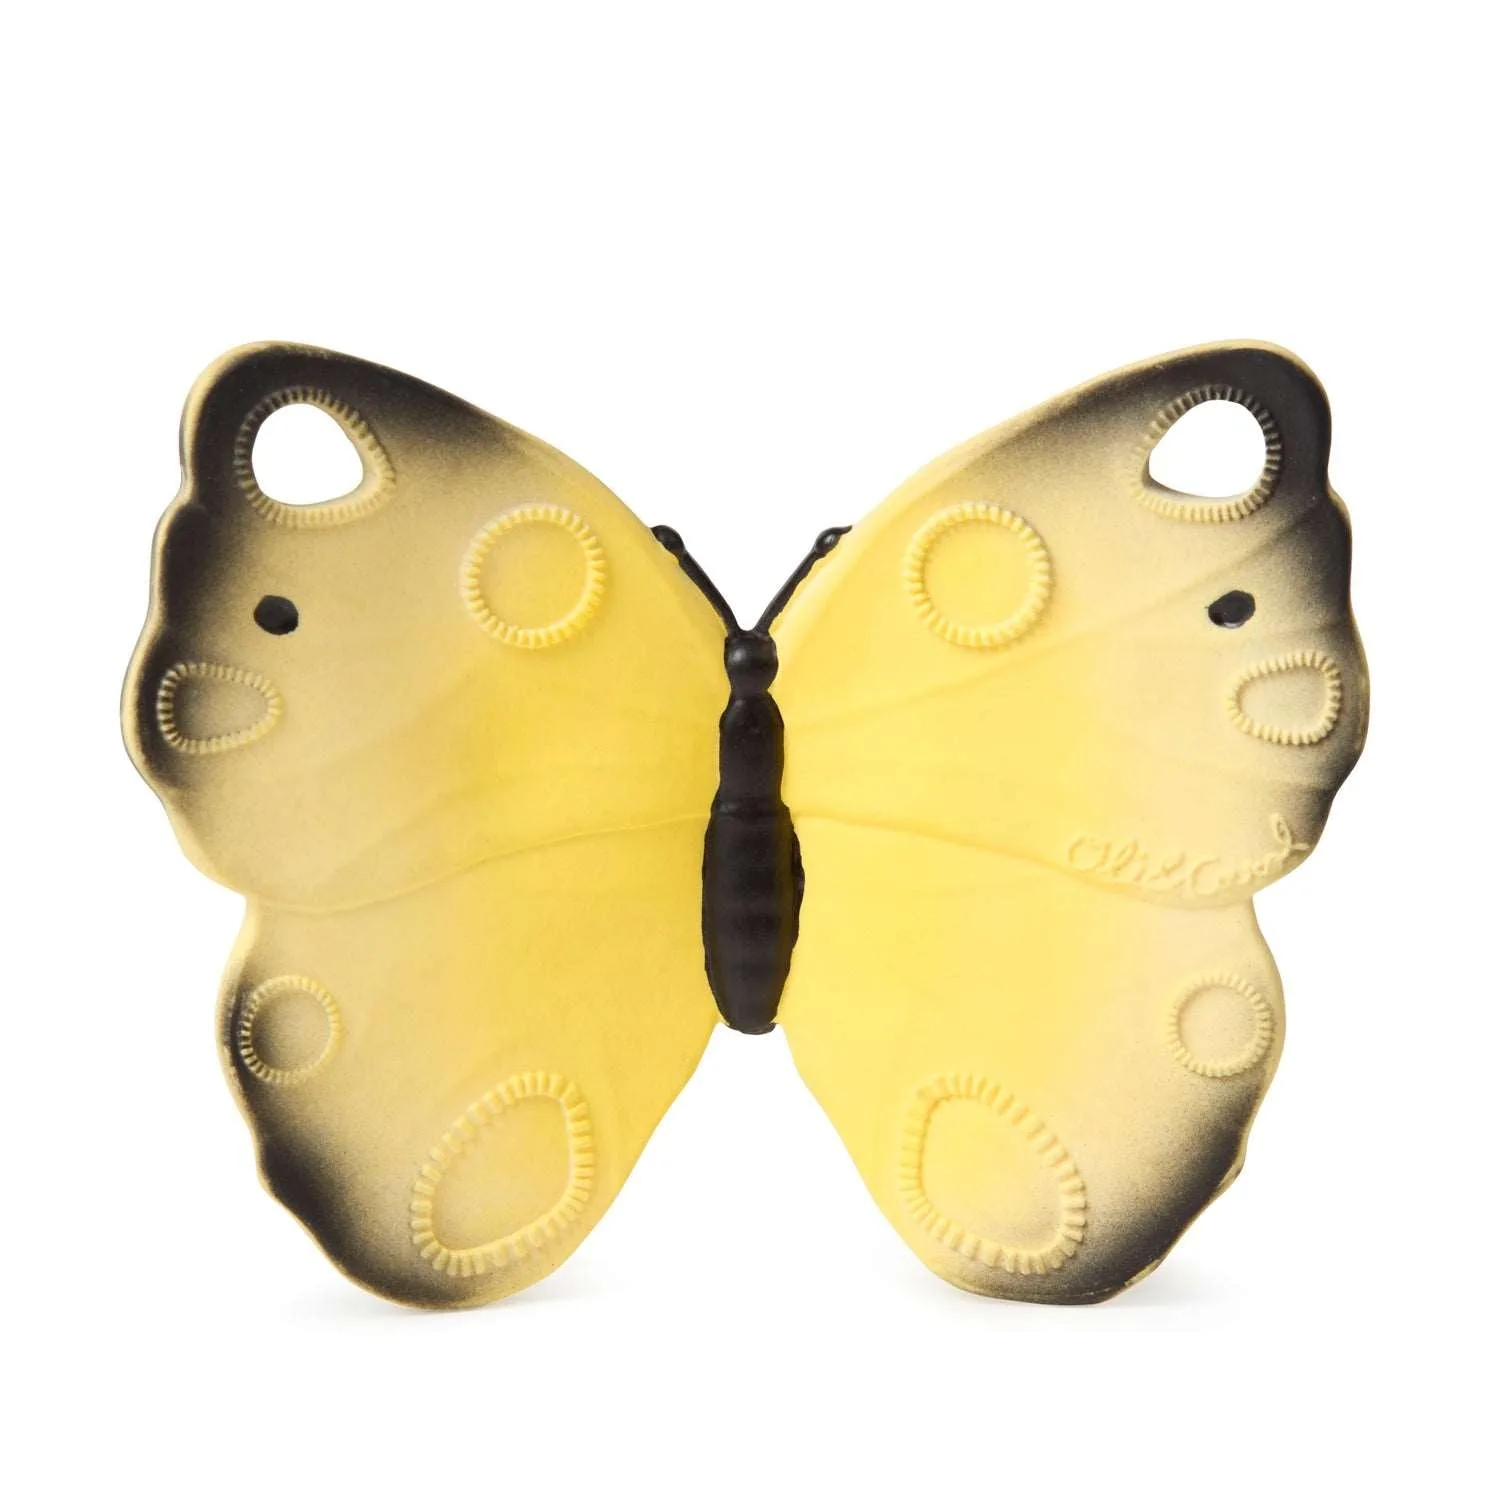
- Katia the Butterfly Baby Teether: A baby teether, bath toy, and sensory play toy made from 100% natural rubber, with different textures around its wings to help relieve teething pain. If your baby is actively teething, a purpose-made natural rubber teether is the safer route than a homemade fabric toy, because the texture and material are designed for mouthing.
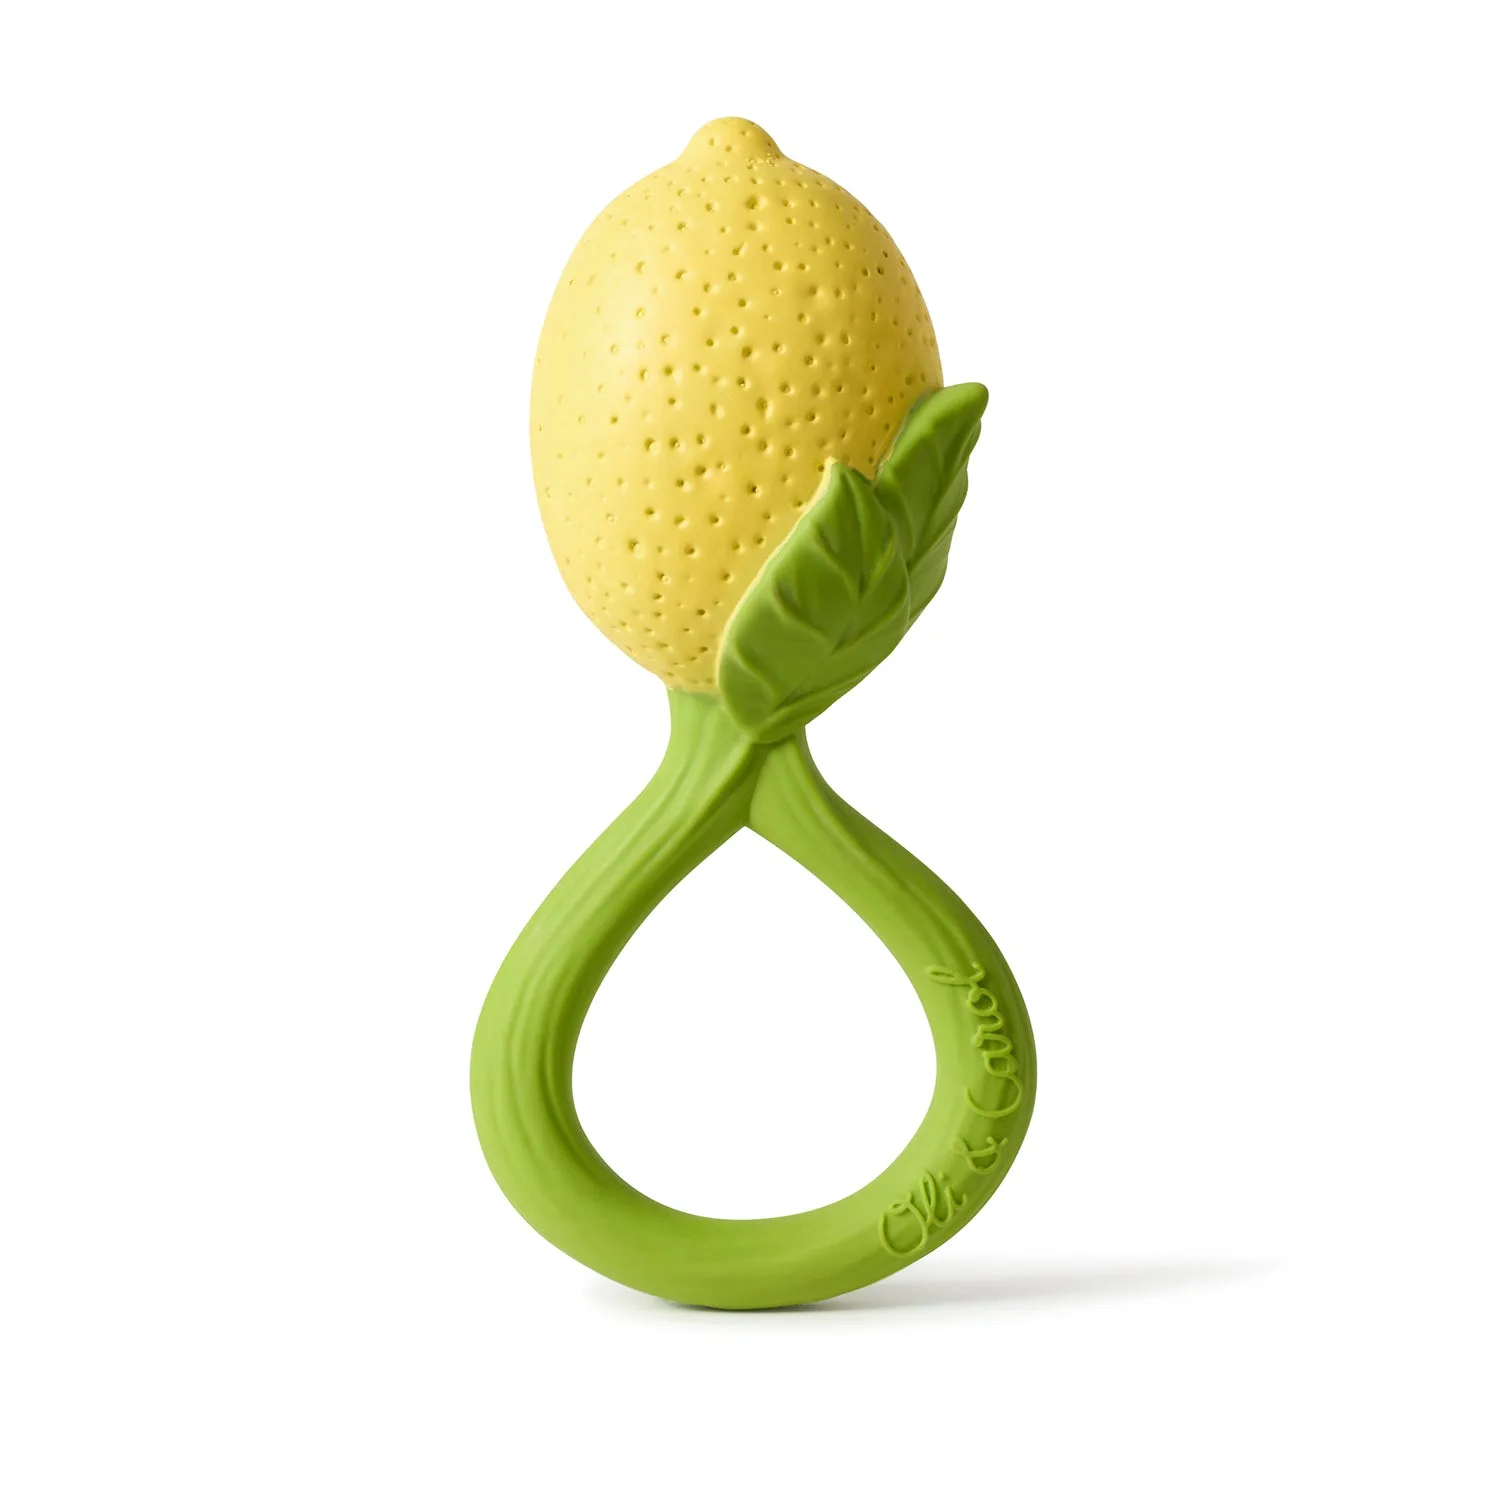
- Lemon Rattle Toy: Made with 100% natural rubber on the exterior and upcycled cherry seeds inside that turn the teether into a rattle, designed with a sound pitch intended to help babies calm down rather than become overstimulated. It solves the hardest part of a homemade rattle, which is getting a gentle sound without a loose core that can work free.
Homemade baby toys work best when you keep the design simple, the materials identifiable, and the safety checks non-negotiable. If a project needs a sealed rattle core or a texture built for teething, a ready-made natural rubber option is the more reliable choice, and a supervised sewing kit is the better fit when the real goal is a family craft afternoon.