Quick answer
Make a DIY calm down bottle by filling a clear, securely sealed bottle about two-thirds with water, adding a drop of clear glue or glycerin, then adding glitter, beads, or small toys. Seal the lid with strong glue and tape. Use it as a calm down tool by shaking it, then breathing slowly while watching the contents settle.
DIY calm down bottle
A DIY calm down bottle is a simple sensory tool you can make at home with a clear bottle, water, and a few fillers. It gives kids something to watch and breathe with when big feelings or busy brains need a pause.
This guide walks through calm down jar instructions step by step, including which sensory bottle fillers work best, how to seal the bottle safely, and how to use a calm down bottle for kids without turning it into a toy that gets thrown or opened.
What you need before you start
Gather a clear plastic bottle with a wide lid, warm water, clear glue or glycerin, and your chosen fillers. Clear glue or glycerin slows the fall of glitter and small pieces, which makes the bottle more calming to watch. Without it, glitter drops too fast and the effect is less useful.
For fillers, choose lightweight items that stay suspended: fine glitter, sequins, small plastic beads, or foam shapes. Avoid anything sharp, rusty, or small enough to be a choking hazard if the bottle ever opens. If you are making this for a baby or a child who still mouths toys, skip the DIY version and use a sealed, baby-safe option instead.
- Use a bottle with a tight-fitting lid and no cracks.
- Work over a sink or tray so spills are easy to clean.
Step-by-step: make your calm down bottle
Fill the bottle about two-thirds with warm water. Add one to two tablespoons of clear glue or a few drops of glycerin, then stir or shake gently to mix. Add your fillers a little at a time, checking how they fall. You want a slow, drifting motion, not a heavy clump at the bottom.
Top up with water, leaving a small air gap so the liquid can move. Wipe the rim dry, then seal the lid with strong waterproof glue. Let it cure fully, then wrap tape around the lid and neck for extra security. Shake gently to test for leaks before handing it to a child.
- Too much glue makes the liquid cloudy and slow; start small and add more if needed.
- If the bottle leaks, empty it, dry the threads, and reseal with fresh glue.
How to use a calm down bottle for kids
Introduce the bottle during a calm moment, not in the middle of a meltdown. Show your child how to shake it, then breathe in as the glitter swirls and breathe out slowly as it settles. Practice for a minute or two at a time so the routine feels familiar before it is needed.
Keep the bottle in a known spot, like a calm corner or a shelf, so your child can reach for it independently. Some kids prefer to hold it while breathing; others like to watch it on a table. Follow their lead and keep the focus on slow breathing rather than on finishing the bottle.
- Model the breathing yourself so your child has a visual guide.
- Offer the bottle as a choice, not a punishment.
DIY sensory bottle ideas to try
Once you have the basic method, you can vary the fillers to match your child's interests. A nature-themed bottle with small leaves and gold glitter can feel grounding, while a space-themed bottle with dark water and silver stars suits kids who like a quieter look. Keep each bottle to one or two visual ideas so it does not become cluttered.
You can also make a themed bottle to match a book or a room. The goal is not a perfect craft project but a tool your child will actually use. If a bottle does not get used, change the filler or move it to a different spot rather than making more.
- Label the bottom with the date so you know when to check the seal.
- Rotate bottles every few weeks to keep them interesting.
Safety checks and when to skip the DIY version
Check the bottle every week for leaks, cracks, or a loose lid. If the seal fails, empty and clean the bottle, then reseal it or recycle it. Never leave a child alone with a bottle that has not been fully cured, and do not use glass for kids who might drop it.
If your child is under three, still mouths objects, or has a history of opening containers, a homemade bottle is not the right choice. Choose a sealed, baby-safe option instead, and keep the DIY version for older kids who can use it safely.
- Re-tape the lid after every wash.
- Retire the bottle if the plastic starts to crack.
Calm down bottle steps at a glance
- Choose a safe bottle: Pick a clear plastic bottle with a tight lid and no cracks. Avoid glass for young kids. Checkpoint: the lid should screw on fully with no wobble.
- Mix the base liquid: Fill two-thirds with warm water and add clear glue or glycerin to slow the fall of fillers. Mistake to avoid: adding too much glue makes the liquid cloudy and slow.
- Add fillers: Add glitter, sequins, or small beads a little at a time until you like the motion. Checkpoint: fillers should drift, not sink in a clump.
- Seal and cure: Dry the rim, glue the lid, let it cure, then tape around the lid and neck. Mistake to avoid: skipping the cure time can lead to leaks.
- Teach the routine: Practice shaking and slow breathing during a calm moment, then keep the bottle in a known spot. Next step: if your child mouths objects, use a sealed Baby Calm Down Bottle instead.
Sealed alternatives from Jellystone Designs
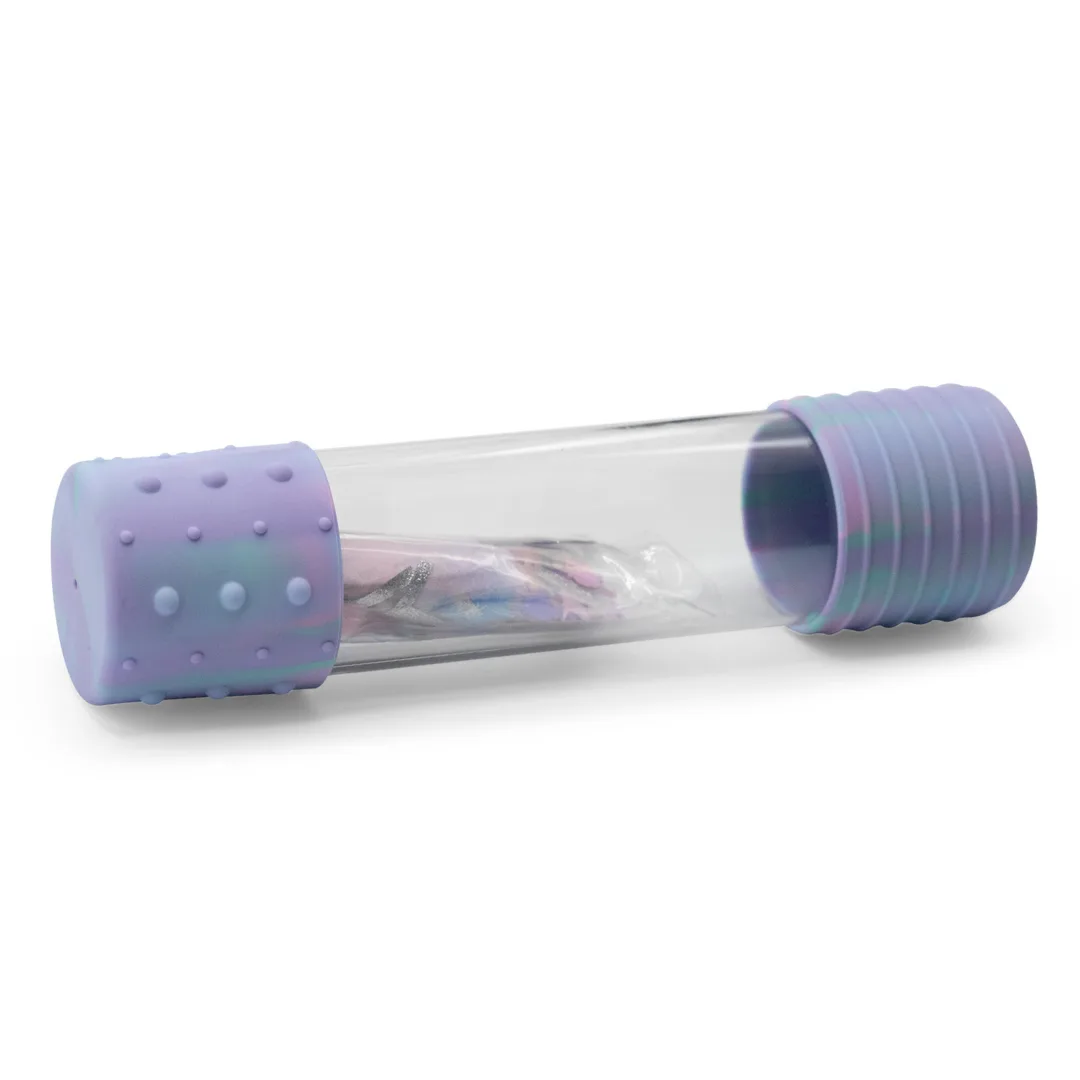
- DIY Calm Down Bottle: Jellystone Designs' award-winning DIY Calm Down Bottle is a unique sensory bottle developed with The Creative Toy Shop, and sensory bottles have been used by parents, teachers, and therapists to help children self-regulate their breathing and improve their focus. If you want the calm-down routine without mixing and sealing your own, this ready-made option gives you a consistent bottle to use the same way.
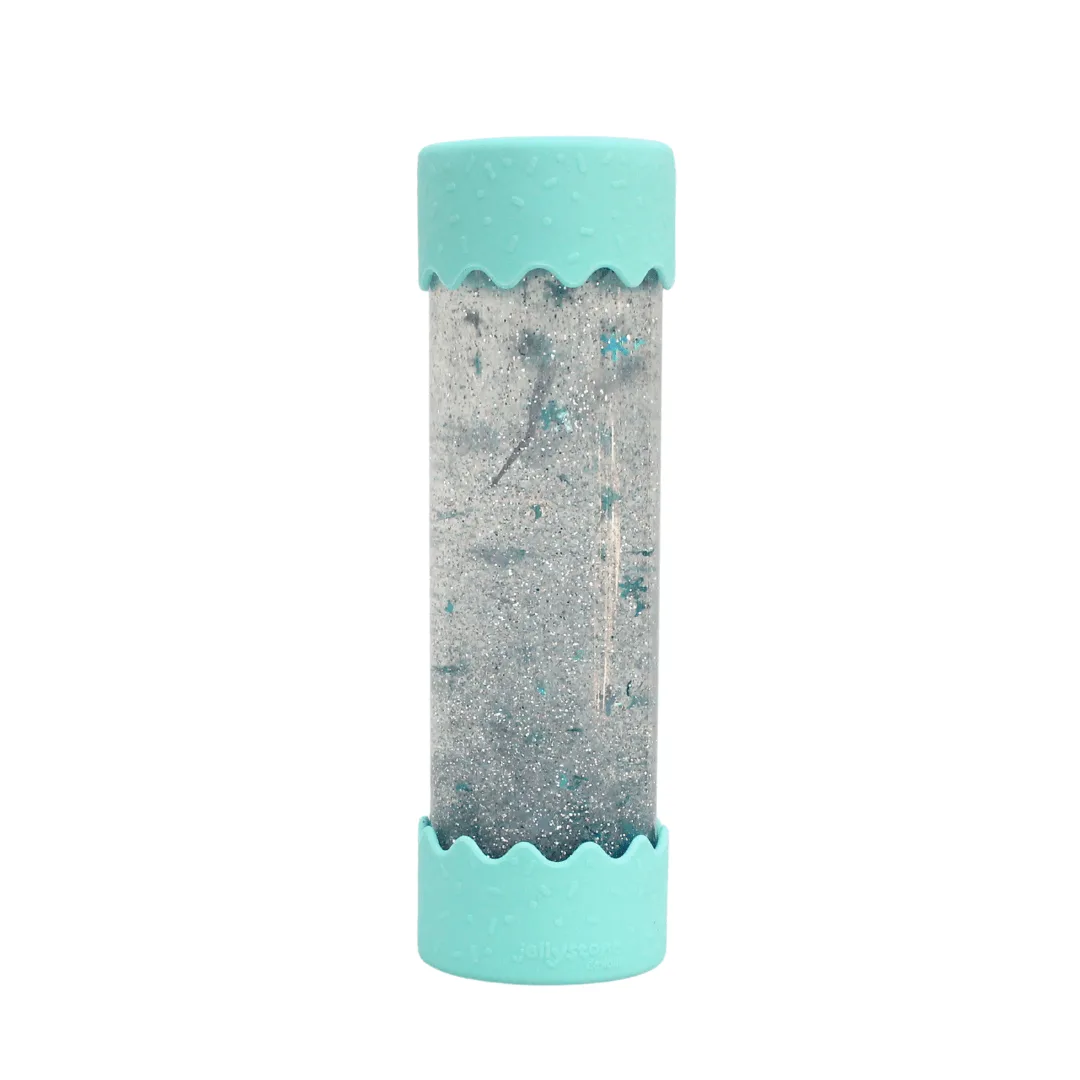
- Baby Calm Down Bottle: The Baby Calm Down Bottle comes prefilled with sparkles and water and is totally sealed, in a mini baby-friendly size. For babies and toddlers who still mouth objects, a fully sealed bottle removes the leak and choking risk that comes with a homemade version.
A DIY calm down bottle works best when it is simple, securely sealed, and used as a breathing routine rather than a craft project. Start with one bottle, practice together, and switch to a sealed option if safety or convenience matters more.