Quick Start
Gather a Variety Sticker Pack and a blank journal, pick a theme, arrange the stickers on your pages, and seal them with a light adhesive. This creates a personalized junk journal ready for daily creativity.
Building a custom junk journaling kit doesn’t require expensive supplies—just a thoughtful selection of stickers and a few basic tools. In this junk journaling kit tutorial we’ll walk you through each stage, from choosing the right base to applying stickers without bubbles or tears.
The Variety Sticker Pack from Hubman and Chubgirl offers a mix of shapes, colors, and motifs that work well for any style, whether you’re crafting a vintage scrapbook or a modern mixed‑media spread.
1. Choose Your Base Materials
Start with a sturdy journal or a collection of mixed‑paper pads that can handle adhesive. Look for pages with a slight texture; too smooth a surface can cause stickers to slip, while heavy cardstock prevents bleed‑through. If you plan to add water‑based inks later, test a small area first to ensure the sticker backing won’t lift.
Common mistake: using ultra‑thin notebook paper. The vinyl stickers can cause the page to tear when you turn it. Opt for at least 80‑gsm paper for durability.
- Prefer acid‑free paper for archival quality.
2. Organize Your Variety Sticker Pack
Lay out the Variety Sticker Pack on a clean surface and sort stickers by theme—floral, geometric, lettering, etc. This makes it easier to plan layouts and avoid repetitive patterns. Take photos of your favorite groupings for reference as you work.
Checkpoint: before peeling, press each sticker gently with a fingertip to confirm it releases easily. Some vinyl stickers cling too tightly and may rip the backing if forced.
- Use a small piece of scrap paper as a test canvas.
3. Assemble and Secure Your Kit
Apply stickers to your journal pages using a light pressure. For larger sheets, a craft roller helps smooth out bubbles. Once placed, seal the stickers with a thin layer of clear, archival‑safe glue or a spray fixative to prevent lifting over time.
Common pitfall: over‑applying adhesive, which can cause bleeding onto adjacent pages. Use just enough to tack the sticker, then press firmly for a few seconds.
- Keep a lint‑free cloth handy to wipe away excess glue.
Your DIY Junk Journal Kit in Three Simple Steps
- Gather Materials: Collect a Variety Sticker Pack, a sturdy journal, adhesive, and a clean workspace. Mistake to avoid: forgetting a lint‑free cloth, which can leave fibers under stickers.
- Plan Layout: Sort stickers by theme, sketch a rough arrangement on a scrap page, and photograph your plan. Checkpoint: Ensure no sticker overlaps a page margin where it might be trimmed.
- Apply and Seal: Peel each sticker, press gently, smooth with a craft roller, then seal with a thin coat of archival‑safe glue. Common error: using too much glue, which can cause bleed‑through; apply sparingly.
Product Highlights for Your Junk Journal
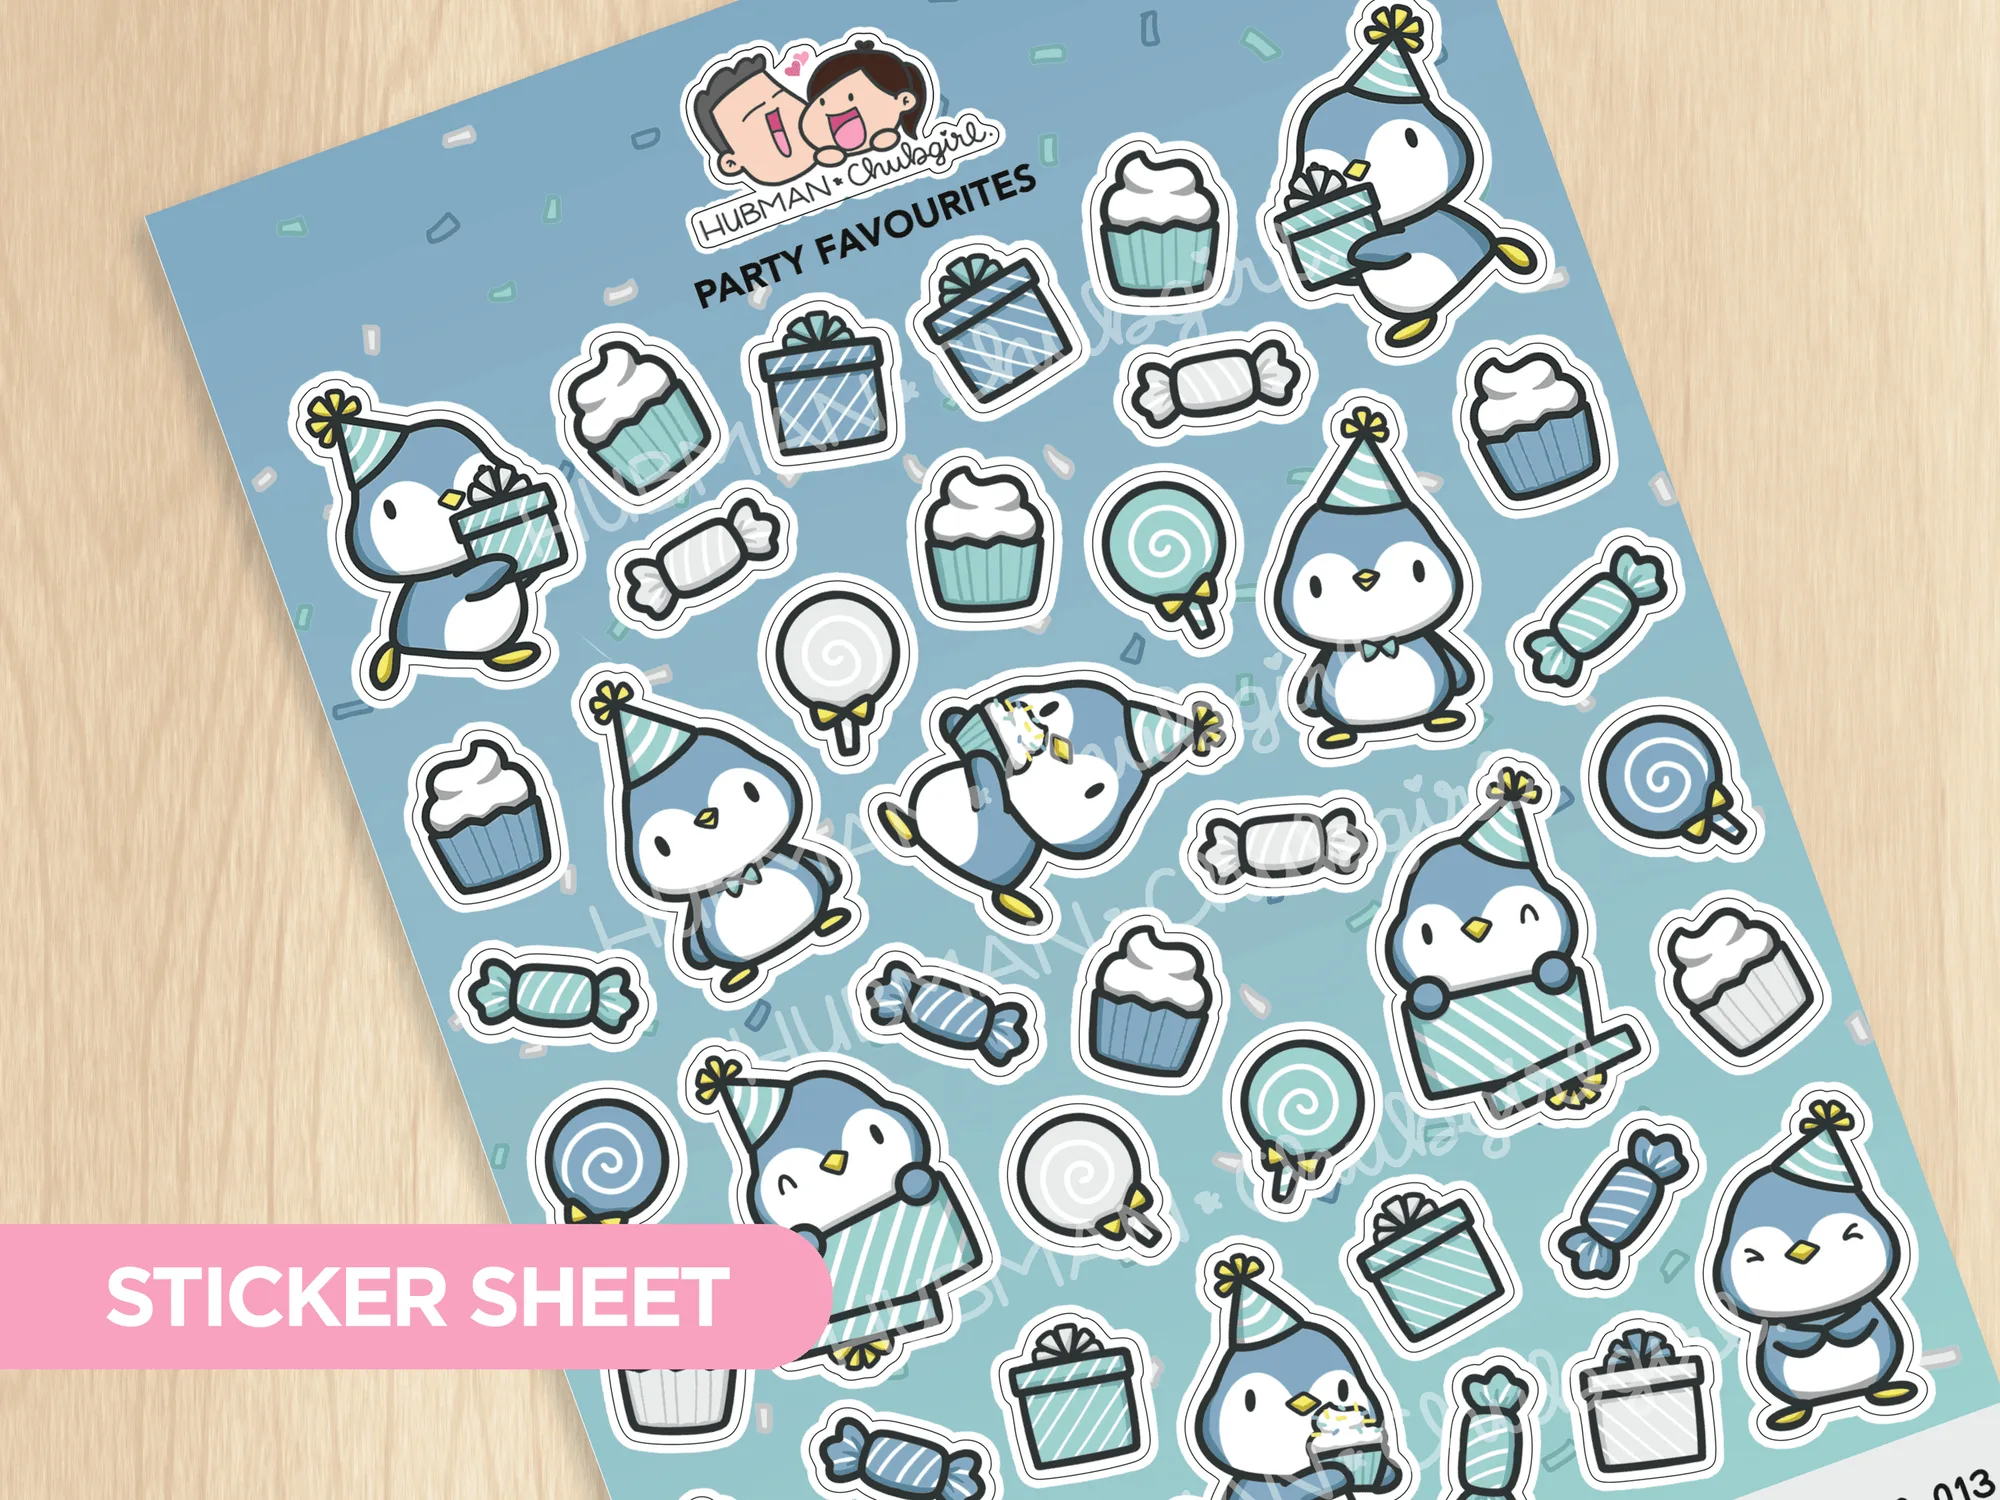
- Party Favourites Sticker Sheet: A sticker sheet from our Party Penguins Collection. Sheet size: 5" x 7" 39 individual stickers. Made of high-quality, durable 3M vinyl. Waterproof and UV‑Resistant. The waterproof, UV‑resistant vinyl ensures stickers stay vibrant even after handling or exposure to light, ideal for journals that travel.
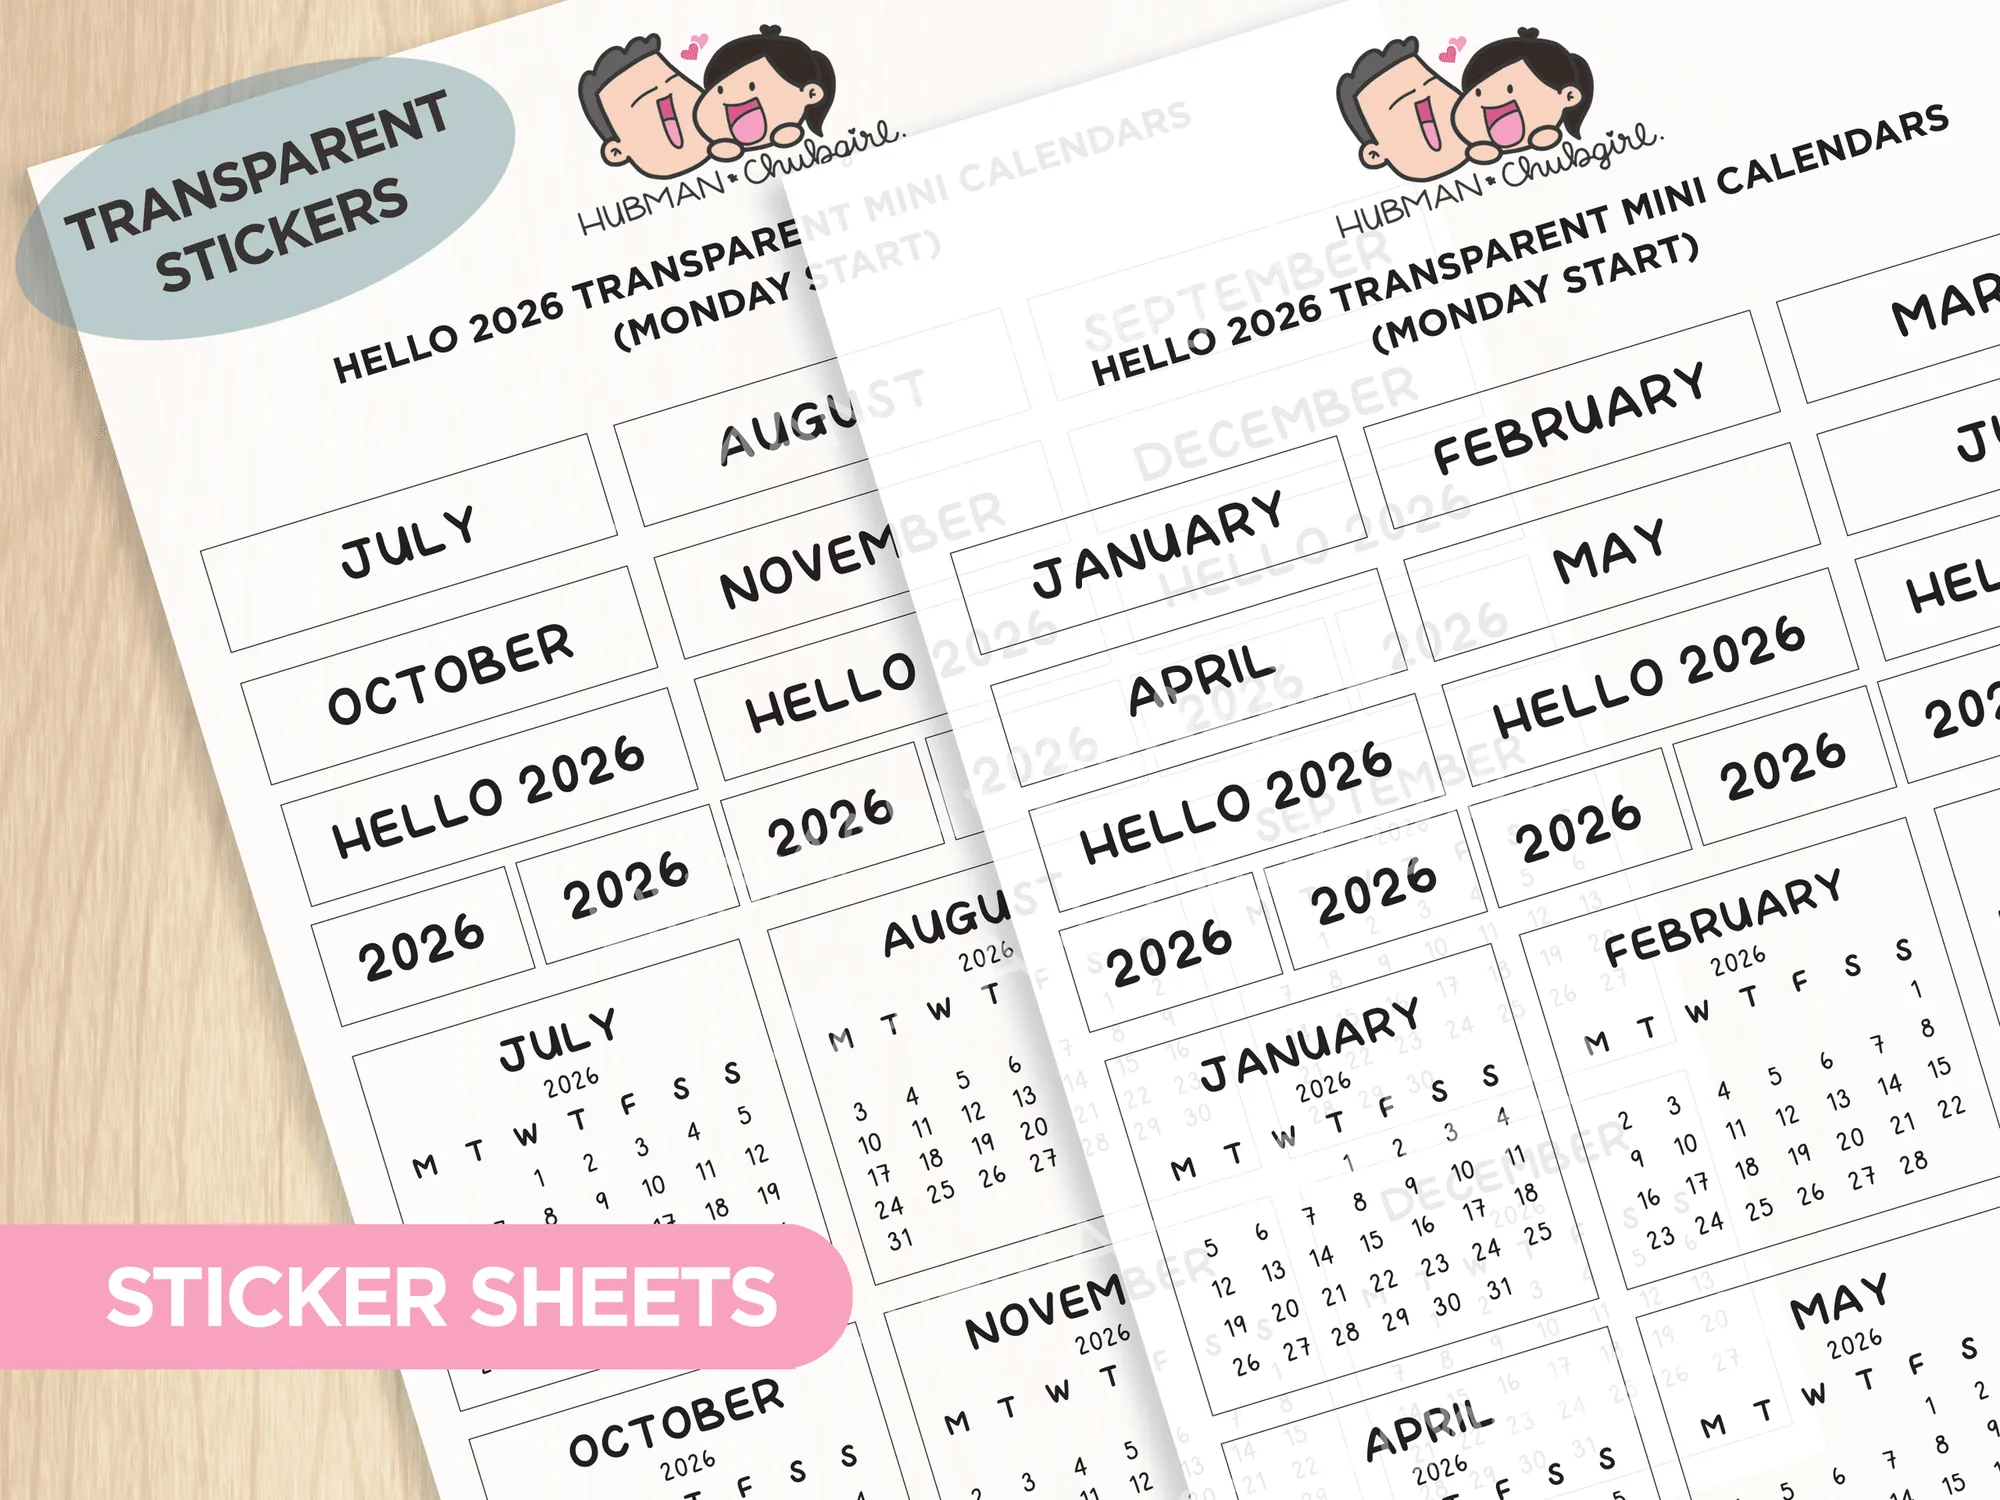
- Hello 2026 Transparent Mini Calendars (Set of 2): Plan your new year with our 2026 mini transparent calendars! You can choose between Monday and Sunday start! Sheet size: 5” x 7” 42 individual stickers. High quality transparent stickers. Transparent mini calendars double as functional date trackers and decorative elements, letting you layer them over other stickers without obscuring designs.
With these steps, you’ll have a fully personalized junk journaling kit that reflects your style and stands up to daily use. Enjoy the creative freedom of mixing stickers, papers, and layouts in every page you turn.