Quick answer
Assemble a Monkey Design DIY paper toy postcard by carefully cutting, folding, and gluing the printed cardstock—no special tools needed, just patience and a steady hand.
Why these postcards are different from typical paper crafts
Monkey Design paper toy postcards are printed on sturdy cardstock and start as flat postcards. Unlike pre-cut kits, you cut every piece yourself, which gives you more control over the final shape but also requires a sharp craft knife and a cutting mat. Some models are quite tricky, while others are simpler, so check the design before you start.
Trade-off: complexity vs. satisfaction
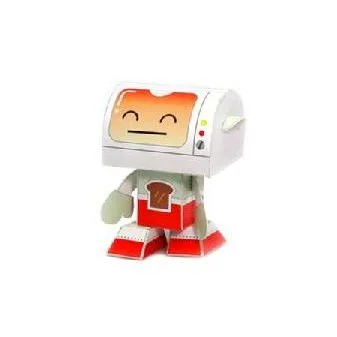
The Vacuum Cleaner Bot DIY Paper Toy Postcard #089 and Westmill-002 Shoe DIY Paper Toy Postcard #166 have many small parts, making them more challenging. The Oven Guy DIY Paper Toy Postcard #093 is slightly more straightforward. All reward you with a unique 3D sculpture that stands on its own.
Assembly steps for any Monkey Design paper toy postcard
- Prepare your workspace and tools: Gather a sharp craft knife (or small scissors), a cutting mat, white glue or a glue stick, a ruler for scoring folds, and tweezers for tiny parts. Clear a flat, well-lit area. A dull blade will tear the cardstock, so use a fresh blade.
- Cut out each piece carefully: Cut along the solid outlines. Leave a tiny margin if you prefer to trim later. For curved parts like wheels or handles, use short, controlled strokes with the knife. Cut inside the line to preserve the tabs—they are essential for glueing.
- Score and pre-fold all creases: Use the ruler and the back of your knife (or a bone folder) to lightly score along every dashed fold line. Fold each piece along the score, creasing firmly with your fingernail. Skipping scoring leads to bulky, uneven folds that make the model wobble.
- Dry-fit before glueing: Assemble the model without glue first to see how the tabs and slots align. Adjust any tight folds or misaligned cuts now. If a tab is too long, trim it slightly. If a slot is too tight, gently widen it with the knife tip.
- Glue in logical order—base to top: Apply a thin layer of glue to the tabs and press together. Start with the main body or base, then add appendages. Hold each joint for 15-20 seconds until set. Too much glue causes warping and mess. Use a toothpick to apply small dots.
- Let the model dry completely before handling: Place the finished toy on a flat surface and leave it undisturbed for at least 30 minutes. Check that all tabs are fully adhered. Rushing this step can cause the model to collapse when you pick it up.
Product facts
-
Vacuum Cleaner Bot DIY Paper Toy Postcard #089: Monkey Design is a creative, quirky, and fun group of designers from Taiwan who express themselves mainly through 3D paper models. This means each postcard has a unique, playful design that you bring to life with your own hands.
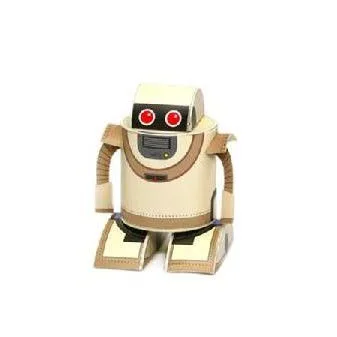
Vacuum Cleaner Bot DIY Paper Toy Postcard #089
-
Westmill-002 Shoe DIY Paper Toy Postcard #166: Knife, scissors, glue and patience required for assembly....some models are really hard and some are easy! The Westmill-002 Shoe is on the harder side, so set aside extra time and work in good lighting.
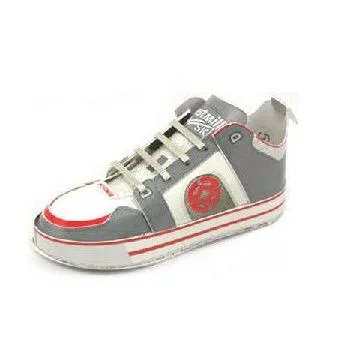
Westmill-002 Shoe DIY Paper Toy Postcard #166
-
Oven Guy DIY Paper Toy Postcard #093: Monkey Design is a creative, quirky, and fun group of designers from Taiwan who express themselves mainly through 3D paper models. The Oven Guy is a great starting point if you're new to this series because its parts are chunkier and easier to handle.