Quick Start
Download the printable template, print on sturdy paper, cut along the puzzle lines, and snap the pieces together. Follow these steps for a fun, custom puzzle in minutes.
Printable activity sheets are a low‑cost way to add a hands‑on challenge to parties, classrooms, or a rainy afternoon at home. Public School Paper Co. offers a range of ready‑to‑print designs that you can customize with your own colors or messages.
In this guide we walk through the entire process—from selecting a template to finishing the assembled puzzle—so you can create a polished, reusable jigsaw without any special equipment.
Gather Materials and Choose a Template
Start by browsing the Printable category on Public School Paper Co.'s website. Look for a design that matches the theme of your event—whether it’s a birthday, a classroom activity, or a simple brain teaser. Download the PDF at the highest resolution available; this ensures clean lines when you cut the pieces.
You’ll need a few basic supplies: heavyweight cardstock or photo paper for durability, a sharp craft knife or scissors, a ruler, and a cutting mat. If you plan to color the pieces, choose a printable that leaves ample white space for markers or crayons.
- Tip: Test a single piece on regular printer paper first to confirm the size fits your intended puzzle dimensions.
Step‑by‑Step Puzzle Creation
- 1. Download & Print: Select your template, click download, and print on heavyweight cardstock. Set your printer to ‘best quality’ to keep line detail sharp. Common mistake: printing on thin paper leads to torn edges; always verify paper weight before printing.
- 2. Cut the Pieces: Place the printed sheet on a cutting mat. Use a ruler and a craft knife to follow each puzzle line precisely. Cut slowly to avoid jagged edges. Checkpoint: after a few cuts, pause to check that pieces still interlock; adjust your angle if gaps appear.
- 3. Assemble & Finish: Lay out all pieces on a flat surface and match the edges. Once assembled, you can glue the puzzle together for a permanent version or keep it reusable. Common mistake: forcing pieces that don’t fit can damage cuts; if a piece won’t snap, re‑cut the edge gently.
Products That Can Enhance Your Puzzle Project
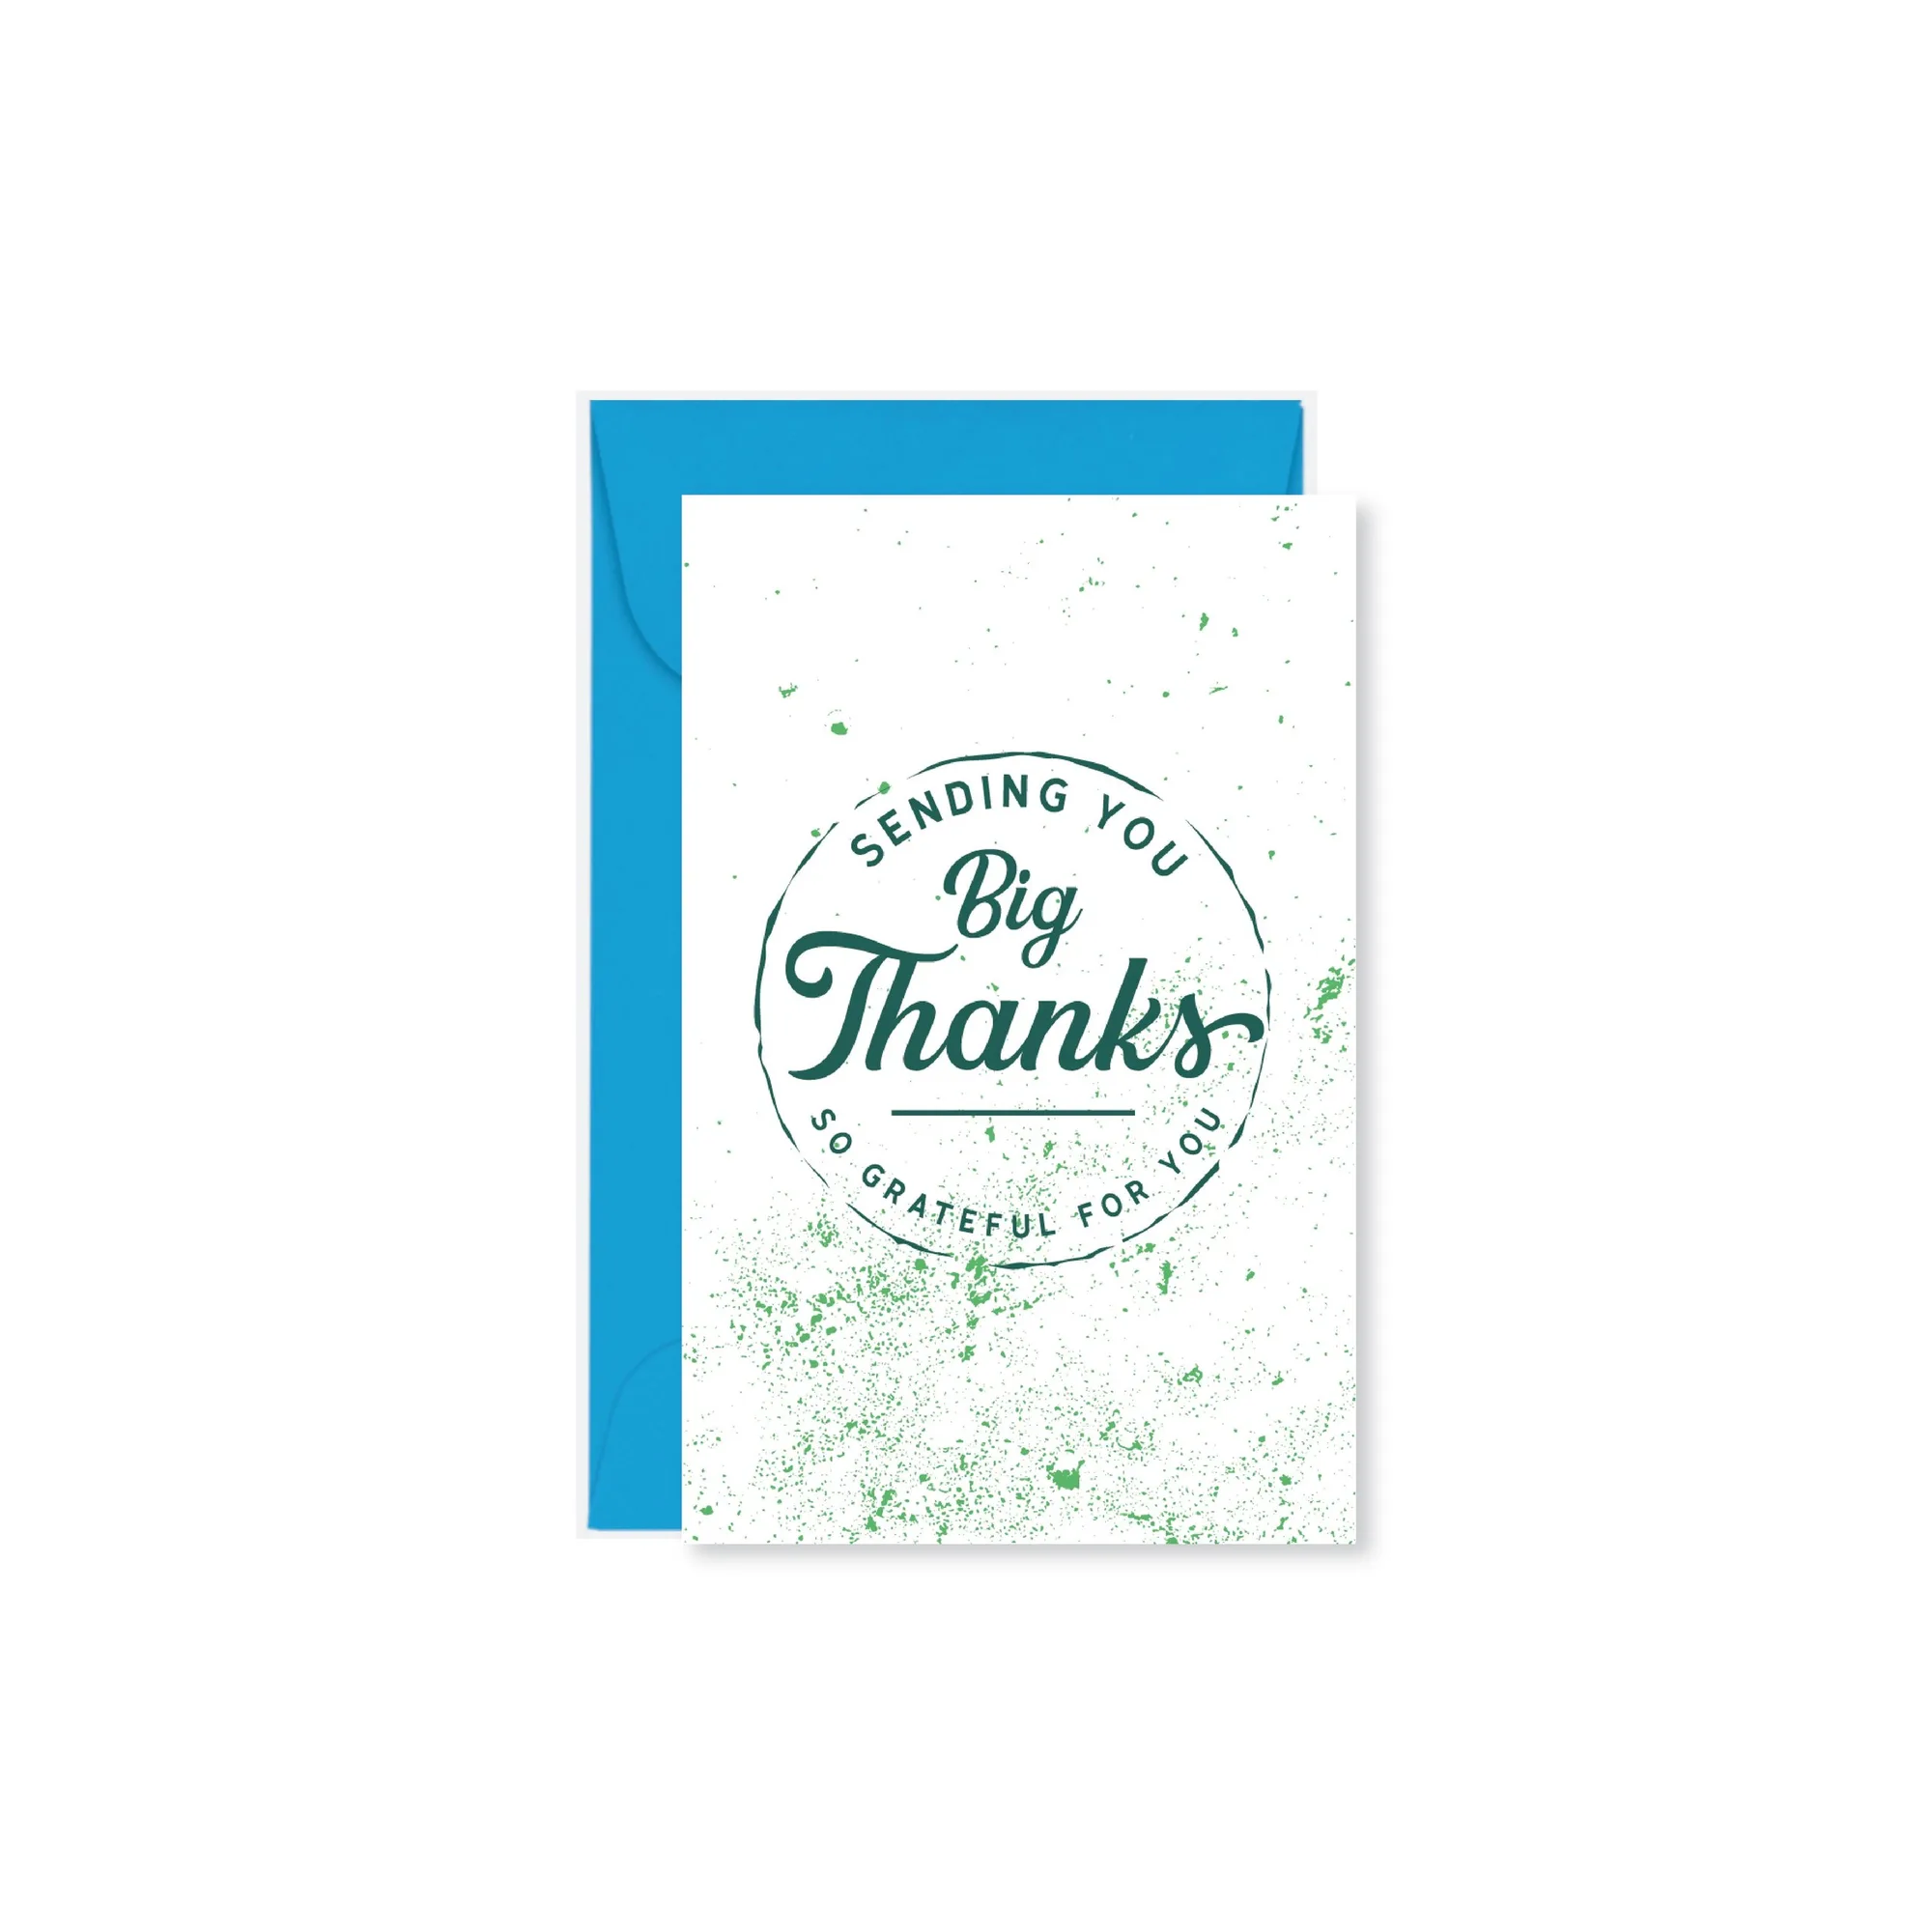
- Big Thanks Mini Card: Size: 2" x 3.5" (folded) Blank Inside Includes one blue envelope Use these mini cards as reward notes hidden inside the puzzle box—kids love discovering a surprise after they finish the puzzle.
- Hot Girls Therapy - Sticker: Average Size: 2"-3" wide; perfect for jazzing up water bottles, lockers, laptops Add a sticker to the back of each puzzle piece as a visual cue for younger children learning shape recognition.
With a printable template, a few supplies, and careful cutting, you’ve turned a simple sheet into a memorable puzzle. Share your creation, add a mini thank‑you card, and enjoy the satisfaction of a custom‑made game.